Advertisement
Cake pops are a fun, festive, and delicious treat that transforms traditional cake into a bite-sized, handheld dessert. These charming little confections consist of crumbled cake mixed with frosting, rolled into balls, dipped in a smooth candy or chocolate coating, and decorated with sprinkles, nuts, or drizzled chocolate. Whether you’re making them for birthday parties, weddings, baby showers, or just as a fun family treat, cake pops are a surefire way to impress guests with both flavor and presentation.
In this guide, we’ll explore everything you need to know about cake pops, including creative serving ideas, storage tips, fun variations, and answers to frequently asked questions.
Why Cake Pops Are a Must-Try Dessert
Cake pops have gained massive popularity due to their versatility, convenience, and aesthetic appeal. Here’s why they should be on your baking list:
- Perfect for Any Occasion – Cake pops can be decorated to fit any theme, from elegant weddings to playful birthday parties.
- Mess-Free and Easy to Serve – No need for plates or utensils, making them ideal for buffets and dessert tables.
- Customizable Flavors – You can experiment with different cake and frosting combinations to create unique flavors.
- Great for Gifting – Wrap them individually in clear treat bags for beautiful, edible party favors.
- Fun to Make with Kids – A great baking project that allows kids to get creative with decorating.
Creative Ways to Serve Cake Pops
Presentation is everything when it comes to cake pops. Here are some unique and eye-catching ways to serve them:
Advertisement
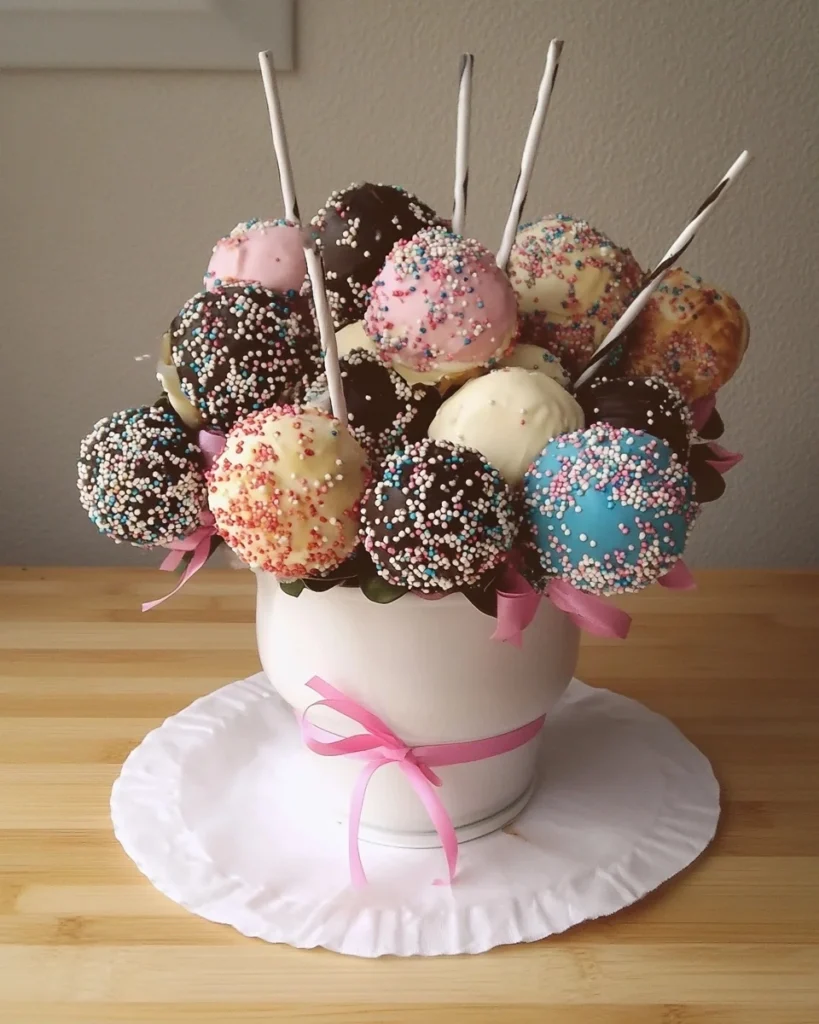
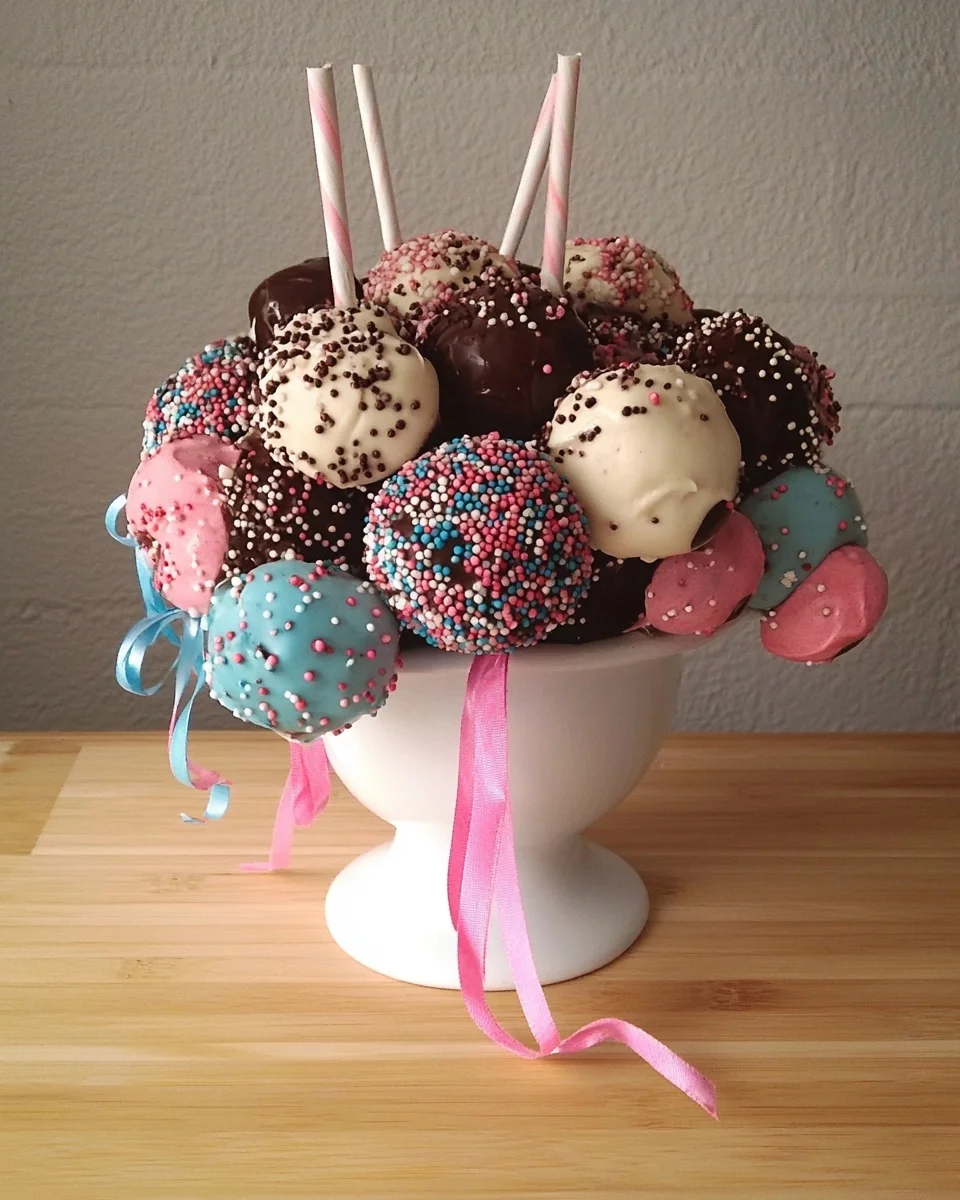
1. Cake Pop Bouquets
- Arrange cake pops in a decorative vase or container filled with candy, rice, or coffee beans to hold them upright.
- Wrap the bouquet in cellophane and tie it with a ribbon for a stunning edible gift.
2. Dessert Table Centerpiece
- Display cake pops on a tiered cupcake stand for a beautiful arrangement.
- Use a foam block covered in decorative paper to hold them upright.
3. Dipped and Drizzled
- Instead of fully coating the cake pops, try dipping only half in chocolate for a stylish, modern look.
- Drizzle with contrasting chocolate for an elegant touch.
4. Cake Pop Truffles (No Sticks)
- Skip the lollipop sticks and serve them as bite-sized truffles in mini cupcake liners.
- Dust with cocoa powder, powdered sugar, or edible glitter for a sophisticated presentation.
5. Themed Cake Pops
- Decorate cake pops to match seasonal events, such as:
- Pumpkin-shaped cake pops for Halloween.
- Snowflake-decorated pops for winter holidays.
- Heart-shaped pops for Valentine’s Day.
Cake Pops: Bite-Sized Confections for Every Celebration
Ingredients:
- Cake Base: One 9-inch cake (any flavor, such as chocolate, vanilla, or flourless options like quinoa or black bean cake)
- Frosting: Approximately 1/4 cup of frosting (flavor matching the cake)
- Coating: Candy melts or melted chocolate (quantity depends on the number of cake pops)
- Decoration: Sprinkles, chopped nuts, or other edible embellishments
- Tools: Lollipop sticks
Directions:
- Prepare the Cake Base:
- Crumble the cooled cake into fine crumbs using your hands or a food processor.
- Gradually mix in the frosting until the mixture holds together when pressed.
- Shape the Cake Balls:
- Scoop portions of the mixture and roll into balls approximately 1 inch in diameter.
- Place the balls on a parchment-lined baking sheet and refrigerate for 10-15 minutes to firm up.
- Insert the Sticks:
- Melt a small amount of the candy melts or chocolate.
- Dip the tip of each lollipop stick into the melted coating and insert it halfway into each cake ball.
- Return the cake pops to the refrigerator for an additional 10-15 minutes to set.
- Coat the Cake Pops:
- Melt the remaining candy melts or chocolate until smooth.
- Dip each cake pop into the melted coating, ensuring it is fully covered.
- Gently tap off any excess coating and immediately add sprinkles or other decorations before the coating sets.
- Set and Serve:
- Place the decorated cake pops upright in a stand or styrofoam block to dry completely.
- Once set, serve and enjoy these delightful treats.
Nutrition Information (per serving):
- Calories: Approximately 150
- Total Fat: 8g
- Saturated Fat: 5g
- Cholesterol: 20mg
- Sodium: 85mg
- Total Carbohydrates: 18g
- Sugars: 15g
- Protein: 2g
Note: Nutritional values are approximate and can vary based on specific ingredients used.
Tips:
- Alternative Coatings: If candy melts are unavailable, use white or dark chocolate with a teaspoon of vegetable oil added for smoothness.
- Storage: Store cake pops in an airtight container in the refrigerator for up to one week.
- Serving Suggestion: These cake pops make excellent gifts or party favors for birthdays, holidays, or special occasions.
Enjoy crafting and savoring these delightful cake pops, a versatile treat that brings joy to any event!
How to Store Cake Pops for Maximum Freshness
Proper storage ensures that your cake pops stay fresh and delicious. Here’s how to keep them at their best:
1. Refrigeration
- Store cake pops in an airtight container in the fridge for up to one week.
- If they are coated in chocolate or candy melts, let them come to room temperature before serving to prevent condensation.
2. Freezing for Long-Term Storage
- Freeze uncoated cake balls for up to two months in an airtight container.
- Thaw overnight in the fridge before dipping in chocolate or candy coating.
- If already dipped, wrap each cake pop individually in plastic wrap before freezing.
3. Room Temperature Storage
- If serving within 2-3 days, store cake pops in a cool, dry place.
- Avoid direct sunlight or heat, as this can cause the coating to melt.
Exciting Variations of Cake Pops
If you want to elevate your cake pops beyond the classic versions, try these creative ideas:
1. Gourmet Flavored Cake Pops
- Cookies and Cream – Use chocolate cake with crushed Oreo frosting and coat in white chocolate.
- Red Velvet Cheesecake – Combine red velvet cake with cream cheese frosting and dip in dark chocolate.
- Salted Caramel – Mix caramel sauce into the frosting and sprinkle sea salt over the chocolate coating.
2. Nutty and Crunchy Cake Pops
- Pistachio Cake Pops – Roll cake balls in chopped pistachios for extra crunch.
- Almond Joy Cake Pops – Use coconut cake, mix in chopped almonds, and dip in milk chocolate.
3. Boozy Cake Pops for Adults
- Baileys Irish Cream Cake Pops – Add a splash of Baileys to the frosting and dip in dark chocolate.
- Rum-Infused Cake Pops – Mix spiced rum into vanilla cake crumbs for a rich, warm flavor.
4. Vegan and Gluten-Free Cake Pops
Frequently Asked Questions
1. Why do my cake pops keep falling off the stick?
- Make sure the cake balls are firm and well-chilled before inserting the stick.
- Dip the tip of the stick in melted chocolate before inserting it into the cake ball—this acts like glue.
- After inserting the stick, let them set in the fridge for 10-15 minutes before dipping.
2. Can I use homemade cake instead of a boxed mix?
Absolutely! You can use homemade cake or store-bought cake, as long as you crumble it finely and mix it with frosting to form a dough-like consistency.
3. What’s the best way to melt candy melts for dipping?
- Microwave in 15-second intervals, stirring between each round, until smooth.
- Add a teaspoon of vegetable oil or coconut oil if the mixture is too thick.
4. Can I make cake pops without sticks?
Yes! Simply shape the cake mixture into balls and serve them as truffles in mini cupcake liners.
5. How can I prevent cracks in the candy coating?
- Let the cake pops come to room temperature for a few minutes before dipping.
- Avoid sudden temperature changes—if they are too cold when dipped in hot chocolate, cracks may form.
6. Can I use white chocolate instead of candy melts?
Yes, but white chocolate can be trickier to melt. Add a teaspoon of vegetable shortening or coconut oil for a smoother consistency.
7. Can I decorate cake pops with royal icing?
Yes! Once the candy coating is completely set, you can use royal icing, edible markers, or piped chocolate to create intricate designs.
Final Thoughts
Cake pops are the ultimate bite-sized treat, combining the delicious flavors of traditional cake with a fun, playful presentation. Whether you’re making them for a special event or just as a sweet treat for yourself, they are easy to customize, store, and serve.
From elegant wedding favors to colorful birthday party treats, cake pops can be dressed up or down to fit any occasion. Plus, with so many flavor and decoration possibilities, you’ll never run out of new variations to try.
Now that you have all the tips, tricks, and creative ideas, it’s time to start baking and enjoy these delightful, handheld desserts that are as fun to make as they are to eat!
Easter Cake Pop Bouquet
Ingredients
Method
- Prepare the Cake Mixture
- Crumble the cooled cake into fine crumbs using your hands or a food processor.
- Mix in the frosting, a little at a time, until the mixture holds together when shaped.
- Shape the Cake Balls
- Roll the mixture into 1-inch balls and place them on a parchment-lined baking sheet.
- Chill in the refrigerator for 15-20 minutes until firm.
- Insert the Sticks
- Melt a small amount of the candy melts or chocolate.
- Dip the end of a lollipop stick into the melted coating and insert it into a cake ball.
- Repeat for all cake balls and refrigerate again for 10-15 minutes to set.
- Coat the Cake Pops
- Melt the remaining candy melts or chocolate until smooth.
- Dip each cake pop into the melted coating, fully covering it.
- Gently tap off excess coating and immediately add sprinkles or decorations before it sets.
- Set and Serve
- Place the cake pops upright in a styrofoam block or cake pop stand to dry completely.
- Once set, serve and enjoy!
Notes
- Alternative Coatings – If candy melts are unavailable, use white or dark chocolate with a teaspoon of vegetable oil for a smooth consistency.
- Storage Tips – Store cake pops in an airtight container in the fridge for up to a week or freeze for up to 2 months.
- Serving Ideas – Arrange cake pops in a decorated foam block, bouquet, or tiered stand for an elegant display.
- Troubleshooting – If the cake pops crack, let them come to room temperature before dipping to avoid temperature shock.