Advertisement
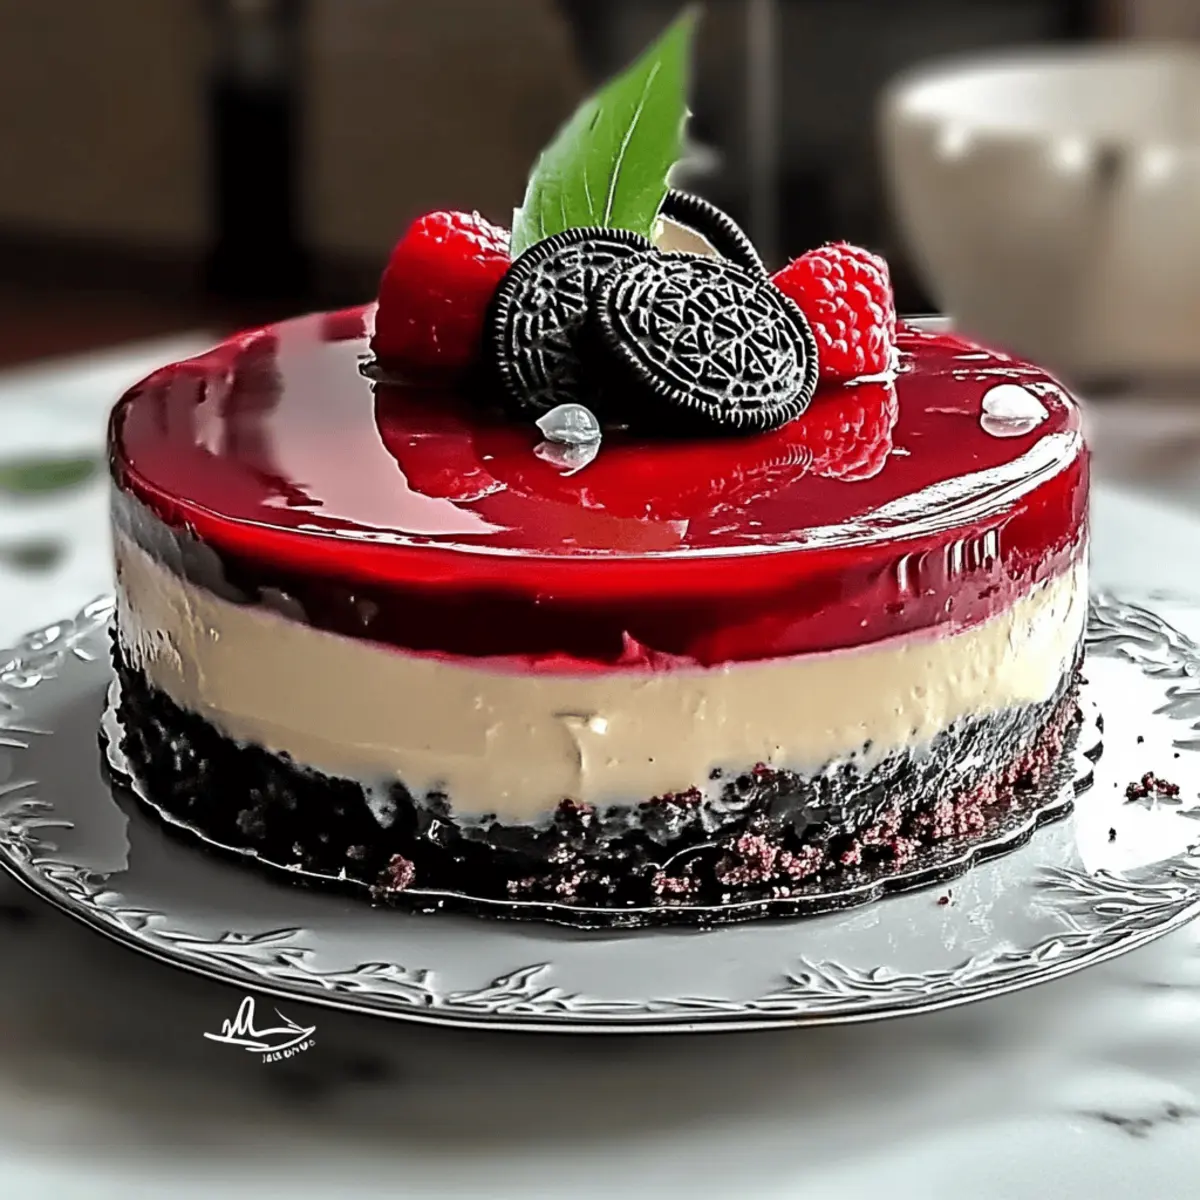
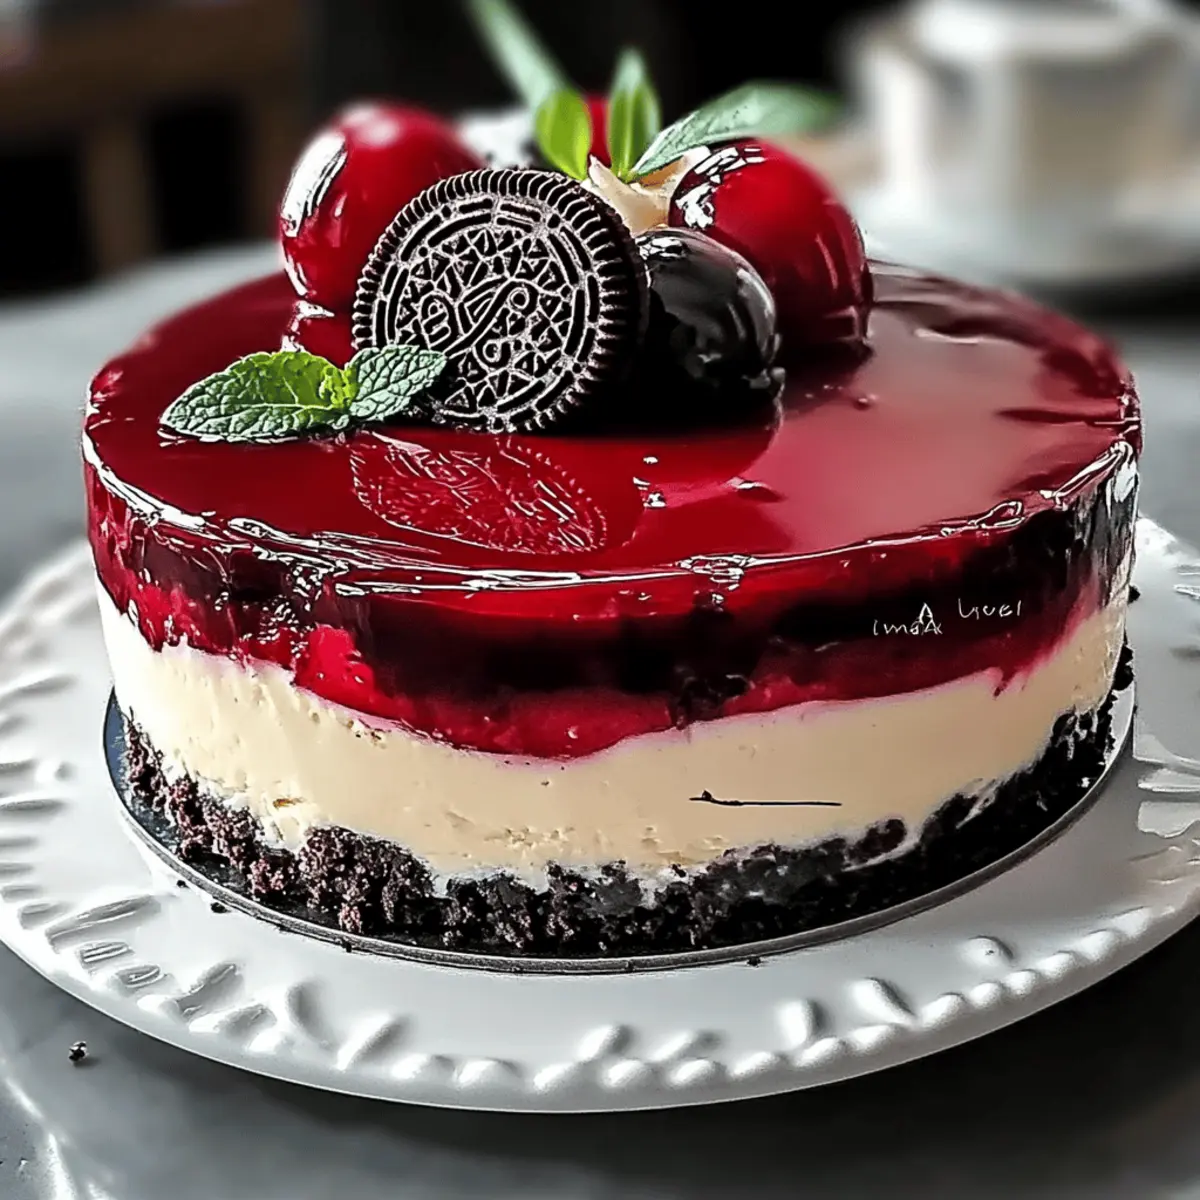
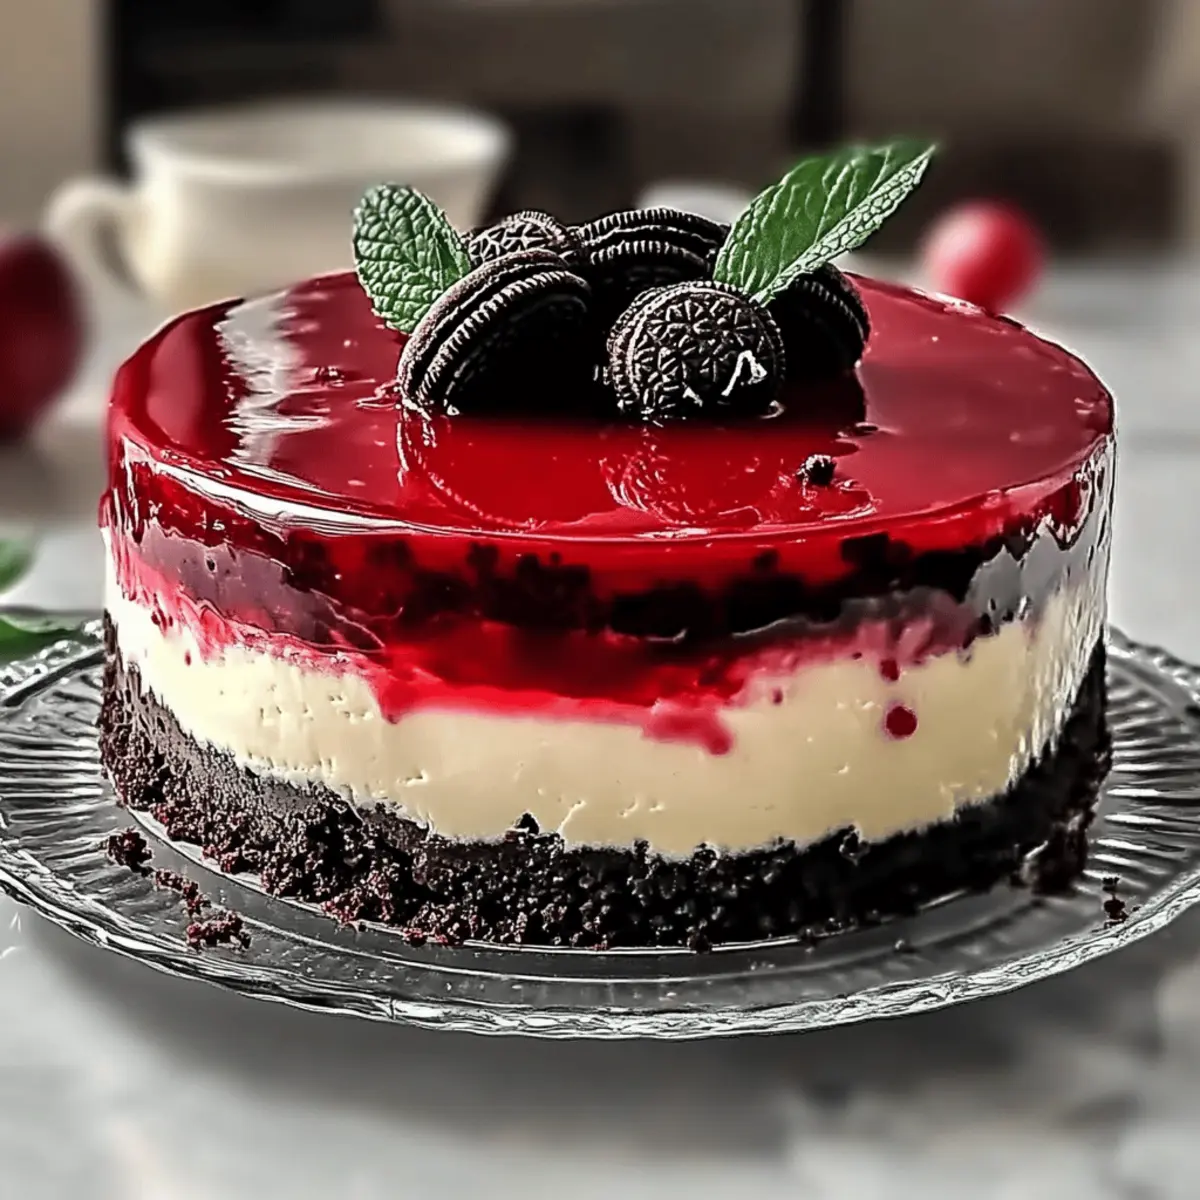
“Can you believe this is gluten-free?” my friend exclaimed, scooping another slice of Red Velvet Cheesecake with a gleeful grin. That moment sparked a wave of excitement within me as I realized the magic of creating a show-stopping dessert that caters to everyone. This irresistible Red Velvet Cheesecake with Oreo filling is not only a feast for the eyes with its striking crimson layers but also a delight to the palate, blending the timeless flavors of red velvet and crunchy Oreos into one divine treat. It’s perfect for gatherings or just an indulgent night in, and the best part? The gluten-free option ensures that no one is left out at the table! Are you ready to impress your loved ones with this stunning dessert? Let’s dive into the details!
Why Is This Cheesecake a Must-Try?
Irresistible Flavor: This Red Velvet Cheesecake combines the classic tangy sweetness of red velvet with a rich Oreo filling, ensuring every bite is a delightful surprise.
Gluten-Free Delight: With an easy swap for gluten-free flour, nobody needs to miss out on this heavenly dessert.
Advertisement
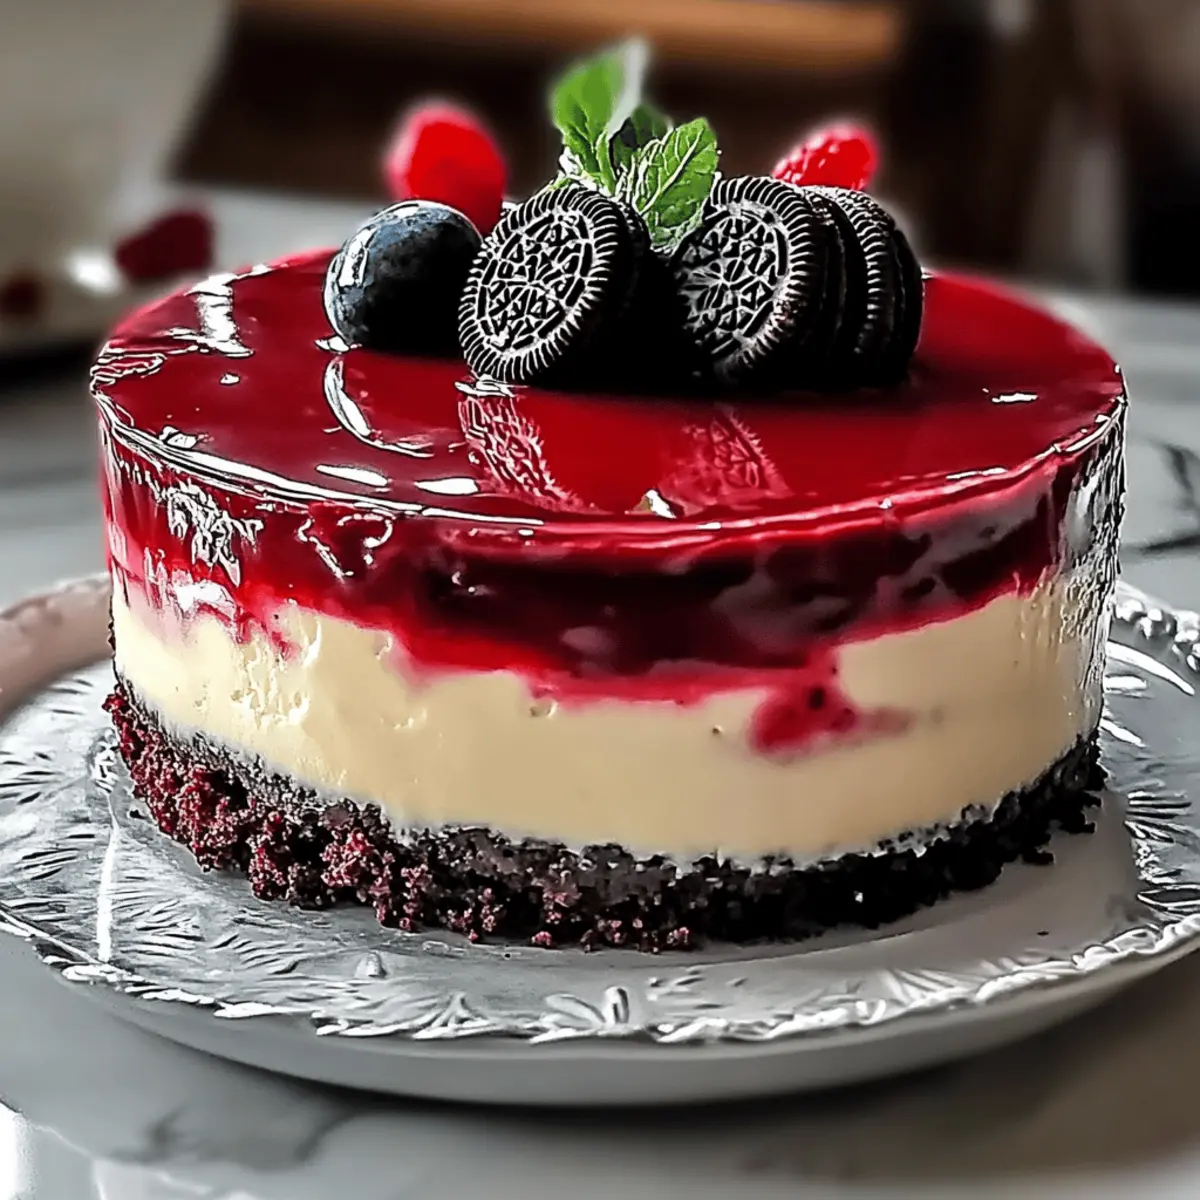
Stunning Presentation: The vibrant red layers topped with smooth ganache and crumbled cake create an impressive dessert that’s sure to wow your guests.
Versatile Treat: Perfect for celebrations, cozy nights, or as a special treat, it’s adaptable to any occasion.
Make-Ahead Friendly: Prepare the cake layers and cheesecake filling in advance; they store beautifully, allowing you to focus on enjoying the moment.
For more scrumptious cheesecake ideas, don’t miss out on our Strawberry Cheesecake Crunch or indulge in a decadent Chocolate Chip Cheesecake for your next get-together!
Red Velvet Cheesecake Ingredients
For the Cake:
• All-Purpose Flour – Provides structure; substitute with a gluten-free flour blend for a gluten-free version.
• Cocoa Powder – Adds chocolate flavor and depth to the cake.
• Salt – Enhances overall flavor and balances sweetness.
• Butter – Contributes richness and moisture; use unsalted for better control over salt levels.
• Granulated Sugar – Sweetens the cake for the perfect texture.
• Sour Cream – Adds delightful tanginess and moisture.
• Vegetable Oil – Keeps the cake moist and tender.
• Vanilla Extract – Enhances flavor and complements other ingredients.
• Eggs – Provide binding and structure; ensure they’re at room temperature for better mixing.
• Red Food Coloring – Gives the cake its iconic red hue.
• Buttermilk – Adds moisture and acidity for a tender crumb.
• Baking Soda & Vinegar – Work together as leavening agents for a light and fluffy cake.
For the Cheesecake Filling:
• Oreos – Crushed Oreos introduce flavor and texture to the cheesecake filling.
• Cream Cheese – The creamy base; opt for full-fat for the best results.
• Cornstarch – Stabilizes the filling to prevent cracking.
• Granulated Sugar – Sweetens the cheesecake filling.
• Heavy Cream – Creates a rich ganache and adds luxurious texture.
• Dark Chocolate Chips – Forms the ganache topping, delivering a rich chocolate flavor.
Step‑by‑Step Instructions for Irresistible Red Velvet Cheesecake with Oreo Delight
Step 1: Preheat and Prepare
Begin by preheating your oven to 350°F (175°C). While waiting, take a 9-inch springform pan and an 8-inch round cake pan, lining them with parchment paper and lightly spraying with non-stick spray to prevent sticking. This is crucial to ensure your Red Velvet Cheesecake comes out beautifully without any hassle.
Step 2: Combine Dry Ingredients
In a large bowl, whisk together 2 cups of all-purpose flour, ½ cup of cocoa powder, and ½ teaspoon of salt until well-blended. This dry mix forms the foundation of your cake, helping to enhance the overall flavor and texture. Set it aside as you prepare the wet ingredients.
Step 3: Cream Wet Ingredients
In a separate mixing bowl, cream 1 cup of unsalted butter and 2 cups of granulated sugar together until fluffy and light, taking about 3–5 minutes. Then, add in 1 cup of sour cream, ½ cup of vegetable oil, 2 teaspoons of vanilla extract, 2 large eggs (at room temperature), and 2 tablespoons of red food coloring. Mix until everything is fully combined, and the mixture boasts a rich, vibrant color.
Step 4: Mix Dry and Wet Ingredients
Gradually incorporate the dry ingredients into the wet mixture, alternating with 1 cup of buttermilk. Start and end with the dry mix, stirring until just combined, making sure not to overmix. Finally, add in 1 teaspoon of baking soda and 1 tablespoon of vinegar, gently folding until the batter is smooth and vibrant—this is your Red Velvet batter, ready to shine.
Step 5: Bake the Cake Layers
Divide the red velvet batter evenly between the prepared springform and round cake pans. Bake in the preheated oven for about 18-20 minutes or until a toothpick inserted in the center comes out clean. Once baked, allow them to cool on wire racks completely before assembling your cheesecake delight.
Step 6: Prepare the Cheesecake Filling
While your cake layers cool, crush about 15 Oreos into fine crumbs. In a mixing bowl, beat 16 oz of cream cheese until smooth. Then, mix in the crushed Oreos, ¾ cup of granulated sugar, 2 tablespoons of cornstarch, ½ cup of sour cream, 1 teaspoon of vanilla extract, and 2 large eggs until the mixture is silky and creamy, folding in a few more Oreo crumbs for added texture.
Step 7: Assemble and Bake the Cheesecake
Pour the creamy cheesecake filling over the cooled red velvet layers in the springform pan. To bake, place the springform pan inside a larger baking dish filled with hot water, creating a water bath. Bake in a 300°F (150°C) oven for 90 minutes. When done, turn off the oven and let the cheesecake cool inside for an hour to help prevent cracks.
Step 8: Prepare the Ganache
In a microwave-safe bowl, combine 1 cup of heavy cream and 1 cup of dark chocolate chips. Heat in the microwave in 30-second intervals, stirring until melted and smooth. This luxurious ganache will be the finishing touch for your Red Velvet Cheesecake, providing a decadent chocolate layer.
Step 9: Garnish and Serve
Once the ganache is slightly cooled, pour it over the chilled cheesecake, spreading it evenly. For an eye-catching finish, sprinkle crumbled red velvet cake on top and add dollops of cream cheese frosting. Chill the assembled cheesecake for at least 4 hours or preferably overnight before slicing to let the flavors meld beautifully.
What to Serve with Irresistible Red Velvet Cheesecake with Oreo Delight
Creating the perfect occasion around this stunning dessert will elevate your dining experience to new heights.
-
Coffee Pairing: A smooth cup of coffee complements the sweetness of the cheesecake and enhances its rich flavors.
-
Fresh Berries: Brightly colored strawberries or raspberries add a refreshing contrast that balances the richness of the cheesecake. Their tartness elevates every decadent bite.
-
Vanilla Ice Cream: The creamy vanilla ice cream melts beautifully against the cheesecake and adds a delightful chill that’s perfect for warm evenings.
-
Chocolate Sauce Drizzle: A drizzle of warm chocolate sauce creates an indulgent experience that chocolate lovers will adore, adding an extra layer of deliciousness.
-
Sparkling Wine: A light sparkling wine or prosecco matches the dessert’s light and fluffy textures, enhancing the overall celebration of flavors.
-
Nutty Shortbread Cookies: Serve alongside buttery shortbread cookies to add a satisfying crunch and nutty taste, perfectly contrasting the creamy layers of the cheesecake.
-
Whipped Cream Topping: A dollop of whipped cream brings lightness while enhancing the cheesecake’s textures with a soft, airy quality.
-
Hazelnut Liqueur: For adult gatherings, this liqueur’s nutty flavors can play off both the chocolate and Oreo elements nicely while adding a festive touch.
-
Chocolate-Covered Strawberries: These can be a fun and elegant addition, combining the flavors of chocolate and fruit that echo those in the cheesecake.
-
Milkshake Blend: For a fun twist, blend up a vanilla or chocolate shake to accompany this dessert, allowing for a nostalgic and indulgent touch at the table.
Storage Tips for Red Velvet Cheesecake
Fridge: Store your Red Velvet Cheesecake in the refrigerator for up to 5 days, covered with plastic wrap or in an airtight container to retain moisture and freshness.
Freezer: For longer storage, you can freeze it for up to 3 months. Wrap the cheesecake tightly in plastic wrap and then place it in a freezer-safe container.
Thawing: When ready to enjoy, simply transfer the cheesecake to the refrigerator and let it thaw overnight for the best texture and flavor.
Reheating: If you’re serving a slice straight from the fridge, allow it to sit at room temperature for about 15-20 minutes before indulging for a more delightful flavor experience.
Red Velvet Cheesecake Variations
Get ready to explore delightful twists that can elevate your Red Velvet Cheesecake to new heights of flavor and fun!
-
Gluten-Free Option: Substitute all-purpose flour with a gluten-free blend to make this dessert accessible to gluten-sensitive friends.
-
Chocolate Twist: Add 1/2 cup of mini chocolate chips to the cheesecake filling for an extra chocolatey surprise.
-
Nutty Delight: Fold in 1/2 cup of crushed pecans or walnuts into the cheesecake filling to introduce a delicious crunch and warmth.
-
Fruit Layers: Add a layer of fresh raspberries or strawberries between the red velvet and cheesecake layers for a vibrant and fruity contrast.
-
Minty Refresh: Stir in 1 teaspoon of peppermint extract to the cheesecake for a refreshing mint twist, perfect around the holidays.
-
Spicy Heat: For those who enjoy a kick, sprinkle in a pinch of cayenne pepper or cinnamon into the cheesecake filling for a spicy, unexpected flavor.
-
Dairy-Free Delight: Use dairy-free cream cheese and coconut cream for the ganache, making this indulgent treat suitable for vegan guests.
-
Alternative Oreos: Swap regular Oreos for chocolate or mint-flavored ones to give your cheesecake a whole new identity. Imagine the rich chocolate or cool mint mingling with that creamy cheesecake!
No matter how you customize this show-stopping dessert, each variation invites delicious creativity. And while you’re at it, don’t forget to check out our Cherry Pistachio Cheesecake for another flavor-packed treat that’s sure to impress your guests!
Expert Tips for Red Velvet Cheesecake
-
Room Temperature Ingredients: Ensure all ingredients, especially cream cheese and eggs, are at room temperature. This helps achieve a smooth and well-mixed batter for your Red Velvet Cheesecake.
-
Avoid Overmixing: Mix until just combined after adding eggs to prevent incorporating too much air, which can lead to cracks in the cheesecake.
-
Water Bath Baking: Always bake your cheesecake in a water bath. This helps create a stable baking environment, preventing drying out and cracks.
-
Cool Gradually: Let the cheesecake cool in the oven after baking. This gradual cooling reduces the chance of cracks forming on the surface.
-
Chill for Best Flavor: For optimal texture and flavor blending, refrigerate the cheesecake overnight. It allows the flavors to meld beautifully!
Make Ahead Options
These Red Velvet Cheesecake with Oreo Filling is perfect for busy home cooks looking to save time! You can prepare the red velvet cake layers and refrigerate them for up to 3 days in an airtight container. Meanwhile, the cheesecake filling can be made 24 hours in advance; simply store it in the fridge as well. When ready to bake, assemble by pouring the cheesecake filling over the cooled layers, then follow the baking and cooling instructions. To maintain the cheesecake’s quality, ensure it is tightly wrapped to prevent drying out, and let it chill for at least 4 hours, or preferably overnight, before serving for the best flavor and texture. Enjoy the simplicity of a show-stopping dessert with minimal day-of effort!
Red Velvet Cheesecake with Oreo Filling Recipe FAQs
How do I select the right ingredients for my Red Velvet Cheesecake?
When preparing your Red Velvet Cheesecake, ensure your ingredients are fresh. Look for vibrant red food coloring, and when selecting cocoa powder, choose high-quality Dutch-processed for a richer flavor. For the Oreos, opt for classic chocolate sandwich cookies as their flavor pairs perfectly with the creamy filling.
How should I store my Red Velvet Cheesecake?
You can store your Red Velvet Cheesecake in the refrigerator for up to 5 days. Make sure to cover it with plastic wrap or place it in an airtight container to keep it fresh. If you want to keep it longer, you can freeze the cheesecake for up to 3 months; just remember to wrap it tightly in plastic wrap, followed by aluminum foil to prevent freezer burn.
Can I freeze Red Velvet Cheesecake, and how?
Absolutely! To freeze your Red Velvet Cheesecake, first, ensure it has cooled completely. Wrap it tightly in plastic wrap, then place it in a freezer-safe container or a heavy-duty freezer bag to avoid freezer burn. When you’re ready to enjoy, transfer it to the refrigerator and let it thaw overnight. This helps maintain its creamy texture and flavor.
What should I do if my cheesecake cracks while baking?
Don’t worry! If your Red Velvet Cheesecake cracks, it’s usually a sign of overmixing or too much air incorporated into the filling. Next time, mix the filling until just combined after adding the eggs, and always bake in a water bath to regulate temperature. If you already have cracks, top with chocolate ganache or crumbled red velvet cake to disguise them beautifully!
Are there any dietary considerations I should keep in mind?
Yes! For those with gluten sensitivities, you can easily make this Red Velvet Cheesecake gluten-free by swapping all-purpose flour with a gluten-free flour blend. Additionally, if you’re making this for someone with dairy allergies, look for dairy-free cream cheese and non-dairy heavy cream alternatives for the cheesecake filling.
What if I want to make this cheesecake ahead of time?
Making your Red Velvet Cheesecake ahead is a fabulous idea! You can prepare the cake layers and the cheesecake filling up to 24 hours in advance. Just store each part separately in the fridge. When you’re ready to assemble, allow the layers to come to room temperature before building your delectable dessert masterpiece!
Decadent Red Velvet Cheesecake that Everyone Will Love
Ingredients
Equipment
Method
- Preheat your oven to 350°F (175°C) and prepare a 9-inch springform pan and an 8-inch round cake pan by lining them with parchment paper and spraying with non-stick spray.
- In a large bowl, whisk together 2 cups of all-purpose flour, ½ cup of cocoa powder, and ½ teaspoon of salt until well-blended.
- Cream 1 cup of unsalted butter and 2 cups of granulated sugar together until fluffy and light, then add in 1 cup of sour cream, ½ cup of vegetable oil, 2 teaspoons of vanilla extract, 2 large eggs (at room temperature), and 2 tablespoons of red food coloring until fully combined.
- Gradually incorporate the dry ingredients into the wet mixture, alternately adding 1 cup of buttermilk, stirring until just combined.
- Divide the batter between the prepared pans. Bake for 18-20 minutes or until a toothpick inserted comes out clean.
- Crush about 15 Oreos into crumbs and beat 16 oz of cream cheese until smooth. Mix in the crushed Oreos, ¾ cup of sugar, 2 tablespoons of cornstarch, ½ cup of sour cream, 1 teaspoon of vanilla extract, and 2 large eggs until creamy.
- Pour the cheesecake filling over the cooled red velvet layers in the springform pan. Bake in a water bath at 300°F (150°C) for 90 minutes, then cool in the oven for an additional hour.
- For the ganache, combine 1 cup of heavy cream and 1 cup of dark chocolate chips in a microwave-safe bowl; heat until melted and smooth.
- Once the ganache is cooled, pour it over the cheesecake and garnish with crumbled red velvet cake and cream cheese frosting. Chill for at least 4 hours before serving.