
Advertisement
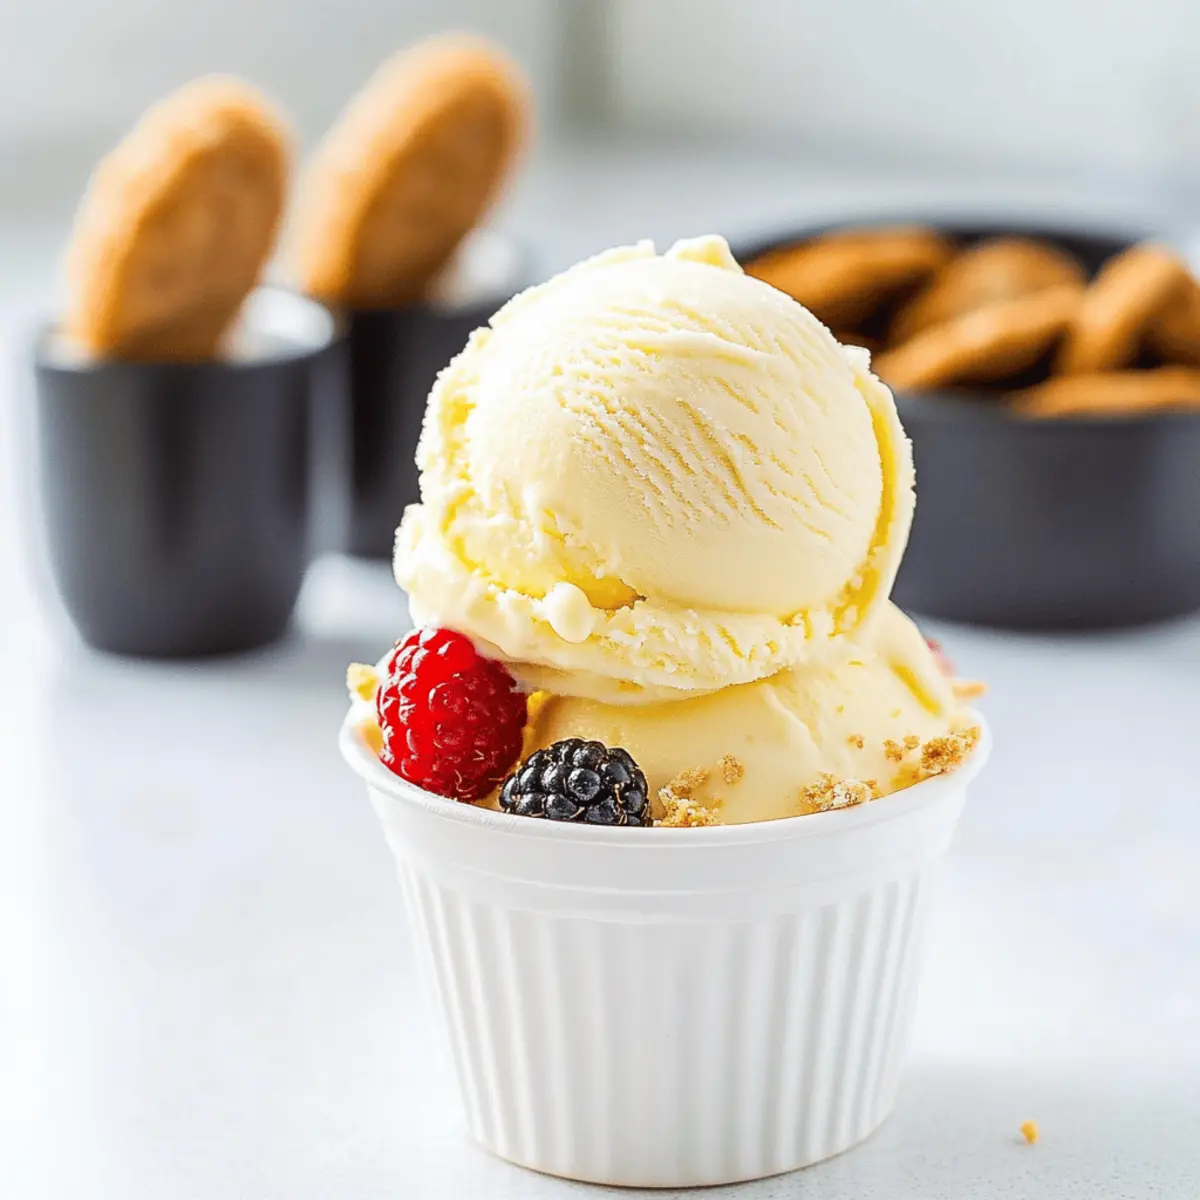
“Isn’t it funny how a scoop of ice cream can instantly transport you back to sun-soaked summers?” There’s something magical about homemade creamy old-fashioned vanilla ice cream that evokes memories of lazy afternoons and laughter-filled gatherings. This egg-free recipe is not only refreshingly easy to whip up but also puts you in the driver’s seat of creativity, allowing you to customize it with your favorite tasty mix-ins. From creamy chocolate chunks to zesty fruit flavors, the possibilities are endless! Plus, you can cater to dietary needs by opting for coconut cream for a delicious dairy-free alternative. So, why settle for store-bought when you can create this nostalgic delight in the comfort of your own kitchen? What unique twist will you give your ice cream today?

Why Choose This Ice Cream Recipe?
Simplicity at Its Best: Making creamy old-fashioned vanilla ice cream is an easy, enjoyable process that anyone can master!
Endless Customization: Add your favorite mix-ins like chocolate chips or fresh fruit to make each batch uniquely yours.
Advertisement
Diet-Friendly Options: Enjoy a delightful dairy-free version by substituting coconut cream, ensuring everyone can indulge.
Crowd-Pleasing Dessert: This nostalgic treat is perfect for family gatherings, BBQs, or cozy nights in, offering something for everyone.
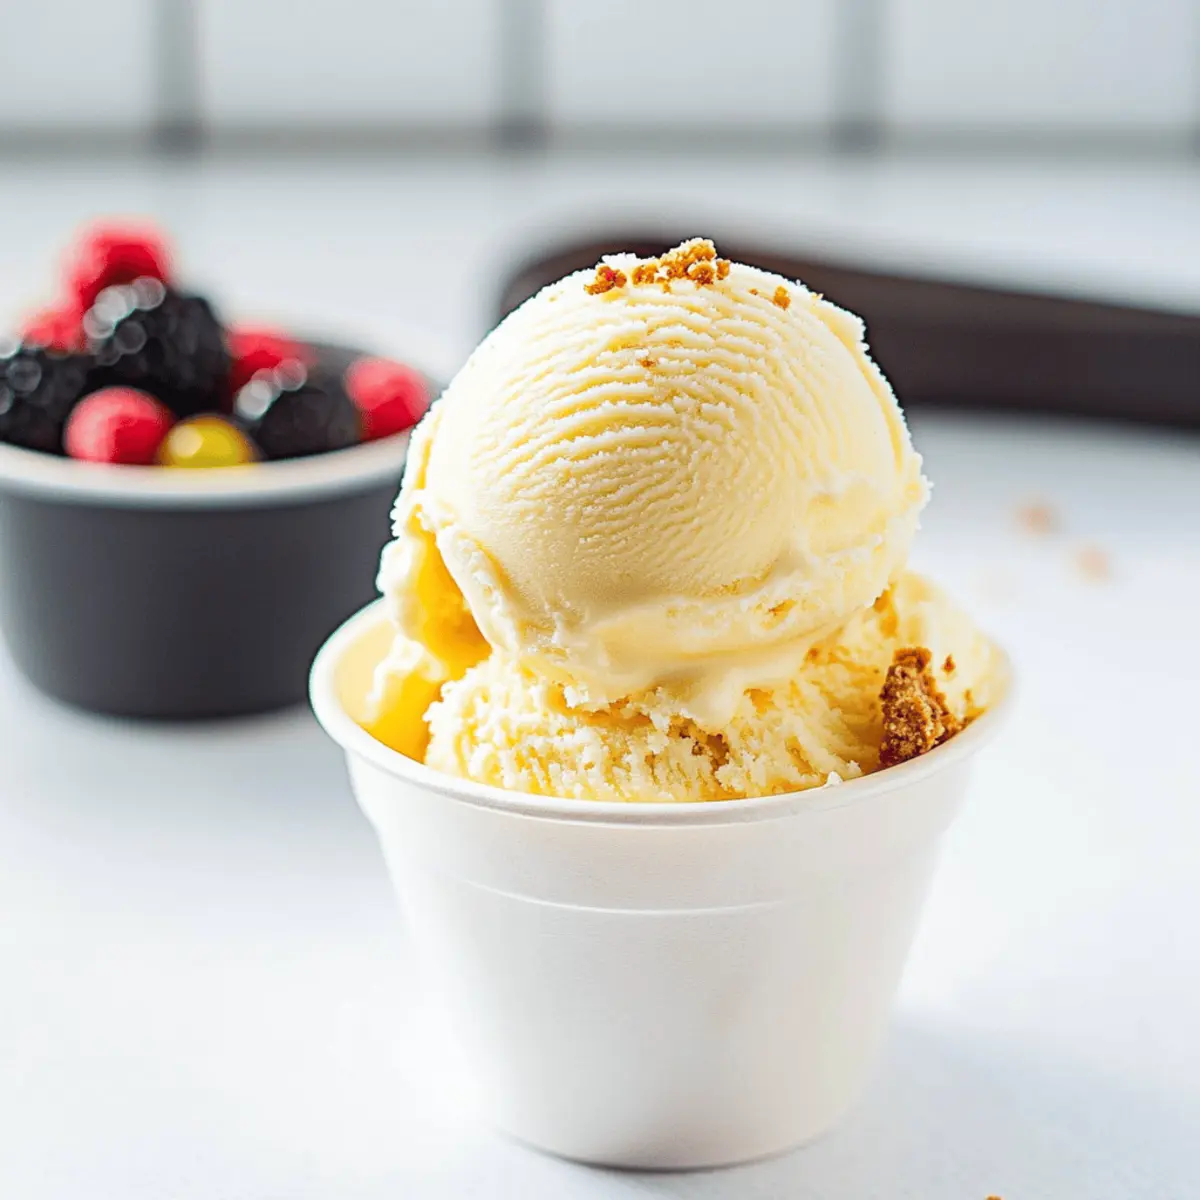
Expertly Crafted Flavor: Infused with real vanilla beans, each scoop bursts with authentic flavor that will impress all ice cream lovers!
Transform your dessert game and embrace your creativity in the kitchen with this delightful treat! Looking for more easy dessert ideas? Try our Crockpot Chicken Nachos for a delicious accompaniment.
Creamy Old-Fashioned Vanilla Ice Cream Ingredients
• Dive into homemade goodness!
For the Ice Cream Base
- Heavy Whipping Cream – Provides the significantly smooth texture of classic ice cream; you can swap it with coconut cream for a dairy-free delight.
- Sugar – Sweetens the mix harmoniously; make sure it’s completely dissolved to sidestep icy crystals.
- Vanilla Bean – Adds that authentic flavor with real seeds; opt for fresh, shiny pods for the best taste.
- Pure Vanilla Extract – Enhances the flavor, bringing warmth and depth; always choose a high-quality extract for the best results.
Optional Mix-Ins
- Chocolate Chunks or Cocoa Powder – Infuse a delightful chocolate flavor into the base; a great twist for chocolate lovers!
- Fresh Fruits – Stir in ripe berries or pureed fruit for a refreshing touch; perfect for a summery twist.
- Nuts (e.g., almonds, pecans) – Add for a crunchy texture complementing the creamy ice cream; experiment with your favorites!
- Caramel Sauce – Drizzle in warm caramel before freezing for a sweet surprise; a heavenly addition for caramel lovers.
With these ingredients, you’re well on your way to creating dreamy creamy old-fashioned vanilla ice cream that will evoke sweet nostalgia!
Step‑by‑Step Instructions for Creamy Old-Fashioned Vanilla Ice Cream
Step 1: Whisk the Base
In a large mixing bowl, add heavy whipping cream and sugar. Using a hand whisk or electric mixer, blend the mixture on medium speed until the sugar is fully dissolved—about 3-5 minutes. You’ll know it’s ready when the mixture is smooth and slightly thickened.
Step 2: Add Vanilla Extract
Once the sugar is incorporated, gently stir in the pure vanilla extract. This rich addition enhances the flavor of your creamy old-fashioned vanilla ice cream. Make sure to mix it thoroughly, ensuring the vanilla is evenly distributed throughout your base for a delightful taste in every scoop.
Step 3: Prepare Vanilla Bean
Next, slice the vanilla bean pod lengthwise. Carefully scrape the seeds into the cream mixture using the back of a knife. Don’t forget to add the scraped pod as well—this imparts even more flavor as the mixture flavors, ensuring a rich, aromatic profile in your ice cream.
Step 4: Chill the Mixture
Cover the bowl with plastic wrap and place it in the refrigerator. Allow the mixture to chill for at least 1 hour, though overnight is best for deeper flavor infusion. This chilling step sets the stage for your creamy old-fashioned vanilla ice cream, making it ready for the churn.
Step 5: Churn the Ice Cream
After chilling, remove the vanilla pod from the mixture. Pour the creamy base into an ice cream maker and churn according to the manufacturer’s instructions, typically for about 20-25 minutes. The mixture should double in volume and thicken to a soft-serve consistency, indicating it’s ready for the next stage.
Step 6: Freeze to Firm Up
Transfer the churned ice cream to a freezer-safe container, smoothing the top with a spatula. Seal tightly with a lid or cover with plastic wrap to prevent ice crystals. Freeze for a minimum of 4 hours, during which your creamy old-fashioned vanilla ice cream will solidify and develop a delightful texture ready for serving.
What to Serve with Creamy Old-Fashioned Vanilla Ice Cream?
Indulge in the joy of creating the perfect meal around your homemade ice cream, where flavors and textures dance together like old friends.
-
Warm Brownies: The soft, fudgy interior of brownies complements the smoothness of ice cream, creating a delightful contrast that’s hard to resist. Serve them warm with a scoop of ice cream for that irresistible melty experience.
-
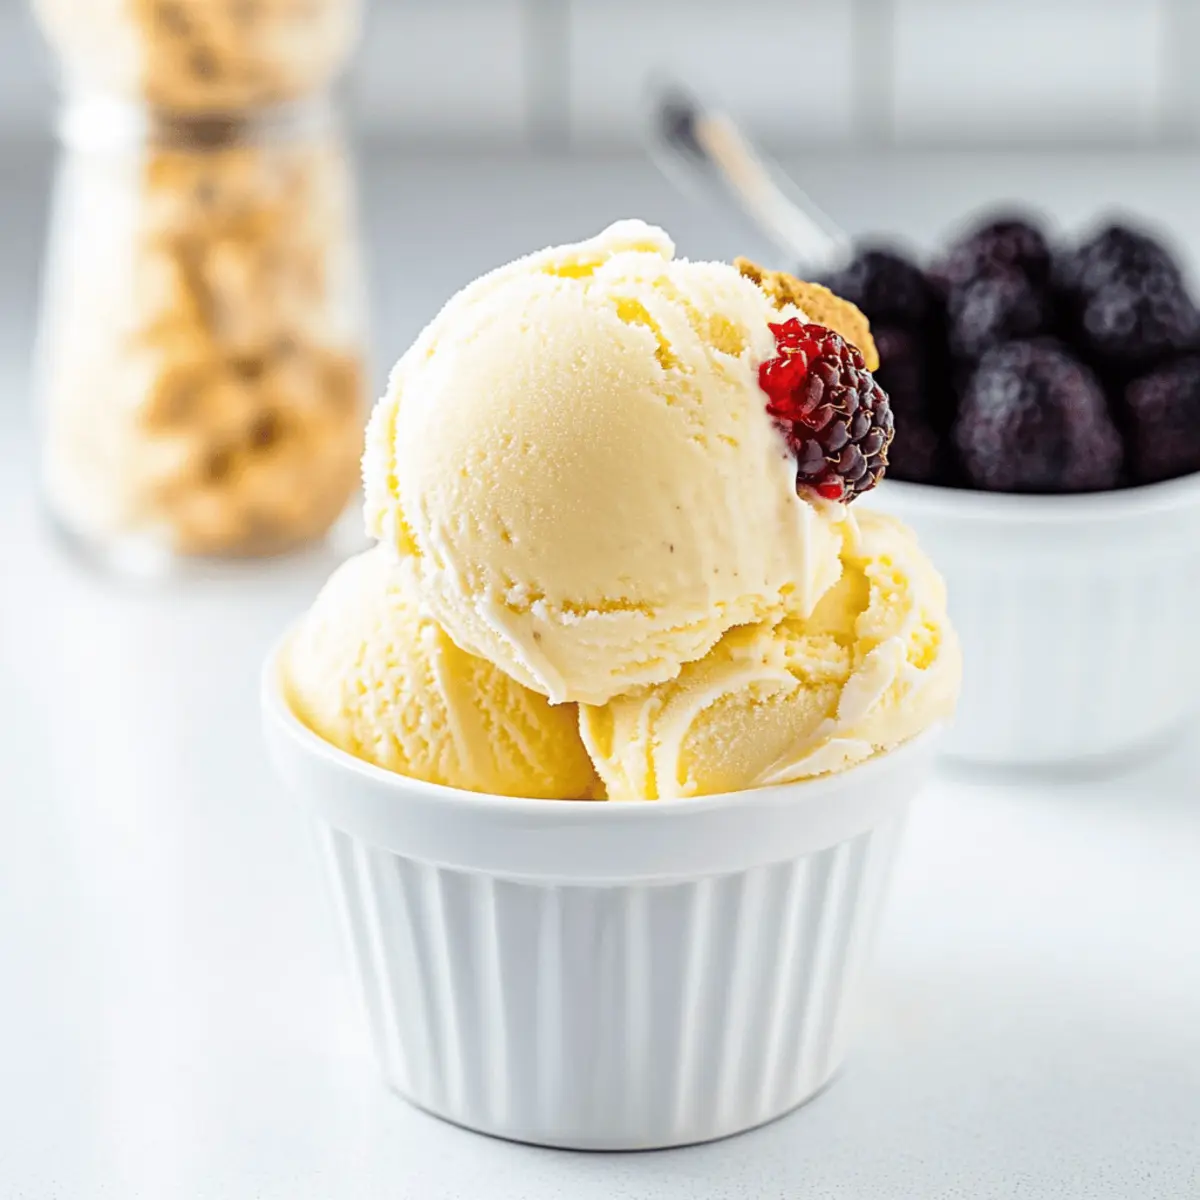
Fresh Berries: Juicy strawberries, raspberries, or blueberries cut through the creaminess with their natural sweetness and slight tartness, offering a refreshing bite alongside your dessert.
-
Chocolate Syrup: Drizzling rich chocolate syrup over the ice cream provides a classic and indulgent finish, creating a beautiful contrast of colors and flavors that are near-legendary!
-
Caramel Sauce: The silky sweetness of caramel harmonizes beautifully with the vanilla, making every bite a sweet dream. Add a touch of sea salt to elevate the flavor further.
-
Homemade Waffles: Light and crispy waffles serve as the perfect canvas for creamy old-fashioned vanilla ice cream, bringing an airy texture to the dish that feels like a treat.
-
Nuts (Almonds or Pecans): Chopped nuts add a satisfying crunch that creates an exciting contrast against the creamy softness of the ice cream, enhancing flavor dynamics.
-
Mint Leaves: A sprinkle of fresh mint leaves not only makes for a beautiful garnish but also brings a refreshing zest that elevates the entire dessert experience.
Craft your ice cream dessert masterpiece and watch as everyone’s eyes light up with joy!
Creamy Old-Fashioned Vanilla Ice Cream Variations
Feel free to get creative with this classic ice cream recipe and customize it to suit your taste buds!
-
Dairy-Free Delight: Substitute heavy whipping cream with coconut cream for a deliciously rich and dairy-free version.
-
Chocolate Indulgence: Add cocoa powder or melted chocolate for an irresistibly rich chocolate flavor that’s perfect for chocolate lovers. You might even mix in chocolate chips for an extra crunch!
-
Fruity Freshness: Stir in fresh berries or pureed fruits like strawberries or mango for a refreshing, summery twist. Nothing says fresh like a scoop bursting with real fruit flavor!
-
Nutty Crunch: Toss in your favorite chopped nuts, such as almonds or pistachios, to add a delightful crunch to every creamy bite. This combination adds texture and enhances the overall flavor.
-
Caramel Swirl: Drizzle warm caramel sauce into the mixture just before freezing for a sweet surprise that complements the vanilla beautifully. It’s a heavenly addition that caramel lovers will adore!
-
Spicy Surprise: For a kick, consider adding a pinch of cinnamon or even cayenne pepper to the mixture. It brings a surprising warmth that elevates the ice cream experience.
-
Herbal Infusion: Infuse the base with fresh mint or basil before chilling for a refreshing twist that takes your ice cream to the next level. It’s the perfect way to impress your guests!
Exploring these variations allows you to tailor every scoop just the way you like it! If you’re also searching for easy, flavorful dishes to serve alongside your dessert, check out our Savory Slow Cooker Peanut Chicken Recipe or indulge your taste buds with White Chocolate Biscoff Swirl Cheesecake.
How to Store and Freeze Creamy Old-Fashioned Vanilla Ice Cream
-
Fridge: Enjoy your creamy old-fashioned vanilla ice cream in the fridge for up to 3 days; however, it’s best served after freezing to maintain its delightful consistency.
-
Freezer: Store in an airtight, freezer-safe container for up to 4 weeks. Press plastic wrap directly onto the surface to prevent ice crystals from forming.
-
Reheating: If your ice cream is too hard, let it sit at room temperature for about 5-10 minutes before scooping. This will make serving easier and enhance the flavor experience.
-
Make-Ahead Tips: For improved flavor infusion, make the ice cream mixture 24 hours in advance before churning. Whisk gently before using to restore texture.
Expert Tips for Creamy Old-Fashioned Vanilla Ice Cream
-
Chill Your Ingredients: Ensure the heavy whipping cream is cold before mixing. This helps achieve the perfect creamy texture in your vanilla ice cream.
-
Sugar Dissolution: Make sure the sugar is completely dissolved in the cream mixture to avoid iciness. An electric mixer can help speed up this process.
-
Pod in the Mix: Don’t discard the vanilla bean pod after scraping—the pod adds depth of flavor while the mixture chills.
-
Wide Freezing Container: Use a wide, shallow container for freezing. This allows for quicker freezing and a smoother texture in your creamy old-fashioned vanilla ice cream.
-
Room Temperature Before Serving: Let the ice cream sit at room temperature for a few minutes before scooping. This will make serving easier and enhance the flavor, ensuring a delightful experience!
Make Ahead Options
These creamy old-fashioned vanilla ice cream recipes are perfect for busy home cooks looking to save time! You can prepare the ice cream base up to 24 hours in advance by whisking together the heavy whipping cream, sugar, and vanilla before refrigerating. This allows the flavors to infuse and results in a richer taste. When you’re ready to serve, simply churn the mixture in your ice cream maker and freeze until firm, typically 4 hours. To maintain the creamy texture, store the ice cream in an airtight container with plastic wrap pressed directly on the surface to prevent ice crystals. Enjoy the convenience of having homemade ice cream ready whenever you want a delightful treat!
Creamy Old-Fashioned Vanilla Ice Cream Recipe FAQs
What type of vanilla beans should I use?
For the best flavor, look for plump, shiny vanilla beans. Grade B vanilla beans are more flavorful and ideal for ice cream, as they are often used for extraction and infusion.
How long can I store the ice cream in the freezer?
You can store your creamy old-fashioned vanilla ice cream in an airtight, freezer-safe container for up to 4 weeks. To maintain its creamy texture, press a piece of plastic wrap directly onto the surface before sealing the container.
Can I make the ice cream dairy-free?
Absolutely! Simply substitute heavy whipping cream with full-fat coconut cream for a delicious dairy-free version. The coconut cream provides a rich base while still allowing for the same delightful flavor and texture.
What should I do if my ice cream is icy or hard?
If your ice cream turns out icy, it’s likely due to undissolved sugar or too much air during the churning process. Make sure the sugar is fully dissolved before churning, and avoid overchurning. If it’s too hard to scoop, let it sit at room temperature for about 5-10 minutes before serving for a more enjoyable texture.
How can I customize my ice cream with mix-ins?
You can add various mix-ins after the churning stage for the best distribution without affecting the texture. Gently fold in crushed cookies, fresh fruit, or chocolate chunks during the last few minutes of churning. This way, you’ll enjoy a delicious combination of flavors without compromising the creamy texture of your ice cream.
Can I re-churn ice cream that wasn’t successful?
Yes! If your ice cream became too hard in the freezer or didn’t churn well, you can let it soften at room temperature until scoopable, then re-whisk or churn it briefly to restore texture before refreezing. This can help salvage the final product, ensuring a delightful treat!
Creamy Old-Fashioned Vanilla Ice Cream for Sweet Nostalgia
Ingredients
Equipment
Method
- In a large mixing bowl, add heavy whipping cream and sugar. Blend the mixture on medium speed until the sugar is fully dissolved—about 3-5 minutes.
- Gently stir in the pure vanilla extract after incorporating the sugar.
- Slice the vanilla bean pod lengthwise and scrape seeds into the cream mixture, adding the scraped pod as well.
- Cover the bowl and chill the mixture in the refrigerator for at least 1 hour, preferably overnight.
- Remove the vanilla pod and pour the mixture into an ice cream maker. Churn according to the manufacturer's instructions, typically for about 20-25 minutes.
- Transfer the churned ice cream to a freezer-safe container, smoothing the top and sealing tightly. Freeze for a minimum of 4 hours.


