
Advertisement
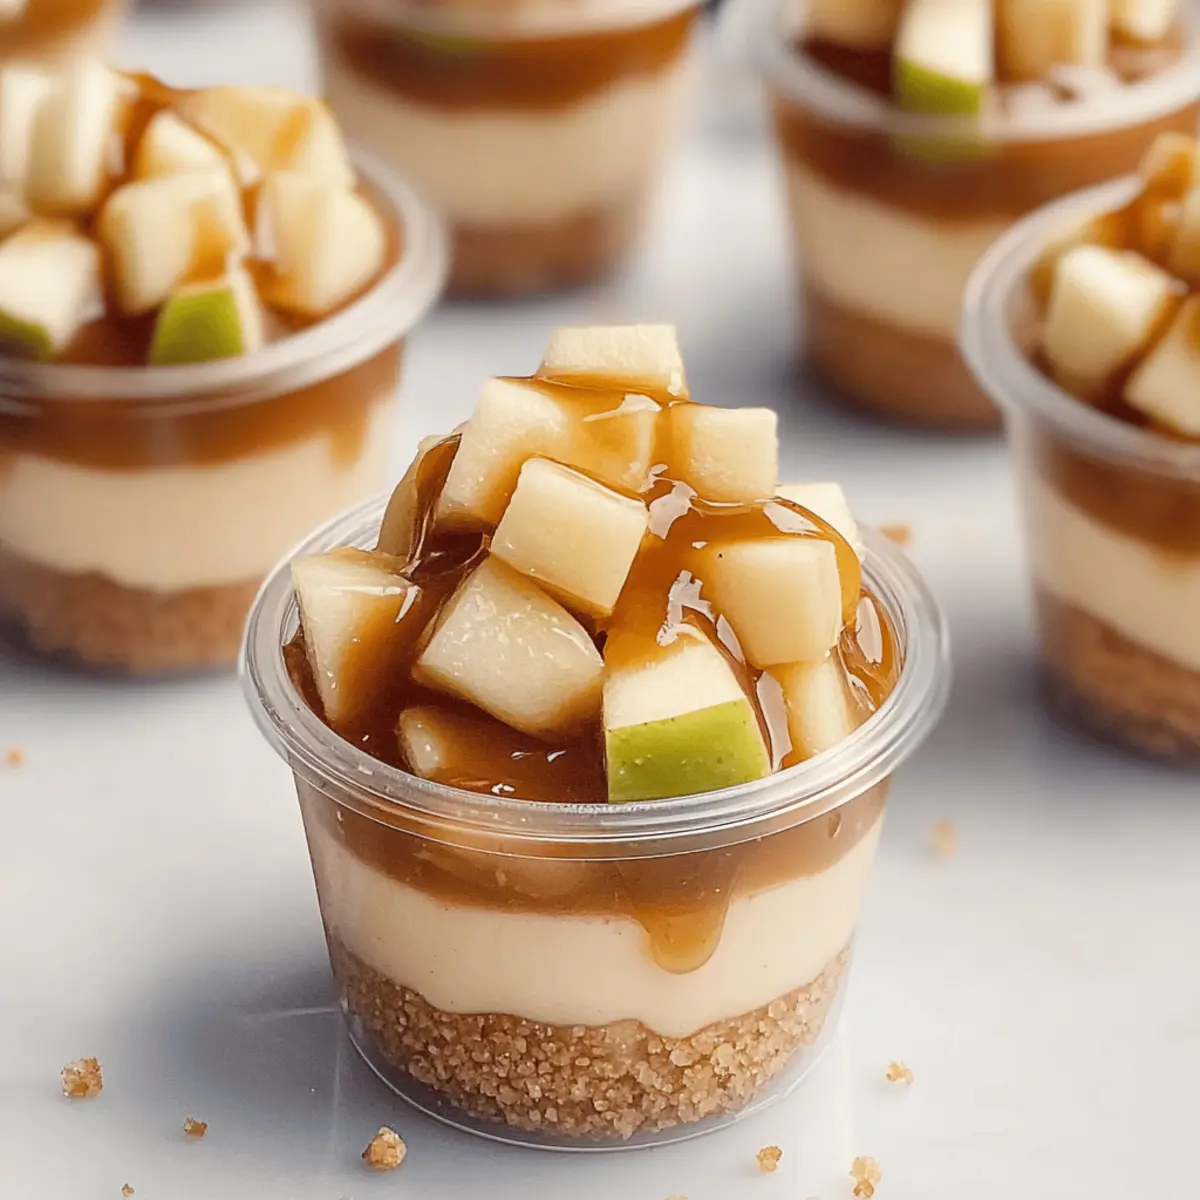
As I walked through a local market recently, the crisp scent of fall seemed to float through the air, beckoning me to explore seasonal delights. Among the bounty, the shiny Granny Smith apples caught my eye, their tartness promising a sweet contrast when paired with warm caramel. That’s how I stumbled upon the inspiration for these Mini Caramel Apple Dessert Cups. Not only are these delightful layers of creamy pudding and crunchy crust a true crowd-pleaser, but they also come together effortlessly in under 30 minutes. They’re an ideal treat for autumn gatherings or simply to indulge yourself on a cozy evening. Ready to bring a touch of fall into your kitchen? Let’s get started!

Why are these Caramel Apple Dessert Cups special?
Irresistible layers of flavor: Each cup combines tart Granny Smith apples with sweet caramel and creamy vanilla pudding for a delightful taste experience.
Effortless and quick: Ready in under 30 minutes, these dessert cups are perfect for busy weeknight indulgence or last-minute gatherings.
Versatile options: Easily customize to fit dietary needs with gluten-free, nut-free, and dairy-free substitutions available.
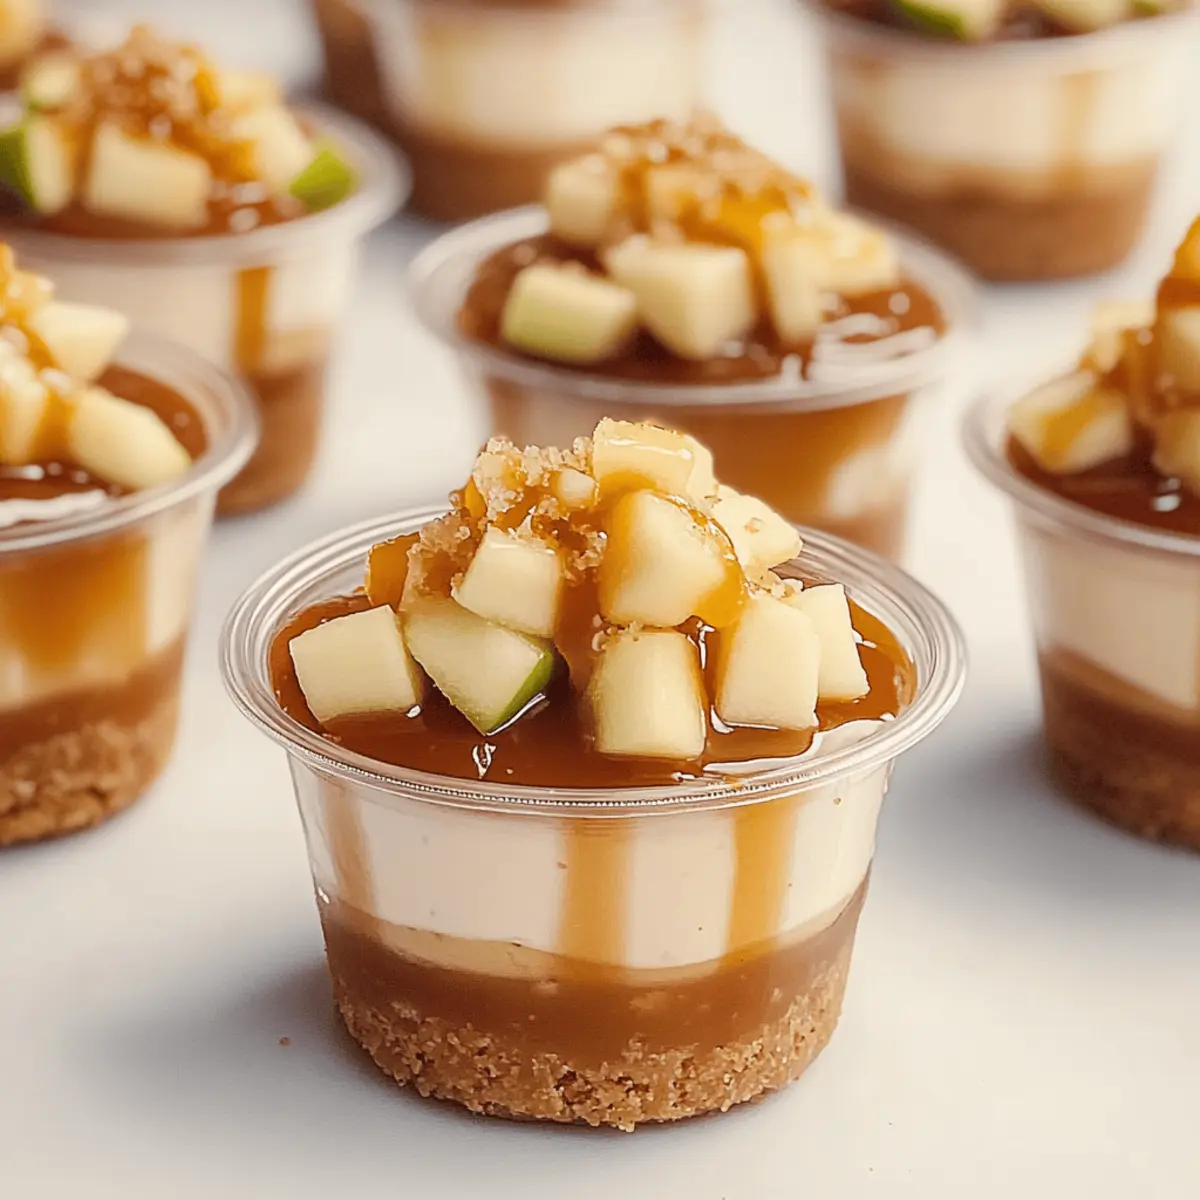
Stunning presentation: With their beautiful layers and drizzled caramel, these cups are sure to impress guests at any fall gathering.
Elevate your dessert game by pairing these mini cups with a scoop of creamy ice cream or a rich Orange Creamsicle Mini for a contrasting flavor!
Mini Caramel Apple Dessert Cups Ingredients
• Perfect for delightful autumn treats!
Advertisement
For the Apple Filling
- Granny Smith apples – Tartness balances caramel sweetness; look for firm, blemish-free apples for the best flavor.
- Light brown sugar – Adds a rich, molasses flavor to enhance the apple mixture; can substitute with granulated sugar for a lighter taste.
- Salted butter – Provides creaminess to the apple filling; use unsalted butter with a pinch of salt if preferred.
- Ground cinnamon – Infuses warmth and a cozy aroma; feel free to replace it with nutmeg or apple pie spice for an alternative flavor.
For the Crust
- Crushed vanilla wafers – Offers a sweet, crunchy base for the dessert cups; substitute with Graham crackers for a nut-free option.
- Salted butter – Binds the crushed wafers together and adds richness; melted for easy mixing.
For the Creamy Layer
- Instant vanilla pudding mix – Creates a smooth texture in the dessert; try using a sugar-free mix for a lower-calorie option.
- Cold whole milk – Ensures a creamy consistency for the pudding; use almond or coconut milk to make it dairy-free.
- Cold heavy whipping cream – Lightness is achieved by whipping it before folding into the pudding; consider dairy-free whipped topping as an alternative.
For the Caramel Drizzle
- Salted caramel sauce – Elevates the dessert with sweet and salty notes; make homemade caramel for that gourmet touch.
- Extra caramel sauce – Used for generous drizzling on top; adds visual appeal and enhances flavor.
Embrace the delightful taste of these Mini Caramel Apple Dessert Cups that are sure to become a favorite recipe in your autumn repertoire!
Step‑by‑Step Instructions for Mini Caramel Apple Dessert Cups
Step 1: Mix Apple Filling
In a large bowl, combine 3 cups of diced Granny Smith apples, 1/2 cup of light brown sugar, 3 tablespoons of salted butter, and 1 teaspoon of ground cinnamon. Stir well until the apples are evenly coated and the sugars dissolve slightly, allowing the mixture to sit for about 10 minutes. This resting period lets the flavors meld beautifully, enhancing the tartness with sweetness in your Mini Caramel Apple Dessert Cups.
Step 2: Prepare Crust
In another bowl, mix 1 ½ cups of crushed vanilla wafers with 5 tablespoons of melted salted butter until the mixture resembles damp sand. This should take about 2 minutes of stirring to ensure all the crumbs are coated evenly. This crumbly crust adds a delicious crunchy base to your dessert cups, perfectly contrasting with the creamy layers to come!
Step 3: Whisk Pudding
In a separate mixing bowl, blend 1 package (3.4 ounces) of instant vanilla pudding mix with 2 cups of cold whole milk using a whisk. Whisk vigorously for about 2 minutes until the mixture thickens to a smooth consistency. This creamy pudding layer is essential for your Mini Caramel Apple Dessert Cups, so make sure there are no lumps and the texture is velvety.
Step 4: Whip Cream
Using a large mixing bowl and an electric mixer, whip 1 cup of cold heavy whipping cream until soft peaks form, roughly 3-4 minutes. Keep an eye on the cream to avoid over-whipping, which can make it grainy. Light and airy, this whipped cream will enhance the pudding layer of your dessert, providing a heavenly texture and flavor.
Step 5: Combine Layers
Gently fold the whipped cream into the pudding mixture using a spatula until well combined, taking care not to deflate the cream. This should take about 1-2 minutes. The fluffy whipped cream will create a light, creamy layer that complements the apple filling, forming a luscious trio of textures in your Mini Caramel Apple Dessert Cups.
Step 6: Assemble Dessert Cups
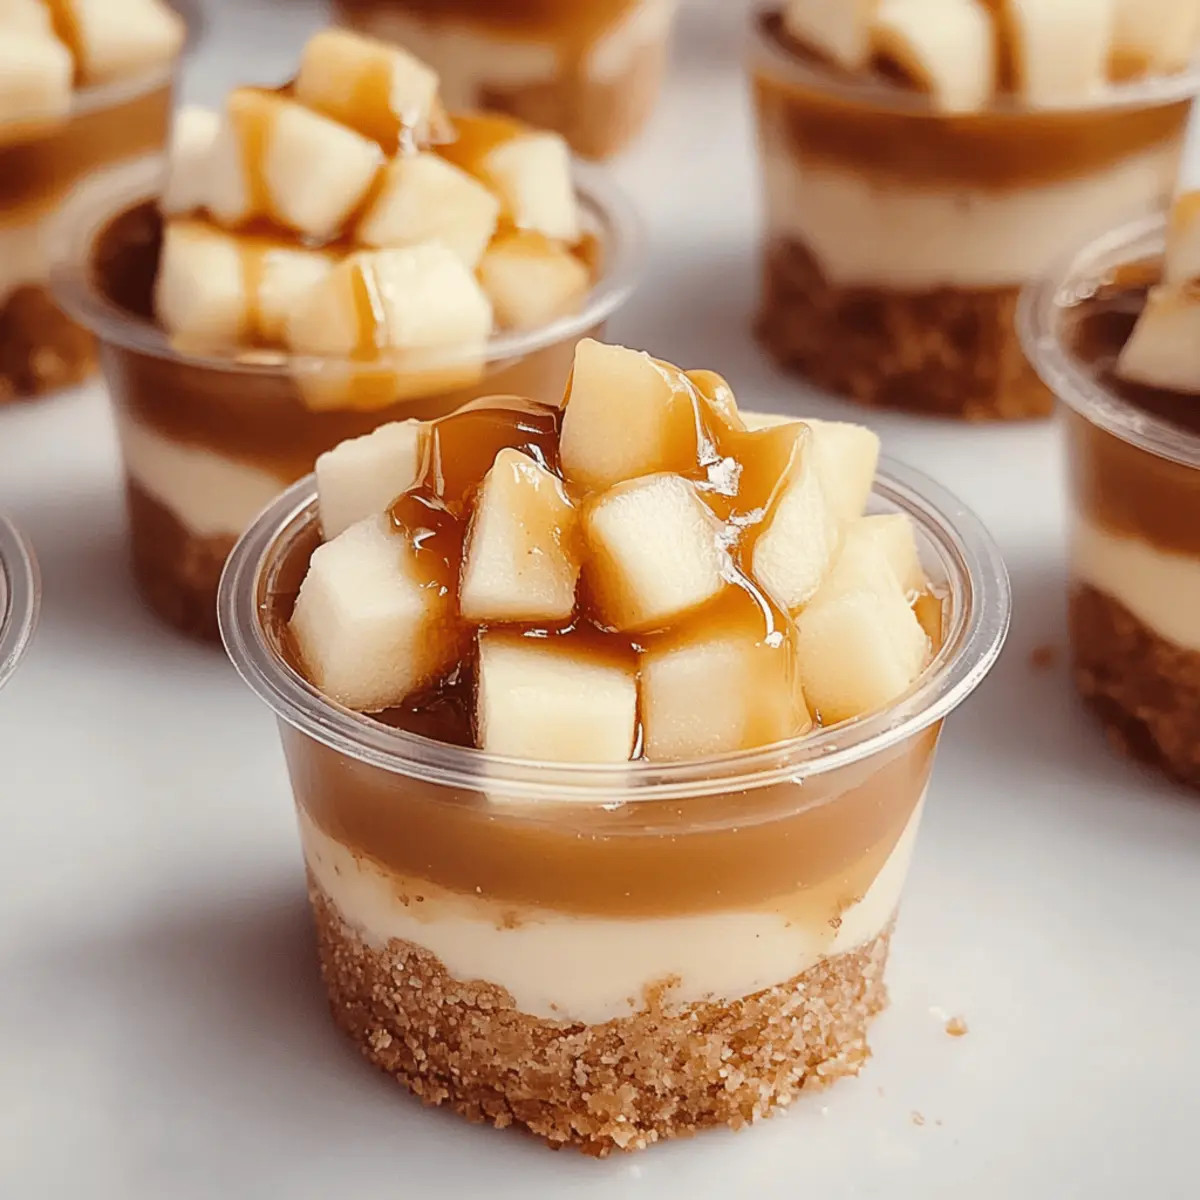
In clear serving cups, start by layering the apple filling at the bottom, followed by a layer of the crust mixture, and then a generous dollop of the creamy pudding. Repeat the layers if space allows to create a visually stunning effect, making sure to end with the creamy layer on top. This method will create beautiful layers, elevating not just the taste, but the presentation of your dessert as well.
Step 7: Drizzle with Caramel
After assembling all layers, generously drizzle salted caramel sauce over the top of each cup, allowing it to pool in the creamy layer. This should be done just before serving, showcasing a glistening finish on your Mini Caramel Apple Dessert Cups. Chill the assembled cups in the refrigerator for at least 1 hour to let the flavors meld and the dessert set beautifully.
Expert Tips for Mini Caramel Apple Dessert Cups
Chill Time Matters: Allow your assembled cups to chill for at least one hour. This enhances flavor melding and sets the dessert for the best results.
Avoid Soggy Crust: Assemble the cups right before serving to keep the crust crunchy. Waiting too long can make it soft!
Gentle Folding Technique: When combining whipped cream with pudding, fold gently to maintain airiness. Overmixing can deflate the cream, resulting in a denser layer.
Fruit Selection: Stick with tart Granny Smith apples for the perfect balance against sweet caramel. They provide essential tartness that complements this Mini Caramel Apple Dessert Cups recipe.
Make Ahead Components: Prepare individual components ahead of time and store separately. Assemble just before serving to keep everything fresh and maintain ideal textures.
What to Serve with Mini Caramel Apple Dessert Cups
Create the perfect fall experience with these delightful layers of creamy, crunchy, and sweet flavors.
- Vanilla Ice Cream: A scoop of creamy vanilla ice cream brings an extra layer of indulgence, balancing the dessert’s sweetness.
- Cinnamon-Spiced Whipped Cream: A dollop of cinnamon-infused whipped cream adds a festive touch and enhances the autumn vibe beautifully.
- Caramel Drizzle: For those who crave more sweetness, an extra drizzle of salted caramel sauce over the top can elevate the flavor profile.
- Ginger Snap Cookies: These crunchy and spiced cookies provide a delightful contrast to the smooth dessert, enhancing the fall theme.
- Apple Cider: The warm spiced notes of apple cider pair wonderfully with these dessert cups, echoing the flavors in the recipe.
- Pumpkin Pie: Serve alongside a slice of traditional pumpkin pie for a double dose of fall flavors that will please any crowd!
- Nutty Granola: A sprinkle of nutty granola over the top adds crunchy texture and an earthy element to complement the creaminess.
- Hot Cocoa: A steaming cup of rich hot cocoa with marshmallows complements the flavors while offering warmth on chilly evenings.
- Chocolate-Covered Pretzels: For a salty-sweet pairing, chocolate-covered pretzels provide a delightful bite alongside these dessert cups.
- Chai Tea: Aromatic chai tea with its warm spices rounds out the meal, making it a cozy choice for fall gatherings.
Make Ahead Options
These Mini Caramel Apple Dessert Cups are perfect for meal prep, saving you precious time during busy weeknights or gatherings! You can prepare the apple filling and crust up to 24 hours in advance—just store them separately in airtight containers in the refrigerator to maintain their fresh flavors. The creamy pudding layer is best made just before assembling, but you can whip the cream up to 3 hours prior and keep it chilled. When you’re ready to serve, simply layer the components in cups and drizzle with caramel sauce. This way, your dessert remains just as delicious, with crisp textures and rich flavors, while ensuring you can enjoy a delightful treat with minimal effort!
How to Store and Freeze Mini Caramel Apple Dessert Cups
Fridge: Store assembled dessert cups in an airtight container for up to 3 days. Make sure to keep them tightly covered to maintain their delightful freshness.
Freezer: It’s best to freeze components separately. Store the apple filling and crust in freezer-safe bags for up to 2 months. Thaw before assembly for the best results.
Reheating: Given the layered nature, these mini dessert cups should not be reheated. Instead, enjoy them chilled straight from the fridge.
Assembly Tip: For optimal crunch, assemble the dessert just prior to serving; this prevents the crust from becoming soggy, making your Mini Caramel Apple Dessert Cups a delightful treat!
Mini Caramel Apple Dessert Cups Variations
Customize your Mini Caramel Apple Dessert Cups to suit your taste and dietary needs!
- Nut-Free: Swap vanilla wafers with crushed Graham crackers to create a delightful crust without nuts.
- Dairy-Free: Substitute all dairy ingredients with plant-based alternatives like almond milk and coconut whipped cream for a creamy, guilt-free option.
- Sugar-Free: Use sugar substitutes in the apple filling and caramel drizzle to enjoy this dessert with a healthier twist.
- Seasonal Fruits: Replace Granny Smith apples with ripe pears or juicy peaches for a unique flavor profile that celebrates seasonal bounty.
- Flavor Enhancements: Add a splash of lemon juice to the apple filling for a zesty kick, or mix in a pinch of nutmeg for extra warmth.
- Texture Twist: Layer in some granola between the crust and creamy layer for a fun crunchy texture that will surprise your taste buds!
- Heat Level: For those who like a little heat, sprinkle a pinch of cayenne pepper into the apple filling for a surprising kick that pairs beautifully with caramel.
- Gourmet Touch: Try drizzling your cups with homemade salted caramel for an indulgent twist that elevates this dessert from simple to spectacular.
These creative variations will allow you to enjoy your Mini Caramel Apple Dessert Cups in a way that feels personal and special for every occasion! Want a different treat? Check out these Apple Fritter Bites or our rich Nutella Churro Dessert for more delightful ideas!
Mini Caramel Apple Dessert Cups Recipe FAQs
What type of apples should I use for the filling?
Absolutely! For the best results, use Granny Smith apples. Their tartness beautifully balances the sweetness of caramel. Look for firm apples that are free from blemishes to ensure a fresh flavor in your Mini Caramel Apple Dessert Cups.
How should I store leftovers?
Very easy! Store any assembled dessert cups in an airtight container in the refrigerator for up to 3 days. Keeping them tightly covered helps maintain freshness and prevents the crust from becoming soggy too quickly.
Can I freeze the components of this dessert?
You can certainly freeze the components! To do this, store the apple filling and crust mixture in separate freezer-safe bags or containers. They can be frozen for up to 2 months. When ready to use, let them thaw in the refrigerator overnight before assembling the dessert, ensuring optimal texture when served.
What if my crust gets soggy?
No worries! To avoid a soggy crust, it’s best to assemble the dessert cups just before serving. If you notice the crust becoming soft, that’s a sign to serve it up! You can also crush and mix a little extra vanilla wafers to sprinkle on top for added crunch.
Are there any dietary considerations I should keep in mind?
Certainly! This recipe is versatile. You can make it gluten-free by substituting the vanilla wafers with gluten-free options like graham crackers. For dairy-free alternatives, use almond or coconut milk and non-dairy whipped toppings. If you’re looking for sugar-free options, consider using sugar substitutes in the apple filling and caramel drizzle. The flexibility makes it a fantastic option for various dietary needs!
How can I enhance the flavor of the pudding layer?
Great question! You can mix in a teaspoon of vanilla extract or even a dash of cinnamon for added warmth. These small touches give the creamy layer an extra depth of flavor that complements the tart apples and sweet caramel in your Mini Caramel Apple Dessert Cups.
Irresistible Mini Caramel Apple Dessert Cups for Fall Bliss
Ingredients
Equipment
Method
- In a large bowl, combine diced Granny Smith apples, light brown sugar, salted butter, and ground cinnamon. Stir well and let sit for about 10 minutes.
- In another bowl, mix crushed vanilla wafers with melted salted butter until it resembles damp sand.
- In a separate bowl, blend instant vanilla pudding mix with cold whole milk using a whisk until thickened, about 2 minutes.
- Whip cold heavy whipping cream in another bowl until soft peaks form, about 3-4 minutes.
- Gently fold the whipped cream into the pudding mixture until well combined.
- In clear serving cups, layer the apple filling, crust mixture, and creamy pudding. Repeat layers, ending with the creamy layer.
- Drizzle salted caramel sauce over the top before serving. Chill in the refrigerator for at least 1 hour.


