
Advertisement
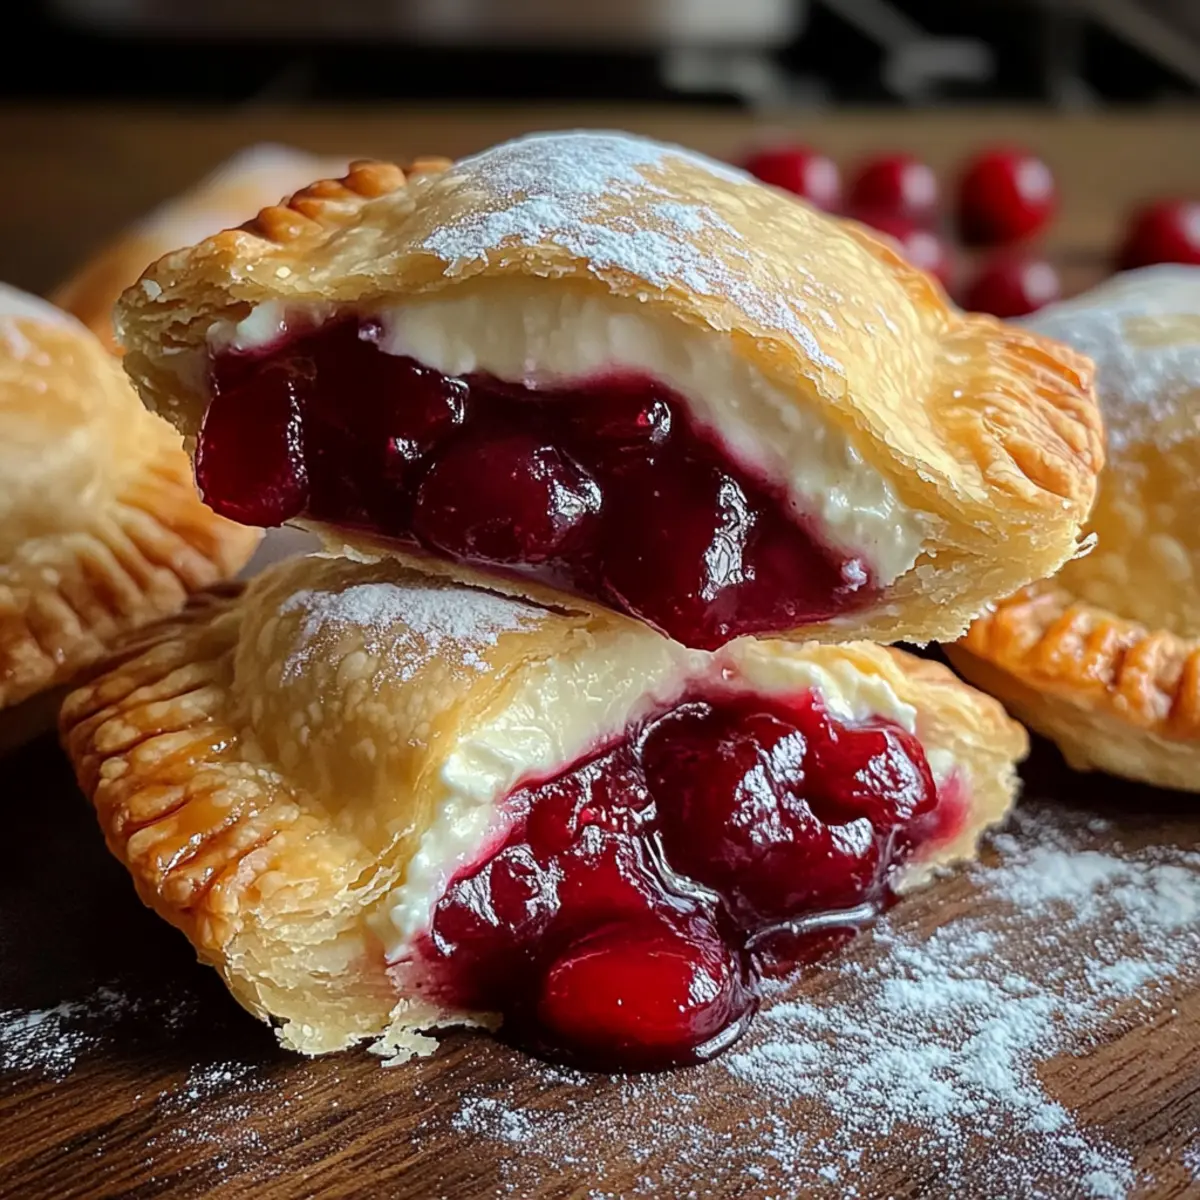
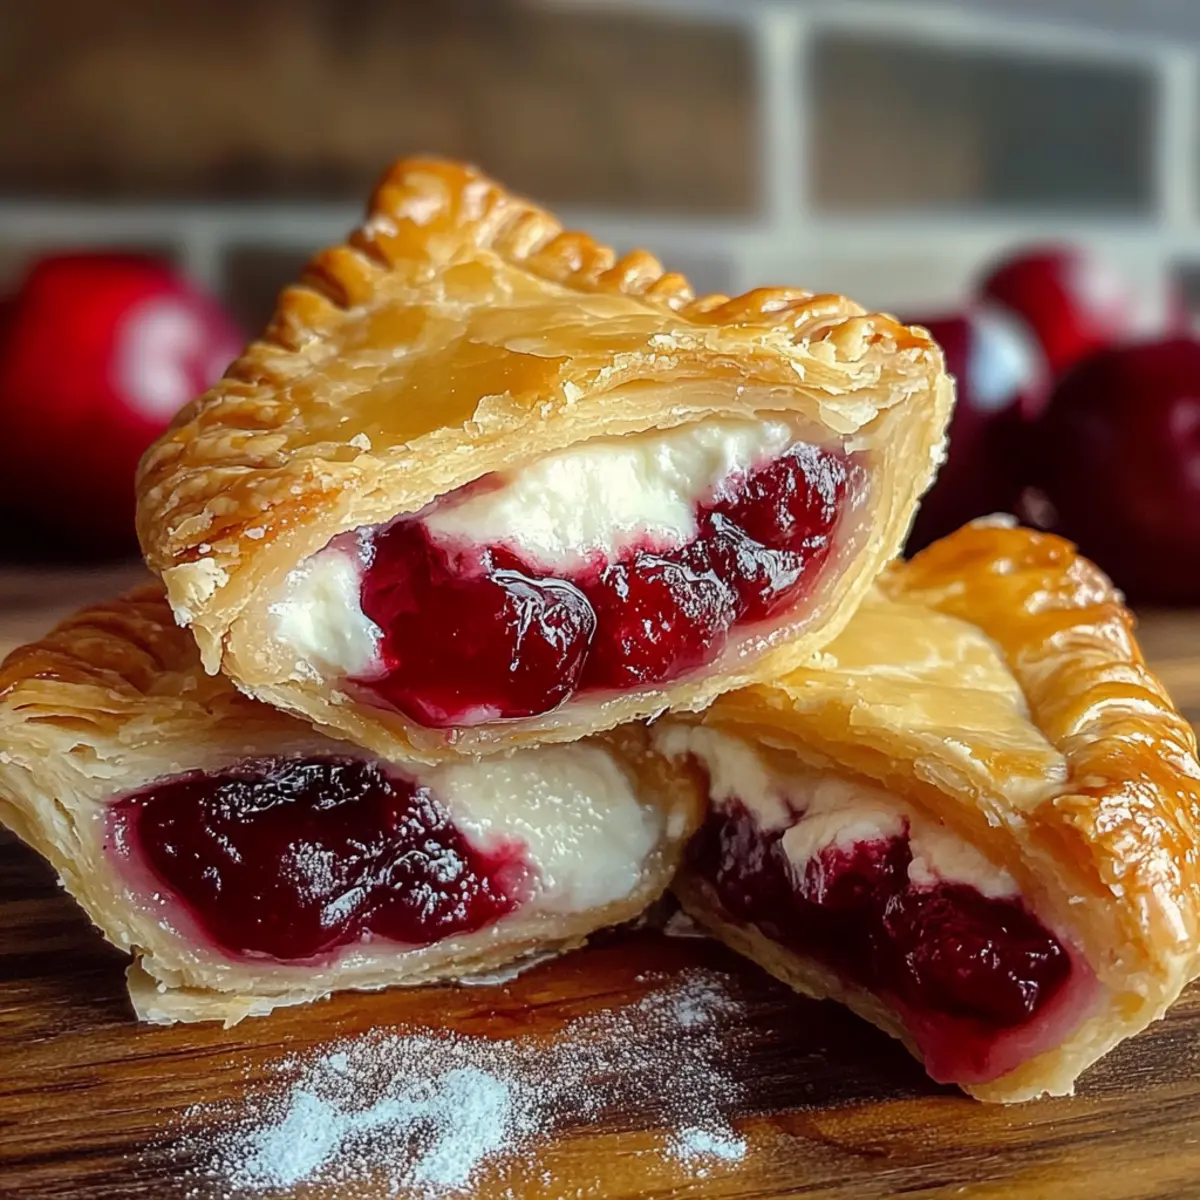
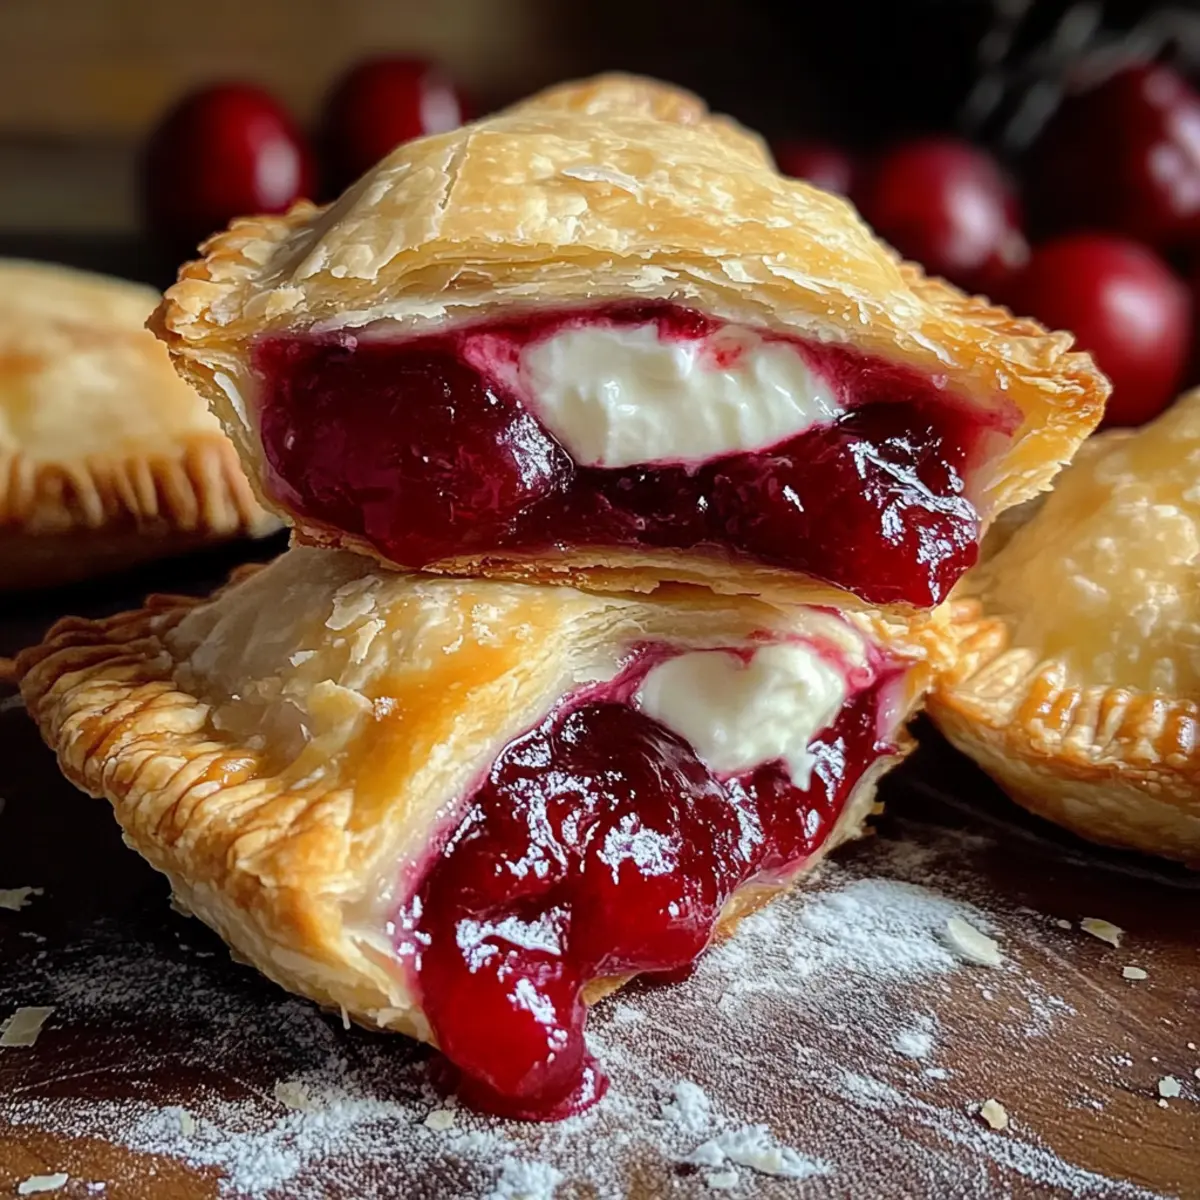
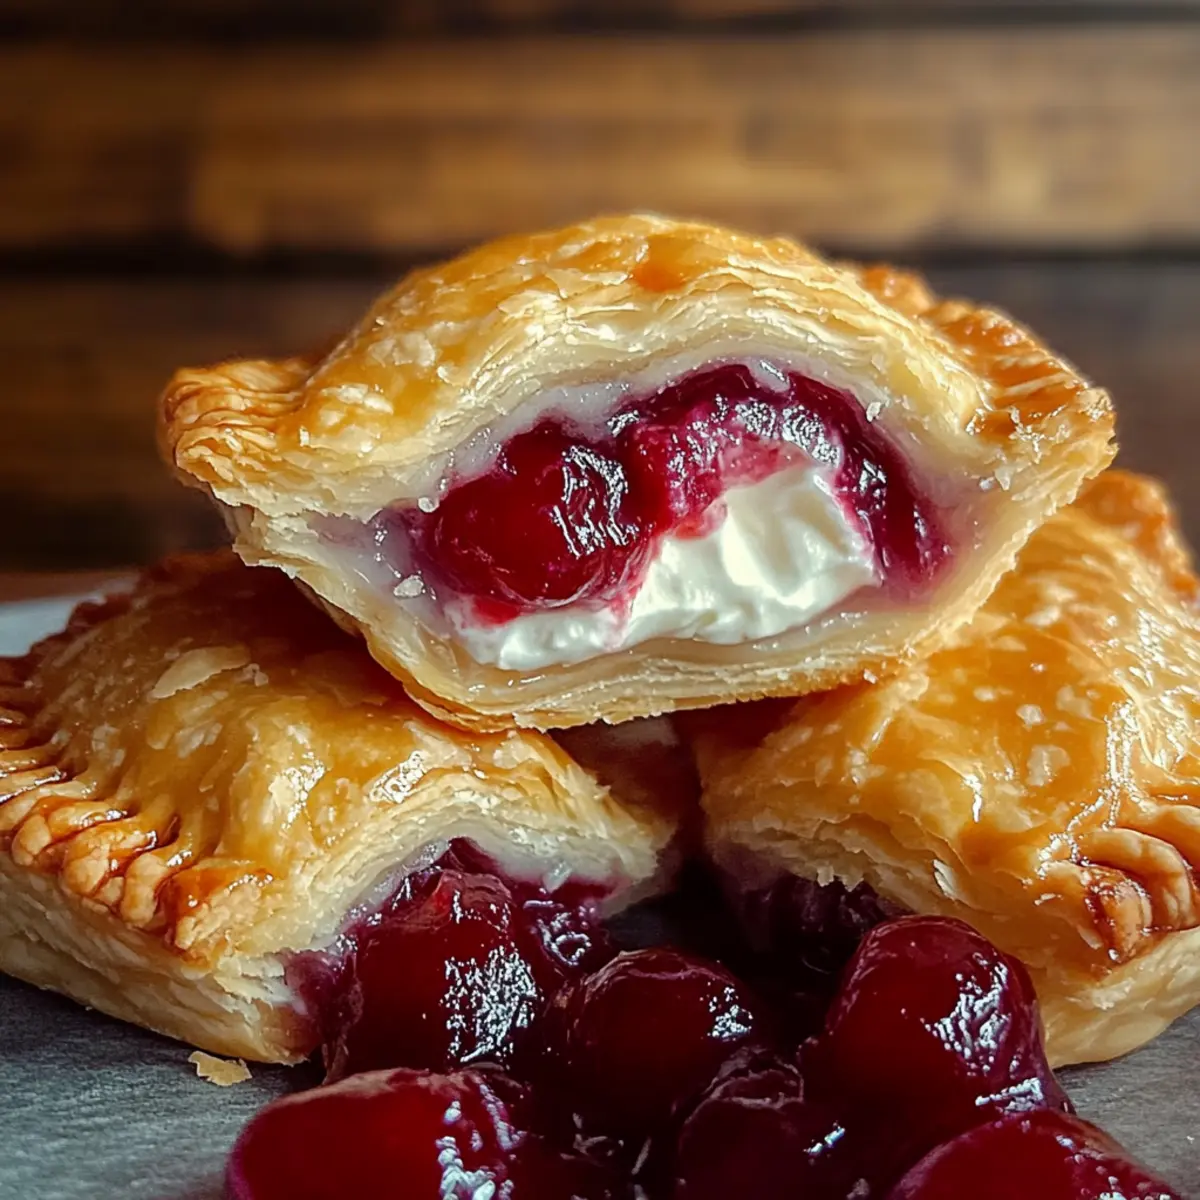
As I stood in my kitchen, the tantalizing aroma of frying pastries filled the air, instantly transporting me back to sun-drenched picnics and family gatherings. These Cherry Cheesecake Hand Pies encapsulate all the joy of a classic dessert, featuring a creamy cheesecake filling embraced by a crispy, golden crust. They are not only incredibly easy to whip up—making them perfect for hectic weekdays or spontaneous get-togethers—but they also strike that perfect balance between indulgence and comfort. You won’t need to spend hours in the kitchen for a dessert that will leave everyone wanting more. Ready to dive into the delight of these handheld treats? Let’s explore how you can create a batch of these irresistible Cherry Cheesecake Hand Pies!
Why Make Cherry Cheesecake Hand Pies?
Indulgence in Every Bite: These hand pies deliver the classic flavors of cheesecake with a fun twist!
Effortless Preparation: With pre-made crust and simple fillings, you can whip these up in no time—even on busy days.
Crispy Delight: Frying them creates a beautifully crispy texture that complements the creamy cheesecake filling perfectly.
Versatile Filling Options: Feel free to personalize your hand pies by swapping cherry for other fruits or even chocolate!
Crowd-Pleasing Treat: These delightful pastries are perfect for sharing at gatherings, ensuring everyone will reach for seconds. Check out my Sugar Cookie Cheesecake for more delicious inspirations!
Cherry Cheesecake Hand Pies Ingredients
For the Filling
Advertisement
- Cream Cheese – Provides richness and creaminess; ensure it’s softened for easy mixing.
- Granulated Sugar – Sweetens the cream cheese filling, enhancing its flavor; can be adjusted to taste.
- Cherry Pie Filling – Adds a burst of tart sweetness; you can substitute with your favorite fruit filling for variety.
For the Dough
- Refrigerated Pie Crust – Base of the hand pies, offering a flaky texture; pre-made crust simplifies prep time.
For Frying
- Vegetable Oil – Essential for frying at 190°C to ensure pies cook evenly; avoid overheating to prevent burning.
For the Glaze
- Powdered Sugar – Used in the glaze for extra sweetness and shine; can be mixed with milk or corn syrup for desired consistency.
- Corn Syrup (Optional) – Enhances glaze consistency; substitute with honey for a different flavor profile.
- Water – Used to create the glaze and for sealing the dough.
Now you’re ready to create these delightful Cherry Cheesecake Hand Pies! Enjoy the process as much as the delicious results!
Step‑by‑Step Instructions for Cherry Cheesecake Hand Pies
Step 1: Prepare the Dough
Unroll the refrigerated pie crust on a lightly floured surface and use a round cutter or knife to cut out six circles, each about 13-15 cm in diameter. Ensure even thickness for uniform cooking. Set the circles aside, covering them with a kitchen towel to prevent drying out while you prepare the filling.
Step 2: Make the Filling
In a mixing bowl, combine softened cream cheese and granulated sugar using an electric mixer until the mixture is smooth and creamy, about 2-3 minutes. Gently fold in the cherry pie filling until evenly combined, creating a luscious, inviting filling for your Cherry Cheesecake Hand Pies.
Step 3: Assemble the Hand Pies
Place about a tablespoon of the cheesecake filling mixture in the center of each dough circle. Lightly brush water along the edges of the dough to help seal the pies. Fold the dough over to create a half-moon shape and press the edges together with your fingers, ensuring a tight seal to prevent any filling from leaking out during frying.
Step 4: Fry the Hand Pies
In a deep frying pan, heat vegetable oil to 190°C (375°F). Carefully add a few assembled hand pies at a time, making sure not to overcrowd the pan. Fry for 2-3 minutes on each side, or until golden brown and crispy. Use a slotted utensil to gently turn the pies, ensuring they fry evenly while developing a beautiful, crunchy exterior.
Step 5: Glaze the Hand Pies
While the hand pies are still warm, prepare the glaze by whisking together powdered sugar, corn syrup, and water in a bowl until smooth. Brush the glaze generously over each fried pie to give them a sweet, shiny finish. Allow the glaze to set for a few minutes before moving to the cooling rack.
Step 6: Cool and Serve
Transfer the glazed Cherry Cheesecake Hand Pies to a wire rack or parchment paper and let them cool slightly until the glaze hardens. Enjoy them warm or at room temperature as a delightful dessert that combines the rich creaminess of cheesecake with the crispy texture of a fried pastry!
Cherry Cheesecake Hand Pies Variations
Feel free to unleash your creativity and customize these delightful hand pies for any occasion!
-
Fruit Swap: Substitute cherry pie filling with blueberry, apple, or even chocolate spread to create new flavor profiles. Each fruit brings its own character to your pies, making every batch a pleasant surprise.
-
Citrus Twist: Add lemon zest to the cream cheese filling for a vibrant, tangy layer of flavor. The bright citrus notes brighten the richness of the cream cheese, elevating your hand pies immensely.
-
Baked Version: Instead of frying, try baking these hand pies! Preheat your oven to 375°F (190°C) and bake for 15-20 minutes until golden brown. Baking creates a lighter snack without sacrificing flavor.
-
Nutty Crunch: Incorporate chopped nuts—like pecans or walnuts—into the filling for an extra crunch. Not only do the nuts add texture, but they also enhance the flavor complexity, offering delightful surprises in every bite.
-
Spice It Up: To add a warm flavor profile, sprinkle a pinch of cinnamon or nutmeg into the cream cheese mixture. This addition is perfect for cozy gatherings and makes these pies truly comforting.
-
Gourmet Glaze: Elevate the glaze by mixing in a splash of vanilla or almond extract. A hint of a different flavor profile enhances the sweetness of the glaze and adds a delightful depth.
-
Hot & Spicy: Add a touch of cayenne pepper or crushed red pepper flakes to the filling for a surprising kick. This spicy variation pairs beautifully with the creamy sweetness of the cheesecake—perfect for adventurous eaters!
-
Mini Versions: Create mini hand pies by cutting smaller circles from the dough. These bite-sized delights make for adorable hors d’oeuvres or party snacks and are great for experimentation with different fillings.
Let these variations inspire your next baking adventure! If you’re looking for more delectable treats, check out my Strawberry Cheesecake Crunch or the delightful Cherry Pistachio Cheesecake for even more delicious inspiration!
Expert Tips for Cherry Cheesecake Hand Pies
-
Oil Temperature: Ensure your vegetable oil is at the right temperature (190°C) for frying. Too hot will burn your pies, while too cool can make them greasy.
-
Assemble Ahead: If you want to prep in advance, keep uncooked pies covered in the refrigerator. Fry them just before serving for the best texture and freshness.
-
Sealing Edges: Brush water along the edges of the dough when assembling. This helps seal your Cherry Cheesecake Hand Pies and prevents the filling from leaking during frying.
-
Frying in Batches: Avoid overcrowding the pan; fry a few hand pies at a time to ensure they cook evenly and get that perfect crispy finish.
-
Glazing Tip: For a smooth glaze, whisk powdered sugar, corn syrup, and water until well-combined. Brush on warm pies for a beautifully glossy finish.
-
Experiment with Fillings: Don’t hesitate to swap out cherry pie filling for other favorites like blueberry or apple for a delightful twist on these classic treats!
How to Store and Freeze Cherry Cheesecake Hand Pies
Room Temperature: Store leftover hand pies in an airtight container at room temperature for up to 2 days to maintain their crispy texture.
Fridge: For longer freshness, keep the hand pies in the refrigerator for up to 5 days. Reheat in an oven to revive their crispness.
Freezer: You can freeze assembled but un-fried hand pies for up to 3 months. Fry them straight from the freezer without thawing for best results.
Reheating: To reheat, place baked or fried hand pies in a preheated oven at 180°C (350°F) for about 10-15 minutes or until heated through and crispy again.
What to Serve with Cherry Cheesecake Hand Pies
Imagine yourself delighting in the crispy, sweet bite of a Cherry Cheesecake Hand Pie, where each mouthful is a harmonious blend of flavors and textures that deserves a perfect companion.
-
Whipped Cream: A dollop of freshly whipped cream enhances the creamy filling, adding a light, airy texture that makes each bite even more indulgent.
-
Vanilla Ice Cream: Serve these hand pies warm alongside a scoop of vanilla ice cream for a delightful contrast that will elevate your dessert experience.
-
Fresh Berries: A side of mixed fresh berries adds a burst of tartness, beautifully balancing the sweet flavors of the hand pies.
-
Chocolate Drizzle: Drizzling chocolate sauce over the hand pies introduces a rich, decadent element that chocolate lovers will adore.
-
Fruit Salad: Light and refreshing, a colorful fruit salad adds a nutritious touch while complementing the sweetness of the hand pies.
-
Coffee or Tea: Pair your hand pies with a warm cup of coffee or herbal tea, allowing the cozy ambiance to enhance the dessert’s charm.
-
Lemon Zest Whipped Cream: Whip some cream with lemon zest for a citrusy twist that brightens the overall experience, taking your dessert to new heights!
-
Caramel Sauce: A drizzle of warm caramel sauce introduces a sticky sweetness that pairs beautifully with the crispy crust—truly irresistible!
-
Sparkling Water: For a refreshing beverage, fizzy sparkling water serves as the perfect palate cleanser between bites, enhancing your dessert adventure.
Make Ahead Options
These Cherry Cheesecake Hand Pies are perfect for meal prep, allowing you to enjoy their deliciousness with minimal last-minute effort! You can assemble the hand pies up to 24 hours in advance; simply prepare as directed and cover them tightly with plastic wrap in the refrigerator. This prevents the dough from drying out, ensuring they remain just as flaky when cooked. When you’re ready to serve, heat the vegetable oil to 190°C (375°F) and fry the pies directly from the fridge for about 2-3 minutes on each side until golden brown. This way, you’ll have a delightful dessert ready to impress without the hassle, making your busy weeknights a little sweeter!
Cherry Cheesecake Hand Pies Recipe FAQs
How do I choose ripe cherries for the filling?
Absolutely! When selecting cherries for your hand pies, look for firm, plump fruits with a shiny, deep red color. Avoid cherries with dark spots or blemishes, which can indicate overripeness. If you opt for canned cherry pie filling, check the ingredients to ensure it’s made with real fruit for the best flavor.
How long can I store leftover Cherry Cheesecake Hand Pies?
You can keep leftover hand pies in an airtight container at room temperature for up to 2 days, but for better freshness, refrigerate them for up to 5 days. Just be sure to reheat them in an oven to restore their lovely crispy exterior!
Can I freeze uncooked Cherry Cheesecake Hand Pies?
Yes, indeed! You can freeze assembled but uncooked Cherry Cheesecake Hand Pies for up to 3 months. Make sure to lay them flat on a baking sheet first to freeze them individually, then transfer to an airtight container. Fry them straight from the freezer without thawing for the best texture!
What should I do if the filling leaks during frying?
If your filling leaks out, don’t worry! It’s often due to not sealing the edges tightly enough. To avoid this in the future, brush water on the edges before folding, and press firmly to seal. If your hand pies are already leaking, drain the excess filling before frying to prevent burning in the oil.
Are Cherry Cheesecake Hand Pies suitable for those with gluten allergies?
While the traditional recipe uses refrigerated pie crust, which contains gluten, you can easily make these hand pies gluten-free. Substitute with a gluten-free pie crust or even a simple dough recipe made from gluten-free flour. Always check labels of pre-made products to ensure they meet your dietary needs.
How can I adjust the sweetness of the filling?
Very simple! The amount of granulated sugar can be adjusted to your taste. Start with the recommended amount in the recipe and add more if you prefer a sweeter filling. Additionally, consider tasting the cherry filling before mixing it in to get an idea of its tartness, allowing for easy sugar adjustments.
Delicious Cherry Cheesecake Hand Pies for Sweet Indulgence
Ingredients
Equipment
Method
- Unroll the refrigerated pie crust on a lightly floured surface and cut out six circles, each about 13-15 cm in diameter.
- In a mixing bowl, combine softened cream cheese and granulated sugar using an electric mixer until smooth and creamy, about 2-3 minutes.
- Gently fold in the cherry pie filling until evenly combined.
- Place about a tablespoon of the cheesecake filling mixture in the center of each dough circle and brush water along the edges. Fold the dough over to create a half-moon shape and press the edges together to seal.
- In a deep frying pan, heat vegetable oil to 190°C. Carefully add a few assembled hand pies at a time and fry for 2-3 minutes on each side until golden brown.
- While the hand pies are still warm, whisk together powdered sugar, corn syrup, and water in a bowl for the glaze. Brush the glaze over each fried pie.
- Let the glazed hand pies cool slightly on a wire rack until the glaze hardens.


