Advertisement
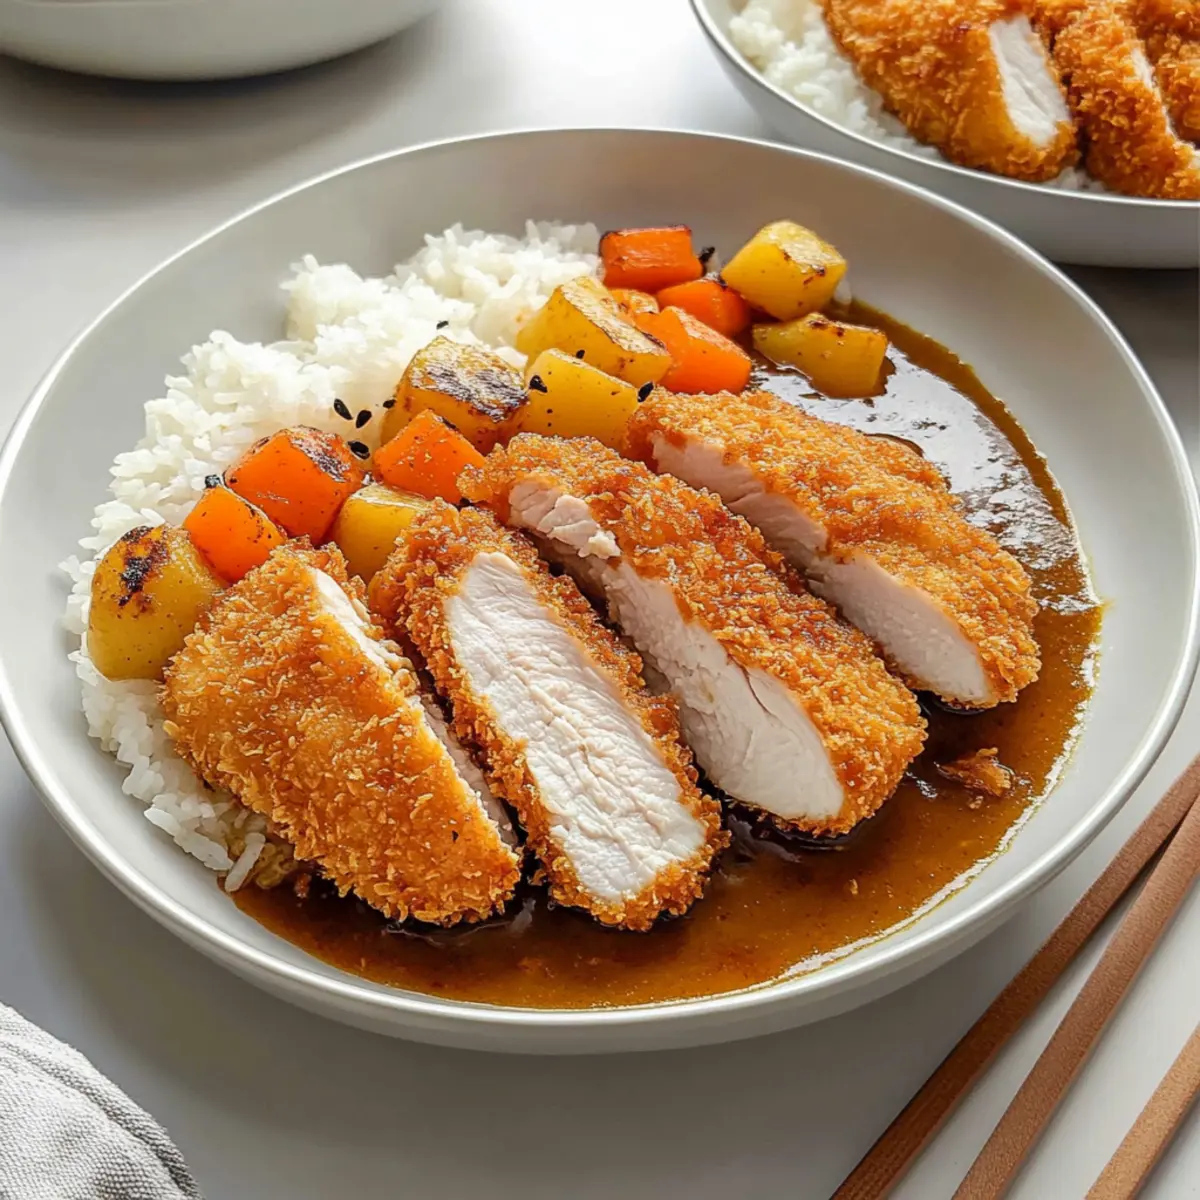
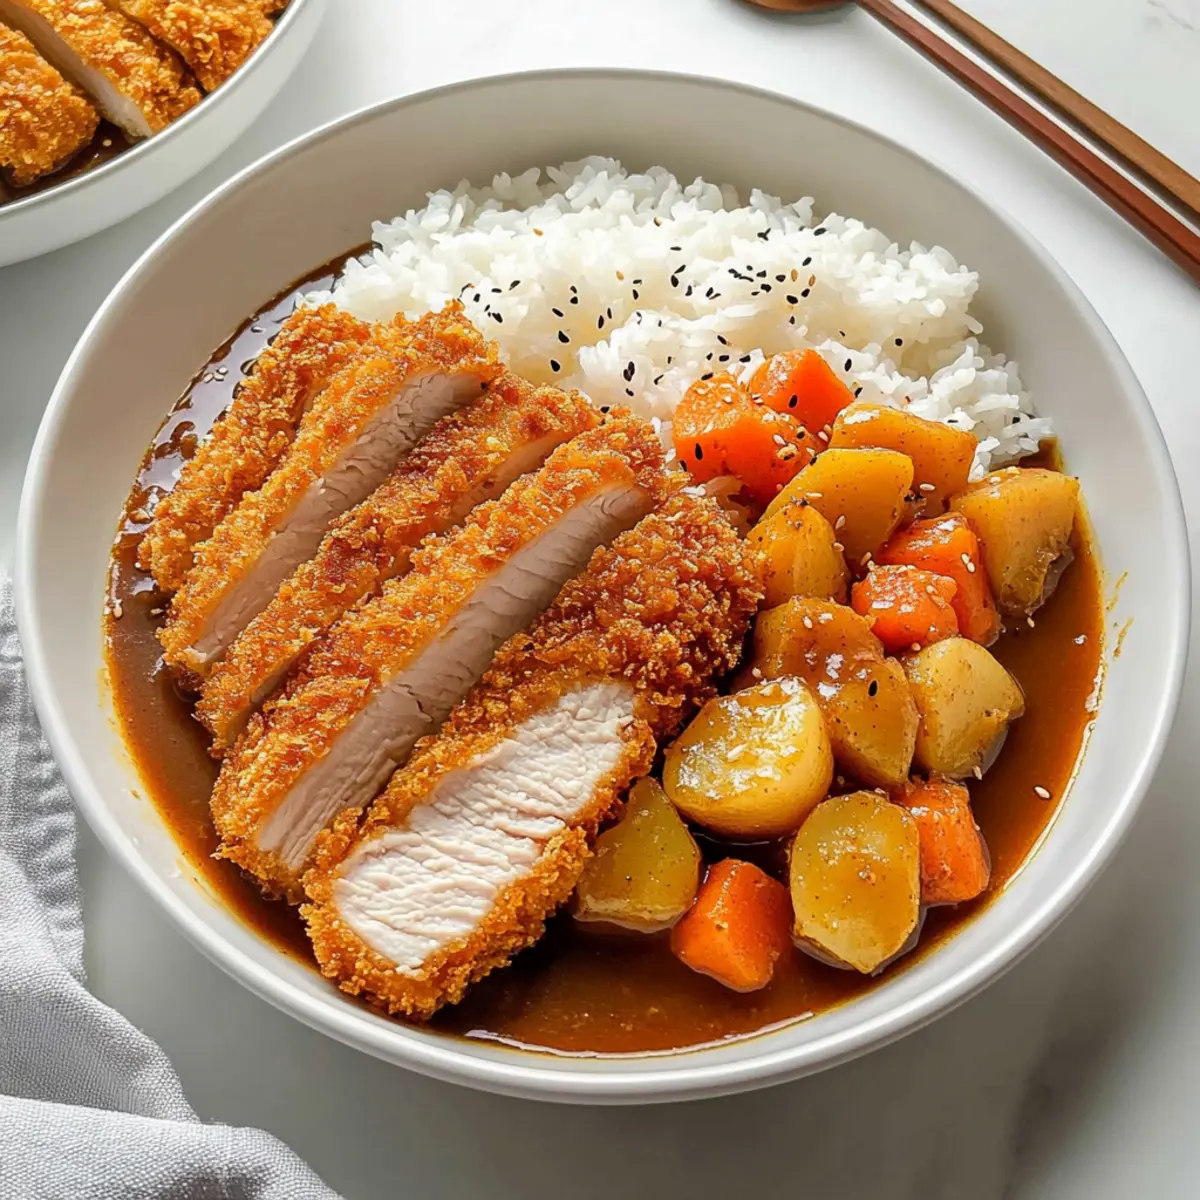
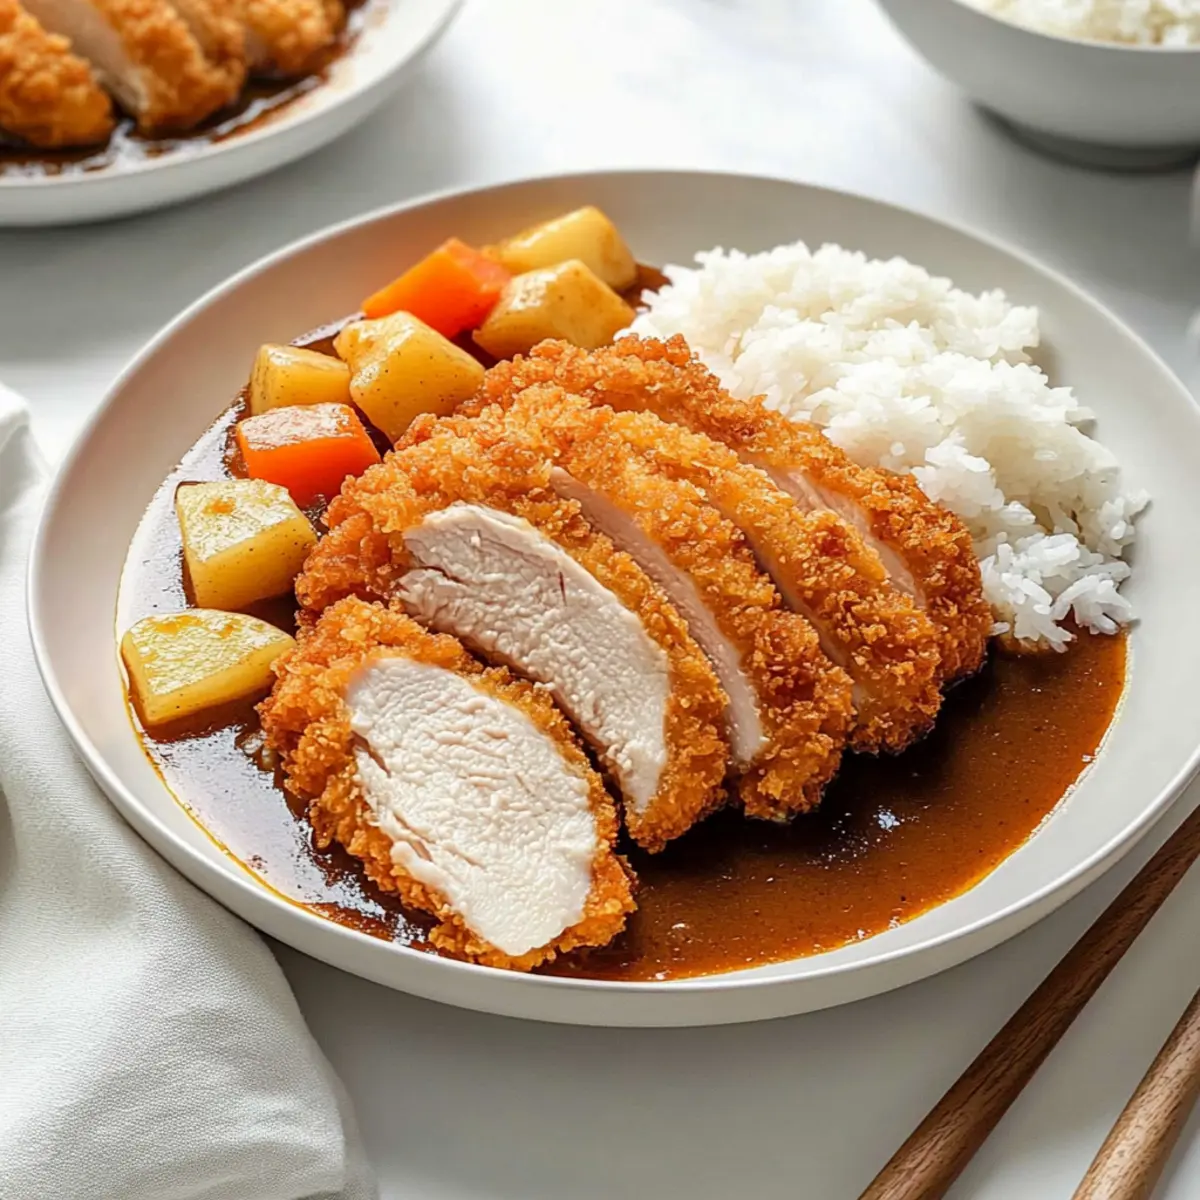
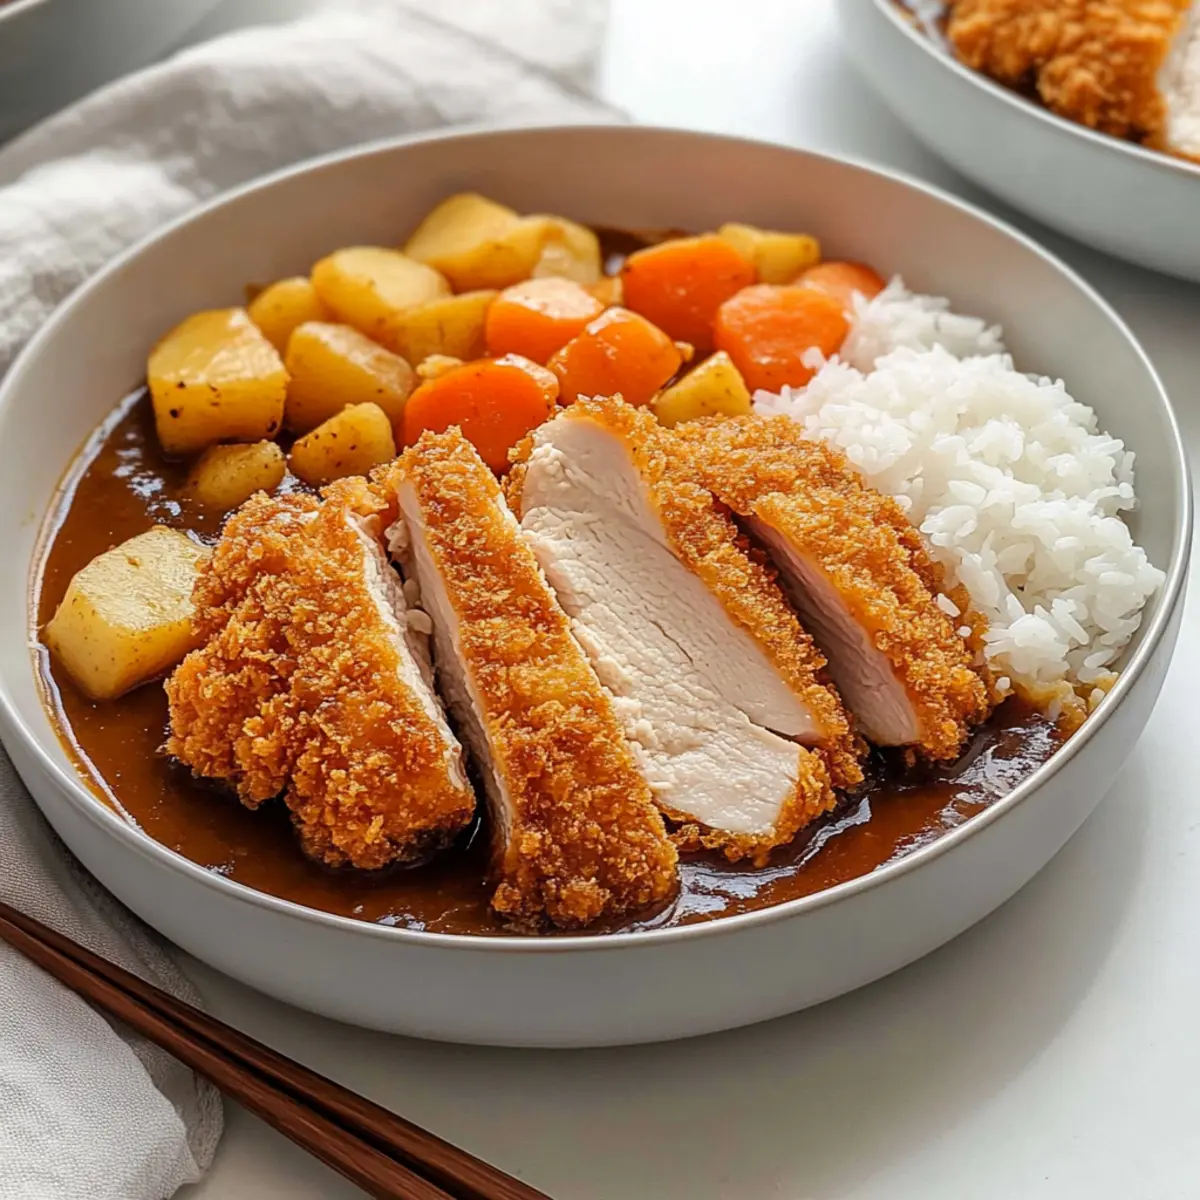
As I stood in my kitchen, the sizzling sound of chicken frying filled the air, instantly evoking the warmth of my favorite Japanese comfort food: Japanese Katsu Curry. This dish beautifully marries crispy, panko-breaded chicken with a luscious, umami-rich curry sauce, and it’s always a hit on busy weeknights. What I love most about this crispy chicken katsu curry is its flexibility—it can accommodate pork, beef, or even tofu for a vegetarian twist. Not only is it a profoundly satisfying meal bursting with cozy flavors, but it also comes together quickly, making it perfect for anyone tired of the fast-food grind. Whether you’re serving it to family or craving a solo indulgence, this dish is a delightful blend of textures and tastes. So, are you ready to dive into the world of Japanese Katsu Curry that promises both comfort and a touch of culinary adventure?
Why is Japanese Katsu Curry Amazing?
Irresistible Comfort: This dish delivers a warm embrace of flavors, making it the ultimate comfort food after a long day.
Quick to Prepare: With easy steps and minimal prep time, you can whip up a satisfying meal in no time, perfect for busy weeknights.
Advertisement
Flavorful Depth: The umami-rich curry sauce, paired with crispy chicken, creates a beautiful harmony that will make your taste buds dance.
Versatile Enjoyment: Feel free to switch up proteins or even go vegetarian with tofu—there’s something for everyone!
Crowd-Pleasing Dish: Whether you’re cooking for family or hosting friends, this dish guarantees smiles around the table. Discover more variations to keep your mealtimes exciting!
Japanese Katsu Curry Ingredients
For the Chicken Katsu
• Boneless Skinless Chicken Breasts – The star of the dish, pounded for tenderness; can be replaced with pork, beef, or tofu for variations.
• Salt – Elevates the flavor of the chicken.
• Black Pepper – Adds a subtle kick to the seasoning.
• All-purpose Flour – Essential for the breading; gluten-free flour works as a substitute.
• Egg – Helps bind the flour and panko for a well-adhered crust.
• Panko Breadcrumbs – Key for achieving that crispy texture; a must for authentic katsu.
• Vegetable Oil – Ideal for frying; canola or peanut oil are good alternatives.
For the Curry Sauce
• Japanese Curry Roux – The base of the rich, umami flavor; may be substituted with a homemade spice blend.
• Yellow Onion – Brings sweetness and depth, making the sauce more flavorful.
• Russet Potato – Adds heartiness; Yukon Gold can be used for a creamy texture.
• Carrot – Offers sweetness and vibrant color; you can swap with other root vegetables if desired.
• Olive Oil – For sautéing the aromatic onion and garlic.
• Garlic – Infuses the sauce with a warm, aromatic flavor.
• Red Apple – Naturally sweetens the curry; pear makes a lovely alternative.
• Chicken Stock – The soup base that enriches the curry; vegetable broth can be a vegetarian option.
• Water – Adjusts the consistency of the sauce to your liking.
• Soy Sauce – Deepens the flavor profile; tamari is great for a gluten-free version.
• Honey – Adds a touch of sweetness; maple syrup can work if you’re out.
For Serving
• Cooked White Rice – The perfect bed for your chicken katsu; consider brown rice or quinoa for a healthier twist.
Prepare to delight your senses with this heartwarming Japanese Katsu Curry that’s sure to become a cherished recipe in your kitchen!
Step‑by‑Step Instructions for Japanese Katsu Curry
Step 1: Prepare Chicken Katsu
Start by butterflying the boneless skinless chicken breasts and gently pounding them to a uniform thickness of about ½ inch. Season both sides generously with salt and black pepper. This will enhance the flavor of the chicken when fried. Set the chicken aside while you prepare the breading station.
Step 2: Breading Process
Set up your breading station by arranging three shallow dishes: one filled with all-purpose flour, another with a beaten egg, and the last with panko breadcrumbs. Dredge each piece of chicken in flour, making sure it’s completely coated, then dip it into the egg. Finally, press the chicken into the panko breadcrumbs until they adhere well, ensuring a crispy coating for your Japanese Katsu Curry.
Step 3: Fry
In a deep pan, heat vegetable oil to 340°F (170°C). Once the oil is hot, carefully place the breaded chicken into the pan, frying for about 3-4 minutes on each side. Look for a golden-brown color to indicate doneness. Once cooked, transfer the chicken to a wire rack to drain excess oil and keep the crust crisp before moving on to the curry.
Step 4: Prepare Curry
While the chicken is frying, start working on the curry. Dice the russet potato and carrot, and soak the potato to remove excess starch. In a separate pot, heat olive oil over medium heat and sauté chopped yellow onion and minced garlic for about 3-4 minutes until fragrant and translucent, stirring continuously to avoid burning.
Step 5: Cook Vegetables
Add the diced carrots and potatoes to the pot, sautéing briefly for an additional 2-3 minutes until slightly softened. Pour in the chicken stock and a splash of water, followed by soy sauce, honey, and the grated red apple. Stir well to combine all the flavors, then bring the mixture to a gentle simmer.
Step 6: Thicken Curry
Add the Japanese curry roux to the pot, stirring until it dissolves completely into the broth. Allow the curry to simmer for about 15 minutes, stirring occasionally. This will thicken the sauce and allow the vegetables to become tender. Keep an eye on the texture—your curry should be thickened but still pourable.
Step 7: Serve
To serve your Japanese Katsu Curry, slice the crispy chicken katsu into strips and place them over a bed of fluffy white rice. Generously ladle the aromatic curry sauce over the chicken and rice. Enjoy the delightful balance of textures and flavors that make this dish a family favorite!
Japanese Katsu Curry Variations
Feel free to unleash your creativity in the kitchen and customize this delightful dish to suit your taste!
-
Pork Alternative: Swap chicken for pork loin cutlets for a juicy, traditional twist. The flavor profile stays true while adding a new dimension!
-
Tofu Option: Use extra-firm tofu, pressed and cut into slices. Fry until golden for a flavorful vegetarian alternative that maintains great texture.
-
Vegetable Medley: Replace protein with a medley of bell peppers, zucchini, and eggplant for a colorful vegetarian dish. Roast them for added sweetness and depth!
-
Sweet Potato: Substitute the russet potato with sweet potatoes for a slightly sweet balance of flavors that adds an interesting twist to your curry.
-
Curry Heat: Spice it up by adding chili flakes or using a spicier curry roux. For a milder version, consider a sweeter curry for a comforting taste without the burn.
-
Fruit Boost: Incorporate additional fruits like diced mango or a dash of coconut milk for a tropical hint that harmonizes beautifully with the curry’s richness.
-
Quinoa Base: Switch out the white rice for quinoa to add protein and fiber, giving the dish a nutritious lift while keeping it hearty.
-
Homemade Roux: Try making your own curry spice mix for a personalized flavor. Blend spices like coriander and cumin with flour for a unique homemade curry mix that will impress!
And if you’re looking for more ways to elevate your meals, explore exciting serving suggestions to take your dining experience up a notch!
What to Serve with Japanese Katsu Curry
Imagine a comforting meal that satisfies the senses and complements the rich, savory goodness of your Japanese Katsu Curry.
-
Fresh Pickled Vegetables: These add crunch and a tangy contrast, balancing the dish’s richness beautifully.
-
Simple Cucumber Salad: A light, refreshing salad with rice vinegar and sesame oil that lifts the heavy flavors of the curry.
-
Steamed Broccoli: The tender green vegetable contrasts the crispy katsu while adding a healthy touch to your meal.
-
Japanese Rice Balls (Onigiri): These cute, handheld snacks can be filled with your favorite ingredients, perfect for dipping into the curry.
-
Creamy Coleslaw: Its crisp texture and creamy dressing provide a delightful contrast to the hearty katsu and curry sauce.
-
Chilled Sake or Beer: Enjoy a glass of sake or a light beer to cleanse the palate and enhance the overall dining experience.
-
Miso Soup: A warm, umami-rich soup that can serve as a comforting start to your meal, echoing the curry’s flavors.
-
Chocolate Mochi for Dessert: A sweet, chewy end to your meal that thrills the taste buds, rounding out the Japanese theme wonderfully.
How to Store and Freeze Japanese Katsu Curry
Fridge: Store leftovers in an airtight container for up to 3 days. To maintain the chicken’s crispiness, keep it separate from the curry sauce and rice until ready to eat.
Freezer: Freeze portions of the chicken and curry sauce in separate airtight containers for up to 3 months. Label with dates for easy tracking!
Reheating: To reheat, thaw overnight in the fridge, then microwave or warm on the stovetop. For the chicken, reheat in an oven for a few minutes to restore its crispiness.
Freshness Tip: Always ensure the katsu curry is cooled completely before refrigerating or freezing to preserve quality.
Tips for the Best Japanese Katsu Curry
Protein Variations: Choose your protein wisely: While chicken is popular, pork, beef, and tofu can be equally delicious in this Japanese Katsu Curry.
Frying Tips: Maintain oil temperature: Use a candy thermometer to ensure optimal frying temperature. This helps create that signature crispy texture.
Breading Technique: Coat generously: Ensure each piece of chicken is well-coated by pressing the panko firmly. This prevents the crust from falling off during frying.
Cooling Method: Keep it crispy: After frying, let the chicken rest on a wire rack. This allows air circulation, keeping the crust nice and crispy.
Curry Consistency: Adjust as needed: If the curry is too thick, add a splash of water; if too thin, let it simmer longer to thicken.
Make Ahead Options
Japanese Katsu Curry is a fantastic choice for meal prep, allowing you to save time on busy weeknights! You can prepare the chicken katsu by breading it up to 24 hours in advance and storing it in the refrigerator, ensuring it stays fresh without compromising crispiness. Additionally, the curry sauce can be made up to 3 days ahead; simply refrigerate after cooking. When you’re ready to serve, just fry the katsu directly from the fridge and reheat the curry sauce gently on the stove, stirring occasionally to maintain a lovely, thick consistency. These steps ensure you enjoy the comforting flavors of Japanese Katsu Curry with minimal effort on the day of serving!
Japanese Katsu Curry Recipe FAQs
What should I look for when selecting chicken for katsu curry?
Look for boneless skinless chicken breasts that are plump and feel firm to the touch. They should have a light pink color without any dark spots or signs of discoloration. Fresh chicken will yield the best flavor and texture, and you can also try using pork or tofu if you’re looking for a variation!
How long can I store leftovers of my Japanese Katsu Curry?
You can store leftovers in an airtight container in the refrigerator for up to 3 days. To maintain that delicious crispy texture of the chicken, make sure to keep the chicken and curry sauce separate until you’re ready to enjoy them again!
Can I freeze Japanese Katsu Curry?
Absolutely! For optimal freshness, freeze portions of the chicken katsu and the curry sauce separately in airtight containers for up to 3 months. Remember to label each with the date. To reheat, simply thaw in the refrigerator overnight and reheat the curry in a saucepan, while you can put the chicken in the oven to restore its beloved crispiness.
What if my curry sauce is too thick or too runny?
If your sauce is too thick, simply add a splash of water or chicken stock and stir until combined. For a runny curry, let it simmer uncovered over low heat for a bit longer until it reduces and thickens. Stir occasionally to prevent sticking.
Are there any dietary considerations for my Japanese Katsu Curry?
Yes! If you’re cooking for someone with gluten sensitivities, use gluten-free panko breadcrumbs and tamari instead of soy sauce. Additionally, if you want a vegetarian option, swap the chicken for tofu or a medley of vegetables. Always be aware of any allergies specific to your loved ones.
How can I ensure my chicken katsu stays crispy after frying?
Cooling the chicken katsu on a wire rack after frying will help keep the coating crispy by allowing air to circulate around them. This reduces moisture build-up, ensuring you enjoy that delightful crunch when you sit down to eat your Japanese Katsu Curry!
Delicious Japanese Katsu Curry for Cozy Weeknight Dinners
Ingredients
Equipment
Method
- Start by butterflying the boneless skinless chicken breasts and gently pounding them to a uniform thickness of about ½ inch. Season both sides generously with salt and black pepper.
- Set up your breading station by arranging three shallow dishes: one filled with all-purpose flour, another with a beaten egg, and the last with panko breadcrumbs. Dredge each piece of chicken in flour, dip it into the egg, then press into the panko until they adhere well.
- In a deep pan, heat vegetable oil to 340°F (170°C). Once hot, carefully place the breaded chicken into the pan and fry for 3-4 minutes on each side until golden-brown. Transfer to a wire rack to drain excess oil.
- While the chicken fries, heat olive oil over medium heat in a separate pot. Sauté chopped yellow onion and minced garlic for about 3-4 minutes until fragrant.
- Add diced carrots and potatoes to the pot, sautéing for an additional 2-3 minutes. Pour in chicken stock and water, followed by soy sauce, honey, and grated red apple. Stir well and bring to a gentle simmer.
- Add Japanese curry roux to the pot, stirring until it dissolves completely. Allow the curry to simmer for about 15 minutes, stirring occasionally.
- To serve, slice the crispy chicken katsu into strips and place over cooked white rice. Generously ladle curry sauce over the chicken and rice.