
Advertisement
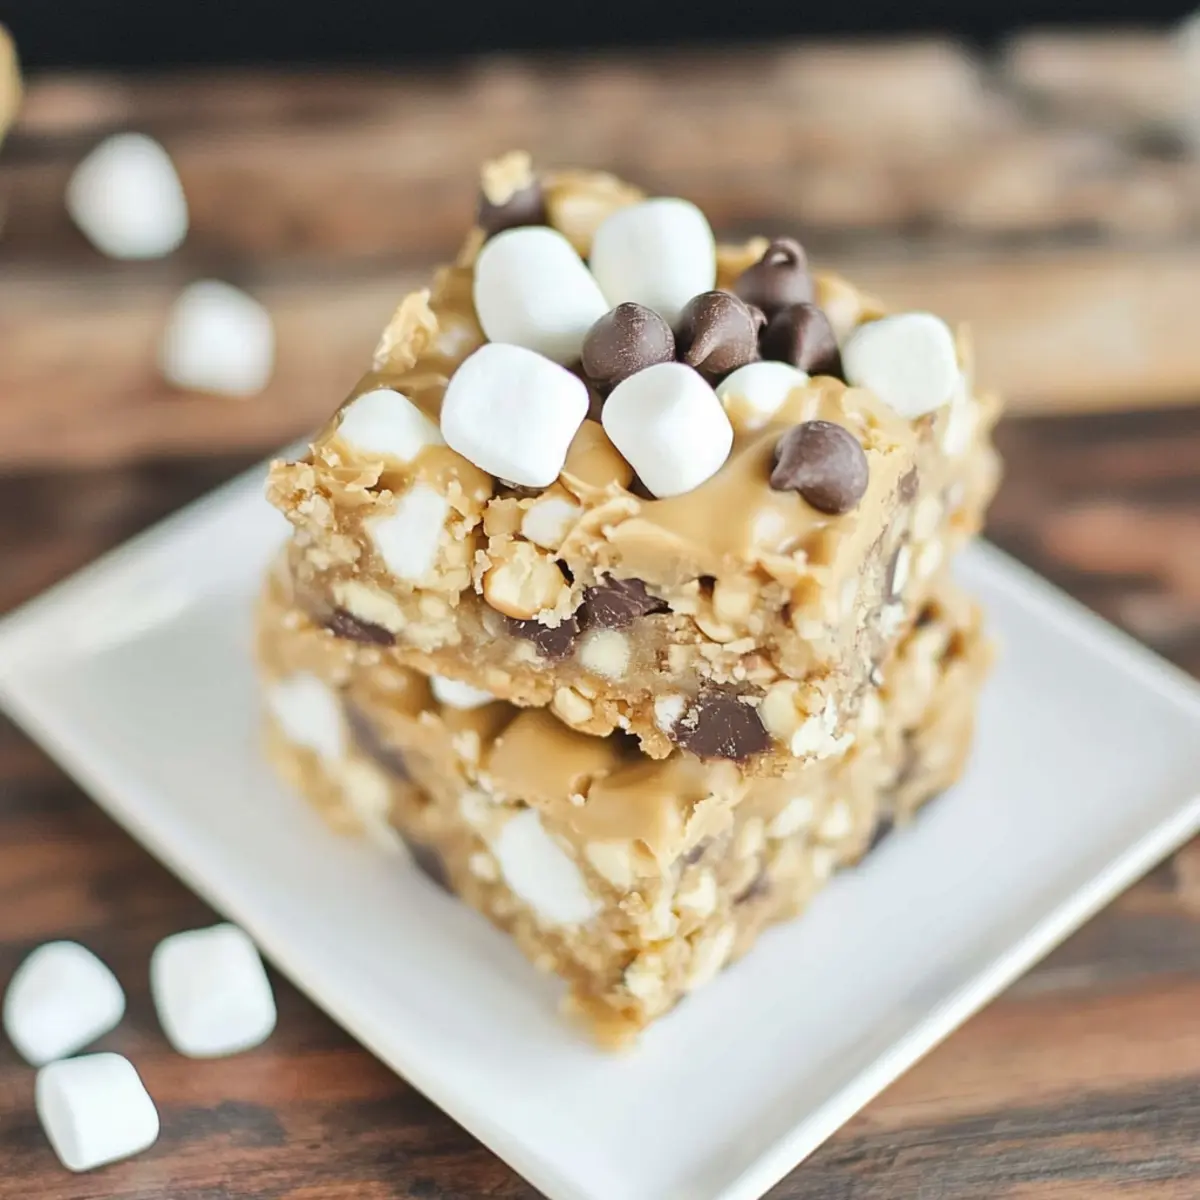
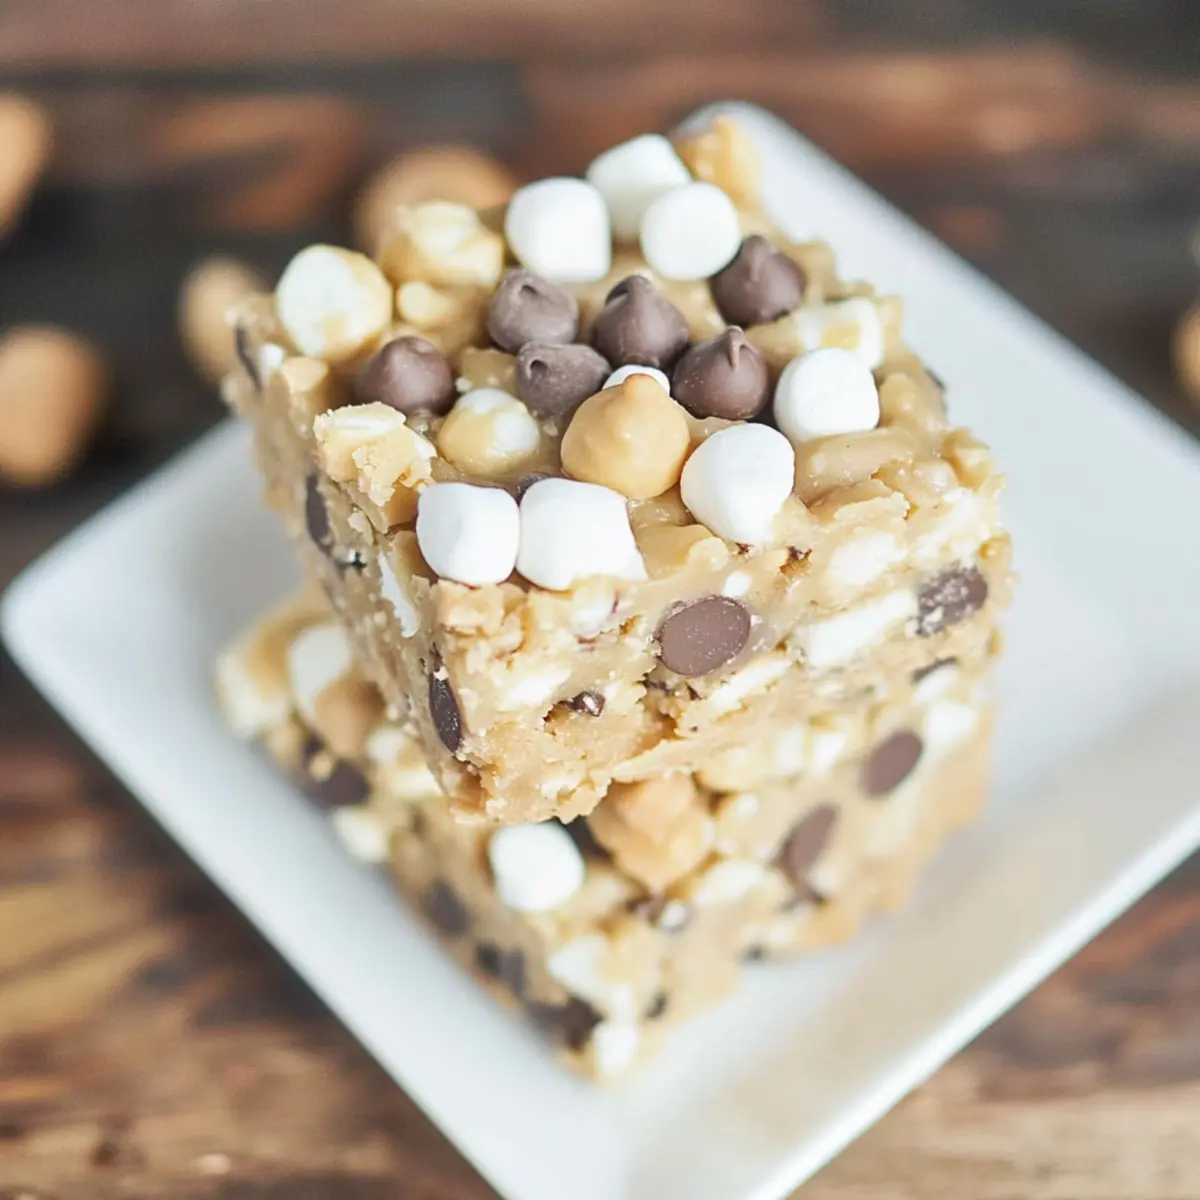
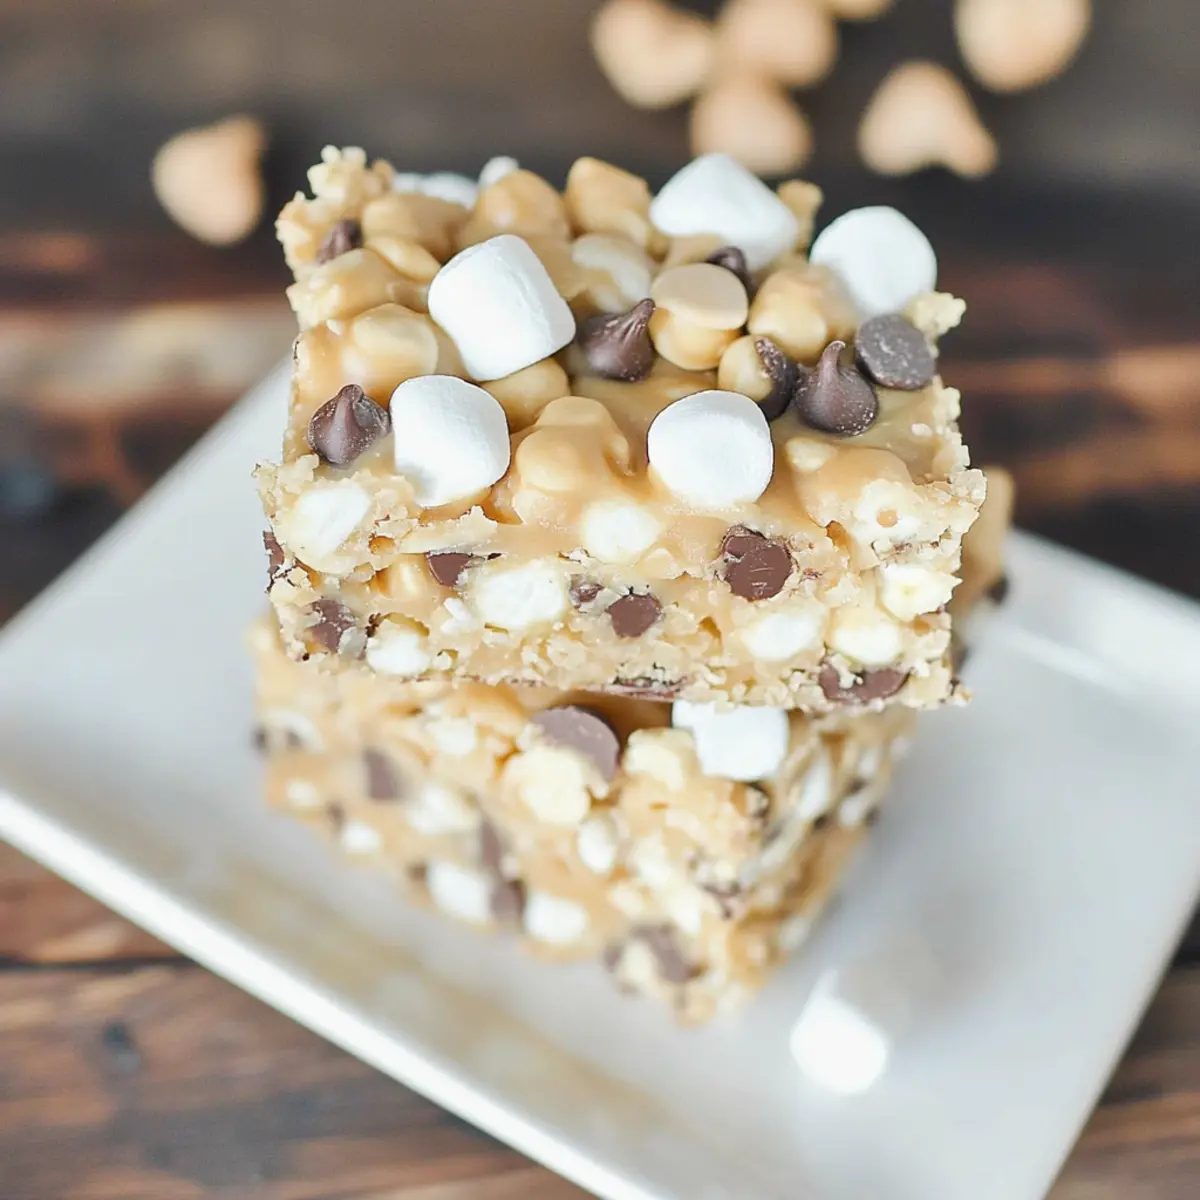
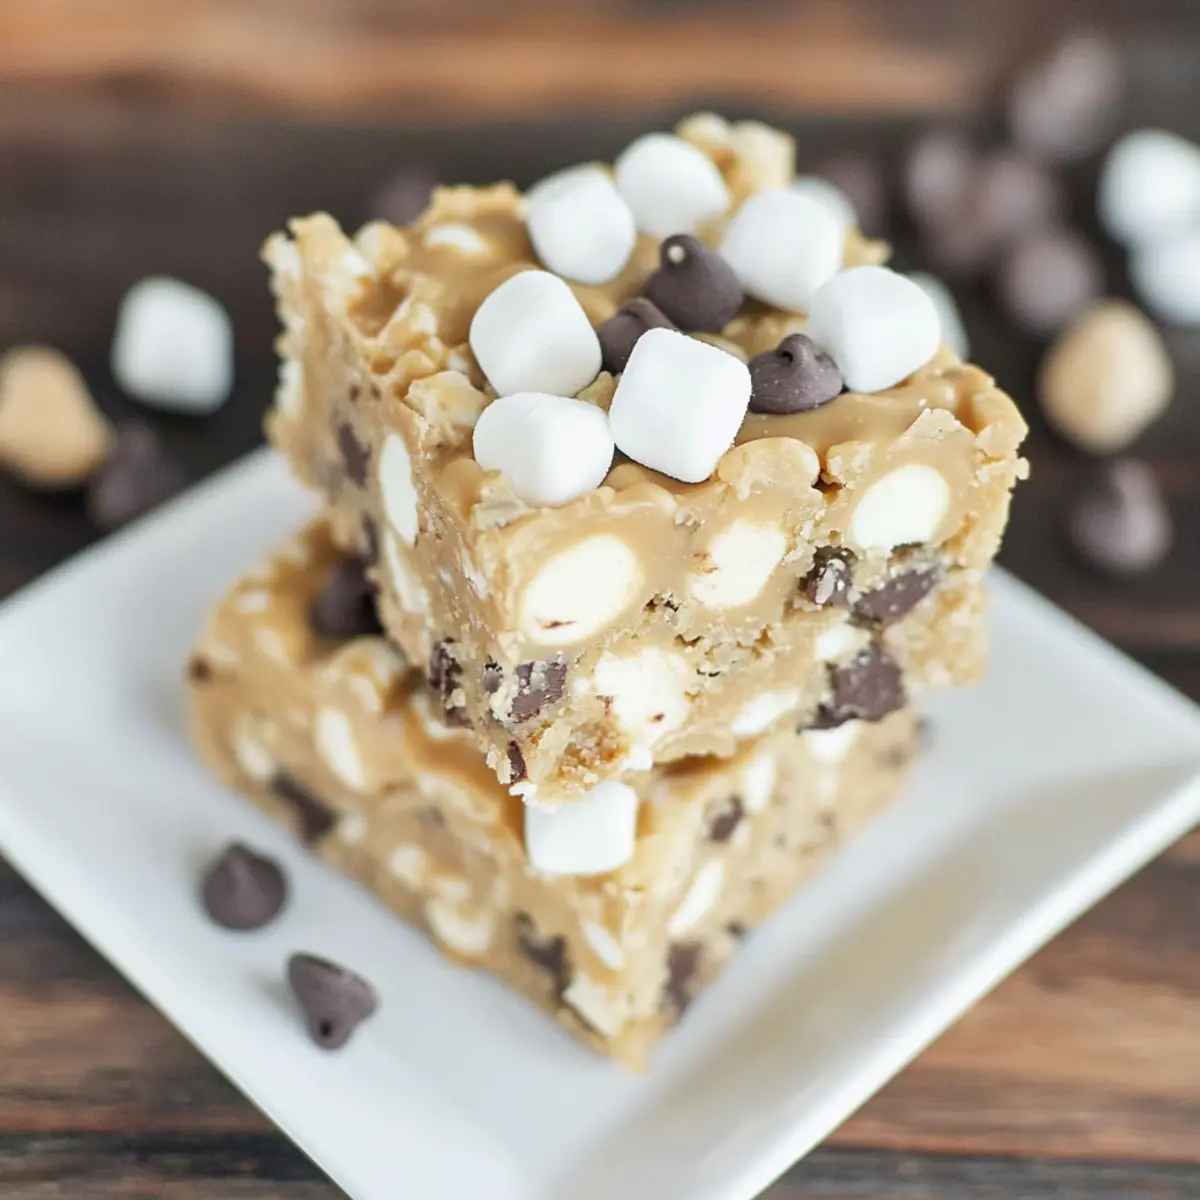
“You won’t believe how simple it is to whip up these No-Bake Avalanche Bars!” I exclaimed, as my friend’s eyes widened at the mention of this irresistible treat. With just a handful of ingredients—sweet white chocolate, creamy peanut butter, and crispy Rice Krispies—you can create a dessert that feels indulgent but is actually a breeze to prepare. The best part? These Avalanche Bars require absolutely no baking, making them a quick snack option for those busy weeknights or unexpected gatherings. In under 30 minutes, you’ll have a deliciously chewy and crunchy dessert that everyone will adore. Ready to dive into a world of sweetness? Let’s get started on making these delightful bars that promise to satisfy your cravings!
Why are Avalanche Bars a must-try?
Quick and Easy Preparation: With only 30 minutes needed to whip up these treats, you can satisfy your sweet tooth in no time! No Baking Required: Perfect for hot days or a busy schedule, these bars save you from the oven. Irresistible Flavors: The blend of sweet white chocolate and creamy peanut butter makes for a delightful flavor explosion in every bite. Versatile Snack: Play with your ingredients; try substituting with dried fruits or nuts for a unique twist! For more sweet inspirations, don’t miss my recipe for Cookie Cheesecake Bars that everyone will love!
Avalanche Bar Ingredients
• Discover the essentials for these delightful bars!
Advertisement
For the Base
- 12 ounces white chocolate chips – Adds sweetness and smoothness; consider almond bark for a different taste.
- 1/4 cup creamy peanut butter – Provides flavorful richness and binds the ingredients; almond butter makes a great substitute.
- 3 cups Rice Krispies cereal – Delivers crunch and structure; use gluten-free cereal for a gluten-free version.
For the Mix-in
- 1 1/2 cups mini marshmallows – Introduces chewiness and sweetness; regular marshmallows can also be used.
- 1/4 cup mini chocolate chips + 2 tablespoons for topping – Enhance sweetness and visual appeal; dark or semi-sweet chocolate offers a richer flavor option.
Dive into making your Avalanche Bars today and treat yourself to a satisfying no-bake dessert!
Step‑by‑Step Instructions for Avalanche Bar
Step 1: Melt the Chocolate and Peanut Butter
In a medium saucepan, combine the 12 ounces of white chocolate chips and 1/4 cup of creamy peanut butter. Heat over low flame, stirring continuously for about 5–7 minutes, until the mixture transforms into a smooth and glossy texture. Be careful not to burn the chocolate, as constant stirring is key. Once melted, remove from heat and set aside to cool slightly.
Step 2: Combine with Rice Krispies
In a large mixing bowl, pour the melted chocolate and peanut butter mixture over 3 cups of Rice Krispies cereal. Gently stir to coat the cereal evenly, ensuring that every piece is covered in the rich chocolatey blend. Let this mixture cool for about 15 minutes, occasionally stirring to prevent clumping and to help it cool down evenly.
Step 3: Fold in Marshmallows and Chocolate Chips
Once the mixture has cooled, add 1 1/2 cups of mini marshmallows and 1/4 cup of mini chocolate chips to the bowl. Carefully fold the ingredients together using a spatula, ensuring the marshmallows remain whole and the chocolate chips are evenly distributed throughout the Avalanche Bar mixture. This adds delightful chewiness and extra chocolatey goodness to each bite.
Step 4: Press into the Pan
Grease a 9×9-inch pan with butter or non-stick spray for easy removal. Transfer the Avalanche Bar mixture into the pan, spreading it out evenly. Use a spatula or wax paper to press down firmly but gently, ensuring the bars maintain their shape once set. Sprinkle the top with the remaining 2 tablespoons of mini chocolate chips for an appealing finish.
Step 5: Set and Cut the Bars
Allow the Avalanche Bars to set at room temperature for about 30 minutes, or until firm. You can expedite this process by placing them in the refrigerator for about 15 minutes. Once set, use a sharp knife to cut the bars into squares or rectangles. Serve chilled or at room temperature to enjoy this delightful no-bake dessert.
What to Serve with No-Bake Avalanche Bars
Satisfy your sweet cravings by pairing these scrumptious treats with delightful accompaniments for an unforgettable dessert experience.
-
Creamy Vanilla Ice Cream: A scoop of creamy vanilla ice cream creates a perfect contrast to the chewy texture, enhancing every bite of sweetness.
-
Fresh Berries: Juicy strawberries or raspberries add a burst of tartness that beautifully balances the rich flavors of the Avalanche Bars.
-
Chocolate Drizzle: A light drizzle of warm chocolate sauce amplifies the chocolatey goodness, ensuring a decadent finish for those who crave extra indulgence.
-
Nutty Trail Mix: Serve alongside a handful of nutty trail mix for a crunchy complement, providing a delightful contrast that’s both sweet and satisfying.
-
Sweetened Whipped Cream: Light and airy whipped cream transforms these bars into a more elegant treat that elevates the flavor profile beautifully.
-
Milk or Milk Alternatives: A tall glass of cold milk, almond, or oat milk pairs wonderfully, making every bite feel satisfying and complete.
-
Coffee or Espresso: A rich cup of coffee or a smooth espresso balances the sweetness perfectly, appealing to any chocolate lover looking to savor the moment.
-
Chocolate-Covered Pretzels: The salty-sweet combination of chocolate-covered pretzels creates an exciting crunch that pairs delightful with the soft bars.
-
Peanut Butter Dip: For the peanut butter enthusiasts, a creamy peanut butter dip served alongside can add an extra layer of heavenly flavor.
Tips for the Best Avalanche Bars
-
Constant Stirring: Always stir the melted chocolate and peanut butter continuously. This prevents burning and ensures a smooth consistency for your Avalanche Bars.
-
Cool However Necessary: Allow the chocolate-peanut butter mixture to cool sufficiently before adding the mini marshmallows. If added too soon, they may melt and lose their delightful chewiness.
-
Use Proper Pressing Technique: When pressing the mixture into the pan, a spatula or wax paper works wonders. This technique ensures an even finish and helps maintain the structure of the bars.
-
Experiment with Variations: Don’t be afraid to get creative! Substitute mini marshmallows with dried fruits or nuts for a unique flavor in your Avalanche Bars.
-
Storage Tips: Keep your bars in an airtight container at room temperature for up to 2 days, and they’ll stay fresh and delicious.
Avalanche Bar Variations & Substitutions
Feel free to get creative with these Avalanche Bars and tailor them to your taste or dietary needs!
-
Dairy-Free: Replace white chocolate chips with dairy-free chocolate chips for a delicious vegan-friendly option. You won’t miss that creamy taste!
-
Nut-Free: Swap peanut butter for sunbutter or soy nut butter to keep it safe for schools and nut allergies without sacrificing flavor. Your kids will love the nutty notes!
-
Gluten-Free: Use gluten-free Rice Krispies for a totally gluten-free treat that everyone can enjoy. Crunchy and satisfying, just like the original!
-
Flavor Twist: Add a teaspoon of vanilla extract to the melted mixture for a deeper flavor profile. This simple addition can elevate your bars to a whole new level.
-
Caramel Drizzle: Drizzle melted caramel over the top of the bars before they set for a delightful sweet layer. It adds a chewy texture that’s hard to resist!
-
Add-ins Variety: Mix in some chopped nuts, or shredded coconut for extra texture and flavor. These additions can give your Avalanche Bars a unique twist that’s all your own.
-
Chili Kick: For those who love a little heat, sprinkle in a pinch of chili powder to the chocolate mix. It will give your bars a surprisingly delightful kick!
-
Mini-Mallow Swap: Replace mini marshmallows with diced dried fruits such as cranberries or apricots for a fruity burst of flavor in each bite. This can add a refreshing touch to your bars!
No matter how you choose to customize your Avalanche Bars, these options will help you create an irresistible treat! And if you’re looking for more sweet ideas, be sure to check out my recipe for Christmas Cookie Bars and Rich and Creamy Dulce de Leche Cheesecake Bars for even more deliciousness to satisfy that sweet tooth!
Storage Tips for Avalanche Bars
Room Temperature: Store these Avalanche Bars in an airtight container at room temperature for up to 2 days; they’ll remain delightful and chewy!
Fridge: If you prefer them cold, keep the bars in the refrigerator for up to a week; just make sure they’re in a sealed container to maintain freshness.
Freezer: For longer storage, wrap the bars individually in plastic wrap and then place them in a freezer-safe bag. They’ll last for up to 2 months; simply thaw at room temperature before enjoying.
Reheating: If you prefer a softer texture, you can microwave a bar for about 10-15 seconds before serving, but be cautious not to overheat!
Make Ahead Options
These Avalanche Bars are ideal for meal prep enthusiasts looking to save time! You can prepare the base mixture—combining the melted white chocolate and peanut butter with the Rice Krispies—up to 24 hours in advance. Store it in an airtight container in the refrigerator to maintain freshness. To finish, allow the mixture to come to room temperature before folding in the mini marshmallows and chocolate chips. Once that’s done, press everything into the pan as directed and let it set. This way, you’ll ensure that your Avalanche Bars are just as delicious when it’s time to indulge, without the last-minute fuss!
Avalanche Bars Recipe FAQs
What type of white chocolate chips should I use?
It’s best to use high-quality white chocolate chips for a smooth melt and rich flavor. If desired, you can substitute with almond bark for a slightly different taste. Avoid using regular chocolate bars, as they may not melt as well.
How should I store my Avalanche Bars?
These delightful bars can be stored in an airtight container at room temperature for up to 2 days. If you prefer them cold, they can be kept in the refrigerator for up to 1 week. Make sure they are sealed properly to maintain their chewiness and flavor.
Can I freeze Avalanche Bars?
Absolutely! To freeze, wrap each bar individually in plastic wrap, then place them in a freezer-safe bag. They’ll stay fresh for up to 2 months. When you’re ready to enjoy them, simply thaw at room temperature for about 30 minutes before serving.
What should I do if my chocolate-peanut butter mixture is too thick?
If you find that your mixture is too thick to combine well with the Rice Krispies, you can add an extra tablespoon of peanut butter or coconut oil. Warm it slightly over low heat to help loosen it up, and stir until it reaches a smooth, pourable consistency.
Are there any allergy considerations I should keep in mind?
Yes! If you or your loved ones have nut allergies, consider substituting the peanut butter with sunbutter or soy nut butter. Additionally, be cautious with the chocolate chips; always check for potential allergens, as some brands may contain traces of nuts or gluten in their facilities.
How do I know when the Avalanche Bars are set?
The bars will usually take about 30 minutes to set at room temperature. You can tell they’re ready when they feel firm to the touch and hold their shape well when gently pressed with your finger. For quicker setting, pop them in the refrigerator for about 15 minutes!
Irresistible Avalanche Bars: No-Bake Crunchy Goodness
Ingredients
Equipment
Method
- In a medium saucepan, combine the white chocolate chips and peanut butter. Heat over low flame, stirring continuously for about 5–7 minutes until smooth.
- In a large mixing bowl, pour the melted mixture over the Rice Krispies. Stir gently to coat evenly and let cool for 15 minutes.
- Fold in the mini marshmallows and mini chocolate chips, ensuring the marshmallows remain whole and chips are distributed.
- Grease a 9x9-inch pan and transfer the mixture, pressing down firmly but gently. Sprinkle remaining chocolate chips on top.
- Allow the bars to set at room temperature for 30 minutes or refrigerate for 15 minutes. Cut into squares or rectangles and serve.


