Advertisement
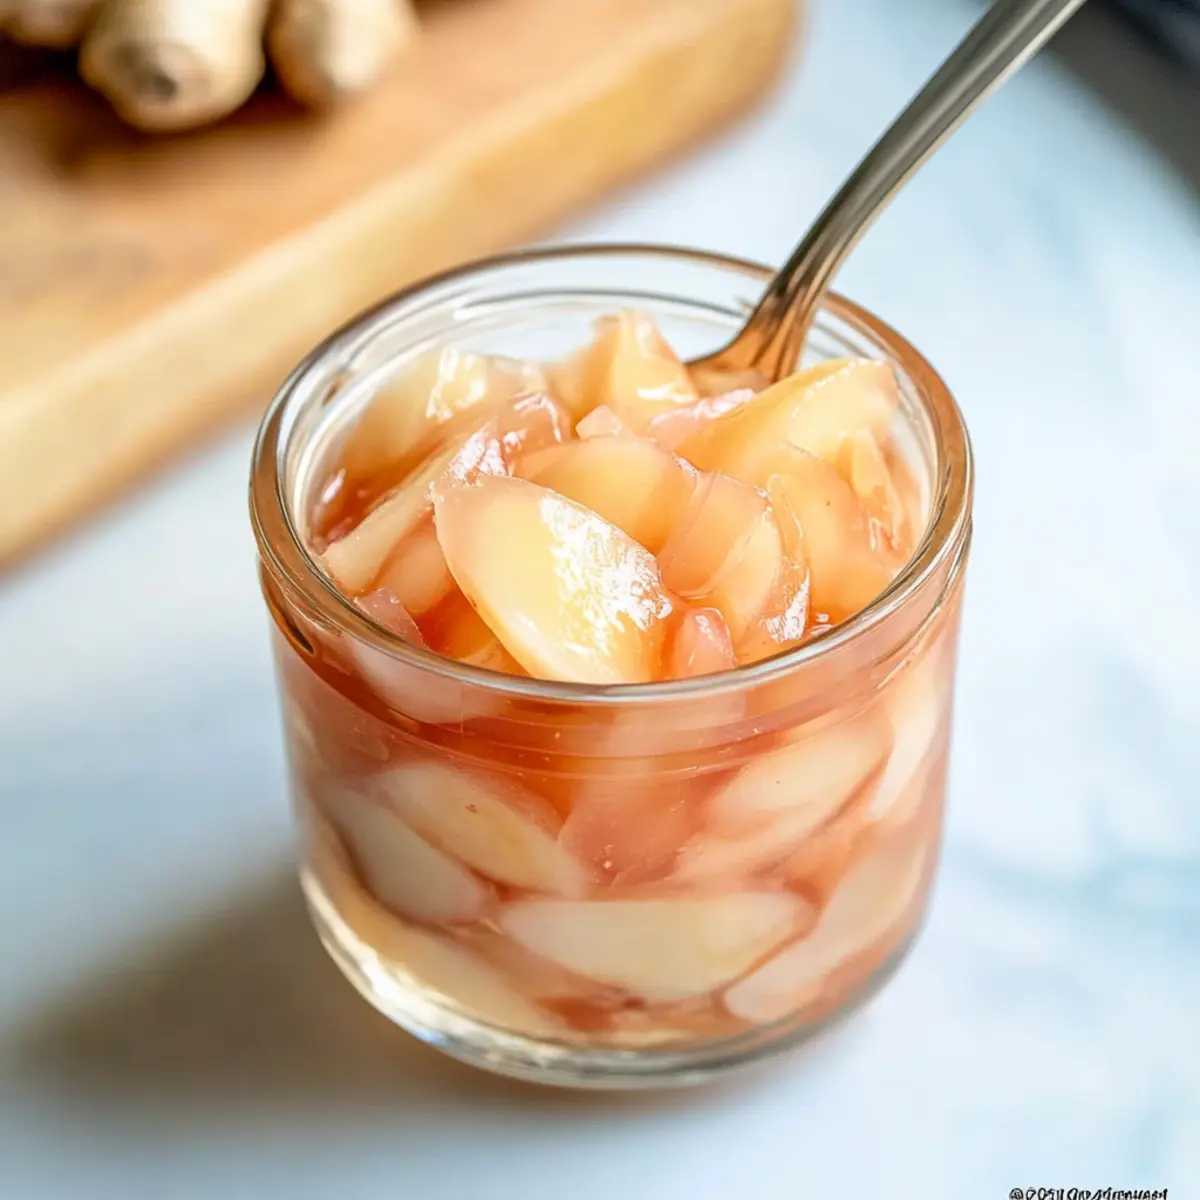
As I stood in my kitchen, the aroma of fresh ginger filling the air, I remembered how a simple jar of homemade pickled ginger had transformed my sushi nights into something special. Known as Sushi Ginger, or gari, this delightful condiment brings a perfect balance of sweet and tangy flavors, making it a must-have in any home chef’s repertoire. What I love most about this Homemade Sushi Ginger recipe is that it features just five wholesome ingredients and can be whipped up in no time! Not only is it gluten-free and vegan, but it also adds a refreshing crunch to your sushi platters, rice bowls, or salads. Trust me, once you try your hand at making this easy pickled ginger, you’ll wonder how you ever enjoyed sushi without it. Ready to elevate your culinary game? Let’s dive in!
Why Make Your Own Pickled Ginger?
Homemade pickled ginger is a game changer for sushi lovers! With its simple 5-ingredient list, this recipe is both quick and easy. Freshness matters, and making your own ensures no preservatives or dyes. Versatile enough to enhance sushi night, rice bowls, or salads. Impress your guests with the vibrant crunch and balance of flavors, bringing the taste of Japan right into your kitchen. Plus, you’ll save time and money compared to store-bought options, making this recipe a win-win!
Pickled Ginger (Sushi Ginger) Ingredients
Unlock the secret to making delicious pickled ginger with just five easy ingredients!
Advertisement
For the Pickling Mixture
- Young Ginger – Use this non-fibrous ginger for a crunch that’s tender and flavorful, making it perfect for pickling.
- Salt – Essential for extracting moisture and spiciness from the ginger; don’t skip this step!
- Rice Vinegar – Provides the tangy base for the pickling liquid; opt for unseasoned to keep it sugar-free.
- Sugar – Balances the saltiness with sweetness; raw sugar can be a substitute, but the flavor may vary.
- Water – Dilutes the pickling solution to evenly distribute flavors; filtered water gives the best results.
Step‑by‑Step Instructions for Pickled Ginger (Sushi Ginger)
Step 1: Prepare Ginger
Begin by washing and peeling about 200 grams of young ginger, ensuring you remove the thin, pinkish skin. Using a mandolin, slice the ginger as thinly as possible—aim for paper-thin slices resembling delicate rose petals. Place the sliced ginger in a medium bowl, sprinkling with 1/2 teaspoon of salt. Allow it to sweat at room temperature for 30 minutes to 4 hours, until the pieces soften and diminish in heat.
Step 2: Make Pickling Liquid
In a small saucepan, combine 1/2 cup of water, 1/2 cup of unseasoned rice vinegar, 1/4 cup of sugar, and the remaining 1/2 teaspoon of salt. Heat the mixture over medium heat, stirring gently until the sugar dissolves completely—avoid boiling. The goal is to create a clear and balanced pickling liquid that will enhance the flavors of your pickled ginger.
Step 3: Squeeze and Pack
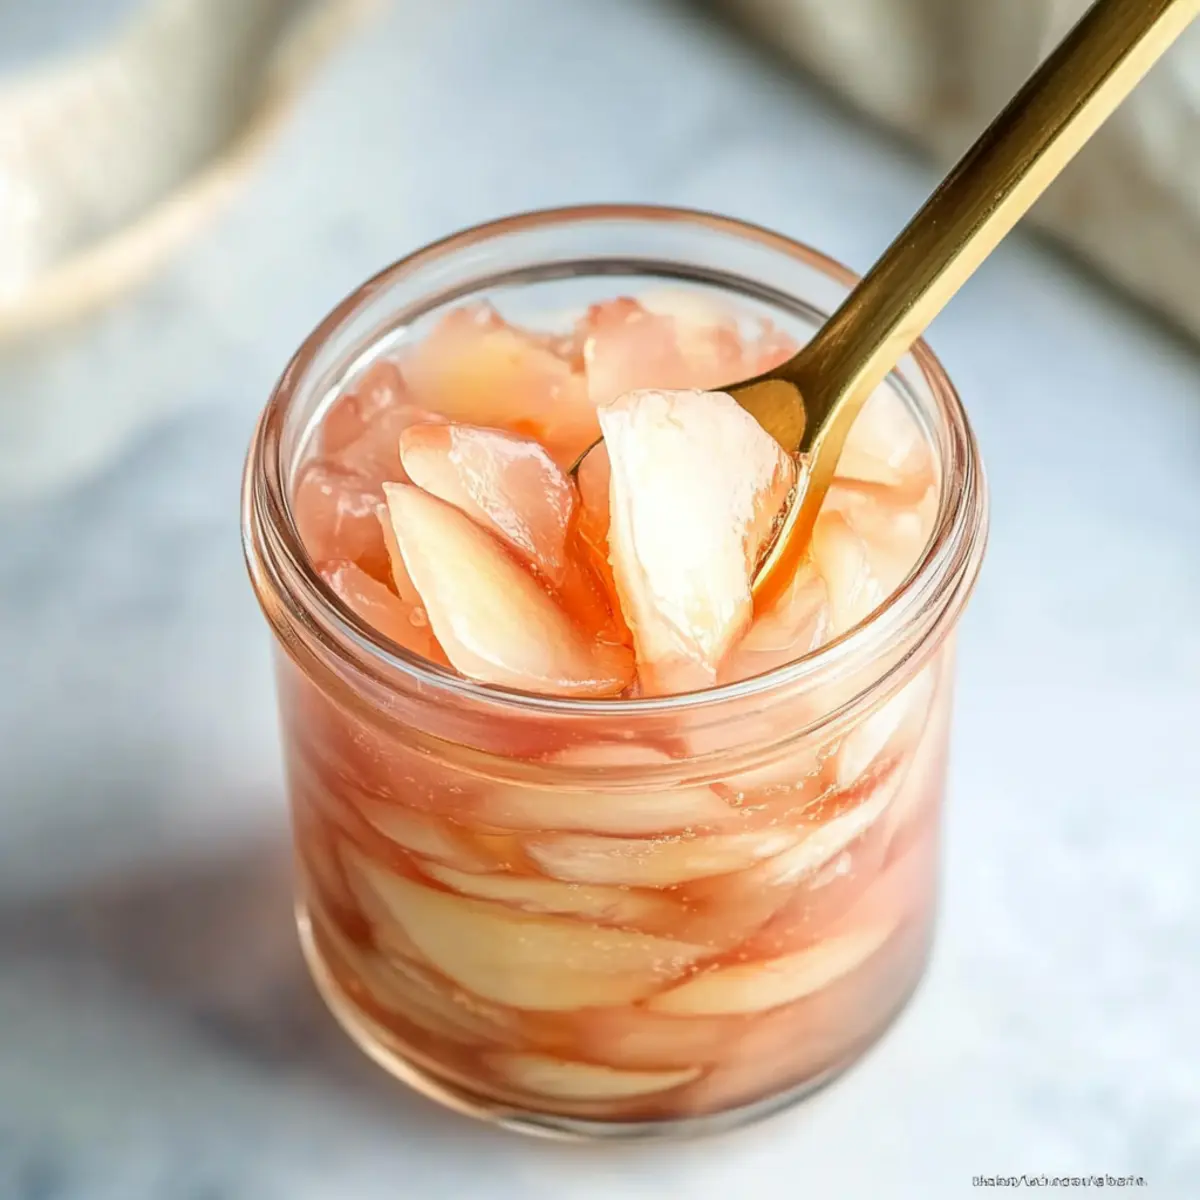
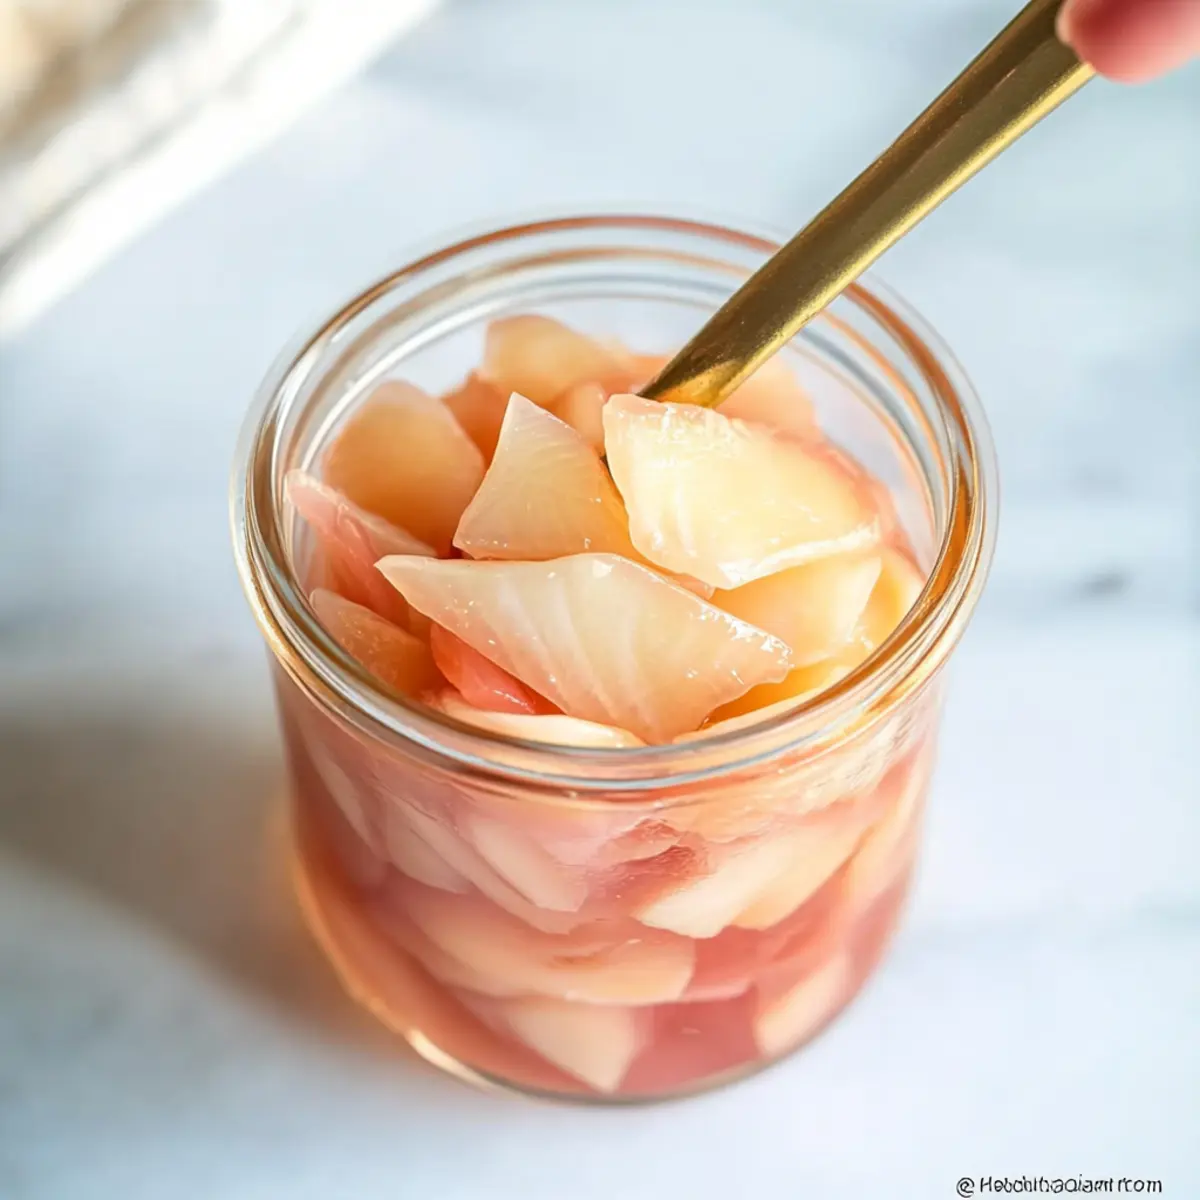
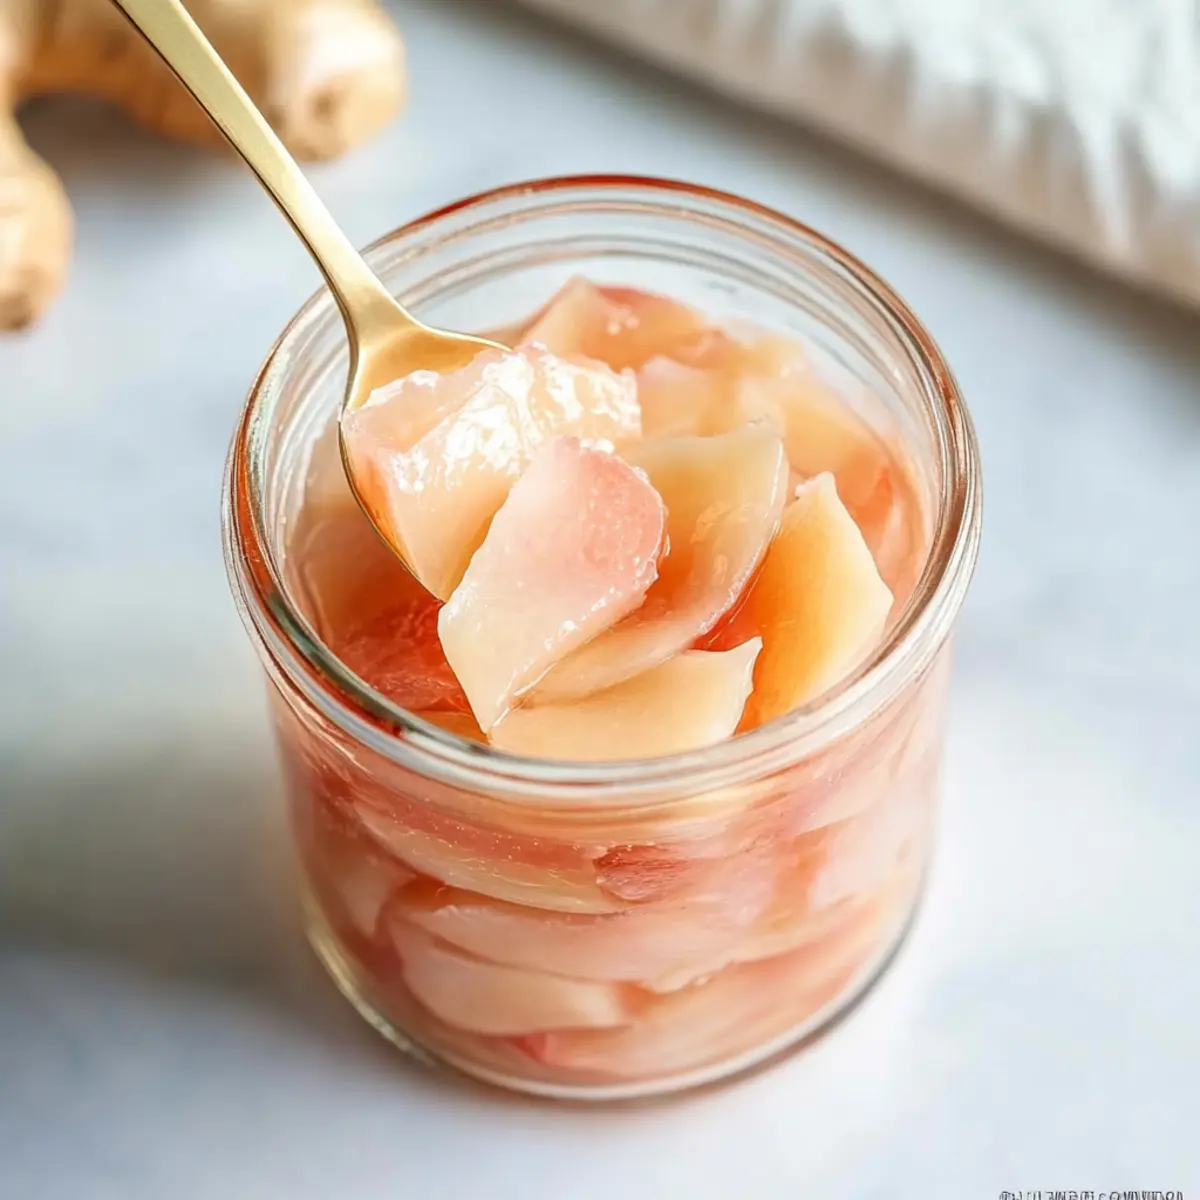
Once the ginger has sweated, take a clean towel and pat the slices dry to remove excess moisture, which will lead to better pickling. Transfer the salted ginger slices to a clean glass jar or container, packing them tightly but gently to avoid bruising. Ensure the slices are evenly distributed, making the final product visually appealing and flavorful.
Step 4: Combine and Chill
Pour your warm pickling liquid over the tightly packed ginger in the jar, ensuring the ginger is fully submerged in the liquid. Allow everything to cool completely at room temperature for about 30 minutes. Once cooled, seal the jar and refrigerate the pickled ginger for at least 30 minutes before serving, allowing the flavors to meld beautifully for that authentic Sushi Ginger experience.
Make Ahead Options
Homemade pickled ginger is perfect for meal prep enthusiasts! You can slice the young ginger and let it sweat with salt up to 4 hours in advance, ensuring it softens beautifully. Additionally, the pickling liquid can be prepared up to 3 days ahead of time—just refrigerate it until you’re ready to use it. To maintain quality, make sure to pat the ginger dry thoroughly before packing it tightly into a clean glass jar. When you’re ready to enjoy your pickled ginger, simply combine the ginger and pickling liquid, let it cool, and refrigerate for at least 30 minutes before serving, bringing delightful sushi-style flavors to your table with minimal effort!
How to Store and Freeze Pickled Ginger
Refrigerator: Store your pickled ginger in an airtight container in the refrigerator for up to one month, ensuring it’s fully submerged in the pickling liquid for optimal freshness.
Freezer: For longer storage, you can freeze pickled ginger in freezer-safe bags for up to 6 months. Just remember to thaw it in the fridge when you’re ready to enjoy!
Room Temperature: Avoid leaving pickled ginger at room temperature for more than 2 hours to prevent spoilage. Always refrigerate after serving.
Reheating: There’s no need to reheat pickled ginger; simply remove from the fridge and serve chilled as a refreshing palate cleanser alongside sushi or your favorite dishes.
Expert Tips for Pickled Ginger
-
Choose Young Ginger: Look for ginger with thin, pinkish skin and avoid fibrous ones. This ensures your pickled ginger has the right texture and flavor.
-
Don’t Rush the Salting: Allow the ginger to sweat for at least 30 minutes to extract moisture. This step intensifies the final taste and crunchiness of your pickled ginger.
-
Monitor Sugar Dissolve: Gently heat the pickling liquid until sugar fully dissolves without boiling. Boiling can alter the flavors, disrupting the balance of sweet and tangy.
-
Pat Dry Thoughtfully: Be gentle when patting the ginger dry after sweating. Excess moisture is key for a successful and flavorful pickling process.
-
Chill for Flavor: After combining with pickling liquid, refrigerate the ginger for at least 30 minutes. This allows flavors to meld, making for more delicious pickled ginger.
Pickled Ginger (Sushi Ginger) Variations
Feel free to mix things up and personalize your homemade pickled ginger with these fun twists!
-
Quick Pickled Ginger: Skip the salting step and directly mix sliced ginger with the pickling liquid, chilling for only 30 minutes. This saves time and is great for when you’re in a pinch!
-
Candied Ginger: Cook sliced ginger in the pickling liquid until it turns into a glossy, syrupy delight—perfect for topping desserts or enjoying as a sweet snack. Your taste buds will dance with joy!
-
Spicy Kick: Add a few slices of fresh chili or a dash of chili flakes to your pickling liquid for a fiery twist that amps up the flavor! This variation is ideal if you enjoy a little heat.
-
Apple Cider Vinegar: Swap out rice vinegar for apple cider vinegar to add a distinct flavor that’s both tangy and sweet. This twist gives the pickled ginger a unique yet delicious profile.
-
Zesty Lemon: Incorporate fresh lemon juice or zest into the pickling liquid to brighten the flavors and add a refreshing citrus note. It’s like a sunny day in your jar!
-
Sesame Seeds: Toss in a sprinkle of toasted sesame seeds before sealing the jar for a nutty crunch that elevates the texture and taste. It takes your pickled ginger to the next level!
-
Herb-Infused: Experiment by adding fresh herbs like cilantro or mint to the pickling mixture for an herby flavor infusion that complements a variety of dishes beautifully.
-
Sweetener Alternatives: Try using honey or agave syrup instead of sugar for a different kind of sweetness, while maintaining that beautiful balance of flavors. It’s a perfect adaptation for those who prefer natural sweeteners.
These variations are just a taste of the possibilities! Feel free to explore and create a pickled ginger that’s uniquely yours. And if you’re looking for more inspiration on how to serve it, don’t miss checking out our ideas on using pickled ginger for sushi and rice bowls!
What to Serve with Homemade Sushi Ginger?
When it comes to crafting the perfect meal, pairing is crucial for balance and flavor harmony.
- Sushi Rolls: The classic pairing! Homemade sushi ginger elevates the experience, cleansing the palate between different rolls for a delightful journey of flavors.
- Crisp Cucumber Salad: Refreshing and light, the crunch from cucumber pairs beautifully with the sweet and tangy notes of pickled ginger. Toss with a simple vinaigrette for a bright side dish.
- Teriyaki Chicken: Savory teriyaki chicken and the sharp zing of ginger make an outstanding combination. The pickled ginger cuts through the richness, providing a delightful contrast.
- Rice Bowls: Top your favorite rice bowl, whether it’s with grilled veggies or tofu, using pickled ginger adds zest and unexpected crunch, enhancing each bite.
- Vegetable Stir-Fry: Enhance a colorful vegetable stir-fry with the sweet-tangy notes of pickled ginger. It adds depth and pairs wonderfully with soy sauce or sesame dressings.
- Green Tea: A warm cup of green tea complements the refreshing qualities of sushi ginger, making it the perfect drink to enhance your sushi experience.
- Miso Soup: A comforting bowl of miso soup balances the spice of pickled ginger, while the umami flavors amplify your meal’s overall taste.
- Light Sorbet: After a flavorful meal, a scoop of lemon or ginger sorbet serves as a refreshing palate cleanser, resonating with the zing of your pickled ginger.
Pickled Ginger (Sushi Ginger) Recipe FAQs
How do I select the best ginger for pickling?
Absolutely! When choosing ginger for pickling, it’s essential to opt for young ginger with thin, pinkish skin. Look for pieces that feel firm to the touch and have minimal fibrousness. Young ginger’s non-fibrous texture is crucial for that delightful crunch in your pickled ginger.
What’s the best way to store pickled ginger?
To keep your pickled ginger fresh, store it in an airtight container in the refrigerator. It will last up to one month. Make sure it’s fully submerged in the pickling liquid, which helps maintain its flavor and texture. If you notice the ginger losing its crunch, it’s best to enjoy it sooner rather than later!
Can I freeze pickled ginger?
Very! To freeze pickled ginger, transfer it to freezer-safe bags or containers. Label them with the date and be sure to remove as much air as possible to avoid freezer burn. It can last up to 6 months in the freezer. When you’re ready to enjoy it, simply thaw it in the fridge. Freezing may change the texture slightly, but the flavors will still be delightful.
What if my pickled ginger tastes too spicy?
If your pickled ginger has turned out spicier than expected, don’t worry! After the initial cooling, allow it to chill in the refrigerator for several hours or overnight. This chilling period helps mellow out the spiciness, enhancing the sweet and tangy flavors you’ve created.
Is pickled ginger safe for pets?
Not really! While ginger can be beneficial for humans, it’s best to avoid sharing pickled ginger with pets, especially dogs and cats, due to the high salt and vinegar content. Monitor for any allergies if consumed in small amounts, but it’s safer to stick to regular pet food and treats.
What can I do if my pickled ginger is too salty?
If you find your pickled ginger is too salty after making it, here’s a simple fix: Rinse the slices under cold water and then re-pack them into your jar. You can then create a new pickling solution with less salt to soak the ginger again for a milder flavor. Just remember to balance the salt in your new batch so it complements rather than overwhelms the ginger.
Delicious Pickled Ginger: Elevate Your Sushi Experience Today
Ingredients
Equipment
Method
- Wash and peel 200 grams of young ginger, then slice it thinly using a mandolin.
- Sprinkle the ginger slices with 1/2 teaspoon of salt and let it sweat at room temperature for 30 minutes to 4 hours.
- Combine 1/2 cup water, 1/2 cup rice vinegar, 1/4 cup sugar, and 1/2 teaspoon salt in a saucepan and heat until sugar dissolves.
- Pat the ginger slices dry, then pack them into a glass jar.
- Pour the warm pickling liquid over the ginger in the jar, ensuring it's fully submerged, and allow to cool for about 30 minutes before sealing.
- Refrigerate for at least 30 minutes before serving to allow flavors to meld.