Advertisement
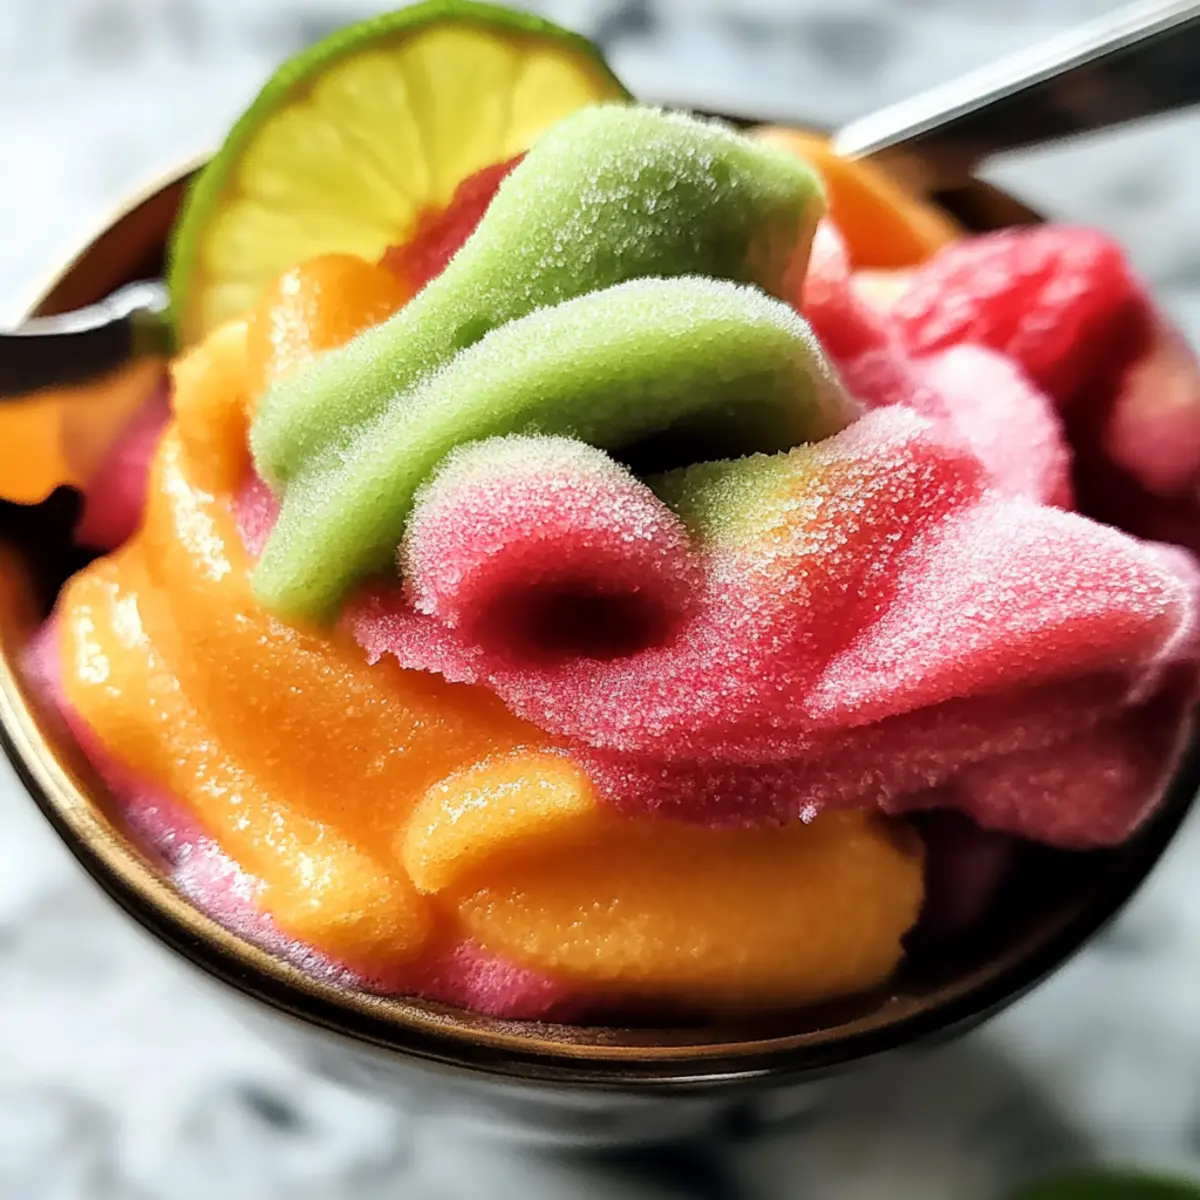
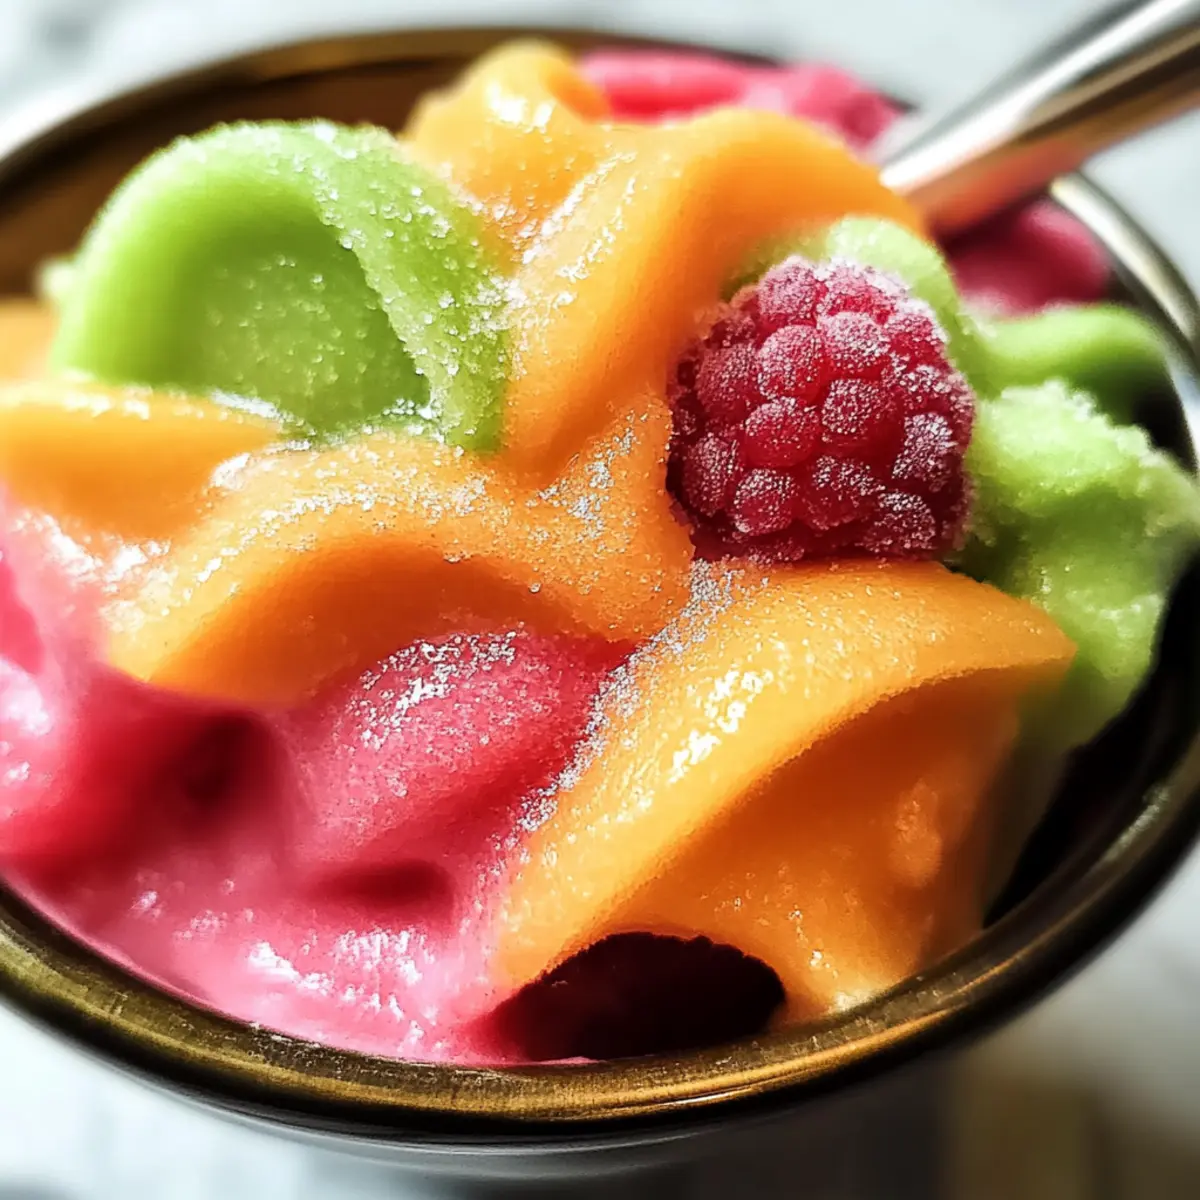
With the sun blazing and summer in full swing, there’s nothing more uplifting than the cheerful colors of a Homemade Rainbow Sherbet dazzling in your bowl. This refreshing dessert is not just a feast for the eyes; it’s a tribute to all things fruity and delightful! Whipping up this creamy treat with vibrant layers of raspberry, lime, and orange is easier than you might think, making it the perfect solution for your next gathering or family barbecue. Plus, it’s a crowd-pleaser that allows for endless customization to suit your tastebuds. Can you imagine the smiles when you serve up this fun, homemade treat? Let’s dive into how to create this summery delight that promises to cool you down and brighten your day!
Why is Homemade Rainbow Sherbet a Must-Try?
Vibrant, colorful layers make this sherbet a stunning centerpiece at any gathering! Refreshing and fruity, it brings summer flavors to your table, ideal for barbecues or parties. Customizable, you can switch up the fruits for seasonal favorites like strawberries or mangoes. Ease of preparation allows anyone, from novice cooks to seasoned chefs, to whip up this delightful dessert. Plus, it’s a healthier alternative to store-bought options packed with real fruit and no strange additives. Treat your family to something special and watch their faces light up with joy! If you’re looking for more delicious homemade ideas, check out these Homemade Chocolate Chip cookies or a luscious Homemade Black Forest cake for your next gathering!
Homemade Rainbow Sherbet Ingredients
For the Base
Advertisement
- Heavy Cream – Adds richness and creaminess to the sherbet. Substitute with coconut cream for a dairy-free version.
- Milk – Provides a balanced base for the sherbet’s texture; whole milk is preferred for creaminess.
- Granulated Sugar – Sweetens the sherbet and helps create a smooth texture; adjust quantity based on the fruit’s sweetness.
- Vanilla Extract – Enhances flavor depth; use pure vanilla for best results.
For the Flavors
- Raspberries – For the raspberry flavor layer; fresh or frozen can be used; thaw slightly if frozen.
- Orange Juice – Contributes vibrant flavor and color to the orange layer; freshly squeezed is ideal.
- Lime Juice – Adds tartness to the lime layer, balancing sweetness; freshly squeezed is recommended.
For Visual Appeal
- Food Coloring (Optional) – Brightens each layer’s color for visual appeal, making your Homemade Rainbow Sherbet even more enticing.
Step‑by‑Step Instructions for Homemade Rainbow Sherbet
Step 1: Prepare the Base
In a medium saucepan, combine the heavy cream, milk, and granulated sugar over medium heat. Stir continuously for about 5 to 7 minutes until the sugar fully dissolves and the mixture begins to steam, but do not let it boil. Once done, remove from heat, stir in the vanilla extract, and let the mixture cool completely for a smooth base.
Step 2: Make the Raspberry Layer
While the base is cooling, add fresh or thawed raspberries and a tablespoon of sugar to a blender. Blend until smooth, then strain the mixture through a fine mesh sieve to remove the seeds—this will create a beautiful raspberry puree. Set aside the puree for a vibrant layer in your Homemade Rainbow Sherbet.
Step 3: Chill the Base Mixture
Once the cream base has cooled, place it in the refrigerator and chill for at least 2 hours until it’s very cold. Chilling the mixture thoroughly is essential for a creamy texture when you churn it in an ice cream maker, so don’t skip this step!
Step 4: Churn the Base
After chilling, pour the base mixture into your ice cream maker. Churn according to the manufacturer’s instructions until it reaches a soft-serve consistency, typically around 20-30 minutes. Watch for it to increase in volume and thicken, indicating it’s ready for layering.
Step 5: Prepare the Orange Layer
Divide the churned base into three equal parts. In a separate bowl, mix one part with freshly squeezed orange juice and a drop of orange food coloring for visual appeal. Gently fold until well combined, then churn this mixture briefly to integrate the flavors before freezing.
Step 6: Make the Lime Layer
Next, take another part of the base and mix it with freshly squeezed lime juice and a few drops of green food coloring. Again, fold to combine and churn briefly. This will create the zesty lime layer of your Homemade Rainbow Sherbet, ready to be frozen after churning.
Step 7: Add the Raspberry Layer
Now, pour the final third of the base into a bowl and stir in the raspberry puree, mixing well to achieve a lovely pink color. Churn this mixture briefly to combine, which will create the last fruity layer of your refreshing sherbet.
Step 8: Layer the Sherbet
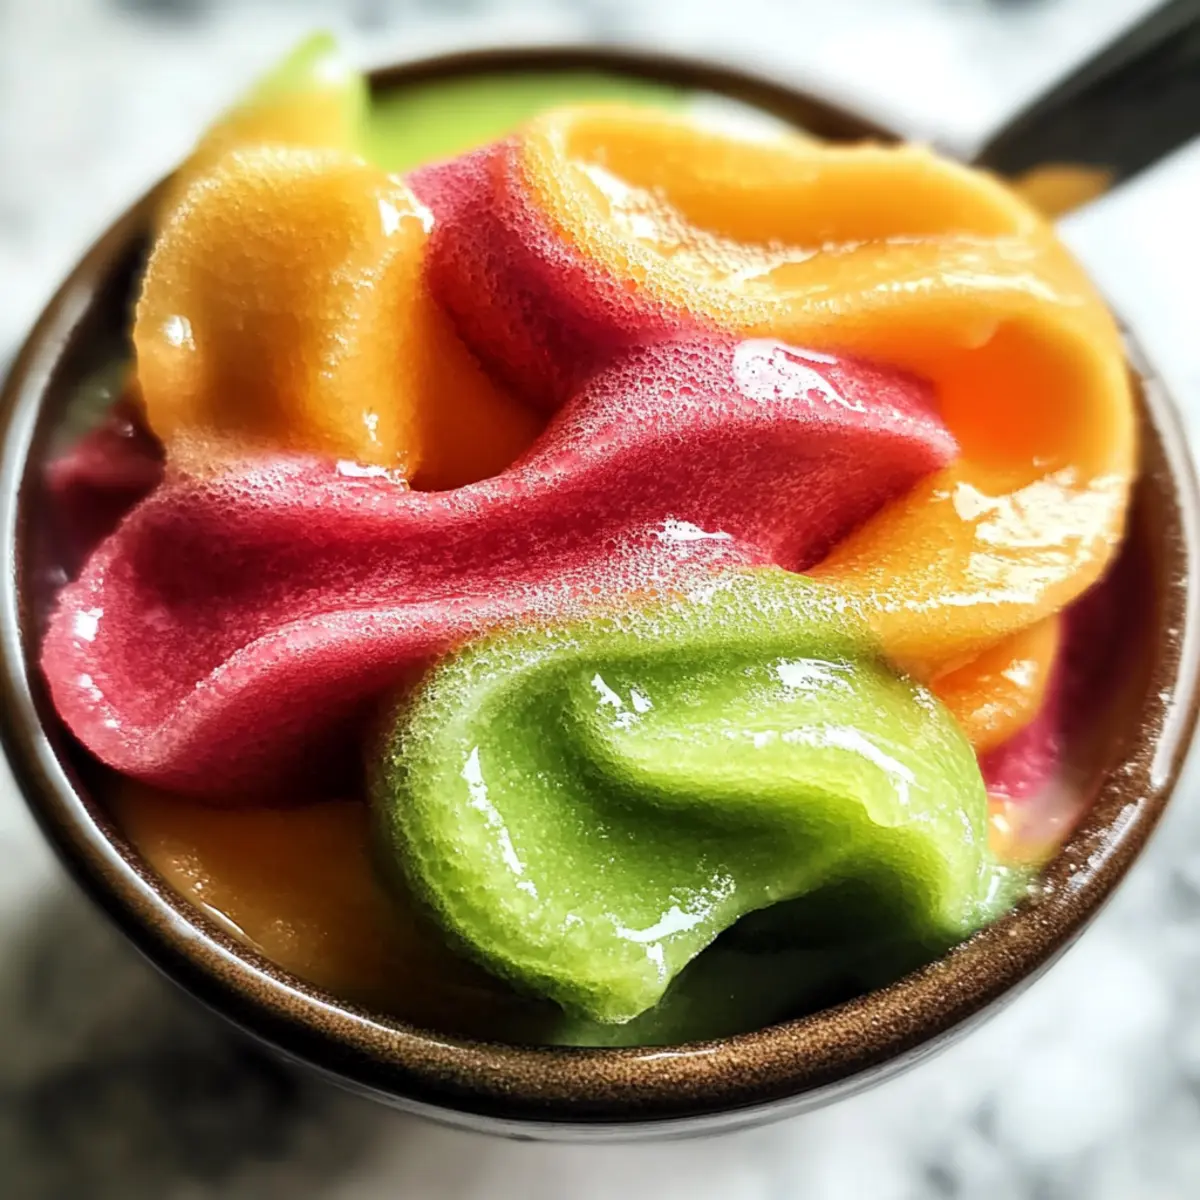
Grab a freezer-safe container and start layering the three sherbet flavors. Alternate spoonfuls of the orange, lime, and raspberry mixtures, gently swirling them together for a marbled effect. This visual twist will make your Homemade Rainbow Sherbet immediately eye-catching!
Step 9: Freeze Until Firm
Cover the container tightly with a lid or plastic wrap and place it in the freezer. Let it freeze for at least 4 to 6 hours, or until it becomes firmer and scoopable. This final freezing step solidifies your sherbet into a delightful dessert ready for serving.
Step 10: Serve and Enjoy
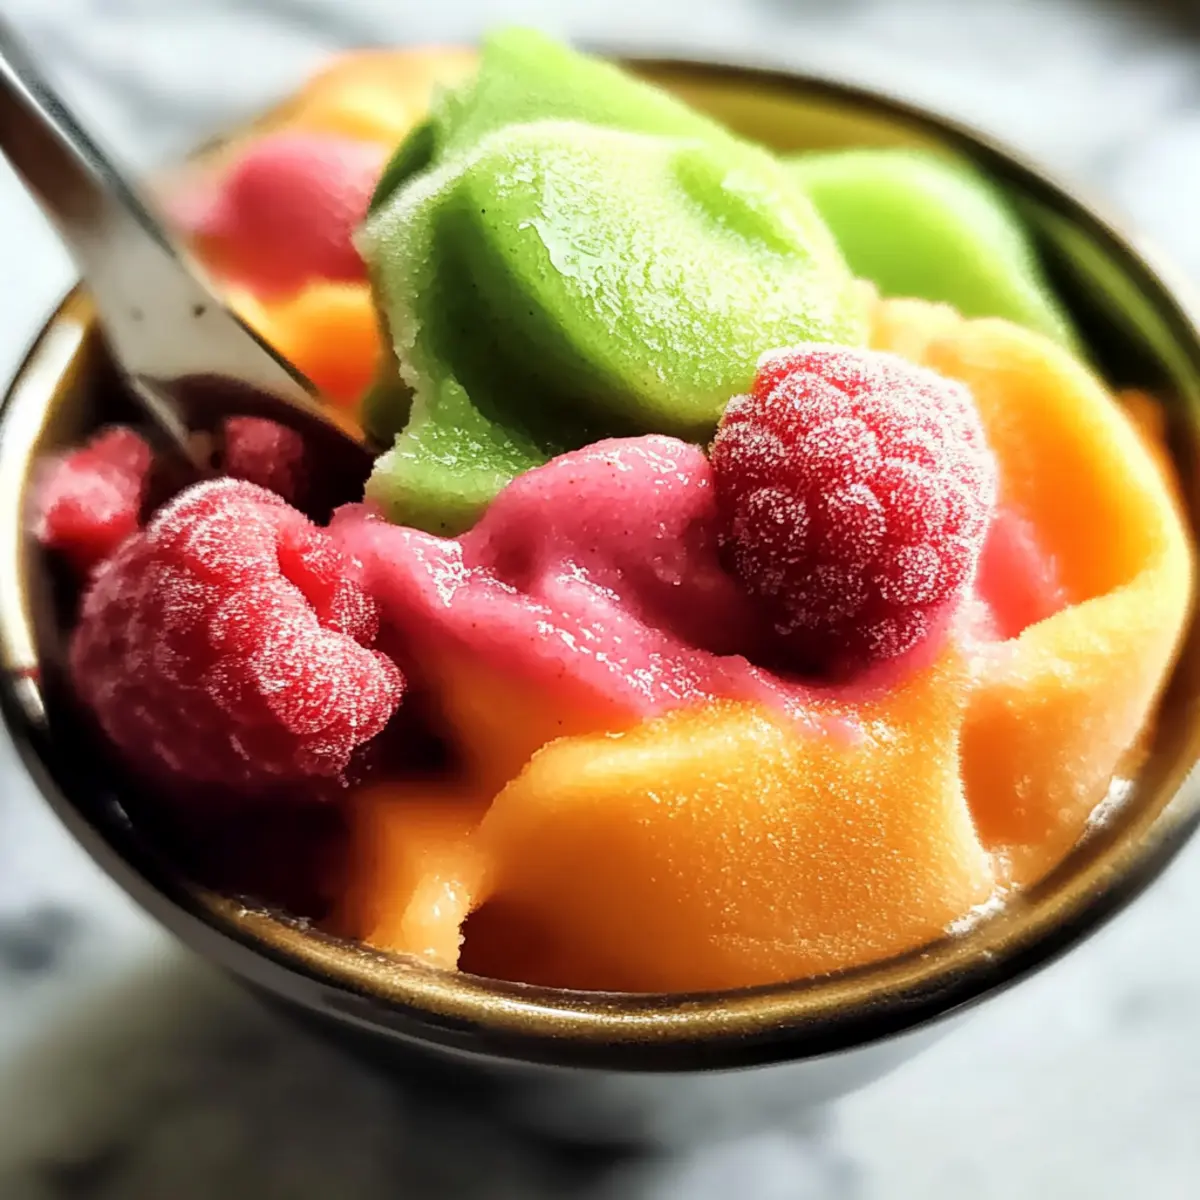
Once your Homemade Rainbow Sherbet is set, scoop it into colorful cones or bowls. You can dress it up with fresh fruit or a light drizzle of chocolate sauce for extra sweetness. Watch as it brings smiles to faces with every vibrant scoop!
Expert Tips for Homemade Rainbow Sherbet
- Cool It Down: Ensure the base mixture is completely cooled before churning. This step helps achieve the best creamy texture for your Homemade Rainbow Sherbet.
- Smooth Purees: Use a fine mesh sieve to strain your fruit purees. This will eliminate seeds and any chunkiness, resulting in a smoother texture.
- Churn Accordingly: Follow your ice cream maker’s specific instructions for the best results. This will help prevent ice crystallization and maintain the creamy consistency.
- Layer Colors Wisely: When layering flavors, alternate spoonfuls carefully to create a beautiful marbled effect. It’s all about the visual appeal for your presentation!
- Storage Solutions: Keep your Homemade Rainbow Sherbet in an airtight container in the freezer; it can last up to 2 months while maintaining flavor quality.
- Fruit Flexibility: Don’t hesitate to experiment with different fruit flavors based on what’s in season or your personal preferences. This adds a fun twist to your sherbet!
What to Serve with Homemade Rainbow Sherbet
Brighten up your dessert table by pairing delicious accompaniments with your vibrant sherbet that will leave everyone smiling.
-
Fresh Berries: Juicy strawberries, blueberries, or blackberries enhance the fruity flavors, adding a sweet-tart contrast that complements the creamy sherbet beautifully.
-
Chocolate Sauce: Rich chocolate sauce drizzled on top adds a delightful sweetness, balancing out the refreshing flavors of your Homemade Rainbow Sherbet.
-
Mint Leaves: A sprinkle of fresh mint leaves garnishes your dessert, adding an aromatic touch that elevates the overall presentation and flavor.
-
Coconut Macaroons: These chewy, sweet treats provide a rich, tropical flair that pairs perfectly with the fruity layers of the sherbet.
-
Fruit Salad: A refreshing fruit salad brings a variety of textures and flavors, making your dessert spread lively and colorful, just like the sherbet itself!
-
Sparkling Lemonade: An effervescent drink like sparkling lemonade is a perfect complement. Its citrusy zing will refresh your palate between scoops of the creamy sherbet.
-
Shortbread Cookies: Crisp, buttery shortbread cookies serve as a delightful contrast, offering a crunchy texture and mildly sweet flavor that perfectly complements the smoothness of the sherbet.
-
Whipped Cream: A dollop of whipped cream adds an extra creamy texture while enhancing the overall enjoyment of this light and refreshing dessert.
-
Mango Sorbet: For a multi-sorbet delight, serve alongside mango sorbet! Its tropical flavor is a wonderful addition to the raspberry, lime, and orange layers.
-
Ginger Ale Float: Pour ginger ale over scoops of your sherbet for a fizzy float experience, transforming your dessert into a fun, nostalgic treat.
How to Store and Freeze Homemade Rainbow Sherbet
Fridge: Store leftover sherbet in the fridge for up to 3 days but beware it may soften. For best quality, keep it frozen.
Freezer: Keep your Homemade Rainbow Sherbet in an airtight container in the freezer. It can last up to 2 months without losing flavor quality.
Serving: When ready to serve, let the sherbet sit at room temperature for about 5-10 minutes before scooping for easier serving.
Reheating Not Applicable: No reheating is needed, but if the sherbet gets too hard, just let it soften a bit before serving!
Make Ahead Options
Making your Homemade Rainbow Sherbet ahead of time is a breeze and perfect for busy weeknights or parties! You can prepare the base mixture up to 24 hours in advance by following all the initial steps (heating, cooling, and churning), then store it in the refrigerator. Additionally, you can make each fruit layer (raspberry, lime, and orange) separately and keep them frozen for up to 3 days. Just be sure to store them in airtight containers to prevent freezer burn and maintain their vibrant flavors. When you’re ready to serve, layer the flavors in a container and freeze for an additional 4-6 hours until firm. This way, you’ll have a refreshing treat ready to impress with minimal last-minute effort!
Homemade Rainbow Sherbet Variations
Consider bringing your own twist to this delightful sherbet with these fun and easy variations!
- Dairy-Free: Substitute heavy cream and milk with coconut cream and almond milk for a deliciously creamy non-dairy version.
- Fresh Herb Twist: Add a handful of chopped fresh mint to the lime layer for a refreshing herbal note that elevates the sherbet’s flavor.
- Flavor Exploration: Mix in seasonal fruits like strawberries or kiwi for a different fruity experience. These vibrant additions can transform the classic recipe into something uniquely yours.
- Unexpected Spices: A pinch of chili powder mixed into the orange layer can add an exciting kick! Just be cautious with the amount; you want a gentle heat, not overwhelming spice.
- Nutty Crunch: Fold in some crushed nuts like almonds or pistachios into each layer for added texture and a delightful crunch that contrasts with the creaminess.
- Layer of Granola: For a wholesome touch, add a layer of granola between the fruity layers. This gives a wonderful crunch and adds an aesthetic that’s eye-catching!
- Frozen Yogurt Alternative: Use Greek yogurt instead of heavy cream for a tangy flavor and a healthier twist. This version will give you a tart bite that pairs wonderfully with the sweet fruit layers.
- Experiment with Juices: Try swapping the fruit juices for alternatives like pineapple or pomegranate for a different burst of flavor and color. Each juice brings a unique twist to your homemade treat!
Feel free to get creative and enjoy this refreshing treat with your personal touch! If you’re looking for more delightful recipes, don’t miss out on our Homemade Chocolate Chip cookies or a luscious Homemade Black Forest cake—perfect for any occasion!
Homemade Rainbow Sherbet Recipe FAQs
How do I select ripe fruits for my Homemade Rainbow Sherbet?
Absolutely! When choosing fruits, look for vibrant colors and a nice aroma. Raspberries should be plump and slightly firm without dark spots all over. For oranges and limes, opt for those that feel heavy for their size and have smooth skin—this usually means more juice! Fresh fruits provide the best flavor, but frozen fruits can work just as well if fresh options aren’t available.
What’s the best way to store my Homemade Rainbow Sherbet?
To maintain its delightful flavors, store your sherbet in an airtight container in the freezer. It can last up to 2 months while remaining flavorful and creamy. If you have leftover sherbet, you might notice it softens if left out at room temperature for more than a few minutes, so keep it frozen until you’re ready to serve!
Can I freeze Homemade Rainbow Sherbet for later use?
Yes, freezing is an excellent option! Once you’ve layered your sherbet in an airtight container, it can be stored in the freezer for up to 2 months. Just remember to let it sit out for 5-10 minutes before scooping, especially if it feels rock-hard after being frozen!
What should I do if my sherbet feels icy or grainy?
Very! An icy or grainy texture can often be due to over-churning or insufficient cooling of the base mixture before freezing. If your mixture seems too icy, make sure the base is thoroughly chilled before churning, and follow your ice cream maker’s instructions closely. Additionally, if you find your sherbet turning icy after a few weeks, try pre-churning your mixture again after letting it soften slightly for a creamy fix!
Is this Homemade Rainbow Sherbet safe for individuals with dairy allergies?
Great question! This recipe contains dairy, particularly heavy cream and milk. If you’re accommodating someone with dairy allergies or lactose intolerance, I recommend swapping the heavy cream with coconut cream and using lactose-free milk. Your sherbet will still be deliciously creamy while being safe for those avoiding dairy.
Can pets eat Homemade Rainbow Sherbet?
It’s best to avoid sharing your Homemade Rainbow Sherbet with pets. While the fruits themselves may be safe in small amounts, the added sugar and dairy may not be suitable for their diets. Instead, consider making a pet-friendly frozen treat using pureed fruits blended with water—it’s a flavorful way to cool them down without the risks!
Homemade Rainbow Sherbet: A Creamy Summer Dream Delight
Ingredients
Equipment
Method
- In a medium saucepan, combine the heavy cream, milk, and granulated sugar over medium heat. Stir continuously for about 5 to 7 minutes until the sugar fully dissolves and the mixture begins to steam, but do not let it boil.
- Once done, remove from heat, stir in the vanilla extract, and let the mixture cool completely.
- While the base is cooling, add fresh or thawed raspberries and a tablespoon of sugar to a blender. Blend until smooth, then strain the mixture through a fine mesh sieve to remove the seeds.
- Once the cream base has cooled, place it in the refrigerator and chill for at least 2 hours until it's very cold.
- After chilling, pour the base mixture into your ice cream maker. Churn according to the manufacturer’s instructions until it reaches a soft-serve consistency, typically around 20-30 minutes.
- Divide the churned base into three equal parts. In a separate bowl, mix one part with freshly squeezed orange juice and a drop of orange food coloring. Gently fold until well combined.
- Next, take another part of the base and mix it with freshly squeezed lime juice and a few drops of green food coloring.
- Now, pour the final third of the base into a bowl and stir in the raspberry puree, mixing well.
- Grab a freezer-safe container and start layering the three sherbet flavors, alternating spoonfuls of the orange, lime, and raspberry mixtures.
- Cover the container tightly and place it in the freezer. Let it freeze for at least 4 to 6 hours, or until it becomes firmer and scoopable.
- Once your Homemade Rainbow Sherbet is set, scoop it into colorful cones or bowls.