Advertisement
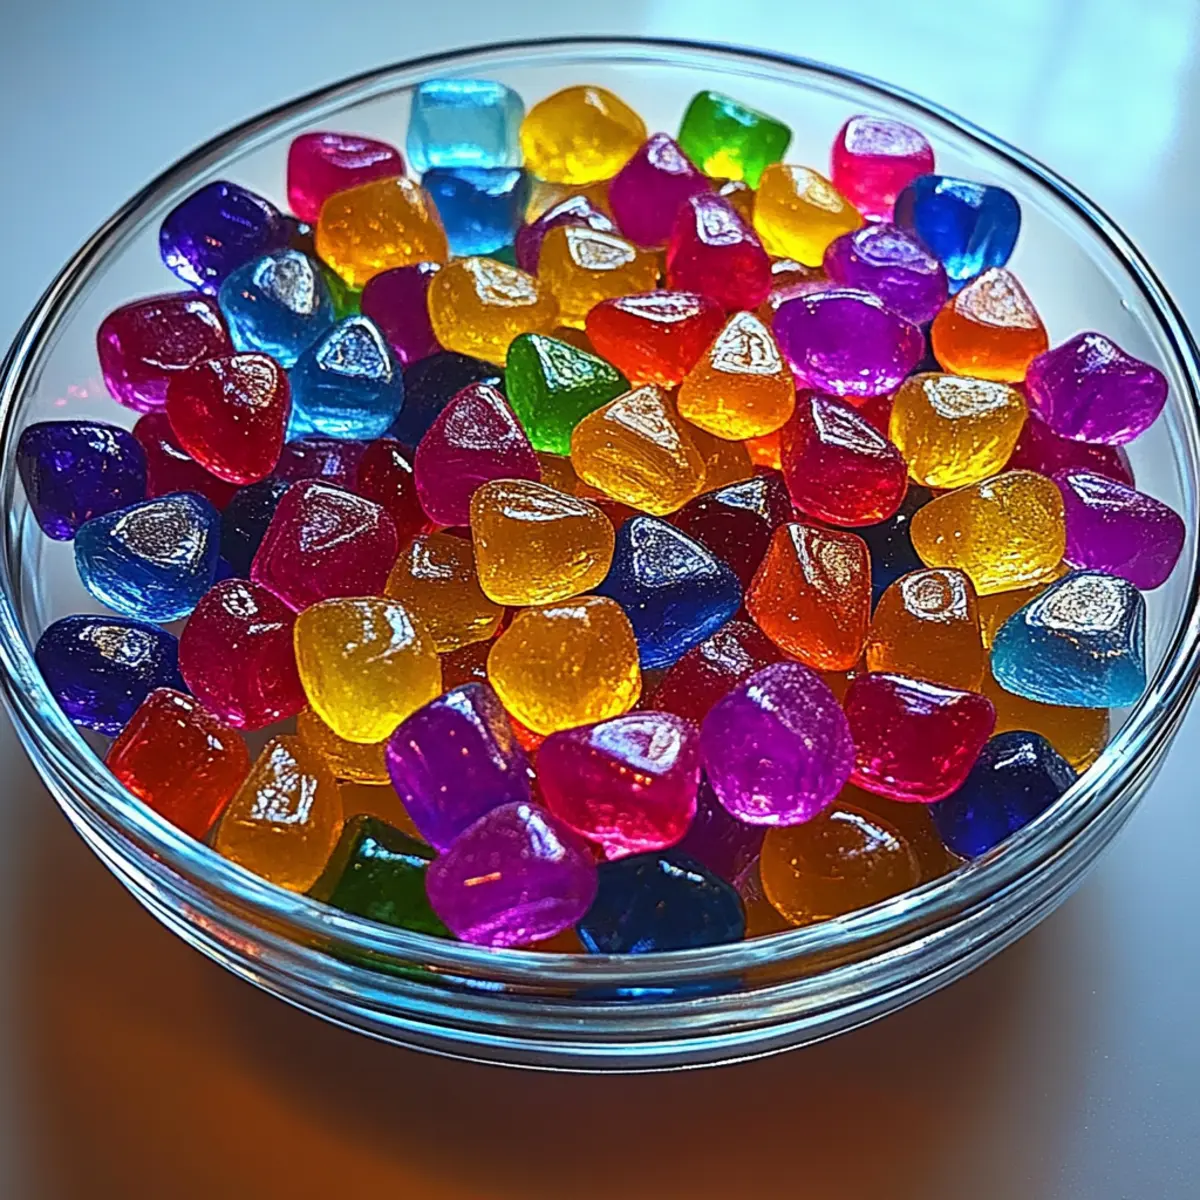
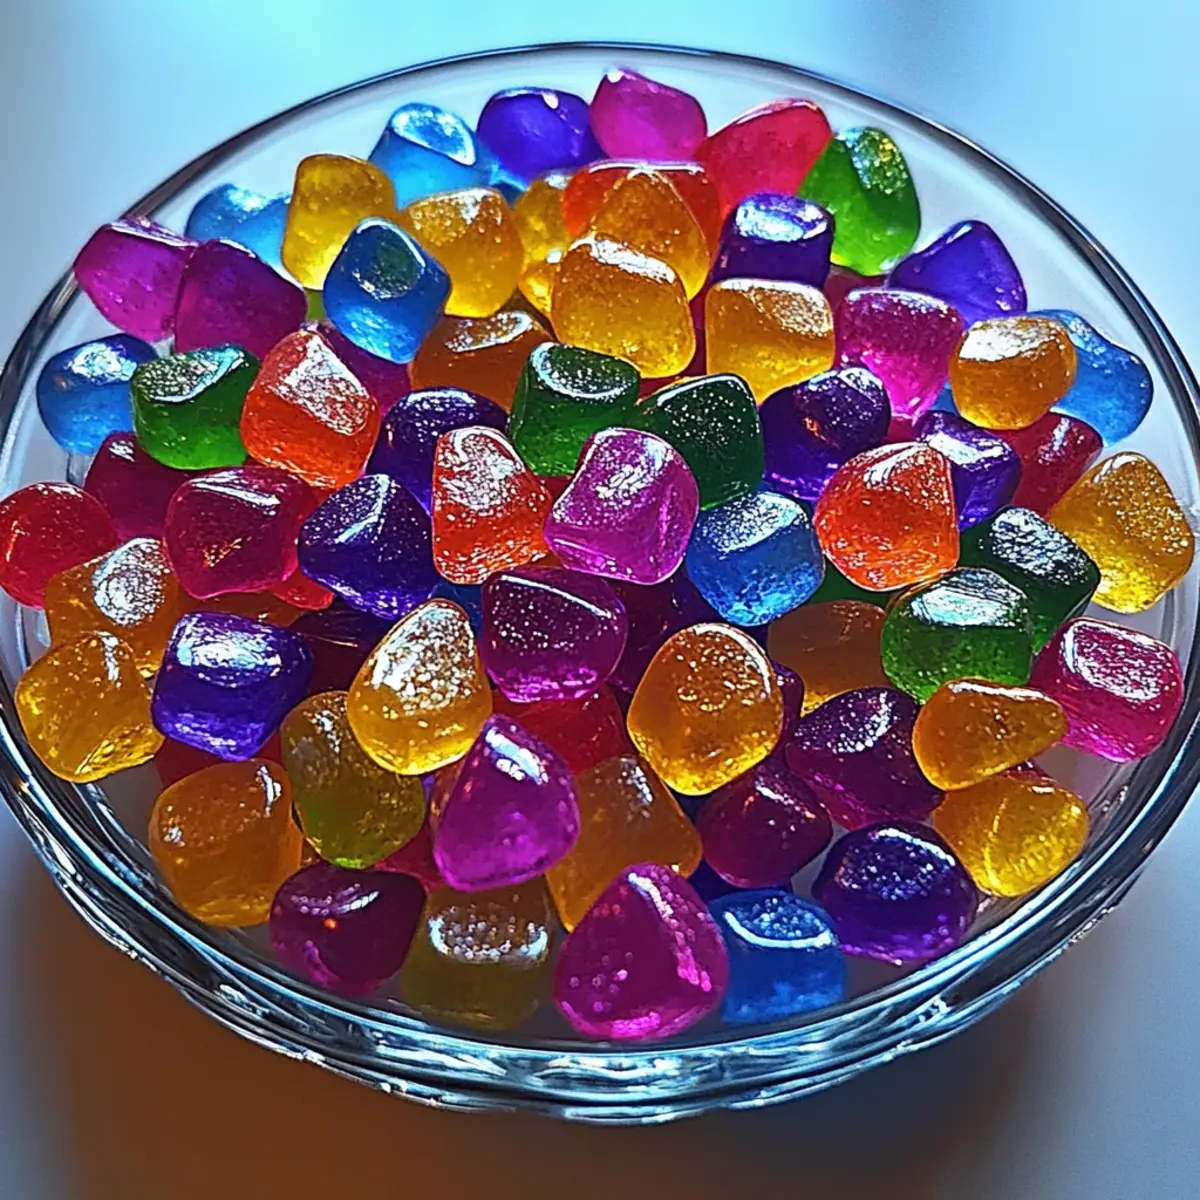
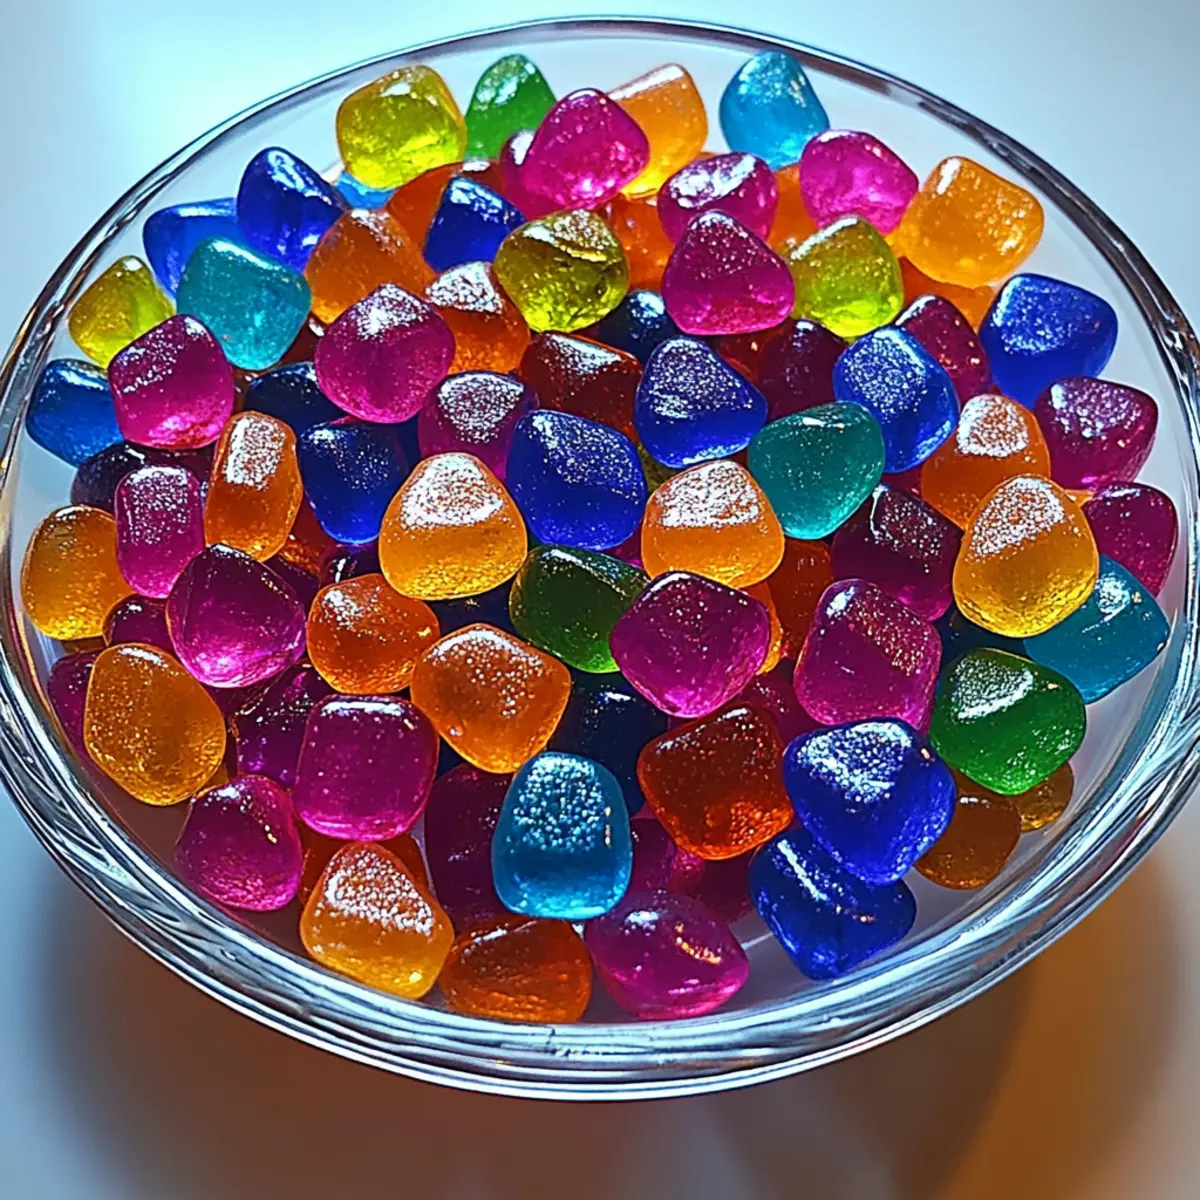
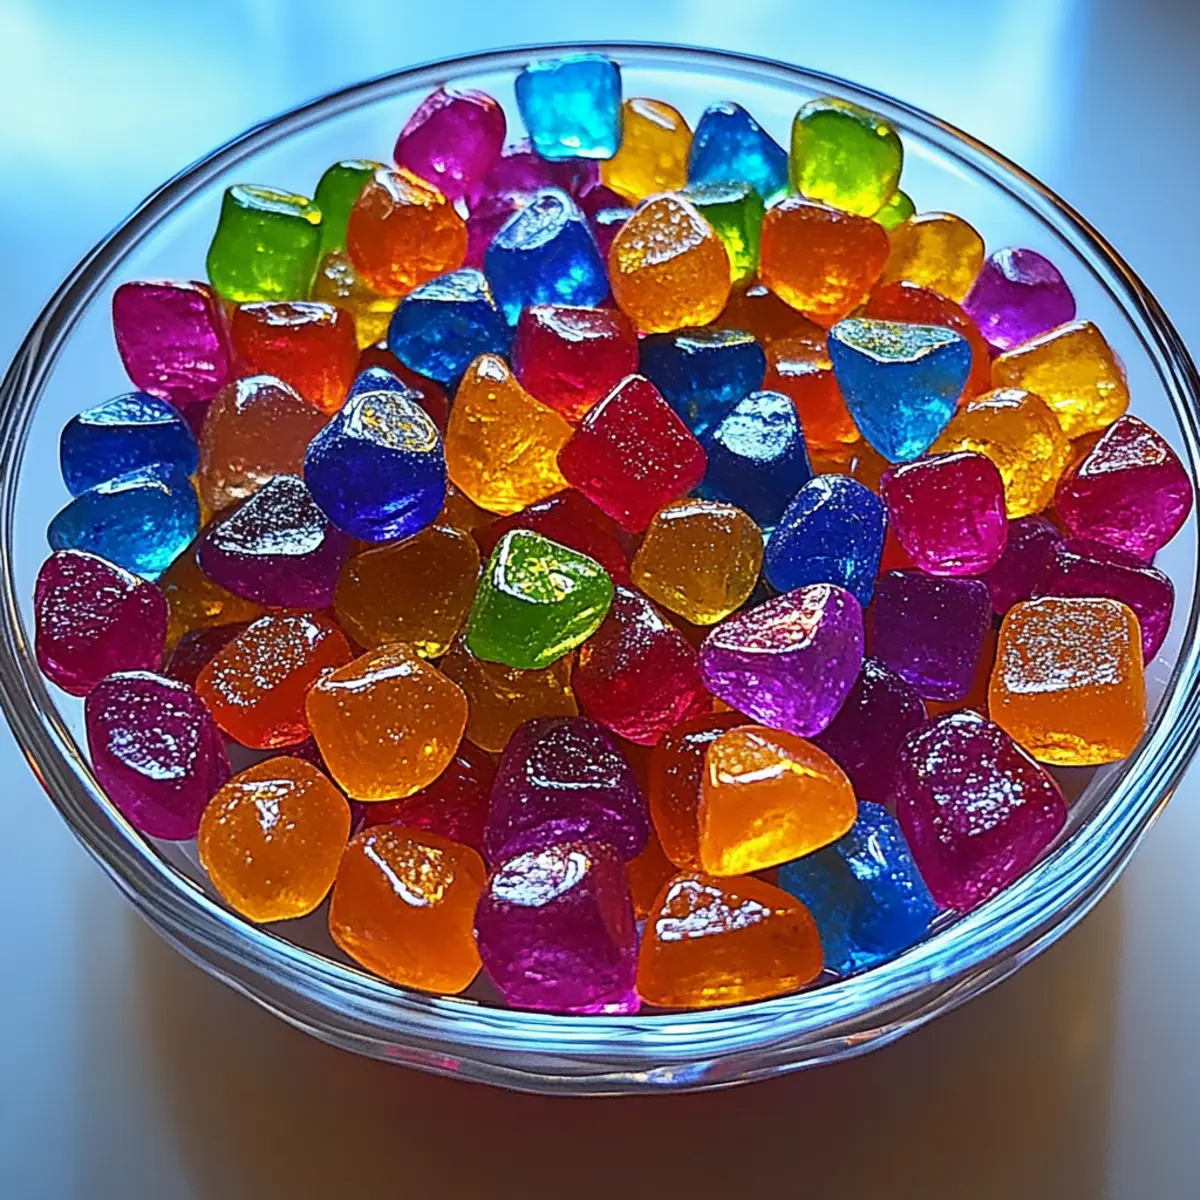
As I stood in the kitchen, the sweet scent of melting sugar wafted through the air, transporting me straight back to my childhood, where holiday gatherings were filled with laughter and homemade treats. Making Classic Homemade Crystal Candy is a joyful experience that’s equal parts nostalgic and delightful. This simple recipe not only offers a unique, crispy, and chewy texture that everyone will adore but also provides a fantastic opportunity for family fun. Picture yourselves gathered around, experimenting with vibrant colors and flavors as you create your very own candy masterpieces. Whether you’re preparing for a festive occasion or simply craving a sweet indulgence, this candy serves as a beautiful addition to any dessert table. Curious about how to achieve that stunning crystalline appearance? Let’s dive into the magic of candy-making together!
Why is Homemade Crystal Candy so special?
Nostalgic Delight: Crafting Classic Homemade Crystal Candy brings back cherished memories of family gatherings and sweet moments spent in the kitchen.
Versatile Fun: Customize it with your favorite flavoring extracts and vibrant food colors, making each batch uniquely yours!
Advertisement
Simple Process: With just a few ingredients and straightforward steps, you’ll be mastering candy-making in no time.
Perfect for Sharing: This visually appealing treat makes an excellent gift or centerpiece at celebrations, ensuring smiles all around.
Quality Time: Involve loved ones in the process, creating lasting memories as you make delicious treats together—plus, there’s nothing quite like enjoying candy made from scratch!
For even more sweet inspiration, check out Homemade Chocolate Chip or try your hand at some Homemade Caramel Apple!
Homemade Crystal Candy Ingredients
• Here’s everything you need for your sweet creation!
For the Candy Base
- Granulated Sugar – Provides sweetness and structure; essential for achieving the desired texture of the candy.
- Water – Dissolves the sugar; do not reduce the amount as it is crucial for sugar dissolution.
For the Flavors
- Food Coloring – Optional, for visual appeal; experiment with different colors to personalize your candy.
- Flavoring Extracts – Opt for natural extracts like lemon or mint; customize according to taste preferences.
For Dusting (Optional)
- Cornstarch – Prevents sticking; can be used for dusting once the candy is set.
Now you’re all set to embark on a delightful candy-making adventure with this Homemade Crystal Candy recipe!
Step‑by‑Step Instructions for Homemade Crystal Candy
Step 1: Prepare Your Workspace
Start by gathering all your ingredients and tools: granulated sugar, water, food coloring, flavoring extracts, a saucepan, a candy thermometer, and a baking sheet lined with parchment paper. Ensure your workspace is clean and dry, as a tidy area helps keep the candy-making process smooth and enjoyable.
Step 2: Combine Ingredients
In a medium saucepan, mix together 2 cups of granulated sugar and 1 cup of water. Stir gently until the sugar is fully dissolved. This may take about 2-3 minutes, and the mixture should appear clear. Once combined, prepare to heat as this is the foundation of your Homemade Crystal Candy.
Step 3: Heat the Mixture
Place the saucepan over medium heat and bring the mixture to a gentle boil. Avoid stirring at this stage to prevent crystallization. Allow it to simmer for approximately 10-15 minutes until the liquid reaches a rolling boil and begins to bubble vigorously; watch for a slight syrupy consistency forming.
Step 4: Monitor the Temperature
Insert a candy thermometer into the boiling mixture to track the temperature. Continue boiling until it reaches 300°F (150°C). This critical temperature is key for achieving that perfect crystalline texture. Look for a rich, glossy appearance in the candy as it approaches the desired temperature.
Step 5: Add Color and Flavor
Once the mixture reaches 300°F, remove the saucepan from the heat. If desired, add a few drops of food coloring and stir gently to incorporate it evenly. Then, add your selected flavoring extract, whether it be lemon, mint, or your favorite, carefully blending for about 30 seconds.
Step 6: Pour and Set
Carefully pour the hot candy mixture onto the prepared baking sheet. Spread it out evenly, maintaining a thick layer for the best results. Let the candy cool at room temperature undisturbed for about 1-2 hours, or until completely hardened. The homemade crystal candy should become firm and glossy.
Step 7: Break and Dust
Once the candy has cooled and is set, break it into pieces of your desired size and shape. If using cornstarch, lightly dust the pieces to prevent sticking. This step will not only enhance the texture but also maintain the beautiful appearance of your Homemade Crystal Candy, ready for serving or gifting!
What to Serve with Classic Homemade Crystal Candy
Indulging in sweet, shimmering delights sets the stage for creating a joyful dessert experience that your loved ones will adore.
- Warm Tea: A soothing cup of chamomile or mint tea complements the candy’s sweetness, creating a cozy pairing.
- Vanilla Ice Cream: The creamy texture of vanilla ice cream balances the crunchy candy beautifully, while cold and warm elements entice the senses.
- Fruit Salad: A refreshing mix of seasonal fruits adds a burst of freshness and acidity that brightens the candy’s sugary richness.
- Cheese Platter: A selection of mild cheeses, like brie or gouda, creates an interesting contrast with the candy’s sweetness, while sophisticated flavors abound.
- Chocolate Dipping Sauce: Drizzling melted chocolate on your crystal candy brings indulgence to a whole new level, marrying textures elegantly for a delightful treat.
- Sparkling Juice: Celebratory beverages like sparkling apple or pomegranate juice elevate the experience, providing a festive flair that synergizes with the candy’s colorful nature.
No matter how you choose to serve it, Classic Homemade Crystal Candy will shine brightly at your table, making every occasion sweeter!
Expert Tips for Homemade Crystal Candy
Avoid Stirring: Don’t stir the mixture once it boils—this can lead to unwanted crystallization and an uneven texture.
Use a Candy Thermometer: For perfect candy texture, always rely on a candy thermometer to reach 300°F (150°C). This step is crucial for achieving Homemade Crystal Candy’s signature crunch.
Store Correctly: Keep your finished candy in an airtight container at room temperature to preserve its crispness; humidity can ruin the texture.
Experiment Wisely: While it’s fun to try alternative sweeteners, be cautious, as they can affect both flavor and texture, so stick with granulated sugar for the best results.
Coloring Techniques: Add food coloring slowly to avoid overpowering flavors; a little goes a long way to achieve the perfect hue in your candy!
Make Ahead Options
Making Classic Homemade Crystal Candy ahead of time is a fantastic way to save precious moments during busy holidays or special occasions! You can prepare the candy mixture up to 24 hours before you plan to serve it. Simply follow the recipe instructions up to the point of pouring the hot mixture onto the baking sheet. Allow it to cool completely at room temperature, then wrap it tightly in plastic wrap to prevent moisture. When you’re ready to enjoy, simply break it into pieces and dust with cornstarch if desired. This preparation not only maintains the candy’s delightful crunch but ensures you have sweet treats ready when you need them most!
Homemade Crystal Candy Variations
Feel free to unleash your creativity with these delightful twists on your Homemade Crystal Candy!
-
Flavor Boost: Experiment with vanilla or almond extracts for a deliciously rich taste. A hint of almond gives a lovely depth, perfect for special occasions.
-
Seasonal Colors: Use themed food colorings for holidays like red and green for Christmas, or pastel shades for Easter treats. It’s a simple way to add festivity to your creations!
-
Spice It Up: Try adding a dash of cinnamon or nutmeg to the mixture for a warm, holiday-inspired flavor. This addition can transform your candy into a festive sensation.
-
Citrus Zing: Incorporate citrus extracts like orange or lime for a refreshing twist that brightens up the sweetness, creating a delightful taste sensation!
-
Nutty Crunch: Fold in finely chopped nuts like pistachios or almonds to add an exciting texture and nutty flavor. This variation is certain to stand out!
-
Chocolate Drizzle: After setting, drizzle some melted chocolate over your candy pieces for an indulgent treat that elevates the classic recipe. A little chocolate can go a long way in flavor enhancement!
-
Add a Kick: For adventurous eaters, a sprinkle of cayenne pepper can add a surprising spicy kick to the candy. This contrast of sweet and heat is sure to be a conversation starter.
-
Gummy Surprise: Consider embedding small gummy candies into the mixture before it sets. Once broken, these chewy delights will create an unexpected texture in your candy!
If you’re in the mood for more sweet ideas, don’t forget to explore my recipes for Homemade Chocolate Chip and Homemade Black Forest treats!
How to Store and Freeze Homemade Crystal Candy
Airtight Container: Store your Homemade Crystal Candy in an airtight container at room temperature to maintain its crispness for up to 2 weeks.
Avoid Humidity: Ensure the container is kept away from moisture and humidity, as they can make the candy sticky and lose its delightful texture.
Do Not Freeze: Freezing is not recommended, as it may alter the candy’s unique structure and flavor profile.
Reheating: If the candy becomes too hard, let it sit at room temperature for a few minutes before enjoying; reheating is not necessary.
Homemade Crystal Candy Recipe FAQs
What type of sugar is best for making Homemade Crystal Candy?
Granulated sugar is essential for achieving the right sweetness and texture in Homemade Crystal Candy. It dissolves easily and provides the structure necessary for that delightful crispy and chewy bite.
How should I store my Homemade Crystal Candy to keep it fresh?
Store your Homemade Crystal Candy in an airtight container at room temperature for optimal freshness. It should retain its flavor and texture for up to 2 weeks! Just be sure to keep it away from humidity, as moisture can make the candy sticky and less enjoyable.
Can I freeze Homemade Crystal Candy?
I do not recommend freezing your Homemade Crystal Candy. Freezing can alter its unique structure and flavor, leading to a less enjoyable treat. Instead, keep it stored at room temperature to maintain that delightful crunchiness.
What should I do if my candy crystallizes during the cooking process?
If your candy crystallizes, don’t panic! Try re-melting it over low heat while stirring continuously until it becomes smooth again. To prevent crystallization in the future, always avoid stirring the mixture once it starts to boil, and make sure your saucepan is clean and free of any sugar residue before you start.
How can I customize the flavor of my Homemade Crystal Candy?
Absolutely! You can tailor the flavor by experimenting with different flavoring extracts like lemon, mint, or almond. Just add the extract once you remove the candy from heat, mixing it in gently to distribute the flavor evenly. Don’t be afraid to get creative with your color combinations as well!
Is Homemade Crystal Candy safe for pets?
Since this candy is made primarily from sugar, it’s not pet-friendly. Avoid sharing with your furry friends, as excessive sugar can harm pets. Always be cautious and check ingredients when sharing treats.
Delightful Homemade Crystal Candy for Sweet Family Moments
Ingredients
Equipment
Method
- Gather all ingredients and tools: granulated sugar, water, food coloring, flavoring extracts, a saucepan, a candy thermometer, and a baking sheet lined with parchment paper.
- In a medium saucepan, mix together 2 cups of granulated sugar and 1 cup of water. Stir gently until fully dissolved.
- Place the saucepan over medium heat and bring the mixture to a gentle boil. Avoid stirring.
- Insert a candy thermometer into the mixture and continue boiling until it reaches 300°F (150°C).
- Remove the saucepan from heat and add food coloring and flavoring extract, blending carefully.
- Pour the mixture onto the prepared baking sheet and let cool for 1-2 hours until hardened.
- Break the candy into pieces and dust with cornstarch to prevent sticking.