
Advertisement
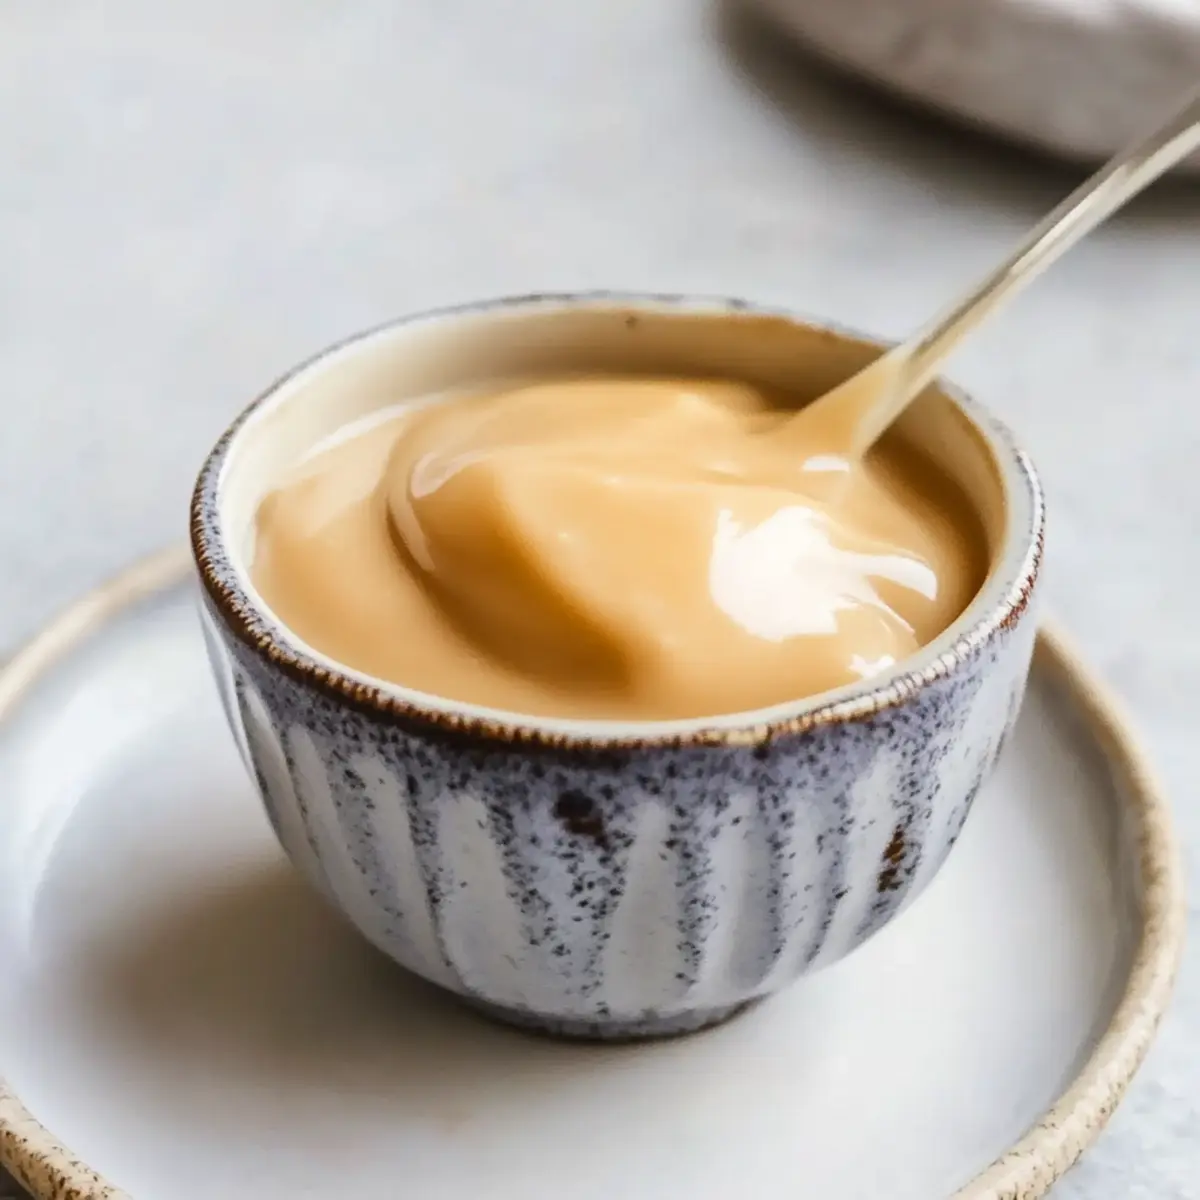
As I stirred the mixture in the saucepan, a sweet aroma wafted through my kitchen, sparking a delightful nostalgia for childhood treats. That’s when I realized I could recreate that comforting experience with a modern twist: Sugar Free Condensed Milk. This creamy concoction is not only a joy to make with just three simple ingredients, but it also serves as a guilt-free addition to your favorite keto desserts. Within a mere 30 minutes, you’ll have a rich, delicious alternative to store-bought versions that often come loaded with sugar. Whether you’re drizzling it over fresh berries or using it as a sweetener in coffee, this homemade delight offers the perfect way to satisfy your cravings without compromising your health goals. Curious about how easy it really is to whip up this sugar-free treat? Let’s dive into the recipe!
How is Sugar Free Condensed Milk made?
Simplicity at Its Core: With just three ingredients, you can create a luscious, sugar-free alternative that requires no culinary expertise.
Versatile Delight: Use it as a sweet creamer for coffee or drizzle over your favorite desserts, enhancing flavors in endless ways.
Keto-Friendly: Perfect for those on keto diets, this recipe allows you to indulge without guilt while staying within your carb limit.
Time-Saving Magic: In 30 minutes or less, you can have a creamy homemade treat ready to elevate your dishes, just like with my Buttermilk Pancakes Breakfast.
Crowd-Pleasing Factor: It’s bound to impress friends and family, making it a fantastic addition to gatherings and special occasions.
Storage Savvy: It lasts up to two weeks in the fridge, so you can prepare it ahead of time and always have a sweet solution on hand!
Sugar Free Condensed Milk Ingredients
Indulge in simplicity with these essential ingredients!
Advertisement
For the Base
- Unsalted Butter – Adds richness and creaminess; can be replaced with coconut oil for dairy-free versions.
- Powdered Sugar-Free Sweetener – Provides sweetness without carbs; choose a powdered variety to avoid graininess.
- Heavy Whipping Cream or Ultra-Filtered Whole Milk – Creates the thick texture of traditional condensed milk; coconut cream can be used for a non-dairy option.
Enjoy this delightful Sugar Free Condensed Milk for all your keto-friendly recipes!
Step‑by‑Step Instructions for Sugar Free Condensed Milk
Step 1: Combine Your Ingredients
In a heavy-bottom saucepan, set over medium heat, combine 1/2 cup of unsalted butter, 1 cup of your preferred powdered sugar-free sweetener, and 1 cup of heavy whipping cream or ultra-filtered whole milk. Stir continuously with a whisk or wooden spoon to blend the ingredients smoothly, ensuring the butter melts completely, which should take about 3-5 minutes.
Step 2: Bring to a Boil
Once the ingredients are fully combined, increase the heat slightly until the mixture begins to boil gently. Keep stirring intermittently to prevent scorching, as this can alter the flavor and consistency. You’ll notice small bubbles forming, and the mixture will become frothy—this stage takes about 5-7 minutes.
Step 3: Simmer and Thicken
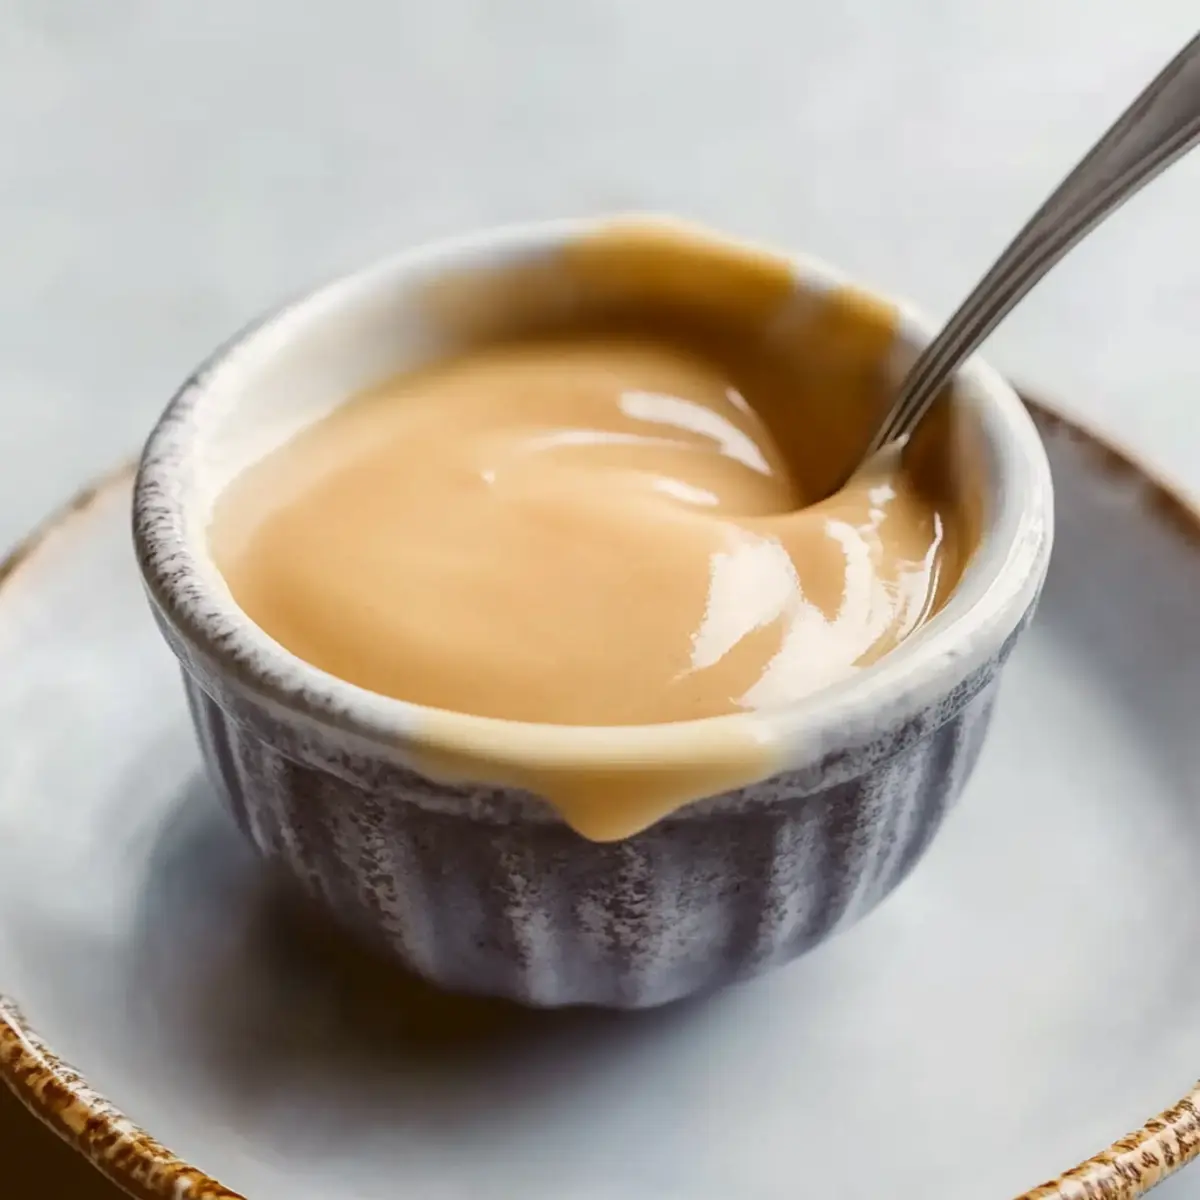
After reaching a boil, reduce the heat to low and allow the mixture to simmer undisturbed for 25-30 minutes. Stir occasionally to ensure even cooking. You’ll notice the volume decreases as it thickens; it should be thick enough to coat the back of a spoon when ready—this is a key visual cue for your sugar-free condensed milk.
Step 4: Cool the Mixture
Once thickened, remove the saucepan from the heat and let it cool at room temperature for about 30 minutes. This step allows the flavors to meld while the mixture continues to thicken. Keep an eye on it, as it will still be warm and should reduce further in volume as it cools.
Step 5: Refrigerate to Set
Transfer your sugar-free condensed milk to a clean, airtight container. Refrigerate it for at least 2 hours, but preferably overnight, to ensure that it firms up completely. If you notice any chunkiness upon cooling, simply strain the mixture through a fine mesh sieve before storage for a smooth, creamy texture.
Step 6: Ready to Use
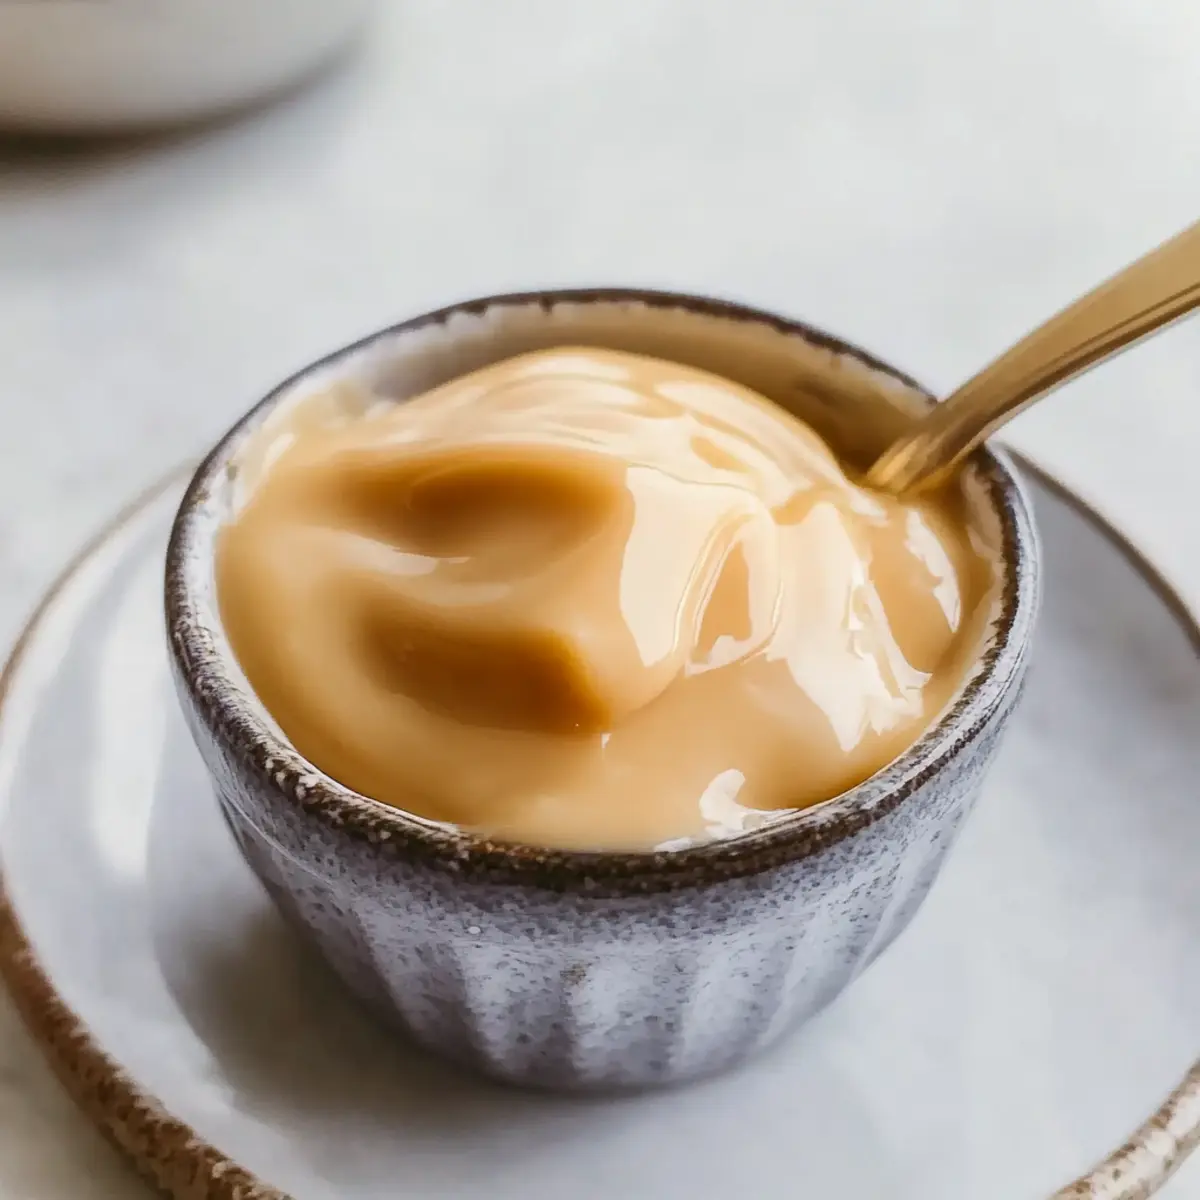
Your homemade Sugar Free Condensed Milk is now ready to elevate your desserts or drinks! Use it in recipes like pies or as a rich creamer in coffee. It can be stored in the refrigerator for up to two weeks, ensuring you always have a delicious, guilt-free alternative on hand for your favorite keto treats.
Tips for the Best Sugar Free Condensed Milk
-
Choose the Right Pan: Use a heavy-bottomed saucepan to evenly distribute heat and avoid scorching your sugar-free condensed milk.
-
Avoid Scorching: Stir continuously while heating; this prevents the mixture from burning and ensures a smooth final product.
-
Simmer for Success: Let the mixture simmer for the full 25-30 minutes to achieve the right thickness—watch for it to coat the back of a spoon.
-
Chill Properly: Refrigerate the mixture for at least 2 hours for optimal thickness; it continues to thicken as it cools.
-
Storage Matters: Keep your sugar-free condensed milk in an airtight container in the refrigerator for up to two weeks, or freeze it for three months for longer use.
How to Store and Freeze Sugar Free Condensed Milk
Fridge: Store the sugar free condensed milk in an airtight container in the refrigerator for up to 2 weeks, making it a convenient go-to for all your keto recipes.
Freezer: For longer preservation, freeze the condensed milk in a freezer-safe container for up to 3 months. Thaw in the refrigerator before using to maintain its creamy texture.
Serving Tips: When ready to use, give the mixture a gentle stir to recombine any separated ingredients, ensuring a smooth consistency.
Avoiding Freezer Burn: To prevent freezer burn, make sure to leave some space in the container for expansion while freezing, and seal the container tightly.
What to Serve with Sugar Free Condensed Milk
Indulging in homemade sugar-free condensed milk opens up a world of possibilities for delicious pairings that will delight your taste buds.
- Creamy Coffee: A dash of this condensed milk transforms your morning brew into a rich, velvety delight, perfect for a cozy treat.
- Fluffy Pancakes: Drizzle over warm pancakes for a silky sweetness, making breakfast feel extra special and inviting.
- Decadent Fudge: Swirl it into your favorite fudge recipe; the creamy texture amplifies the rich chocolate flavor and creates a melt-in-your-mouth experience.
- Berry Bliss: Pour over fresh berries for a guilt-free dessert that balances tartness with creamy sweetness, making it a refreshing choice.
- Banana Bread: Stir into the batter for an added layer of flavor, resulting in a moist, decadent loaf that everyone will love.
- Whipped Topping: Blend with whipped cream for an airy topping to elevate desserts, from cakes to fruit salads.
- Nutty Smoothies: Incorporate into your breakfast smoothies for a creamy, sugar-free boost of flavor and texture.
- Sugar-Free Desserts: Use it in light panna cotta or sugar-free cheesecakes, creating luxurious, satisfying treats without the calories.
- Chocolate Cake: Use as a sweetener in chocolate cake batter or drizzle over the top for an elegant presentation that tastes divine.
Make Ahead Options
These Sugar Free Condensed Milk preparations are perfect for busy home cooks looking to save time during the week! You can easily prepare the entire mixture up to 24 hours in advance. Simply follow the steps to make the sugar-free condensed milk and store it in an airtight container in the refrigerator after cooling. For optimal quality, ensure it’s completely chilled overnight, which also allows the flavors to meld beautifully. When you’re ready to use it, just give it a gentle stir before drizzling over your favorite desserts or incorporating it into recipes. With this make-ahead option, you’ll always have a delicious, guilt-free ingredient on hand for quick snacks and satisfying meals!
Sugar Free Condensed Milk Variations
Feel free to explore these exciting variations and substitutes to make this sugar-free condensed milk your own!
-
Flavor Boost: Add a teaspoon of vanilla extract for a delightful depth of flavor. This simple enhancement elevates the sweetness and infuses nostalgia into every bite.
-
Dairy-Free Alternative: Swap heavy whipping cream for coconut cream for a luscious vegan option. You’ll still get that creamy texture, along with a hint of tropical flavor that’s hard to resist.
-
Sweetness Adjustment: Use different sugar-free flavored syrups to customize your sweetener. This opens the door to endless possibilities—think caramel, hazelnut, or chocolate, each adding a unique twist to your recipes!
-
Nutty Twist: Incorporate a tablespoon of almond or hazelnut extract for a nutty undertone that pairs beautifully with desserts and coffee. Imagine the delightful aroma wafting through your kitchen!
-
Spicy Kick: For those who crave a little heat, add a pinch of cinnamon or nutmeg. These warm spices complement the sweetness, and their aromatic qualities will fill your home with cozy vibes.
-
Creamy Texture Variation: Blend in a small amount of cornstarch to thicken your condensed milk if you prefer a denser product. Just remember to dissolve it in a few tablespoons of water before mixing it in.
-
Fruity Flair: Mix in some pureed fruit like strawberries or raspberries for a fruity twist that brightens up desserts. This creates a beautiful, flavored variation that plays well with cakes and more.
-
Rich Caramel: For a rich, caramel-like addition, stir in a teaspoon of molasses. It adds a complex flavor that elevates your sugar-free condensed milk while keeping it guilt-free.
Did any of these ideas inspire you to get creative with your sugar-free sweetening? This Buttermilk Pancakes Breakfast is a fantastic pairing with this creamy goodness, and don’t forget to try it in your favorite desserts or as a delightful touch in your coffee or tea!
Sugar Free Condensed Milk Recipe FAQs
How do I know if my ingredients are ripe or fresh?
Absolutely! For unsalted butter, ensure it’s fresh and kept at the recommended refrigeration temperature. If you’re opting for heavy whipping cream, look for a date stamp that’s at least a week away, and remember, ultra-filtered whole milk should not have any off smells or changes in consistency. Always check powdered sweeteners for clumping—fresh ones will be fine and powdery!
How should I store sugar-free condensed milk, and how long does it last?
Very! Your homemade sugar free condensed milk should be placed in an airtight container and stored in the refrigerator, where it will last up to 2 weeks. I often make a batch on the weekend and enjoy it throughout the week in my coffee or desserts. Just remember to give it a little stir before using, as it may separate slightly in storage.
Can I freeze sugar-free condensed milk? If so, how do I do it?
Absolutely! To freeze it, pour your cooled sugar-free condensed milk into a freezer-safe container, leaving some headspace for expansion. It will freeze well for up to 3 months. When you’re ready to use it, thaw it in the refrigerator overnight, then stir it gently to combine any separated ingredients back together for that perfect creamy texture.
What should I do if my condensed milk turns out chunky?
Don’t worry; this can happen sometimes! If you find your mixture is chunky after cooling, simply strain it through a fine mesh sieve into another container. This process will remove any lumps and leave you with a silky smooth consistency. If you do this step right after cooking while it’s still warm, you’ll achieve the best results!
Is this sugar-free condensed milk suitable for people with dietary restrictions?
For sure! This recipe is perfect for keto dieters and those watching their sugar intake. However, for anyone with specific dietary needs, make sure to check the labels on your chosen sugar-free sweetener, as they can vary in ingredients. If you’re looking for dairy-free, use coconut oil and coconut cream instead of butter and heavy cream—it’s just as delightful!
Can I modify the flavor of the sugar-free condensed milk?
You bet! For a twist, consider adding a teaspoon of vanilla extract, or try a drop of almond extract for a nutty flavor. For a more complex sweetness, a bit of molasses can add depth. Feel free to experiment with flavored syrups that are sugar-free as well—there’s truly no limit to the delicious variations you can create!

Sugar Free Condensed Milk: Creamy Keto Delight in 30 Minutes
Ingredients
Equipment
Method
- Combine Unsalted Butter, Powdered Sugar-Free Sweetener, and Heavy Whipping Cream in a saucepan over medium heat, stirring continuously until smooth and melted for about 3-5 minutes.
- Increase heat until the mixture begins to boil gently. Stir intermittently, noticing small bubbles and froth forming, for about 5-7 minutes.
- Reduce heat to low and simmer undisturbed for 25-30 minutes, stirring occasionally until thick enough to coat the back of a spoon.
- Remove from heat and let cool at room temperature for about 30 minutes.
- Transfer to an airtight container and refrigerate for at least 2 hours, preferably overnight, to set.
- Stir gently before using in recipes or as a creamer.


