Advertisement
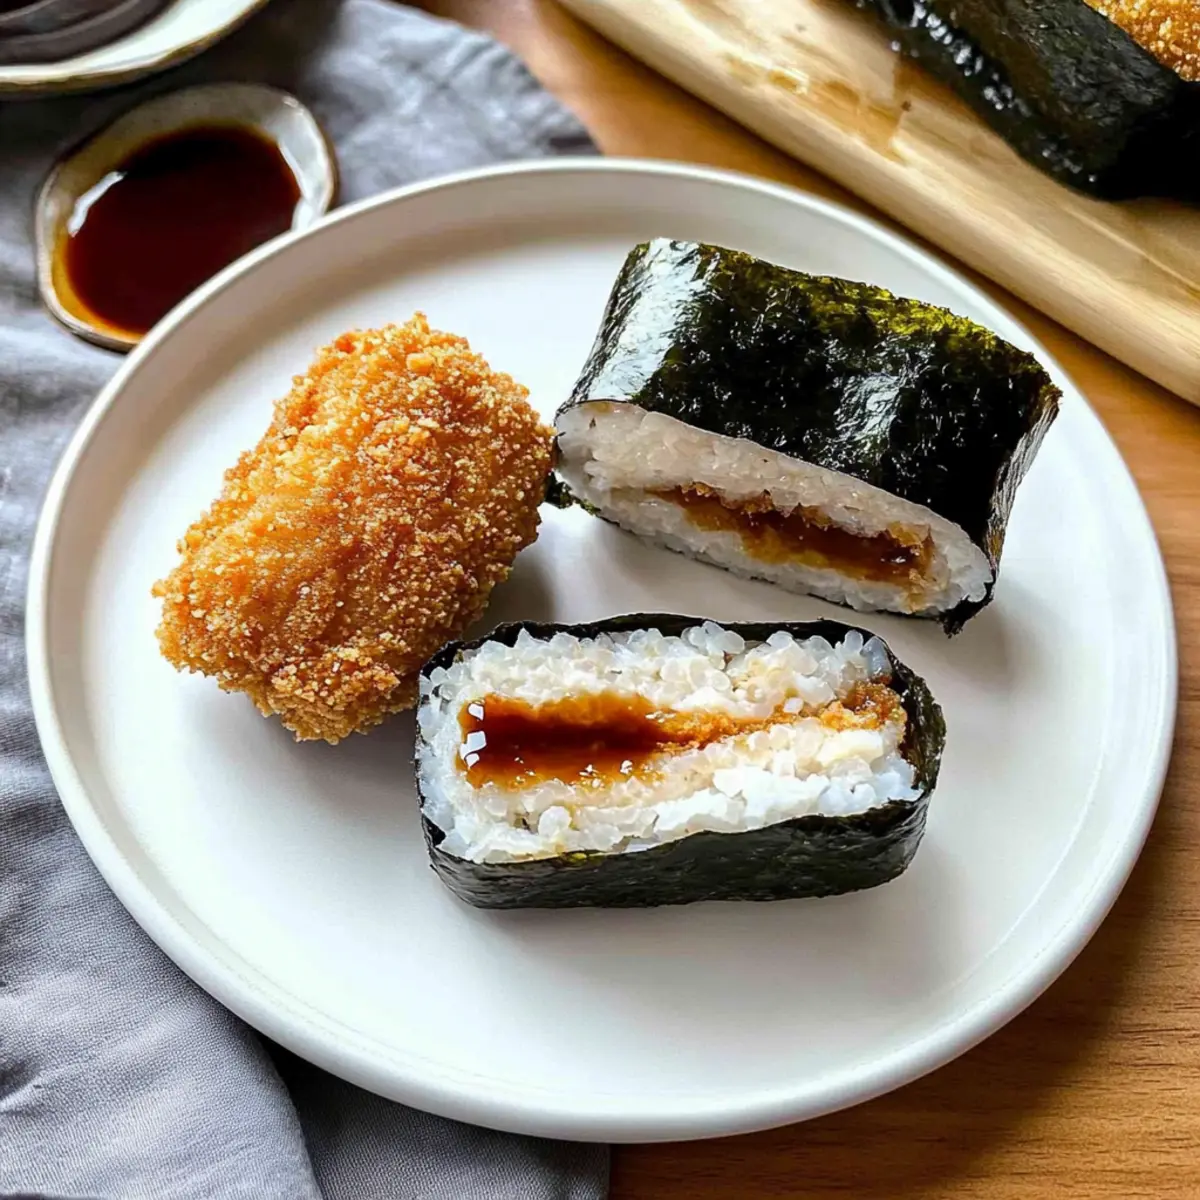
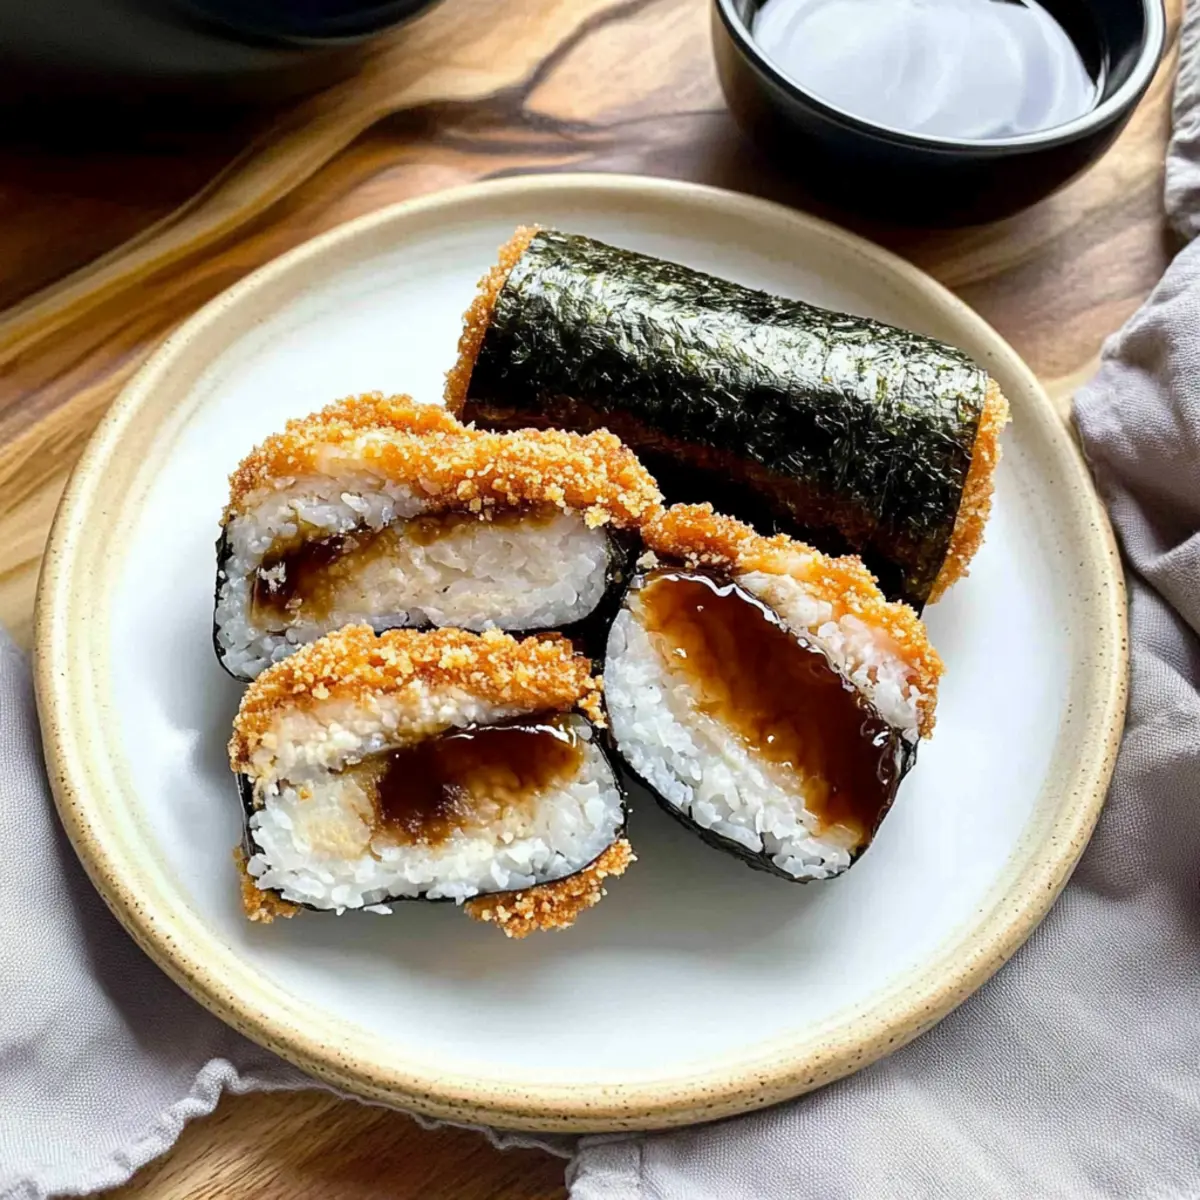
As I shuffled through my kitchen, the aroma of sizzling chicken began to weave its magic, instantly transporting me to a bustling izakaya in Japan. This Crispy Chicken Katsu Musubi offers a delightful twist on the classic musubi, combining crunchy chicken and perfectly seasoned sushi rice wrapped tenderly in seaweed. Not only is this treat a fantastic option for a fresh, delicious lunch, but it also makes for a satisfying snack that can be enjoyed the next day. With this recipe in hand, you’ll discover a healthier alternative to traditional musubi usually filled with processed meats—without any sacrifice to flavor. Are you ready to create something amazing in your kitchen that will have everyone asking for seconds?
Why is Chicken Katsu Musubi a Must-Try?
Flavor-packed and irresistible, this Chicken Katsu Musubi combines crispy chicken with savory sushi rice and nori for a unique taste sensation. Quick and easy, it’s perfect for both lunch and snacks, making it a win for busy weeknights or meal prep. Versatile enough to customize, try swapping chicken for fish or adding fresh veggies like avocado. Cook up a batch and pair it with your favorite side like pickled vegetables or a light salad. It’s designed to have your taste buds dancing and friends asking for your secret!
Chicken Katsu Musubi Ingredients
Get ready to create delicious Chicken Katsu Musubi with these must-have ingredients!
Advertisement
For the Chicken
• Boneless Skinless Chicken Thighs – Offers juicy tenderness and is perfect for frying. Consider chicken breasts for a leaner choice.
• Large Eggs – Binds the panko coating to create that crispy texture; try flax eggs for a plant-based option.
• All-Purpose Flour – Provides structure and adhesion for the batter; gluten-free flour can be used for a gluten-free version.
• Salt – Enhances flavor; adjust according to your taste preferences.
• Ground Black Pepper – Adds a subtle heat; white pepper is a lovely alternative for a milder flavor.
• Panko Breadcrumbs – Essential for achieving that signature crunch in your katsu; substitute with regular breadcrumbs if needed but expect a different texture.
• Neutral Oil (for frying) – Perfect for deep-frying the chicken to a golden crisp; vegetable or canola oil works well too.
For Assembly
• Nori Sheets (cut into thirds) – Wraps up the musubi and infuses it with umami; pre-cut nori makes life easier!
• Cooked Sushi Rice – The star base of the musubi; short-grain sticky rice is best for easy shaping.
• Tonkatsu Sauce – Adds a sweet-savory depth to the katsu; teriyaki sauce is a tasty alternative for different notes.
Gather these ingredients and get ready to whip up a flavorful Chicken Katsu Musubi that will impress and satisfy your cravings!
Step‑by‑Step Instructions for Chicken Katsu Musubi
Step 1: Prepare the Chicken
Begin by placing the boneless skinless chicken thighs between two sheets of plastic wrap or parchment paper. Use a meat mallet to pound the chicken to an even thickness of about ½ inch, ensuring uniform cooking. This step is crucial for achieving the tender, juicy results that will make your Chicken Katsu Musubi shine!
Step 2: Make the Batter
In a shallow dish, whisk together large eggs, all-purpose flour, salt, and ground black pepper until smooth. This wet batter will help the panko breadcrumbs adhere to the chicken. Be sure to create a consistent mixture that will coat the chicken evenly. Setting this up will make the next steps seamless and enjoyable.
Step 3: Bread the Chicken
Dredge each pounded chicken thigh in the batter, allowing any excess to drip off. Then, coat the chicken thoroughly with panko breadcrumbs, ensuring a generous layer for that signature crunch. The chicken should be well-covered, as this crispy coating will provide the delightful texture that complements the Chicken Katsu Musubi perfectly.
Step 4: Fry the Chicken
Heat neutral oil in a deep skillet or pan over medium-high heat, aiming for a temperature of 350°F. Carefully add the coated chicken thighs to the hot oil, frying them for about 4-6 minutes per side. As they cook, look for a golden-brown color to indicate crispiness, with an internal temperature of 165°F to ensure they are fully cooked. Once done, transfer the chicken to a wire rack to cool slightly.
Step 5: Mold the Sushi Rice
On a clean, moistened surface, place a strip of nori cut into thirds. Using a musubi mold or an empty Spam can, fill the mold with about ½ cup of cooked sushi rice. Press the rice down firmly to create shape and ensure it sticks together. This rice base is essential for holding your Chicken Katsu Musubi together beautifully.
Step 6: Assemble the Musubi
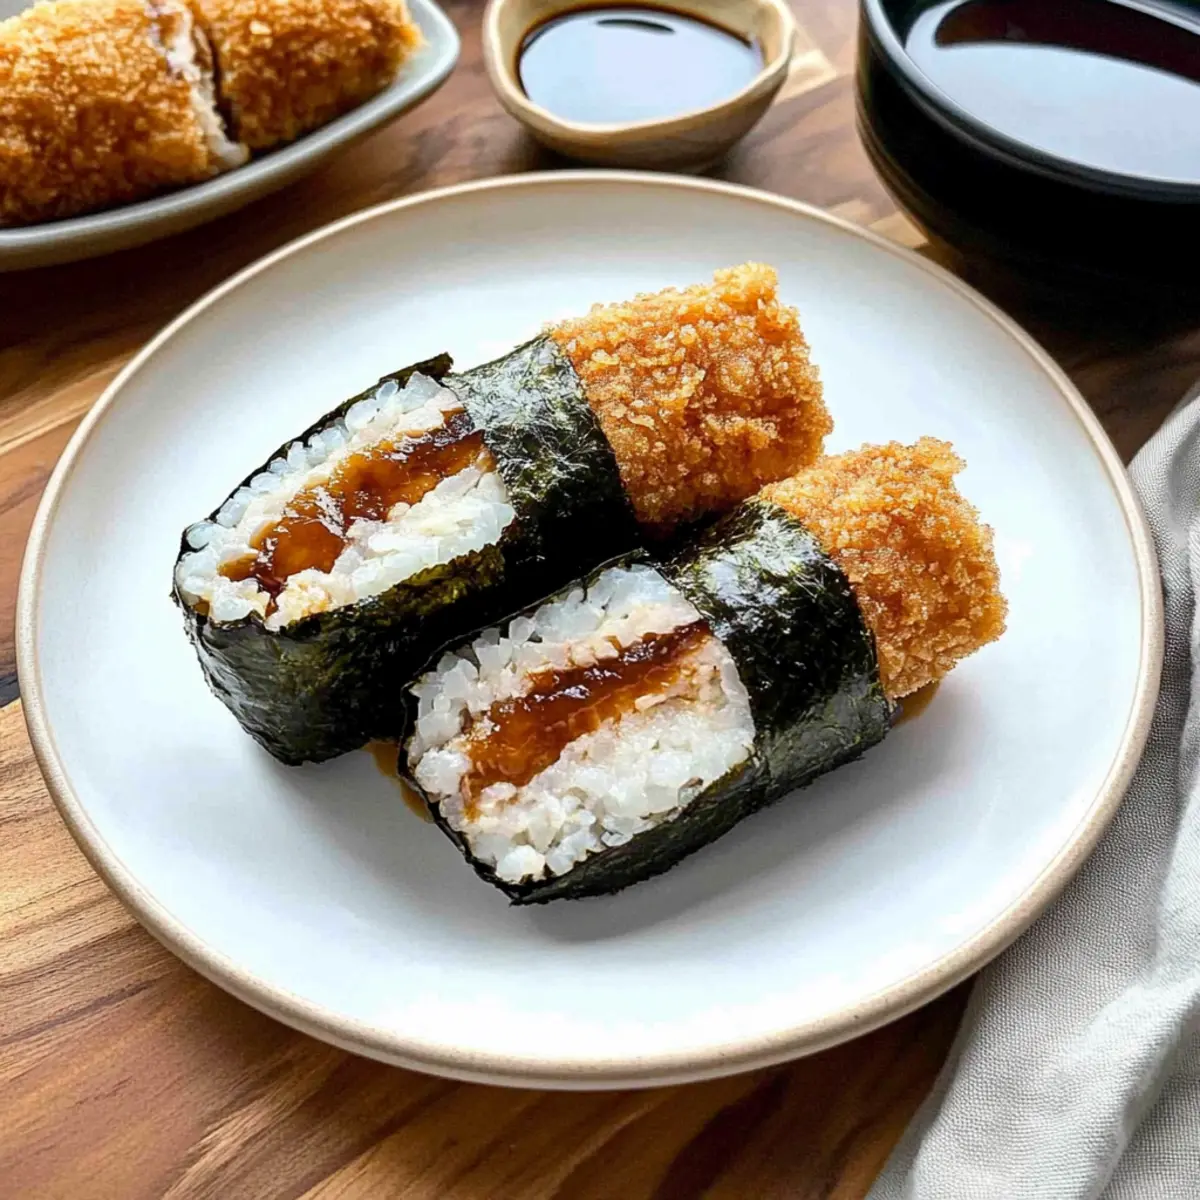
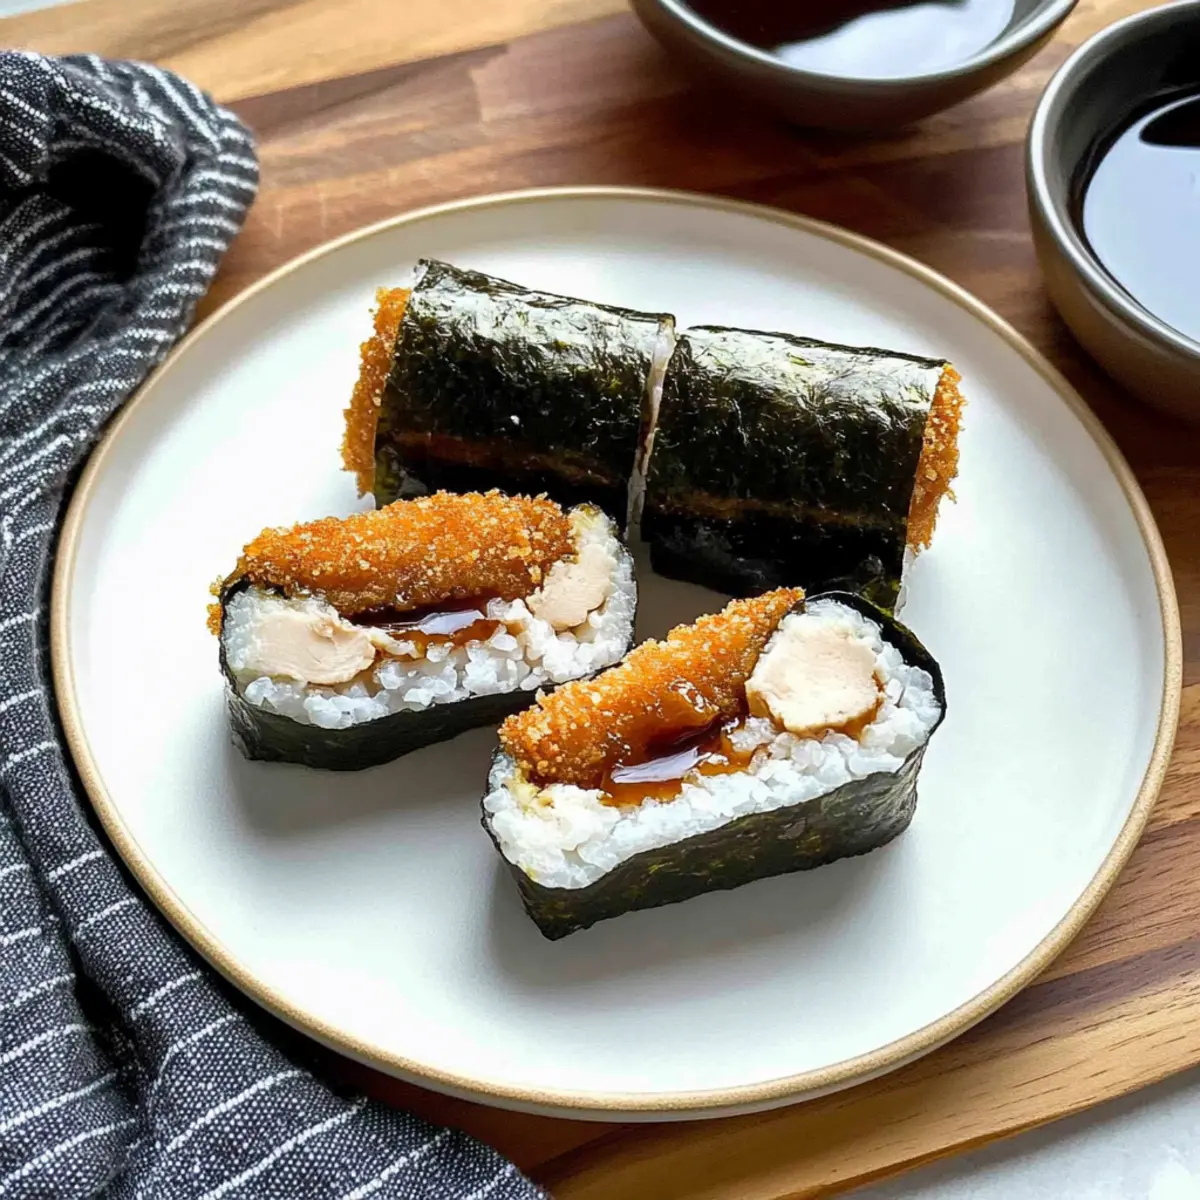
Spread a small amount of tonkatsu sauce onto the shaped rice within the mold. Next, carefully place a piece of fried chicken on top of the rice, ensuring a satisfying fit. For the final touch, wrap the nori around the rice and chicken, tucking in the ends as you go. Use a little water on your fingers to seal the edges for a neat finish. Your Chicken Katsu Musubi is ready to impress, so enjoy it while it’s warm!
What to Serve with Crispy Chicken Katsu Musubi?
Imagine savoring the crispy goodness of Chicken Katsu Musubi, and now picture the perfect accompaniments to elevate your meal even further.
- Pickled Vegetables: A tangy contrast to the rich flavors of the musubi, adding texture and brightness to every bite.
- Light Salad: Crisp greens drizzled with a sesame vinaigrette bring freshness, cleansing the palate and balancing the savory chicken.
- Miso Soup: Warm and comforting, this classic Japanese soup adds umami depth and completes your meal with a cozy embrace.
- Edamame: Soft and slightly salty, these tender beans enhance the meal’s protein content while offering a satisfying crunch.
- Tea: A cup of green tea or matcha can cleanse the palate and enhance the vibrant flavors of the musubi, creating a soothing dining experience.
- Teriyaki Sauce for Dipping: Elevate each musubi bite with an extra drizzle of this sweet-savory sauce—ideal for flavor enthusiasts!
- Sushi Roll Side: Serve a small sushi roll on the side for a delightful variety of textures and flavors, creating a mini sushi feast.
- Fruit Salad: A refreshing side of seasonal fruit can provide a sweet conclusion to your meal and cleanse the palate after the savory delights.
- Dessert Mochi: For the sweet finish, consider enjoying a piece of mochi, with its chewy texture and sweet flavor pairing beautifully with the musubi.
Expert Tips for Chicken Katsu Musubi
-
Perfect Oil Temperature: Ensure your oil is preheated to 350°F before frying; this will keep the chicken crispy and prevent sogginess.
-
Moistened Hands: Use damp hands or tools when handling sushi rice to prevent it from sticking, easing the assembly process significantly.
-
Don’t Overstuff: Avoid adding too many ingredients into the musubi, as this can cause it to fall apart. Keep it simple for the best results.
-
Cooling Rack: Let fried chicken rest on a wire rack to maintain its crunch; skipping this step could lead to a soggy exterior.
-
Alternate Sauces: For a twist, consider trying different sauces like sweet chili or a spicy mayo instead of tonkatsu sauce to elevate your Chicken Katsu Musubi.
How to Store and Freeze Chicken Katsu Musubi
Fridge: Store your Chicken Katsu Musubi in an airtight container for up to 2 days. Keep it wrapped in parchment paper for best flavor retention and to maintain its texture.
Freezer: For longer storage, wrap each musubi tightly in plastic wrap and place them in a freezer-safe bag. They can be frozen for up to 1 month without losing too much quality.
Reheating: When ready to enjoy, gently reheat the musubi in a microwave or toaster oven. If using a microwave, place a damp paper towel over it to maintain moisture, warming for 30-60 seconds.
Note: While it can be stored, Chicken Katsu Musubi is best enjoyed fresh to keep that delightful crunch!
Make Ahead Options
These Chicken Katsu Musubi are perfect for busy weeknights! You can prepare the chicken up to 24 hours in advance by breading and frying it, then storing it in an airtight container in the refrigerator to maintain crispness. The sushi rice can also be cooked ahead; simply refrigerate it in a separate container for up to 3 days. When you’re ready to serve, reheat the chicken in a hot pan for a few minutes to restore its crunch, then assemble the musubi by molding the rice, adding a drizzle of tonkatsu sauce, and wrapping it with the nori. This way, you’ll enjoy a delicious and satisfying homemade lunch with minimal effort!
Chicken Katsu Musubi Variations & Substitutions
Feel free to make this Chicken Katsu Musubi your own with these delightful variations that will ignite your culinary creativity!
-
Seafood Swap: Replace chicken thighs with fish like salmon or tuna for a fresh and succulent twist. The delicate flavors of seafood harmonize beautifully with the crunchy rice and nori.
-
Veggie Delight: Add layers of sliced avocado or crisp cucumber for a refreshing crunch. This not only brightens up the flavors but also enhances the nutritional value of your musubi.
-
Heat It Up: Incorporate spicy mayo or a drizzle of sriracha for a kick! A hint of heat pairs perfectly with the sweet-savory tonkatsu sauce for those who crave bold flavors.
-
Sauce Experiment: Swap out tonkatsu sauce for a sweet chili sauce or even teriyaki for a new adventure. Each sauce brings a unique flavor profile that can redefine your Chicken Katsu Musubi experience.
-
Gluten-Free Option: Use gluten-free breadcrumbs and a gluten-free flour alternative to make this dish friendly for gluten-sensitive eaters. The crunch will still shine through with the right products!
-
Herb-Infused Rice: Stir in chopped green onions or cilantro to your sushi rice for an aromatic flavor boost. It’s a simple way to elevate the overall taste while maintaining the classic essence of musubi.
-
Miso Glaze: For a savory umami-packed twist, brush the fried chicken with a miso glaze before assembling the musubi. This adds depth and complexity that will wow your taste buds.
-
Sweet Treat: Turn it into a dessert by swapping savory elements for sweet. Try nut butter spread on the rice with sliced bananas wrapped in nori for a fun and unique dessert option!
Feeling inspired? Explore more delicious options like the Cheesy Chicken Roll or a comforting dish like Oven Baked Chicken for your next meal!
Chicken Katsu Musubi Recipe FAQs
What type of chicken is best for Chicken Katsu Musubi?
Absolutely! Boneless skinless chicken thighs are recommended as they are juicy and tender once cooked, making them perfect for this dish. If you prefer a leaner option, you can also use chicken breasts; just be sure not to overcook to keep them moist.
How can I store Chicken Katsu Musubi?
For optimal freshness, store your Chicken Katsu Musubi in an airtight container in the refrigerator for up to 2 days. To maintain its crispiness, wrap it in parchment paper before placing it in the container. This will help retain flavor while preventing sogginess.
Can Chicken Katsu Musubi be frozen?
Yes, you can freeze Chicken Katsu Musubi! Wrap each musubi tightly in plastic wrap, ensuring no air gets in, and then place them in a freezer-safe bag. They can be stored in the freezer for up to 1 month. When you’re ready to eat, simply thaw them in the fridge overnight and reheat gently.
What should I do if my chicken isn’t crispy after frying?
Very! If you find that your chicken isn’t crispy, it might be due to incorrect oil temperature. Ensure your oil is preheated to 350°F before frying; this will help achieve the desired crunch. Additionally, avoid overcrowding the pan, as this can lower the oil temperature and lead to sogginess. Frying in batches is a good idea here!
Can I make Chicken Katsu Musubi vegetarian or vegan?
Of course! To make a vegetarian version, substitute the chicken thighs with tempura vegetables or crispy tofu. For a vegan option, use firm tofu coated in panko and seasoned similarly, and replace the eggs with flax eggs in the batter—simply combine 1 tablespoon of ground flaxseed with 3 tablespoons of water and let it sit for a few minutes to thicken.
Is there a healthy alternative to Tonkatsu sauce?
Absolutely! While Tonkatsu sauce adds great flavor, if you’re watching your sugar intake, you can create a lighter sauce using low-sodium soy sauce, a splash of vinegar, and a hint of sweetener (like honey or agave). This provides a nice balance without overwhelming calories, perfect for your Chicken Katsu Musubi!
Irresistible Chicken Katsu Musubi: A Crunchy Lunch Delight
Ingredients
Equipment
Method
- Prepare the Chicken: Pound the chicken to an even thickness of about ½ inch.
- Make the Batter: Whisk together eggs, flour, salt, and pepper until smooth.
- Bread the Chicken: Dredge each chicken thigh in the batter and coat with panko breadcrumbs.
- Fry the Chicken: Heat oil and fry chicken for 4-6 minutes per side until golden brown.
- Mold the Sushi Rice: Fill the mold with rice and press down firmly.
- Assemble the Musubi: Spread tonkatsu sauce on rice, add chicken, and wrap with nori.