Advertisement
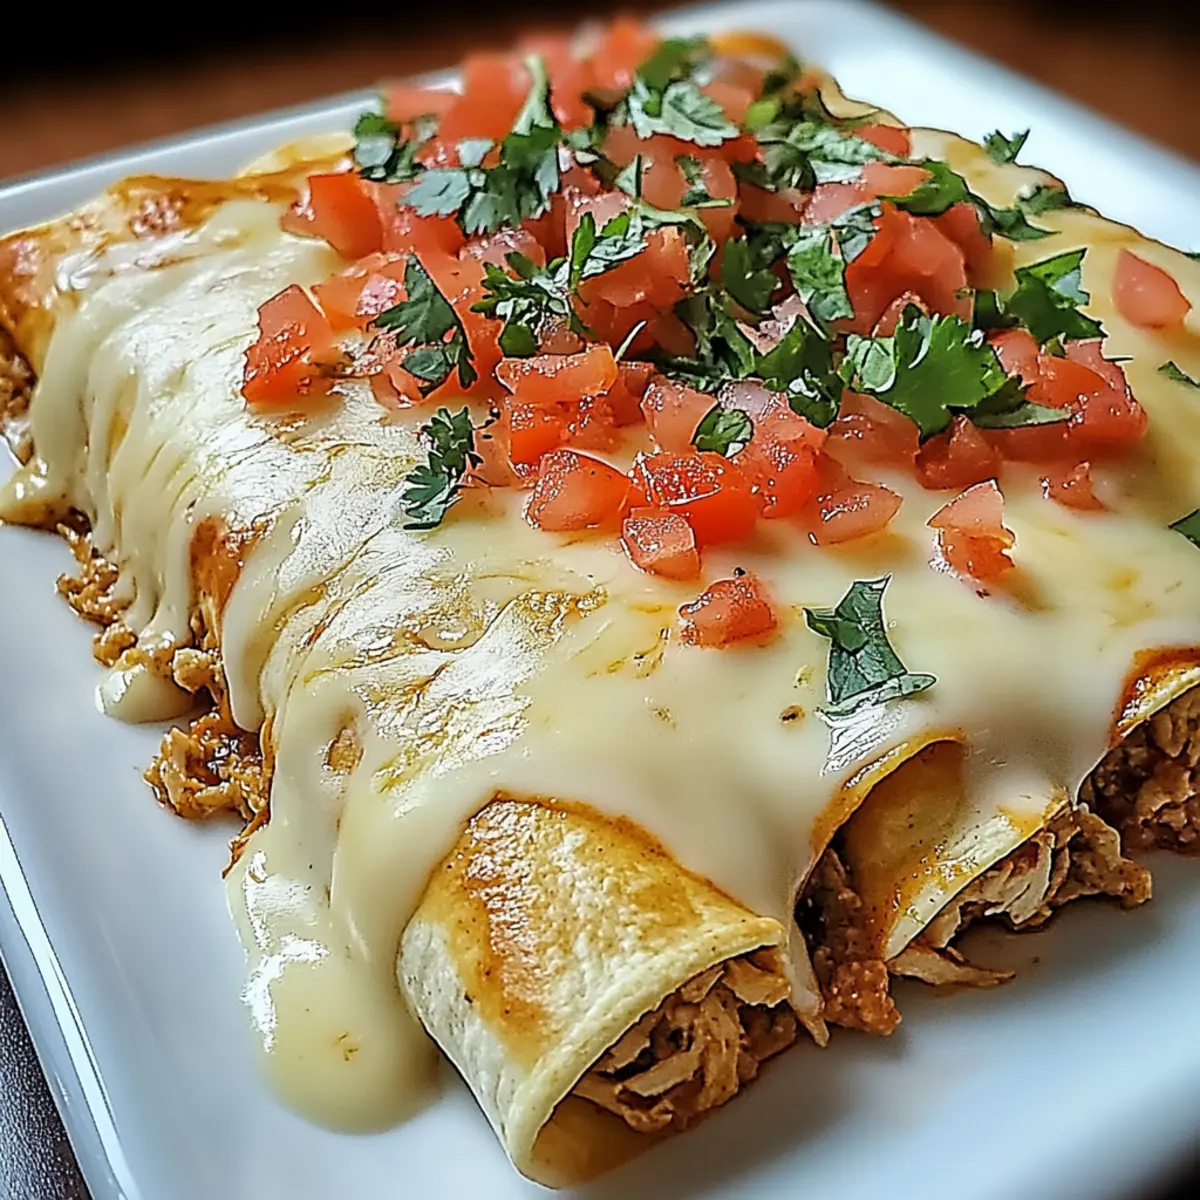
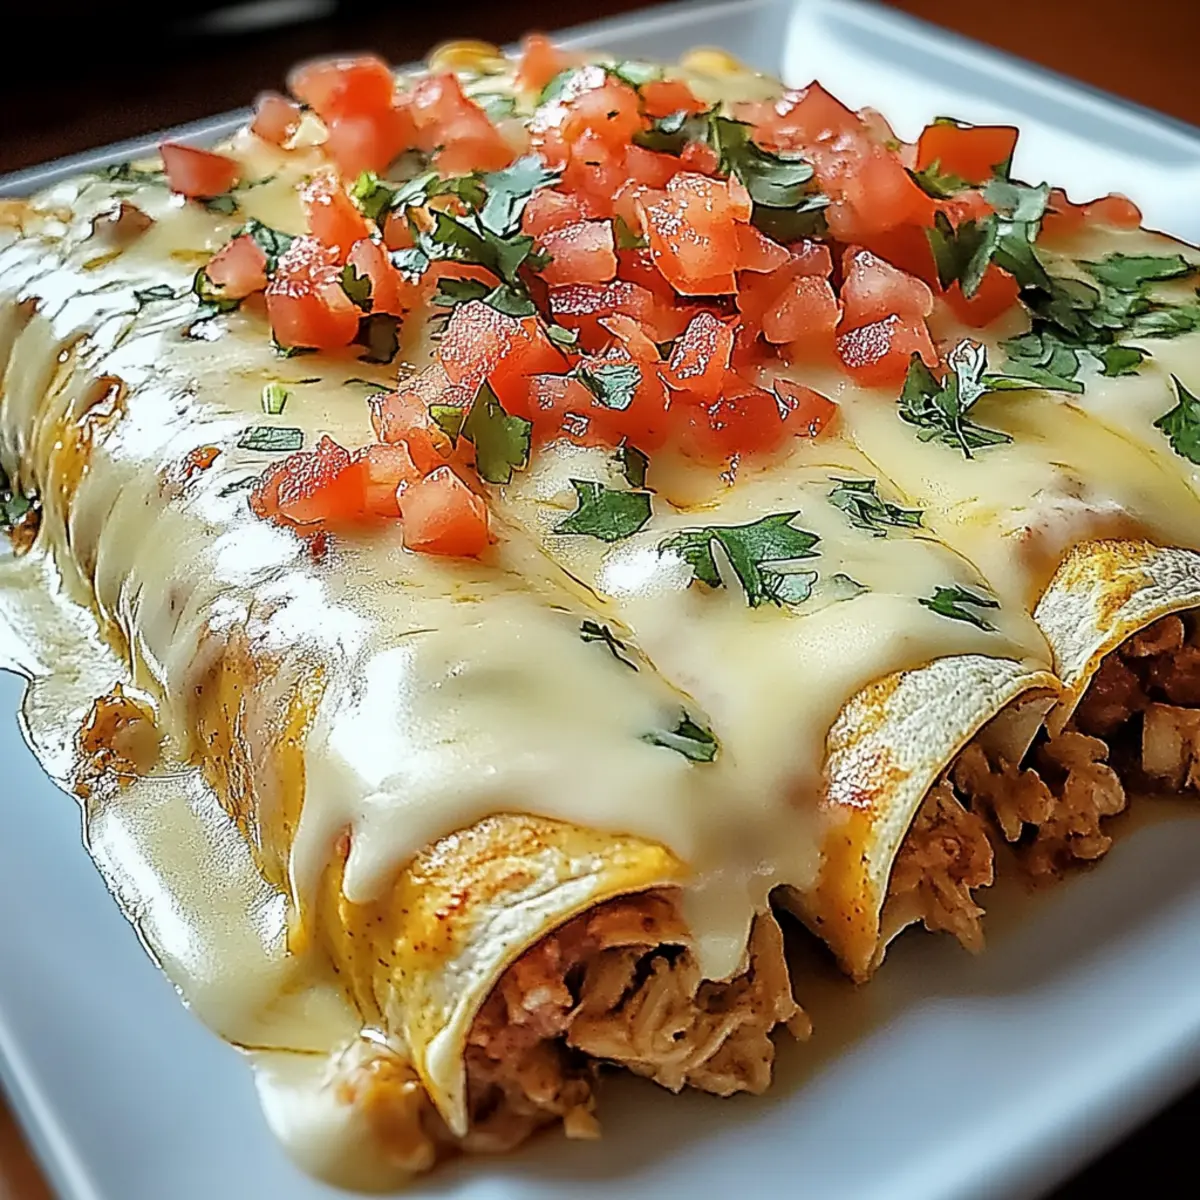
As the aroma of melted cheese wafts through my kitchen, I’m instantly transported to cozy dinner nights filled with laughter and joy. My Cheesy Queso Chicken Enchiladas promise just that—a vibrant, comforting dish that’s not only a feast for the eyes, but also a delightful indulgence for the taste buds. With quick prep in just 10 minutes, these enchiladas make busy weeknights effortlessly delicious. They’re incredibly customizable, allowing everyone to join the fun, whether they prefer a milder flavor or a spicy kick. Whip up a batch, gather around the table, and create heartwarming memories that linger long after the last bite. Curious how to bring this cheesy magic to your home? Let’s dive in!
Why Are These Enchiladas a Crowd Favorite?
Quick Prep: With only 10 minutes of prep, you can whip up a dish that’s perfect for busy families.
Customizable: Each bite is a treasure! You can easily tailor the flavors with different proteins or spice levels.
Advertisement
Comforting Flair: The warm, cheesy goodness is irresistible, making it ideal for cozy family nights.
Hearty Option: Each enchilada packs a delightful mix of flavors, ensuring you have a satisfying meal that everyone will love.
Healthy Choices Available: Opt for gluten-free corn tortillas or a vegetarian twist with black beans, offering delicious flexibility for varying diets!
Gather the family around your dinner table with these Queso Chicken Enchiladas or explore other comforting recipes like Breakfast Enchiladas Vegetarian for a twist on traditional flavors.
Queso Chicken Enchiladas Ingredients
For the Filling
• Shredded Chicken – Use rotisserie chicken for convenience and flavor.
• Taco Seasoning – Adds spiced flavor; try a homemade blend for milder taste.
• Sour Cream – Brings creaminess; Greek yogurt is a healthier alternative.
• Shredded Cheddar Cheese – Provides richness; substitute with pepper jack for extra spice.
• Chopped Green Chilies – Adds a mild heat; omit for a milder dish or add jalapeños for more kick.
For the Queso Sauce
• Cubed Velveeta Cheese – Essential for that creamy queso, or use reduced-fat cheese for a lighter option.
• Diced Tomatoes with Green Chilies – Enhances sauce flavor; keep undrained for better consistency.
For Assembling
• Tortillas – Use corn for gluten-free or flour for a soft texture based on your preference.
Ready to dive into these Queso Chicken Enchiladas? Let’s gather all these ingredients and create a delightful meal that warms the heart!
Step‑by‑Step Instructions for Queso Chicken Enchiladas
Step 1: Preheat the Oven
Begin by preheating your oven to 350°F (175°C). This ensures that your Queso Chicken Enchiladas will bake evenly and come out perfectly golden and bubbly. While the oven is heating up, you can prep the filling and sauce, making efficient use of your time.
Step 2: Prepare the Filling
In a large mixing bowl, combine 2 cups of shredded chicken, 1 packet of taco seasoning, 1 cup of sour cream, 1 cup of shredded cheddar cheese, and 1 can of chopped green chilies. Mix the ingredients thoroughly until all are well blended. This flavorful filling will be the heart of your enchiladas, so aim for a creamy consistency without any dry spots.
Step 3: Make the Queso Sauce
In a medium saucepan, place 8 ounces of cubed Velveeta cheese and 1 can of diced tomatoes with green chilies over medium-high heat. Stir continuously until the cheese melts and the mixture is smooth, about 4-5 minutes. You’ll want a velvety queso sauce that’s easy to pour; if it seems too thick, whisk in a tiny splash of milk to achieve your desired consistency.
Step 4: Assemble the Enchiladas
Lay out six tortillas on a clean surface and scoop ½ to ¾ cup of the chicken filling into the center of each tortilla. Roll them up tightly, ensuring all the yummy contents are tucked in. This step is crucial for creating enchiladas that hold together during baking and serve up beautifully on a plate.
Step 5: Arrange in the Baking Dish
Take a greased 9×13-inch casserole dish and carefully position the rolled enchiladas seam-side down. Arrange them snugly in a single layer, ensuring they’re closely packed for even baking. This preparation will help the enchiladas retain moisture while they bake, leading to a deliciously rich outcome.
Step 6: Pour the Queso Sauce
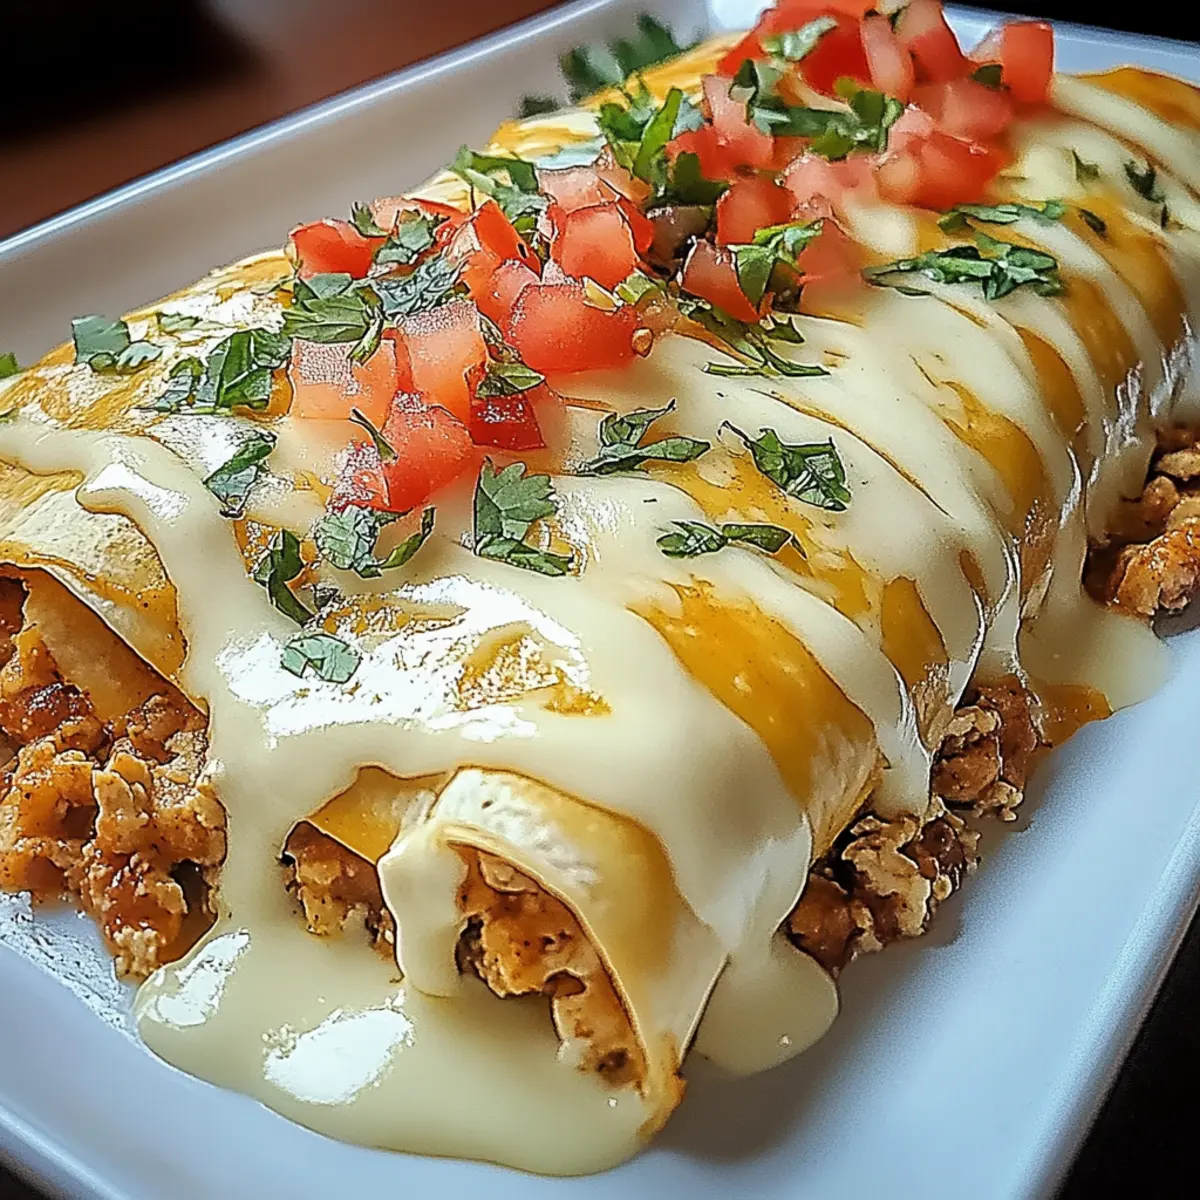
Once the enchiladas are arranged, pour the melted queso sauce evenly over the top. Make sure to cover each enchilada thoroughly for that irresistible gooey finish. The contrast of the creamy sauce against the rolled tortillas will create a mouthwatering visual before they even hit the oven.
Step 7: Bake to Perfection
Place the casserole dish in your preheated oven and bake for 20-25 minutes. Keep an eye on them; you’re looking for the enchiladas to be hot, bubbly, and beautifully golden on top. If they start browning too quickly, you can cover them loosely with foil to prevent burning while they finish baking.
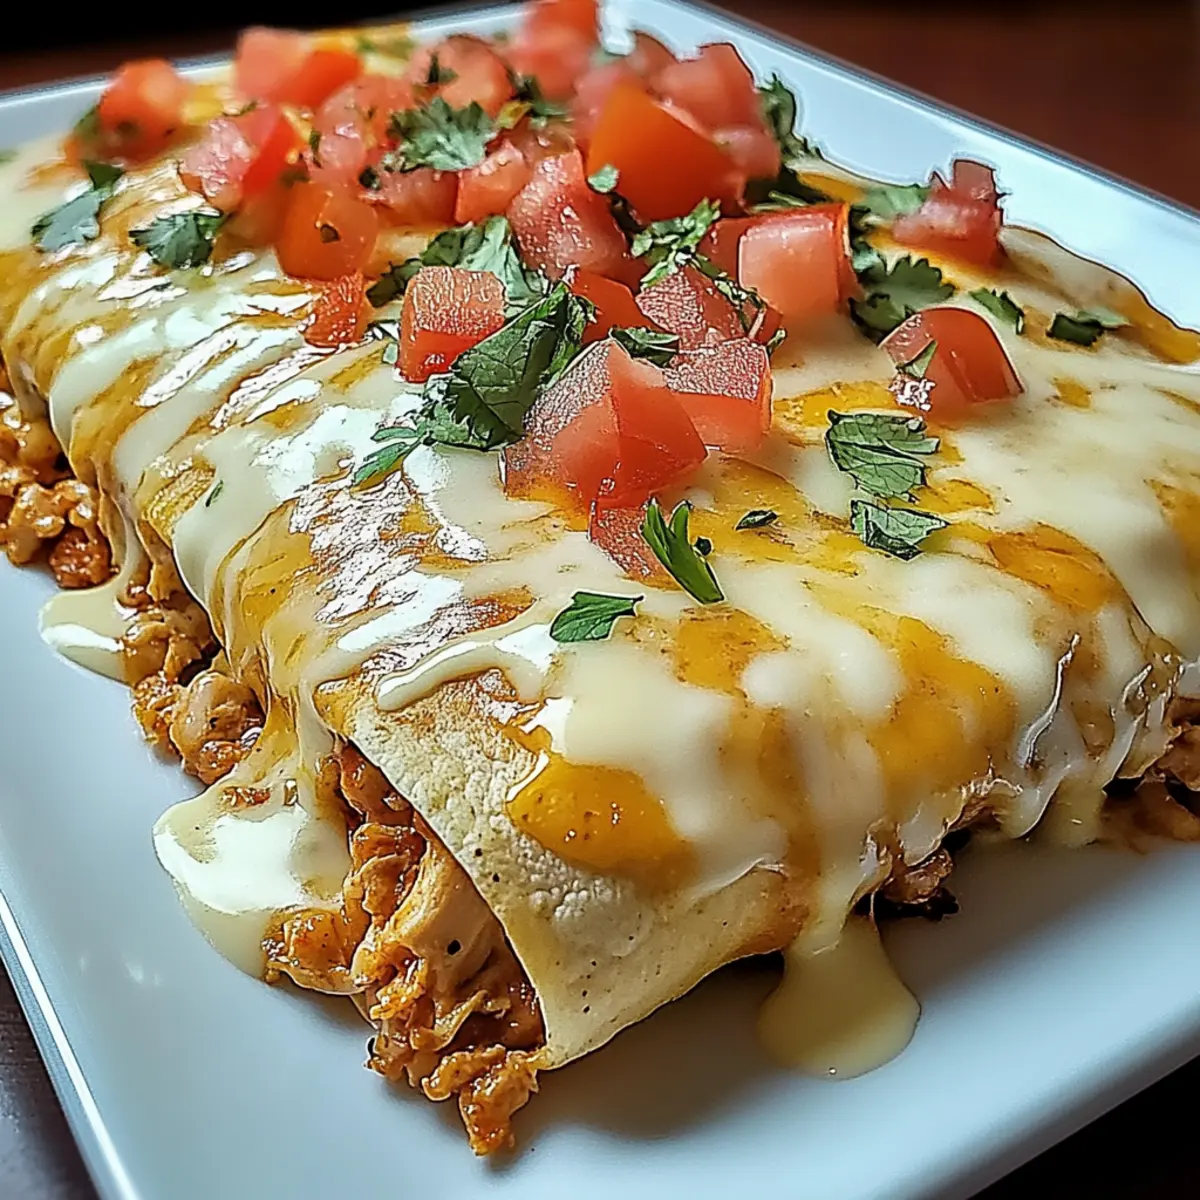
Step 8: Serve and Enjoy
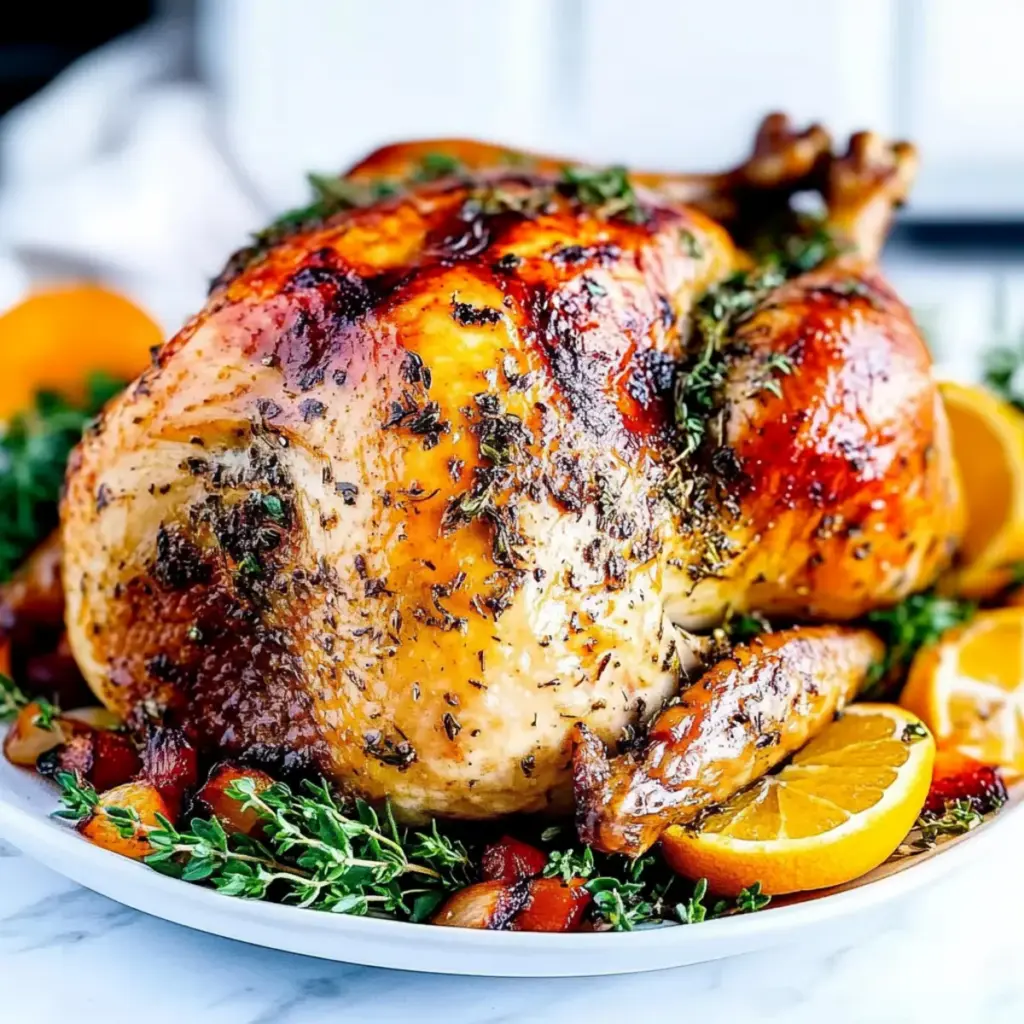
Once baked, remove the Queso Chicken Enchiladas from the oven and let them cool for a few minutes before serving. The sauce should be shimmering, and as you cut into the dish, you’ll reveal the cheesy, flavorful filling inside. Pair with a fresh side salad or Mexican rice for a complete meal that the whole family will love.
How to Store and Freeze Queso Chicken Enchiladas
Fridge: Store leftovers in an airtight container for up to 3 days. Ensure they’re fully cooled before sealing to maintain freshness.
Freezer: Wrap enchiladas tightly in plastic wrap and aluminum foil to prevent freezer burn. They can be frozen for up to 2 months.
Reheating: To reheat frozen Queso Chicken Enchiladas, bake them directly from the freezer at 350°F for about 30-35 minutes until heated through. Cover with foil for the first 20 minutes to retain moisture.
Thawing: For best results, thaw overnight in the fridge before reheating, offering a more uniform warm texture when ready to serve.
What to Serve with Queso Chicken Enchiladas
Create a delightful dining experience with vibrant sides that complement the cheesy goodness of your enchiladas.
-
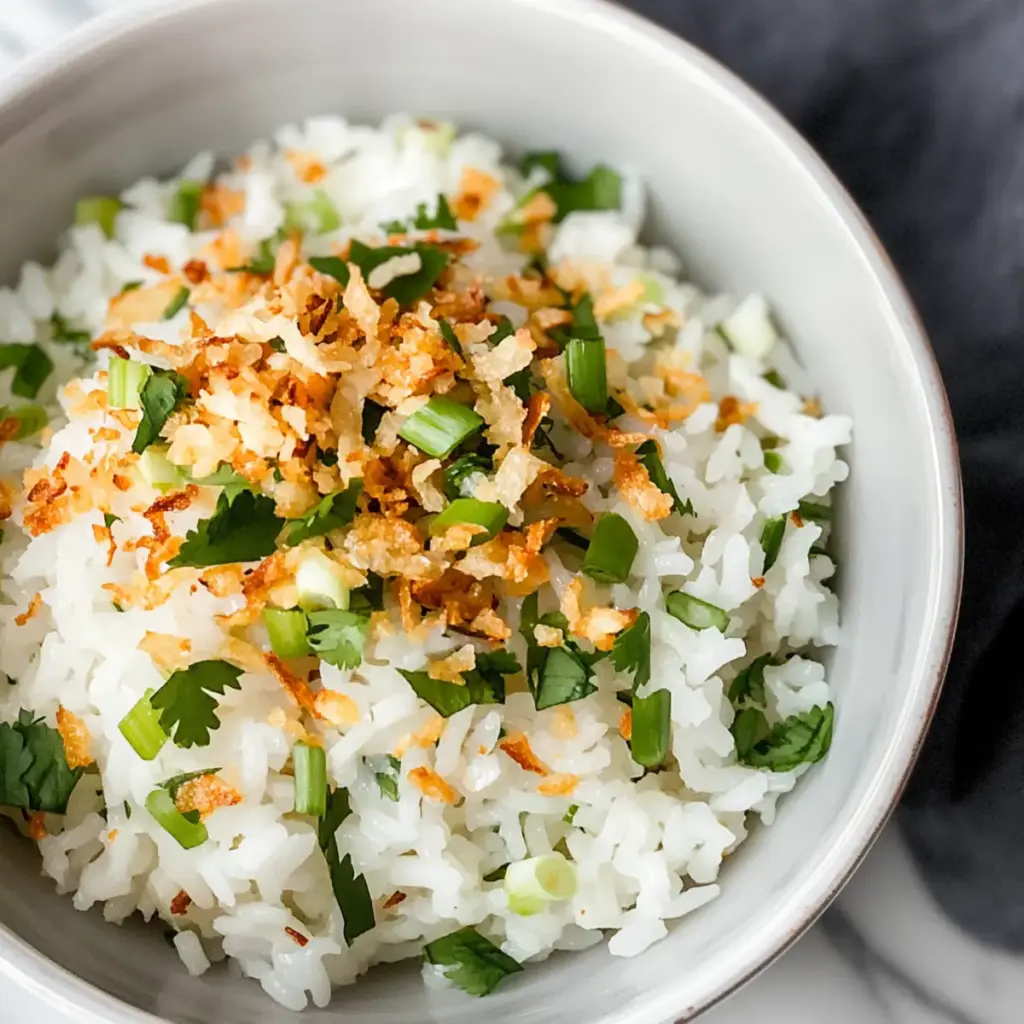
Mexican Rice: A fluffy rice dish flavored with spices complements the rich enchiladas, adding texture and heartiness to your meal. It’s a classic pairing that brings a bit of comfort in every bite.
-
Black Bean Salad: Fresh ingredients like black beans, corn, and avocado lend a refreshing crunch. This vibrant salad adds a nutritious dimension, balancing the creamy enchiladas beautifully.
-
Guacamole: Creamy, rich, and packed with flavor, guacamole is the perfect dip to accompany your spicy enchiladas. The coolness of the avocado offsets the heat for a delightful contrast.
-
Sour Cream and Salsa: Elevate your enchiladas with a dollop of sour cream and a drizzle of salsa. Their tangy notes make each bite more vibrant and flavorful.
-
Corn on the Cob: Grilled or roasted, sweet corn adds a touch of summer to your table. The natural sweetness harmonizes with the savory enchiladas, making for a perfect pairing.
-
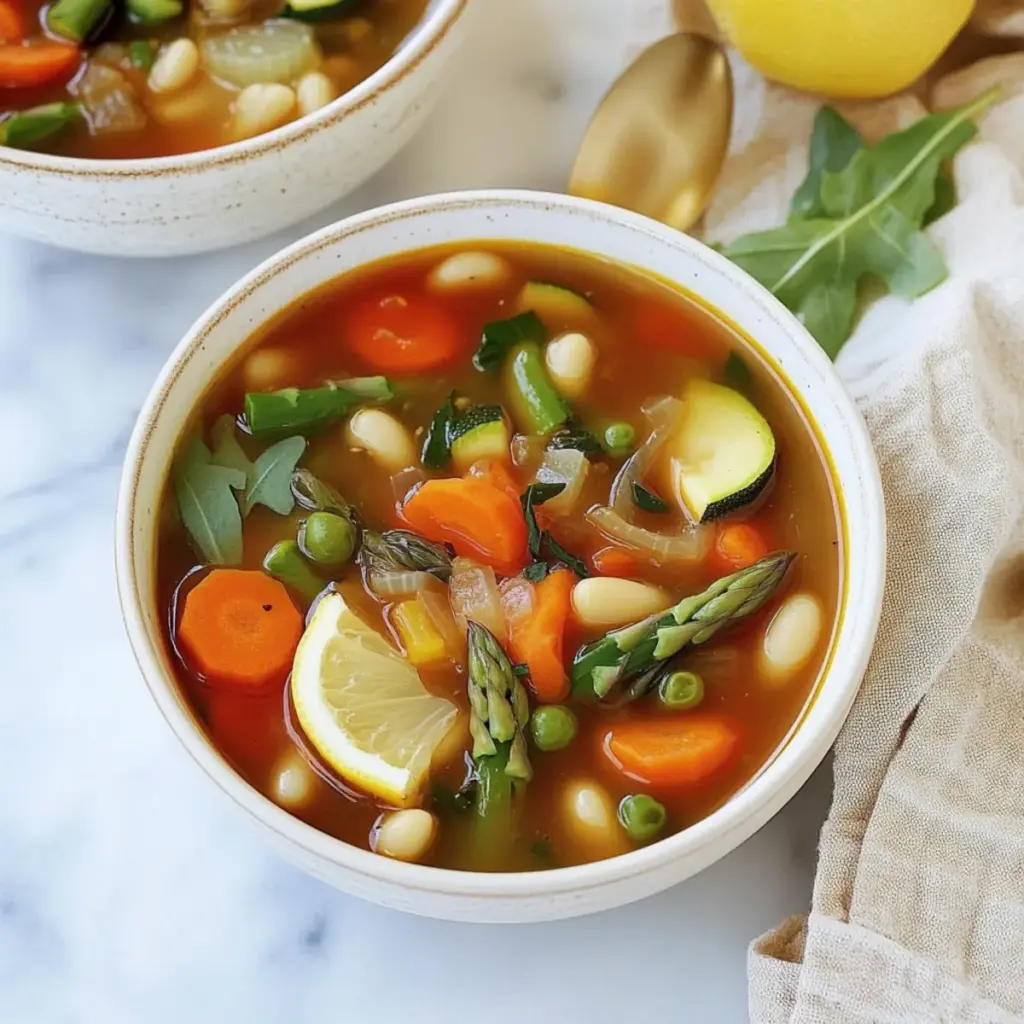
Fresh Green Salad: A simple mixed salad of crisp greens, tomatoes, and citrus dressing provides a refreshing contrast to the cheesy enchiladas. It’s light and zesty, brightening up the plate.
-
Margaritas: A chilled margarita brings a celebratory flair to your meal. The citrusy notes complement the flavors of the enchiladas while providing a delightful sip alongside every bite.
-
Churros: For dessert, serve crispy churros with a side of chocolate or caramel sauce. They offer a sweet finish, completing the meal on a high note.
-
Lemonade: Refreshing and sweet, a glass of homemade lemonade helps cleanse your palate after those cheesy enchiladas. The citrusy flavor makes for a delightful beverage pairing.
Make Ahead Options
These Queso Chicken Enchiladas are a fantastic option for meal prep enthusiasts! You can prepare the filling (shredded chicken, taco seasoning, sour cream, cheddar cheese, and green chilies) up to 24 hours in advance—just store it in an airtight container in the refrigerator. Additionally, you can assemble the enchiladas in the baking dish without the queso sauce and pop the dish in the fridge for up to 3 days. When you’re ready to bake, simply pour the melted queso sauce over the assembled enchiladas before placing them in the oven—this will keep them just as delicious and comforting as if made the same day. Enjoy the time-saving benefits of these enchiladas while keeping meal prep simple and satisfying!
Queso Chicken Enchiladas Variations
Feel free to get creative in the kitchen with these flavorful adaptations to make your enchiladas truly your own!
-
Vegetarian Option: Replace shredded chicken with black beans or lentils for a hearty, plant-based dish. This swap not only adds protein but offers a satisfying texture too. For those who may be less adventurous, you might be surprised how delicious these can be!
-
Spicy Kick: Add diced jalapeños or a splash of hot sauce to the filling for an extra kick. This is perfect for spice lovers eager to elevate their enchiladas. You can also mix in some roasted red peppers for a smoky flavor boost!
-
Creamy Avocado Topping: Garnish your enchiladas with sliced avocado or a drizzle of avocado crema for a touch of freshness. The creamy texture complements the cheese beautifully, adding an extra layer of flavor and richness.
-
Seasonal Veggies: Incorporate seasonal veggies like zucchini, spinach, or corn into the filling for added nutrition and color. Think about how tasty and vibrant your plate will look! This is a great way to sneak in some extra health benefits without sacrificing taste.
-
Cheese Variations: Switch up the cheeses by using pepper jack for spice, or mozzarella for a milder, gooey experience. Mixing different types allows you to create a richer and more complex flavor profile.
-
Personal Servings: Bake your enchiladas in individual ramekins for unique portion control and presentation. They’ll be perfect for special occasions or simple family dinner nights! This ensures that everyone gets their own hearty, cheesy share.
Don’t forget to explore other comforting options like Healthy Southwest Chicken Wraps with Avocado for a wholesome meal that’s also exciting to eat!
Expert Tips for Queso Chicken Enchiladas
-
Keep It Fresh: Opt for fresh ingredients whenever possible; they’ll elevate the flavor, making your Queso Chicken Enchiladas truly remarkable.
-
Melt Gradually: Melt Velveeta slowly over medium heat to prevent clumping; if it gets too thick, whisk in a splash of milk to achieve a smooth consistency.
-
Mind the Fillings: Avoid overfilling your tortillas to ensure they roll up easily, preventing messy enchiladas that may burst during baking.
-
Check Baking Time: Keep an eye on baking time to avoid drying out. Look for a golden-brown top that hints at gooey goodness beneath!
-
Customize with Care: Experiment with different proteins or spice levels, but remember to balance flavors to keep the dish harmonious and delightful for everyone.
Queso Chicken Enchiladas Recipe FAQs
What kind of chicken is best for this recipe?
Absolutely! I recommend using rotisserie chicken for its flavor and convenience. If you prefer, you can also use cooked chicken breast or thighs that you’ve shredded yourself. Just ensure the chicken is moist so the enchiladas don’t turn out dry.
How should I store leftover enchiladas?
Store leftover Queso Chicken Enchiladas in an airtight container in the fridge for up to 3 days. Make sure they’re fully cooled before sealing to maintain their freshness. You can easily reheat them in the oven or microwave when you’re ready for a cozy meal.
Can I freeze these enchiladas?
Yes! To freeze Queso Chicken Enchiladas, wrap them tightly in plastic wrap and then in aluminum foil to prevent freezer burn. They can be kept frozen for up to 2 months. When you’re ready to enjoy them, bake directly from the freezer at 350°F for about 30-35 minutes or until heated through.
What if my Velveeta cheese isn’t melting smoothly?
If your Velveeta isn’t melting smoothly, it’s likely cooking too quickly. Slow down the heat and whisk in a small splash of milk to loosen the mixture. Stir continuously until you achieve a velvety texture. Patience is key here!
Are there gluten-free options for these enchiladas?
Yes! You can easily make these enchiladas gluten-free by using corn tortillas instead of flour. This substitution will still deliver a delicious result while accommodating those with gluten sensitivities.
What toppings can I add to enhance flavor?
You have plenty of options! Try garnishing with sliced avocado, fresh cilantro, or a drizzle of sour cream or avocado sauce. Adding sliced jalapeños or pickled onions will bring an extra kick that many love!
Ultimate Queso Chicken Enchiladas for Cozy Family Nights
Ingredients
Equipment
Method
- Preheat your oven to 350°F (175°C).
- In a large mixing bowl, combine 2 cups of shredded chicken, 1 packet of taco seasoning, 1 cup of sour cream, 1 cup of shredded cheddar cheese, and 1 can of chopped green chilies. Mix thoroughly.
- In a medium saucepan, place 8 ounces of cubed Velveeta cheese and 1 can of diced tomatoes with green chilies over medium-high heat. Stir until smooth, about 4-5 minutes.
- Lay out six tortillas and scoop ½ to ¾ cup of the chicken filling into each. Roll tightly.
- Take a greased 9x13-inch casserole dish and position the rolled enchiladas seam-side down.
- Pour the melted queso sauce evenly over the top of the enchiladas.
- Bake for 20-25 minutes until hot and bubbly. Cover with foil if browning too quickly.
- Let them cool for a few minutes before serving. Pair with a fresh side salad or Mexican rice.