Advertisement
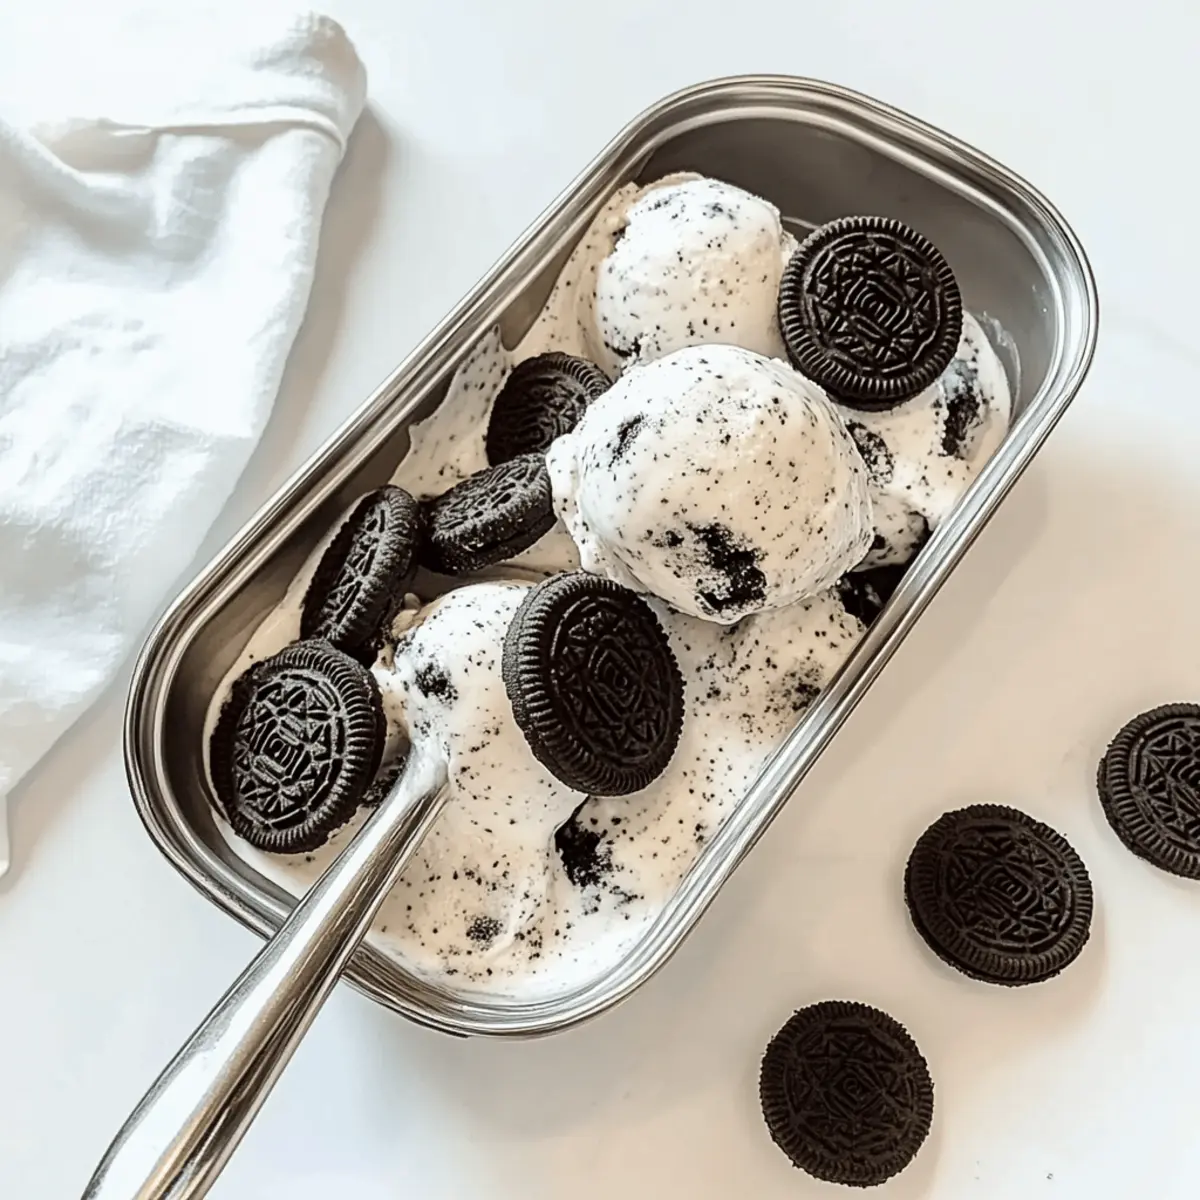
On a sunny afternoon while reminiscing about summer barbecues, I suddenly craved something cool and indulgent. That’s when I decided to whip up this Easy No-Churn Oreo Ice Cream! In just 10 minutes, you can create this homemade delightful treat that perfectly balances creamy vanilla and crunchy Oreo bites, delivering a nostalgic taste of heaven. This egg-free delight is not only a crowd-pleaser, but it’s also an incredibly quick recipe that allows for creative twists. Whether you’re treating yourself after a long day or sharing it with friends, this ice cream is a delightful way to bring everyone together. Are you ready to dive into the world of customized frozen bliss? Let’s get started!
Why Is This Ice Cream So Irresistible?
Quick Prep: You’ll love that this Homemade Oreo Ice Cream is ready in just 10 minutes, making it perfect for spontaneous cravings or last-minute gatherings.
No Churn: Say goodbye to complicated machines and laborious processes—this delightful treat requires no churning, meaning anyone can master it!
Advertisement
Endless Variations: With simple tweaks, like swapping Oreos for peanut butter cookies or adding fresh fruit, you can customize flavors to suit any palate or occasion.
Crowd-Pleaser: Impress friends and family alike with a nostalgic dessert that appeals to both kids and adults, sparking joy at any summer barbecue.
Egg-Free Goodness: Enjoy a rich, creamy experience without the worry of raw eggs, making it perfect for everyone to indulge happily.
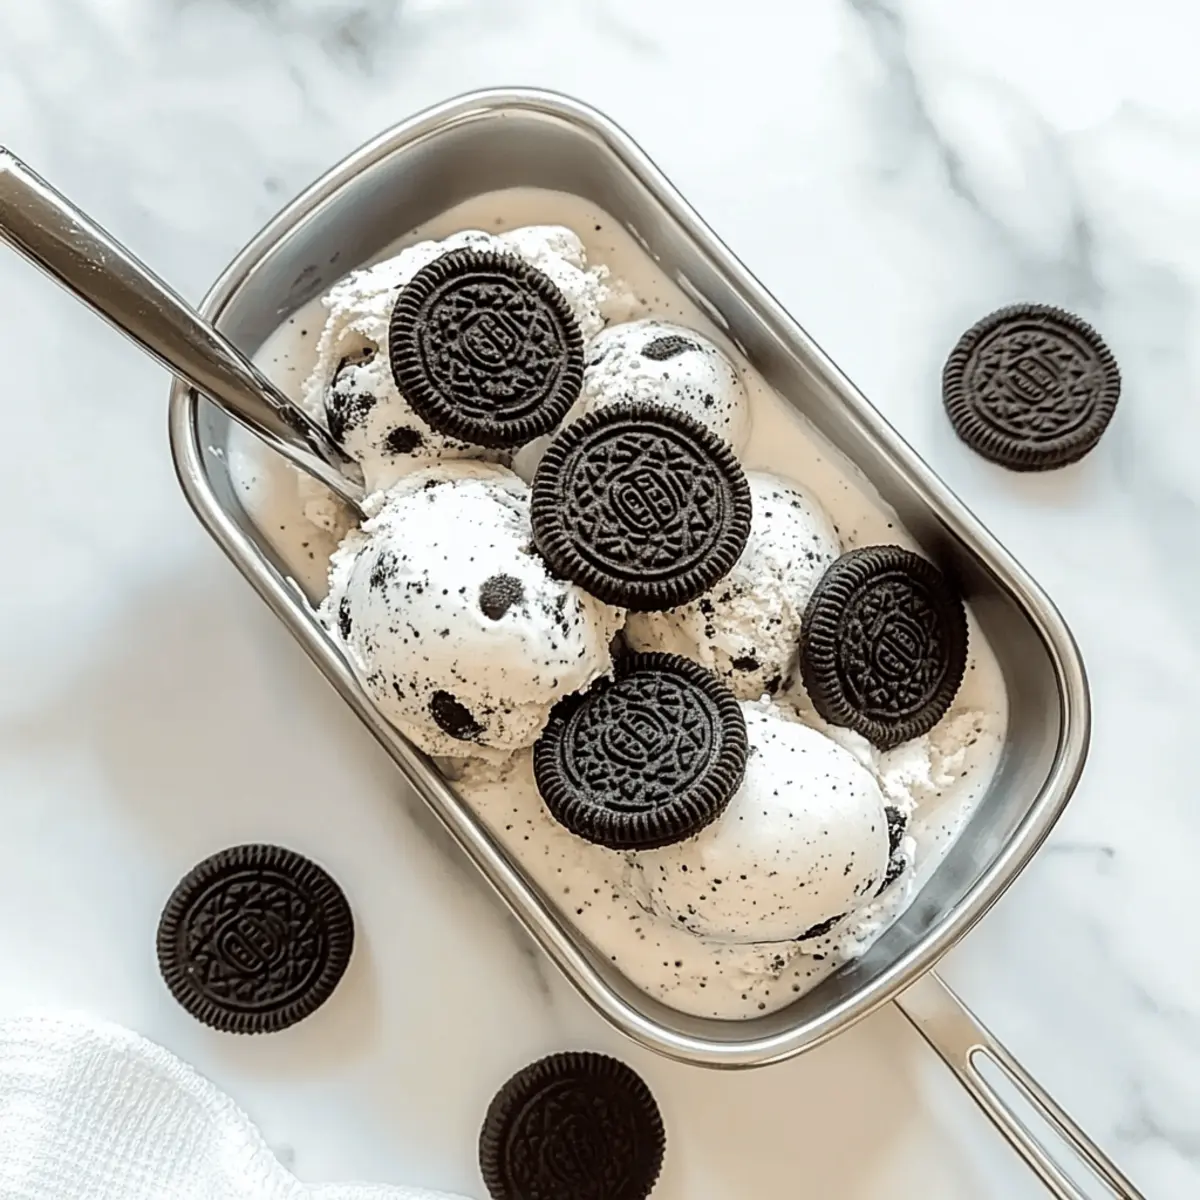
Perfectly Creamy: Expect a luscious texture that’s velvety and smooth—with just the right amount of crunch from those Oreo bits. Treat yourself and your loved ones today by exploring other delicious desserts like Homemade Chocolate Chip cookies or Easy Homemade Caramel Apple rolls!
Homemade Oreo Ice Cream Ingredients
For the Ice Cream Base
• Heavy Whipping Cream – Provides a rich, creamy texture; make sure it’s chilled for optimal whipping results.
• Sweetened Condensed Milk – Acts as a sweetener and stabilizer; you can opt for dairy-free versions if needed.
• Vanilla Extract – Enhances the flavor; use pure vanilla for the best aroma and taste.
For the Crunchy Twist
• Oreo Cookies – Adds delightful chocolatey crunch; you can substitute these with your favorite sandwich cookies for variations.
Dive into making this delightful homemade Oreo ice cream and let your creativity shine with endless flavor combinations!
Step‑by‑Step Instructions for Homemade Oreo Ice Cream
Step 1: Prepare the Cookies
Start by chopping around 10 Oreo cookies into small chunks, ensuring you save some extra crumbs for texture. Aim for bite-sized pieces, about ¼ inch in size. This will create delightful pockets of crunchy chocolaty goodness in your homemade Oreo ice cream. Set the chopped cookies aside as you move on to the next step.
Step 2: Whip the Cream
In a large mixing bowl, pour in 2 cups of cold heavy whipping cream. Using a hand mixer or stand mixer, beat the cream on medium speed until medium-firm peaks form. This should take about 3-5 minutes. The cream should be fluffy but slightly soft, holding its shape well. A light and airy base is key to making this ice cream wonderfully creamy.
Step 3: Combine the Ingredients
Gently fold in 1 cup of sweetened condensed milk and 1 teaspoon of pure vanilla extract into the whipped cream. Use a spatula and employ gentle motions to maintain the airy texture. Avoid overmixing, as you want to keep that lightness intact for your homemade Oreo ice cream. The mixture should look creamy and well incorporated.
Step 4: Add the Oreo Cookies
Carefully fold in ¾ of the prepared Oreo chunks into the creamy mixture until evenly distributed. This step will ensure that every scoop of your homemade Oreo ice cream is infused with rich chocolatey flavor and delightful crunch. Reserve the remaining Oreo bits for topping later to enhance both the presentation and texture.
Step 5: Freeze the Mixture
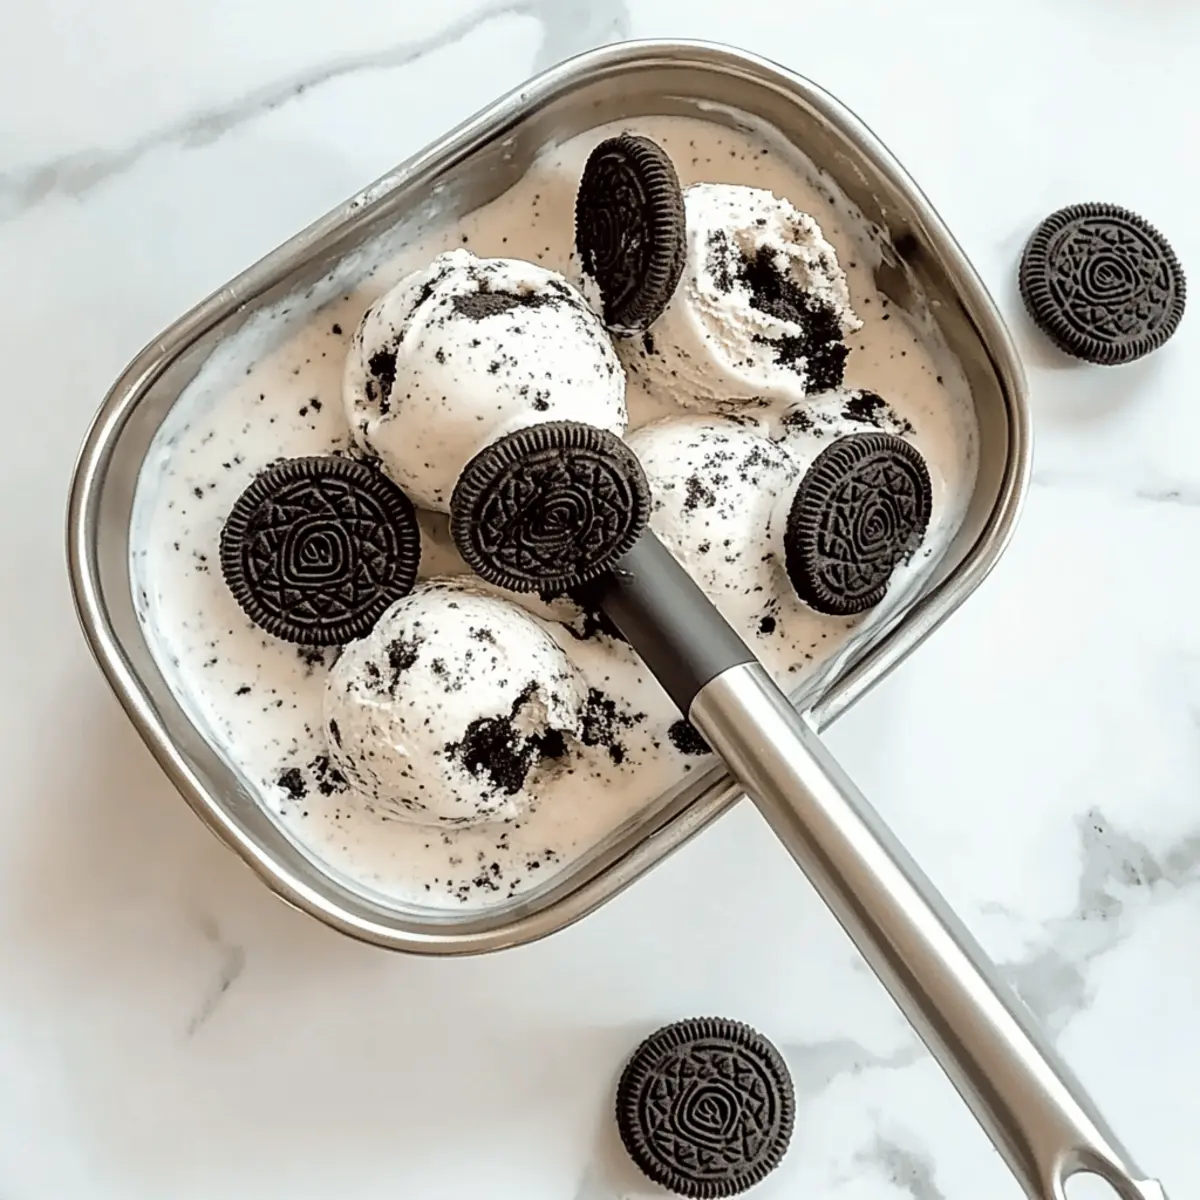
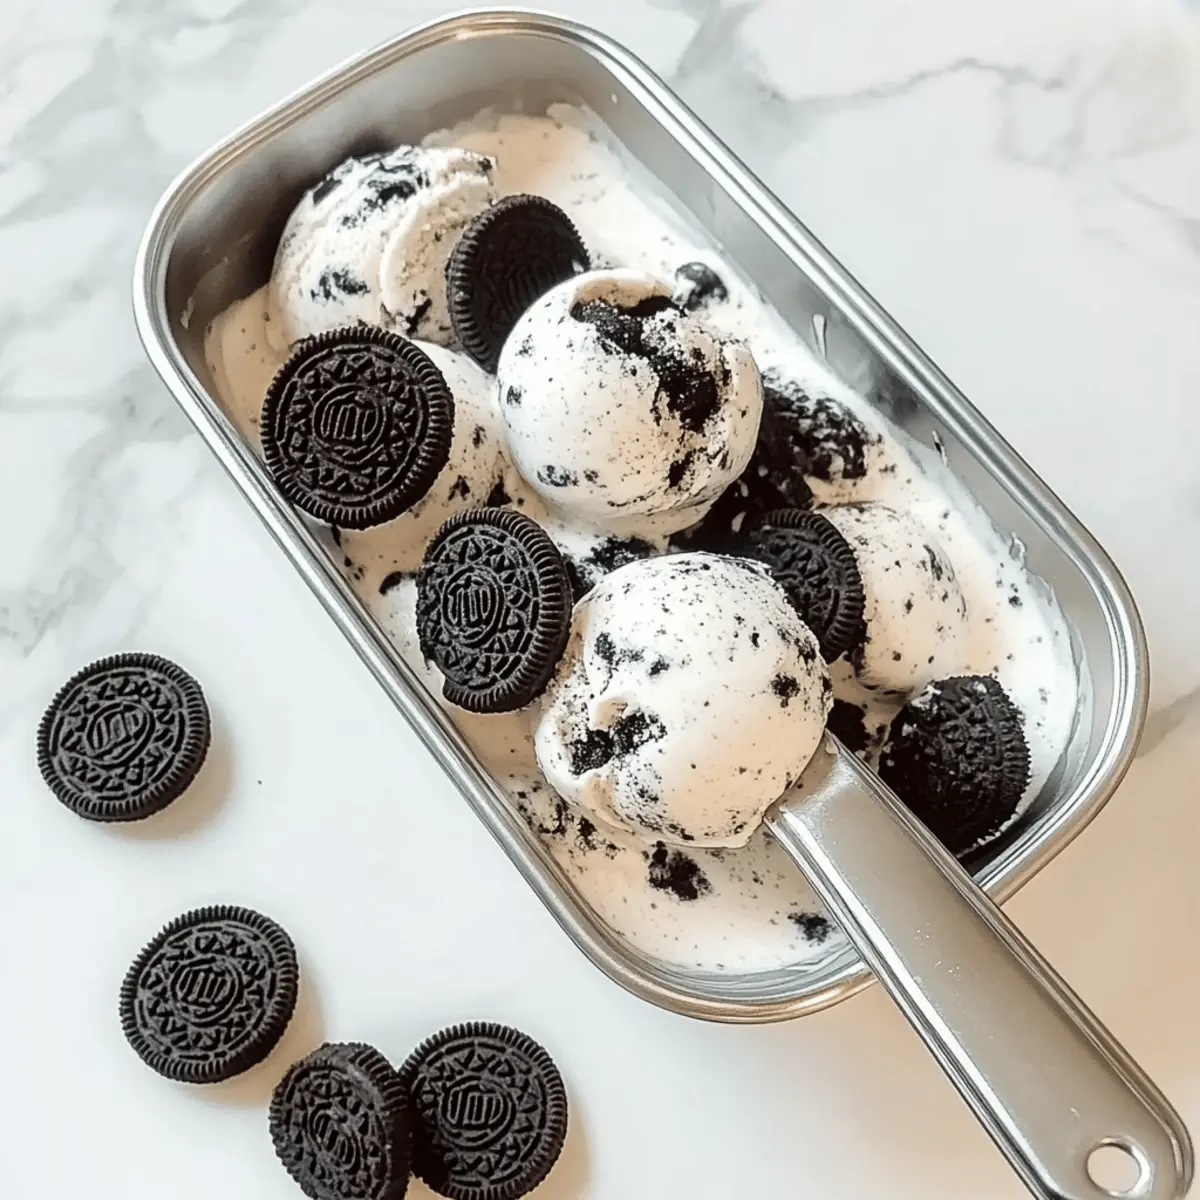
Pour the ice cream mixture into a metal pan, smoothing the top with a spatula for an even surface. Sprinkle the leftover Oreo pieces across the top for the finishing touch. Cover the pan with plastic wrap or a lid, and freeze for about 4 to 6 hours, or until the ice cream is firm and set. The metal pan helps the ice cream freeze evenly.
Step 6: Serve and Enjoy
Once frozen, scoop out the homemade Oreo ice cream into bowls or cones. For the best serving experience, let the ice cream sit at room temperature for 5-10 minutes before scooping; this will make it easier to serve. Add toppings like chocolate sauce or fresh fruit to personalize your treat, and share this delightful dessert with family and friends!
How to Store and Freeze Homemade Oreo Ice Cream
Airtight Container: Store your homemade Oreo ice cream in an airtight container to keep it fresh and free from freezer odors. It will last up to 2 weeks in the freezer.
Cover with Plastic Wrap: Before sealing the container, press a layer of plastic wrap directly onto the surface of the ice cream to prevent ice crystals and freezer burn.
Reheating: If your ice cream is too hard to scoop after freezing, let it sit at room temperature for 5-10 minutes before serving to achieve the ideal creamy texture.
Make Ahead: Consider preparing the ice cream up to a week in advance for parties or family gatherings; this way, you’ll always have a delicious dessert ready to serve!
Homemade Oreo Ice Cream Variations
Feel free to explore the creative possibilities with this easy recipe, transforming it into an even more delightful treat!
-
Mint Chocolate: Swap out regular Oreos for mint chocolate cookies for a refreshing twist that brightens every scoop. The coolness of mint pairs beautifully with creamy vanilla.
-
Peanut Butter Swirl: Fold in dollops of creamy peanut butter for a nutty contrast that’ll take your Oreo creation to a new level. The sweet and salty combination will have everyone coming back for more!
-
Fruit Fusion: For a fruity surprise, gently mix in crushed strawberries or raspberries before freezing. The added bursts of flavor make this a delightful dessert for summer gatherings.
-
Dairy-Free Version: Replace heavy cream with coconut cream and use dairy-free sweetened condensed milk for a luscious, vegan-friendly ice cream. It’s equally delicious, allowing everyone to indulge!
-
Spicy Kick: For those who crave a little heat, add a pinch of chili powder to the mixture for an unexpected spicy twist—it’s a flavor adventure!
-
Cookie Dough Delight: Mix in chunks of edible cookie dough for an extra indulgent treat that elevates the classic flavors of cookies and cream. Imagine the joy of biting into soft dough!
-
Chocolate Cherry: Incorporate maraschino cherries and chocolate chips to elevate your ice cream to a new level of decadent. The combination of chocolate and fruit is simply irresistible.
-
S’mores Surprise: Add crushed graham crackers and mini marshmallows to the mix for a delightful s’mores-inspired ice cream. This variation will transport you to a cozy campfire setting with every bite!
Each of these variations brings a unique touch to your homemade Oreo ice cream, making it perfect for sharing at your next gathering. And if you’re looking for more dessert inspiration, don’t forget to check out my Homemade Black Forest cake or delightfully chewy Pistachio Cream Stuffed cookies! Enjoy experimenting!
Expert Tips for Homemade Oreo Ice Cream
-
Chill Equipment: Ensure your mixing bowl and beaters are cold before whipping the cream; it helps achieve better stiffness and creaminess in your homemade Oreo ice cream.
-
Gentle Folding: Use a spatula to fold in ingredients. Overmixing the whipped cream can deflate it, leading to a denser ice cream.
-
Custom Crunch: Experiment with different cookies! You can substitute Oreos with other sandwich cookies, but stick to similar sizes for even mixing.
-
Perfect Consistency: If your ice cream is too hard after freezing, let it sit at room temperature for 5-10 minutes before scooping to obtain that delightful creamy texture.
-
Storage Solution: Always cover your ice cream tightly with plastic wrap or a lid to prevent freezer burn and maintain that fresh taste for your homemade Oreo ice cream.
Make Ahead Options
These Homemade Oreo Ice Creams are perfect for busy cooks who love to meal prep! You can make the ice cream base up to 24 hours in advance; simply prepare the mixture, pour it into a metal pan, and cover it securely with plastic wrap. This helps maintain the creamy texture and prevents freezer burn. When you’re ready to serve, allow the ice cream to sit at room temperature for 5-10 minutes for easier scooping, then top with the reserved Oreo crumbs. Enjoy the convenience and taste of making your delicious no-churn treat ahead of time—just as delightful as if made fresh!
What to Serve with Easy No-Churn Oreo Ice Cream
Indulging in this creamy dream is delightful, but pairing it with the right companions can elevate your dessert experience!
-
Chocolate Sauce: A rich drizzle adds a luscious touch, enhancing the chocolate notes and satisfying any sweet tooth.
-
Fresh Berries: Juicy strawberries or tart raspberries contrast beautifully with the creamy ice cream, offering a refreshing burst of flavor.
-
Homemade Waffle Cones: Serve your ice cream in warm, crunchy cones for a classic touch that adds texture and nostalgia to each bite.
-
Whipped Cream: A fluffy dollop atop your scoop introduces a light and airy contrast, bringing a whimsical touch to your dessert.
-
Crushed Nuts: Sprinkle toasted almonds or pecans for a nutty crunch that adds an unexpected layer of flavor.
-
Mint Leaves: Fresh mint lends a vibrant color and refreshing taste, creating a lovely contrast to the creamy sweetness.
-
Espresso or Coffee: A cup of bold coffee balances the rich sweetness of the ice cream, making for a delightful after-dinner treat.
-
Chocolate Chip Cookies: Pair with warm cookies for an indulgent twist, offering a classic cookies-and-cream experience that’s truly unforgettable.
These delightful accompaniments will make your homemade Oreo ice cream celebration even more memorable!
Homemade Oreo Ice Cream Recipe FAQs
What kind of Oreo cookies should I use?
You can use classic Oreo cookies for that delicious chocolatey crunch, but feel free to experiment! Alternatives like peanut butter cookies or other sandwich cookies can create fun variations. Just make sure the cookies are similar in size to maintain even mixing.
How should I store my homemade Oreo ice cream?
To keep your ice cream fresh, store it in an airtight container and make sure to cover the surface with plastic wrap before sealing. This prevents freezer burn and will keep your ice cream tasty for up to 2 weeks. If you need to prepare it in advance, don’t worry—making it a week ahead is a great time-saver!
Can I freeze my homemade Oreo ice cream for longer?
Absolutely! While the best texture is achieved within 2 weeks, you can freeze it for up to 3 months. Just ensure it’s tightly sealed in an airtight container to keep it lovely and fresh. For the best eating experience, allow it to soften at room temperature for 5-10 minutes before scooping.
What should I do if my ice cream is too hard to scoop?
If you find your homemade Oreo ice cream is rock-solid after freezing, don’t fret! Simply let it sit out at room temperature for about 5-10 minutes. This will help it soften to that delightful creamy consistency that makes every scoop a joy.
Are there any allergy considerations?
Yes! This recipe is egg-free, making it a great option for those avoiding raw eggs. However, be cautious with Oreo cookies, as they contain wheat and dairy. For a dairy-free version, substitute the heavy cream with coconut cream and choose dairy-free sweetened condensed milk. Always check the labels to ensure they meet your dietary needs.
How long does this recipe take to make?
You’ll be glad to hear that making this homemade Oreo ice cream takes just 10 minutes of active prep time. After that, it will need to freeze for about 4 to 6 hours to fully set, making it a quick and easy treat to whip up for any occasion!
Homemade Oreo Ice Cream That’s No-Churn and Totally Irresistible
Ingredients
Equipment
Method
- Start by chopping around 10 Oreo cookies into small chunks. Aim for bite-sized pieces, about ¼ inch in size.
- In a large mixing bowl, pour in 2 cups of cold heavy whipping cream. Beat on medium speed until medium-firm peaks form, about 3-5 minutes.
- Gently fold in 1 cup of sweetened condensed milk and 1 teaspoon of vanilla extract into the whipped cream.
- Carefully fold in ¾ of the prepared Oreo chunks into the creamy mixture until evenly distributed.
- Pour the ice cream mixture into a metal pan and sprinkle the remaining Oreo pieces on top. Cover and freeze for about 4 to 6 hours.
- Once frozen, scoop out the ice cream into bowls or cones and enjoy!