Advertisement
As the Halloween decorations start to take shape and whispers of spooky costumes fill the air, my kitchen transforms into a magical realm of delights. Enter the Halloween Cauldron Cookie Creation, a whimsical treat that’s perfect for bringing family together in joyous chaos. These enchanting cookies boast a golden, crisp edge and a soft, gooey center, making them a memorable surprise at any gathering. Not only are they a crowd-pleaser, but they’re also quick to whip up, ensuring that even the busiest home-chefs can incorporate a bit of fun into their routine. Just imagine the laughter as you and your loved ones stir in colorful candies and chocolate, creating a festive masterpiece! Ready to bake some magic? Let’s dive into crafting these delightful spooky snacks!
Why Are These Cookies So Fun to Make?
Simplicity makes this recipe a breeze, perfect for novice bakers and seasoned chefs alike. Festive Flavor shines through with gooey chocolate and whimsical candy, making each bite feel like Halloween. Creative Freedom allows you to mix and match candies—swap in your favorites for a personalized treat! Family Bonding opportunities abound as you gather everyone around, blending treats and sharing laughter. Plus, quick to prepare, these cookies can easily fit into even the busiest of schedules, proving that you don’t need to sacrifice fun for time. For more delightful baking ideas, check out my Christmas Cookie Bars and Sugar Cookie Cheesecake!
Halloween Cauldron Cookie Creation Ingredients
For the Cookies
Advertisement
- Unsalted Butter – Adds richness and moisture to the cookie; can substitute with margarine.
- Granulated Sugar – Sweetness helps cookies crisp on the edges; no substitutions needed.
- Brown Sugar – Provides moisture and a deeper caramel flavor; can use light or dark brown sugar depending on preference.
- Eggs – Binds ingredients and adds structure; substitute with 1/4 cup unsweetened applesauce or mashed banana per egg if needed.
- Vanilla Extract – Enhances flavor and aroma; optional and can be replaced with almond extract for a twist.
- All-Purpose Flour – Main structure ingredient; for gluten-free options, use a gluten-free all-purpose blend.
- Baking Soda – Helps cookies rise and gives a chewy texture; don’t substitute without adjusting ratios carefully.
- Salt – Balances sweetness and enhances flavors; essential, but can omit if using salted butter.
For the Mix-ins
- Chocolate Chips – Provide melty chocolate bursts; swap for dark chocolate, white chocolate, or chopped chocolate bars as desired.
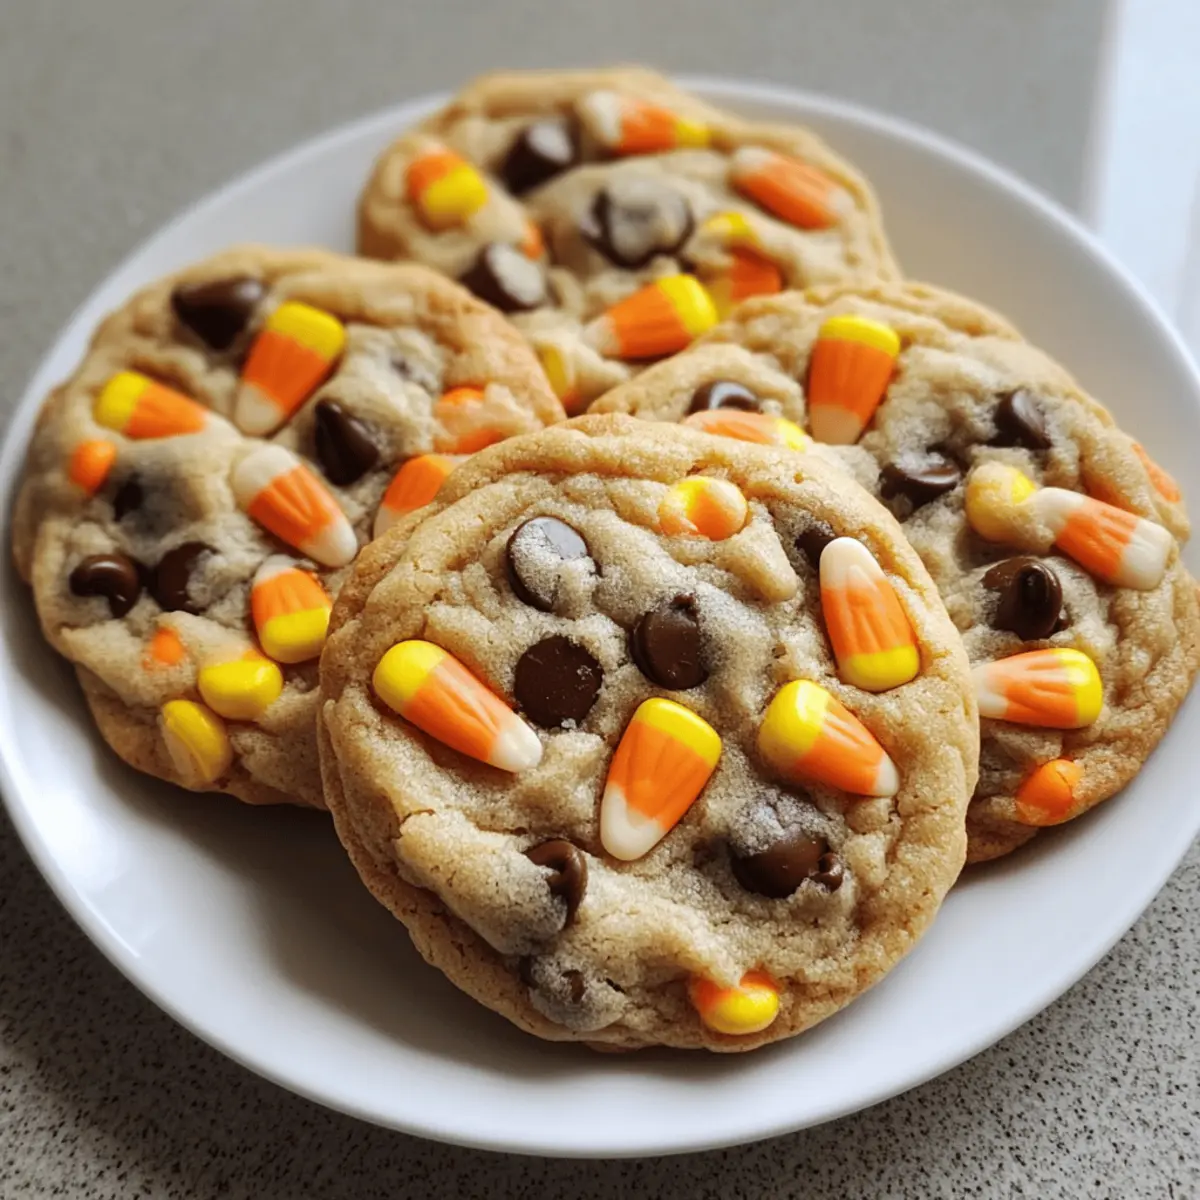
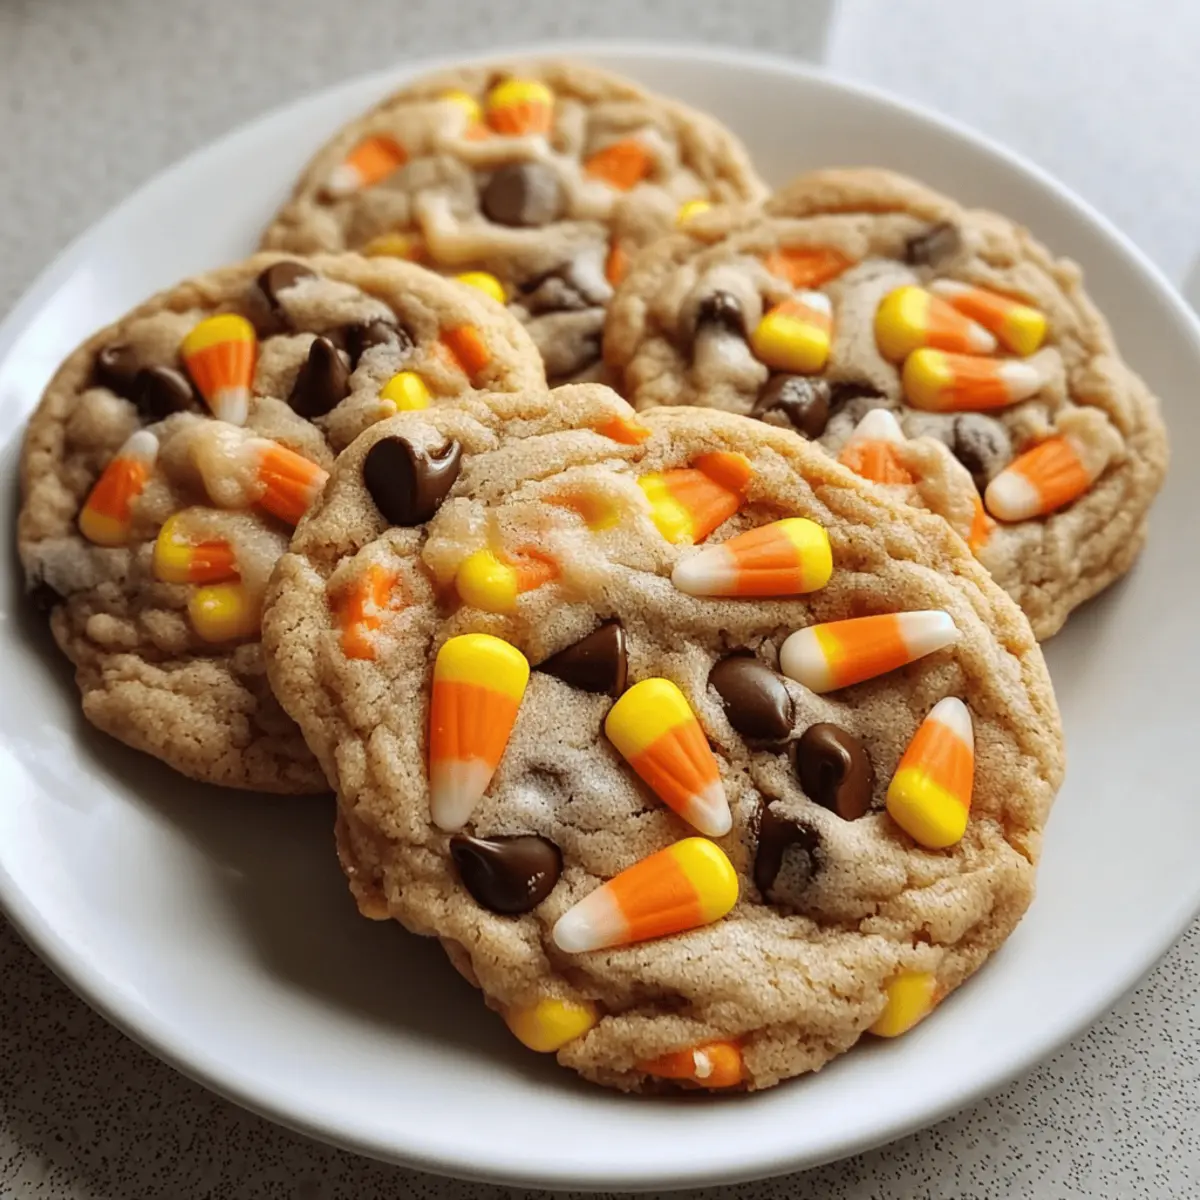
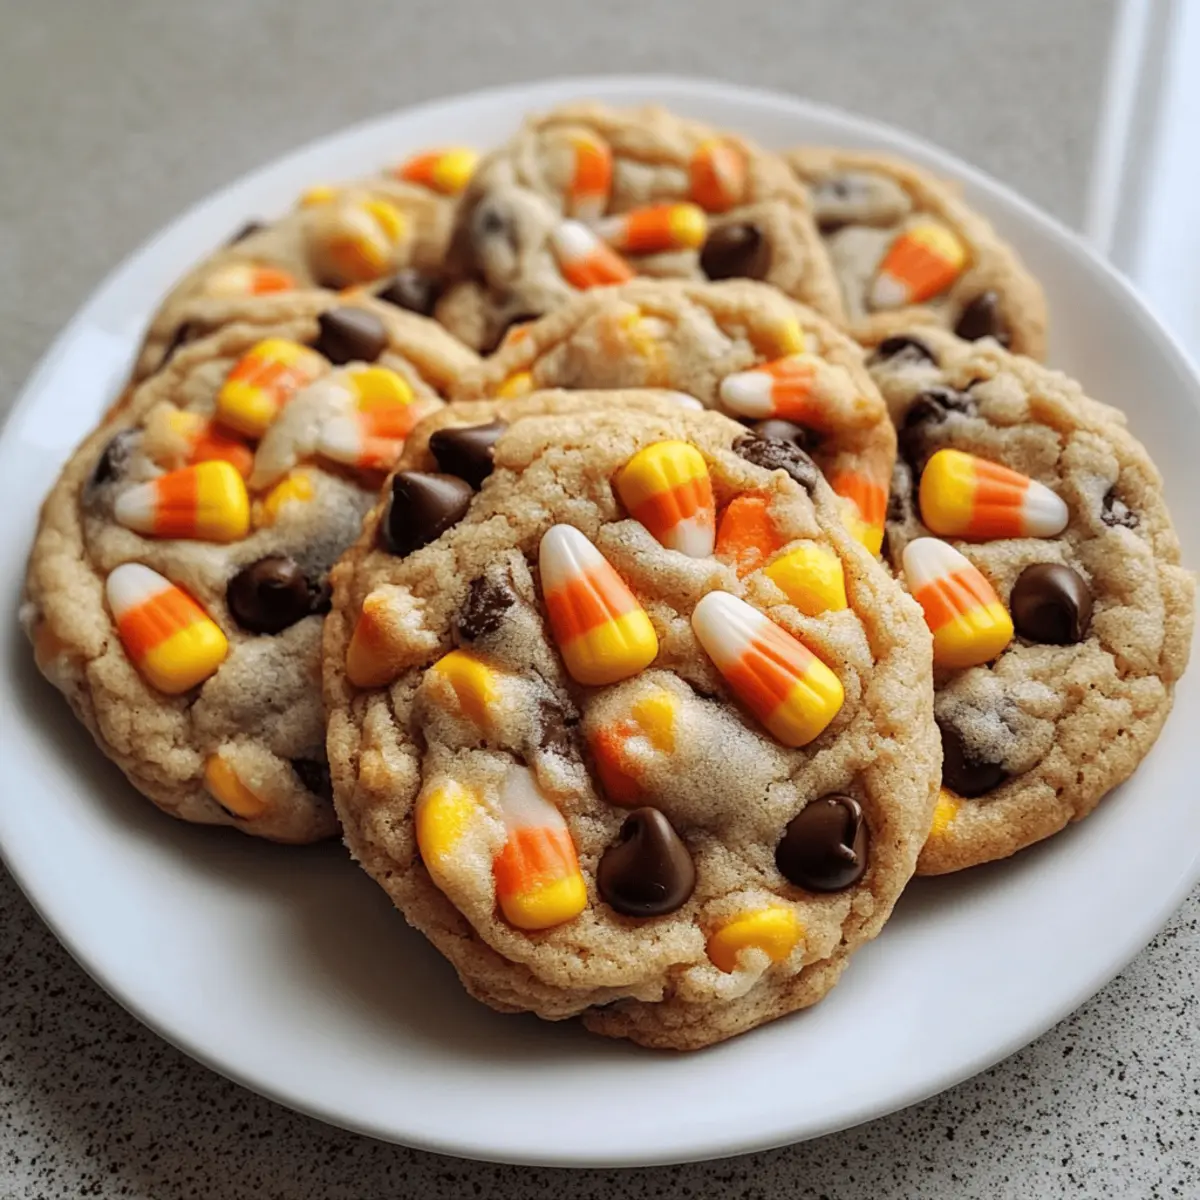
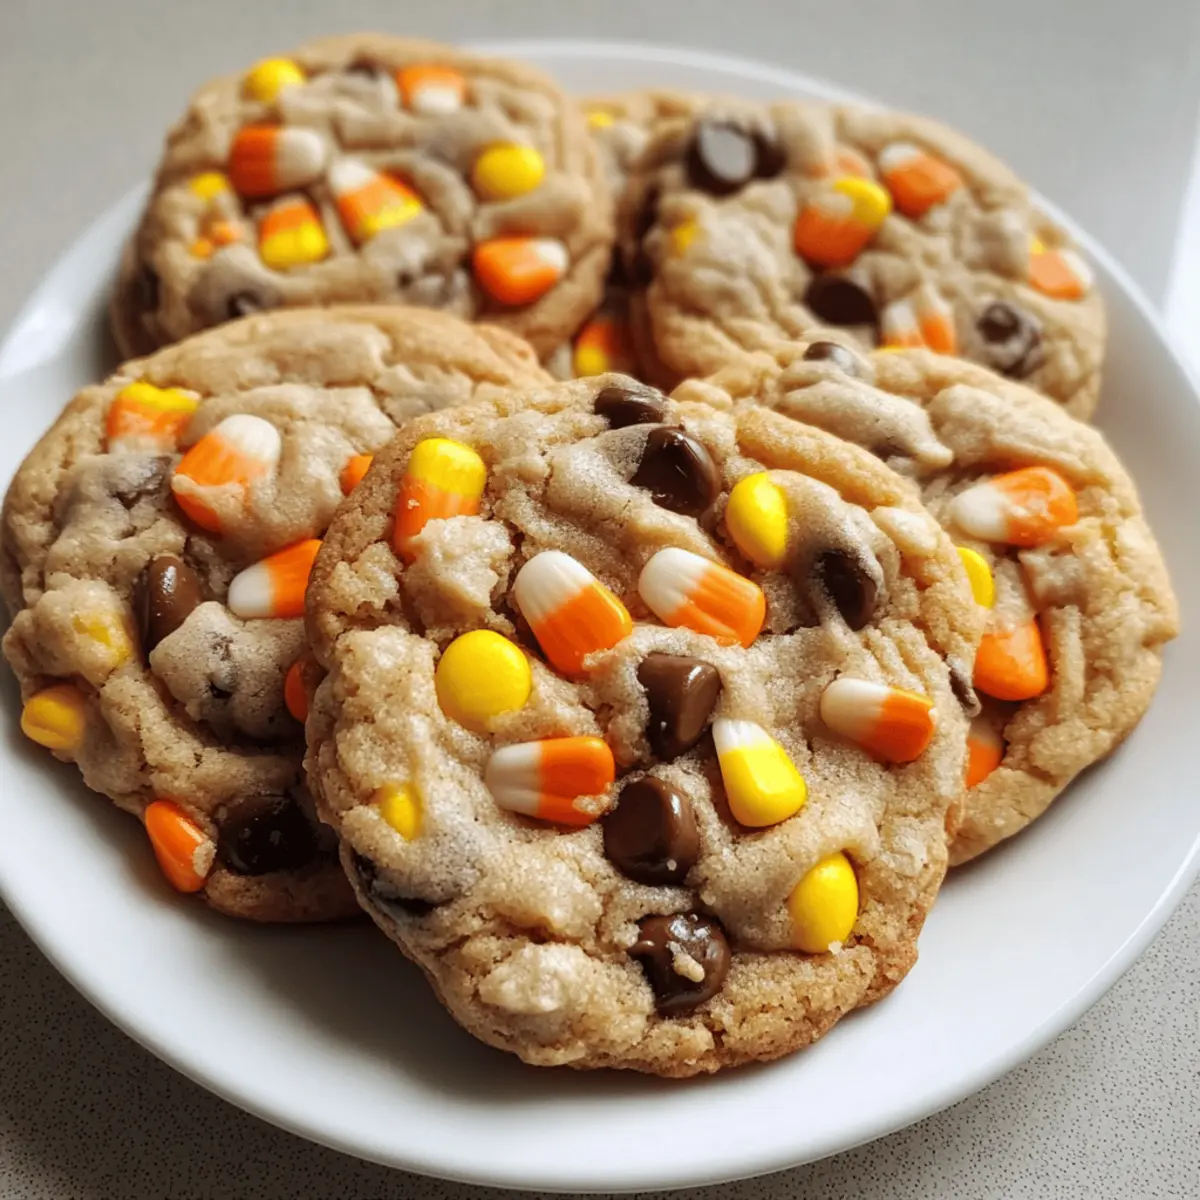
- Candy Corn – Adds a festive, chewy element to cookies; swap for your favorite Halloween candy for a personal touch.
With these ingredients, you’re ready to embark on your Halloween Cauldron Cookie Creation! Enjoy the process of mixing in festive treats, and let the magic unfold in your kitchen!
Step‑by‑Step Instructions for Halloween Cauldron Cookie Creation
Step 1: Preheat the Oven
Begin your Halloween Cauldron Cookie Creation by preheating your oven to 350°F (175°C). This ensures the cookies bake evenly and develop that lovely golden edge. While the oven warms up, gather your baking sheets and line them with parchment paper to prevent sticking, making your cleanup a breeze.
Step 2: Cream the Butter and Sugars
In a large mixing bowl, add softened unsalted butter, granulated sugar, and brown sugar. Using a hand mixer or stand mixer, cream these ingredients together for about 2-3 minutes until the mixture is light and fluffy. This step is crucial as it incorporates air, making your cookies tender and deliciously chewy.
Step 3: Incorporate Eggs and Vanilla
Next, beat in the eggs—one at a time—along with the vanilla extract, mixing until the batter becomes smooth and well-combined. This mixture forms the base of your Halloween Cauldron Cookie Creation, filling it with rich flavor and the perfect structure for the cookies to rise beautifully in the oven.
Step 4: Combine Dry Ingredients
In a separate bowl, whisk together all-purpose flour, baking soda, and salt. This ensures even distribution of the leavening agent and helps avoid clumping. Gradually add this dry mix to the wet ingredients, stirring gently until just combined. Be careful not to overmix; this will keep your cookies tender and soft.
Step 5: Add Chocolate Chips and Candy Corn
Gently fold in the chocolate chips and candy corn using a spatula until they’re evenly distributed throughout the cookie dough. The vibrant colors of the candy corn will make your Halloween Cauldron Cookie Creation pop, ensuring each cookie has that festive touch, perfect for the spooky season.
Step 6: Portion the Dough
Using a large cookie scoop or spoon, drop generous spoonfuls of dough onto the prepared baking sheets, leaving ample space between each mound to allow them to spread. A good rule of thumb is to leave 2-3 inches between each scoop, ensuring they have room to grow and not merge into one another.
Step 7: Bake the Cookies
Pop the baking sheets into the preheated oven and bake the Halloween Cauldron Cookies for 10-12 minutes. Keep an eye on the edges; they should turn golden brown while the centers remain soft and gooey. This contrast in texture is what makes these cookies truly delightful!
Step 8: Cool Before Serving
Once baked, remove the cookies from the oven and let them cool on the baking sheets for a few minutes. This allows them to set before transferring them to a wire rack to cool completely. The anticipation will build as the aroma fills your kitchen, making it hard to resist enjoying a warm cookie!
Step 9: Share and Enjoy
Once cooled, your Halloween Cauldron Cookies are ready to serve! Arrange them on a festive plate, and don’t forget to share them with loved ones. Celebrate with laughter as you indulge in these sweet, spooky snacks that capture the magic of the Halloween season.
Make Ahead Options
These Halloween Cauldron Cookies are perfect for meal prep, allowing you to enjoy a spooky treat with less stress! You can prepare the cookie dough up to 24 hours in advance by mixing all the ingredients together and then chilling the dough in the refrigerator. This not only enhances the flavors but also helps maintain the deliciously chewy texture. For longer storage, you can freeze the dough for up to 3 months. Simply scoop the dough onto a baking sheet lined with parchment paper and freeze until firm, then transfer to a freezer-safe bag. When you’re ready to bake, just place the frozen dough balls onto a lined baking sheet and adjust the baking time by an extra couple of minutes. Enjoy freshly baked Halloween Cauldron Cookies with minimal effort!
Storage Tips for Halloween Cauldron Cookie Creation
Room Temperature: Store cookies in an airtight container at room temperature for up to 4-5 days to keep them soft and chewy.
Freezer: For longer storage, individually wrap cookies and freeze for up to 2-3 months. This is perfect for preserving your Halloween Cauldron Cookie Creation for last-minute treats!
Reheating: When you’re ready to enjoy frozen cookies, thaw them overnight in the fridge and reheat in the microwave for 10-15 seconds or in a preheated oven at 350°F for 5-7 minutes to restore their gooey centers.
Avoid Stale Cookies: To prevent cookies from becoming dry, ensure they are completely cooled before storing and use parchment paper between layers in the container for added freshness.
Expert Tips for Halloween Cauldron Cookies
-
Room Temperature Ingredients: Ensure all ingredients, especially butter and eggs, are at room temperature for easier mixing and a better texture in your Halloween Cauldron Cookie Creation.
-
Don’t Overmix: Once you add the flour mixture, mix just until combined. Overmixing can lead to tough cookies, which is a common mistake to avoid.
-
Spacing Matters: When scooping dough onto the baking sheet, leave ample space (2-3 inches) between each cookie. This allows them to spread properly and prevents merging.
-
Watch the Baking Time: Keep an eye on them in the final minutes. The cookies should be golden on the edges and soft in the center for that perfect Halloween Cauldron Cookie Creation texture.
-
Cooling Process: Allow cookies to cool on the baking sheet briefly before transferring them to a wire rack. This helps them set up without breaking apart.
What to Serve with Halloween Cauldron Cookie Creation
Indulge in the festive spirit of Halloween with delightful pairings that enhance the charm of these enchanting cookies!
-
Spooky Hot Chocolate: A rich, velvety cup topped with marshmallows brings warmth and nostalgia, perfect for cozy Halloween nights.
-
Pumpkin Spice Latte: The cozy spices in this drink perfectly complement the sweet candy flavors of the cookies, creating a harmonious Halloween experience.
-
Ghoulish Fruit Salad: Fresh fruits like oranges, berries, and grapes can brighten up any spread, offering a refreshing contrast to the sweet cookies.
-
Witch’s Brew Milkshake: Thick and creamy, a dark chocolate or vanilla milkshake drizzled with chocolate syrup enchants the senses while providing a delightful balance.
-
Caramel Apple Slices: A crunchy autumn treat, these tart apple slices dipped in caramel add a delightful contrast to the chewy cookies.
-
Halloween-themed Cheesecake Bars: These creamy bars provide a rich and tangy complement, enticing your guests with their smooth texture and festive flavor.
-
Crispy Sweet Potato Fries: The savory, slightly spicy notes of sweet potato fries create an exciting texture and flavor contrast to the desserts, elevating your snack table.
-
Candy Corn Parfaits: Layered with creamy yogurt and more candy corn, these fun desserts add a playful twist and vibrant color to your Halloween gathering.
-
Cider Punch: A warm apple cider punch with festive spices makes for a cozy drink option that pairs splendidly with the sweet treats.
Each of these suggestions not only enhances the overall experience but also transforms your Halloween gathering into a delightful celebration!
Halloween Cauldron Cookie Creation Variations
Feel free to sprinkle your own magic into this recipe with these fun variations that will delight your taste buds!
-
Chocolate Variety: Swap in dark, white, or even butterscotch chips for a flavor twist. Each choice adds a new dimension to your cookies, making them irresistibly unique.
-
Candy Swap: If candy corn isn’t your favorite, toss in M&Ms, Reese’s Pieces, or even chopped-up Snickers. This simple change turns your cookies into a treasure trove of surprises!
-
Nutty Crunch: Add a handful of chopped pecans or walnuts for added texture and a warm, rustic vibe. Nuts add a delightful crunch that complements the chewy cookies beautifully.
-
Spice It Up: Mix in a teaspoon of cinnamon or pumpkin spice for a cozy autumn touch. The aromatic spices will envelop your kitchen, urging everyone to come and taste your creations.
-
Dairy-Free Version: Substitute butter with coconut oil or a vegan margarine and use dairy-free chocolate chips. You’ll create deliciously vegan cookies, perfect for all to enjoy!
-
Gluten-Free Option: Use a gluten-free all-purpose blend instead of regular flour. This adaptation keeps the spirit of your Halloween Cauldron Cookie Creation alive and accessible for everyone.
-
Heat it Up: Add a pinch of cayenne pepper or a dash of chili powder to the cookie dough for a surprising heat that pairs wonderfully with sweet chocolate. It’s a daring twist that chocolate lovers will appreciate!
-
Drizzle of Joy: Top your cooled cookies with a swirl of melted chocolate or colorful icing. This not only adds a visual appeal but also enhances the sweet indulgence of your delightful cookies.
By experimenting with these variations, you can make your Halloween Cauldron Cookie Creation truly one-of-a-kind! For even more inspiration, check out my recipe for Chocolate Chip Cookie that offers some classic favorites with fun twists!
Halloween Cauldron Cookie Creation Recipe FAQs
How do I choose the right chocolate for these cookies?
Absolutely! For this recipe, you can use a variety of chocolates like semi-sweet, dark, or even white chocolate. Each type will add its unique flavor twist, so I recommend trying a mix of chocolate types for a deliciously rich taste that pleases every palate.
How should I store my Halloween Cauldron Cookies?
Store your cookies in an airtight container at room temperature for 4-5 days. This will keep them fresh and chewy. If you want to keep them longer, wrap each cookie individually in plastic wrap and freeze them for up to 2-3 months. Just remember to thaw them overnight in the fridge before enjoying!
Can I freeze the dough for Halloween Cauldron Cookies?
Certainly! To freeze your cookie dough, scoop out portions onto a baking sheet lined with parchment paper and freeze until solid. Then, transfer the frozen dough balls into a zip-top bag or airtight container. They can be frozen for up to 3 months. When you’re ready to bake, just add an extra minute or two to the baking time without needing to thaw!
What do I do if my cookies spread too much while baking?
Very! If you notice your cookies spreading more than expected, it could be due to warmer ingredients, especially butter. Be sure to measure your butter after it’s been softened, not melted. Alternatively, chilling the dough for 30 minutes before baking can help prevent excessive spreading.
Are these cookies safe for pets?
Definitely not! While the Halloween Cauldron Cookies may be a delightful treat for us, they contain chocolate, which is toxic to dogs and cats, so make sure to keep them safely stored away from your furry friends. Always opt for pet-friendly treats!
Can I modify this recipe to be gluten-free?
Of course! To make your Halloween Cauldron Cookie Creation gluten-free, simply replace all-purpose flour with a gluten-free all-purpose flour blend. This will maintain the cookie’s structure and texture while catering to those with gluten sensitivities.
Halloween Cauldron Cookie Creation: A Spooky Delight to Savor
Ingredients
Equipment
Method
- Preheat your oven to 350°F (175°C) and line baking sheets with parchment paper.
- Cream the softened unsalted butter, granulated sugar, and brown sugar together for 2-3 minutes until light and fluffy.
- Incorporate the eggs one at a time and then add vanilla extract until smooth.
- Combine all-purpose flour, baking soda, and salt in a separate bowl and whisk together, then gradually add to the wet mixture.
- Fold in the chocolate chips and candy corn until evenly distributed.
- Drop generous spoonfuls of dough onto the prepared baking sheets, leaving 2-3 inches between each mound.
- Bake for 10-12 minutes until the edges are golden brown and the centers remain soft.
- Let the cookies cool on the baking sheets for a few minutes before transferring to a wire rack.
- Serve the cooled cookies on a festive plate and enjoy with loved ones.