Advertisement
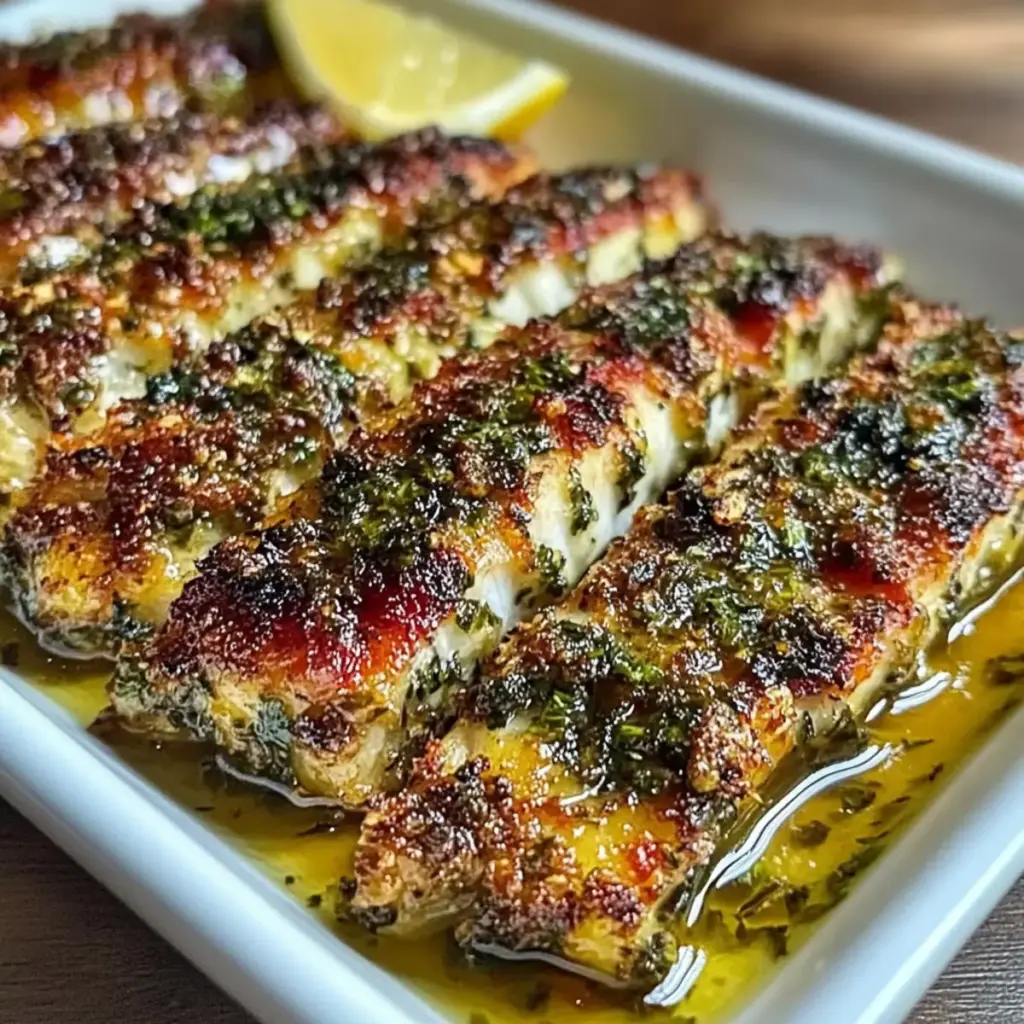
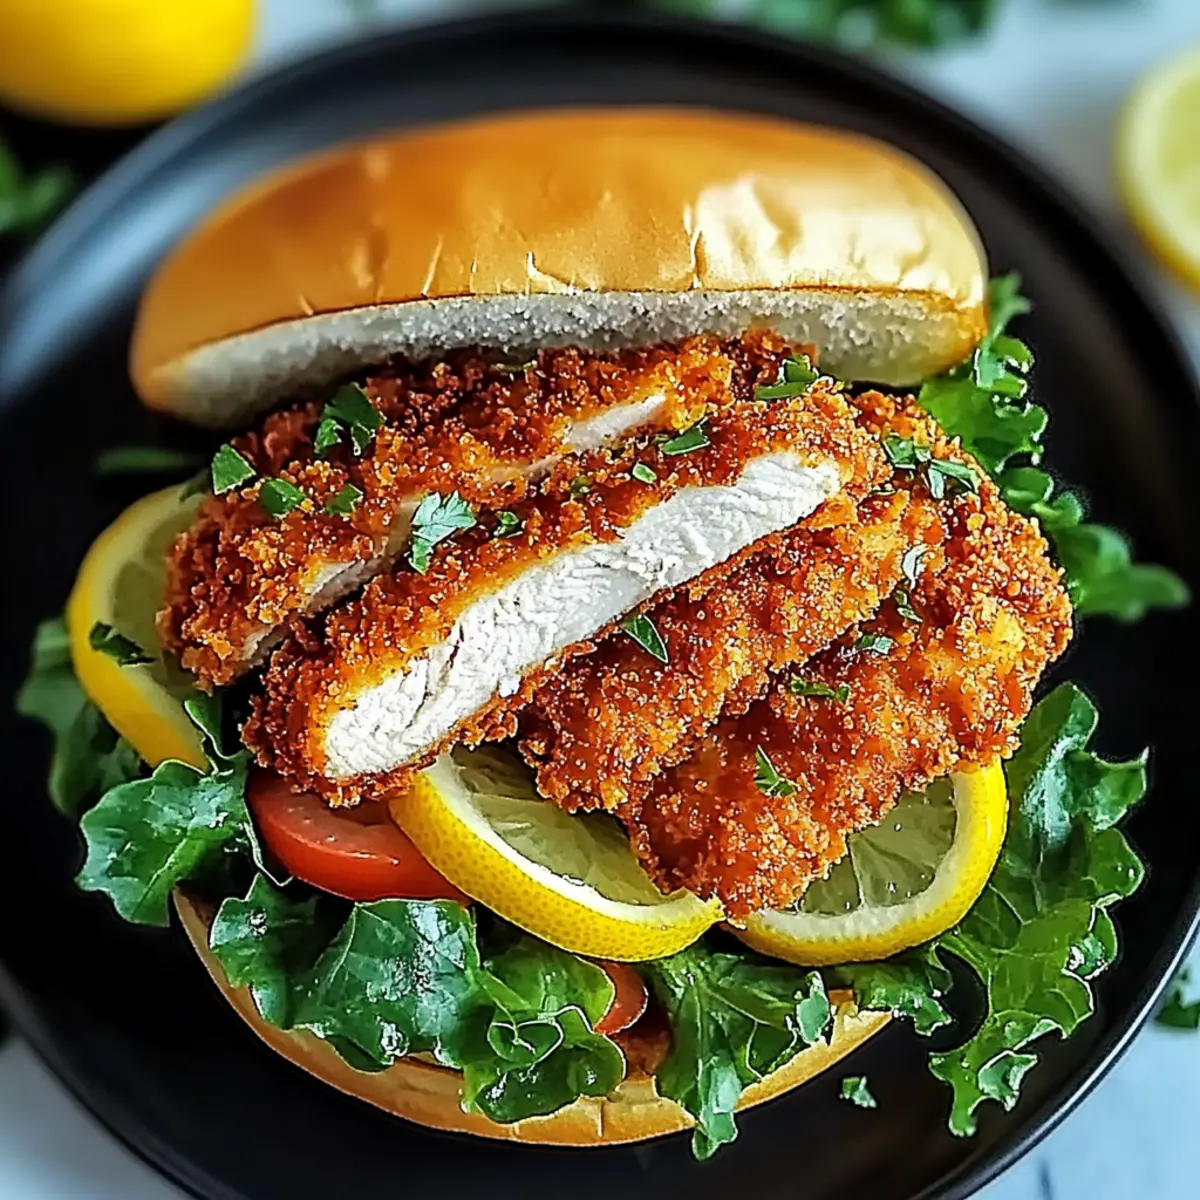
If, like me, you’ve ever found yourself craving something crispy and flavorful to whip up in a flash, then this Crispy Lemon Pepper Chicken Sandwich is your answer! Imagine golden-brown chicken, perfectly seasoned and sandwiched between soft, toasted buns, delivering a delightful crunch with every bite. The best part? This recipe offers infinite customization, so you can easily adapt it to satisfy all your personal cravings, whether you’re in the mood for a spicy kick or a creamy twist. Plus, it’s quick enough for a busy weeknight yet impressive enough to wow your friends at a weekend gathering. Ready to dive into a dish that’s as fun to make as it is to eat? Let’s embark on this delicious journey together!
Why try the Lemon Pepper Chicken Sandwich?
Crispy Texture: This sandwich features a golden-brown chicken that’s irresistibly crunchy, elevating your comfort food game.
Zesty Flavor: Infused with lemon zest and pepper, each bite bursts with a refreshing kick, making it perfect for flavor enthusiasts.
Advertisement
Customizable Goodness: Whether you want to spice it up with jalapeños or enjoy a creamy avocado twist, this recipe adapts to every craving! Don’t miss trying variations like BBQ Bliss or even an Asian-Style twist for a unique treat.
Quick & Easy: Ready in no time, this sandwich fits perfectly into busy schedules, ensuring you don’t have to compromise on taste.
Crowd-Pleasing Delight: Serve it at gatherings, and watch your friends rave about this standout dish that rivals any restaurant experience! For a balanced meal, consider pairing it with a fresh side salad or some Crispy Oven Baked Chicken Parmesan.
Lemon Pepper Chicken Sandwich Ingredients
For the Chicken
- Boneless, Skinless Chicken Breasts – The star of the sandwich; opt for chicken thighs if you prefer more flavor.
- Buttermilk – Tenderizes the chicken and keeps it juicy; substitute with milk and lemon juice if needed.
- All-Purpose Flour – Essential for the crispy coating; gluten-free flour works well too.
- Breadcrumbs – For added crunch; consider using panko for an extra crispy bite.
- Salt – Enhances the overall flavor profile of your chicken.
- Black Pepper – A must for seasoning; adjust to taste for that perfect spice level.
- Garlic Powder – Infuses warmth and depth into the crust.
- Onion Powder – Complements the chicken with savory goodness.
- Paprika – Adds a beautiful red hue and subtle smokiness.
- Cayenne Pepper – Provides a delightful kick; adjust based on your heat preferences.
- Large Egg – Helps bind the flour and breadcrumbs on the chicken for a perfect coating.
- Water – Thins out the egg wash for better adherence.
For the Buns and Sauce
- Hamburger Buns – Choose your favorite type; whole wheat or gluten-free buns can add delightful variety.
- Mayonnaise – Adds creaminess to the sandwich; Greek yogurt is a lighter alternative.
- Dijon Mustard – Elevates the flavor with a zesty kick.
- Lemon Juice – Brightens the sandwich; an essential ingredient for the lemon pepper theme.
- Lemon Zest – Provides a fresh pop of citrus aroma that complements the dish.
For the Toppings
- Chopped Fresh Parsley – Adds flavor and a touch of color to your sandwich.
- Shredded Lettuce – Introduces a refreshing crunch to balance the flavors.
- Tomato Slices – Brings juiciness and freshness that rounds out the sandwich.
Now that you have the ingredients for your Lemon Pepper Chicken Sandwich, you’re one step closer to crafting a delightful dish that’s sure to leave your taste buds singing!
Step‑by‑Step Instructions for Crispy Lemon Pepper Chicken Sandwich
Step 1: Prepare the Chicken
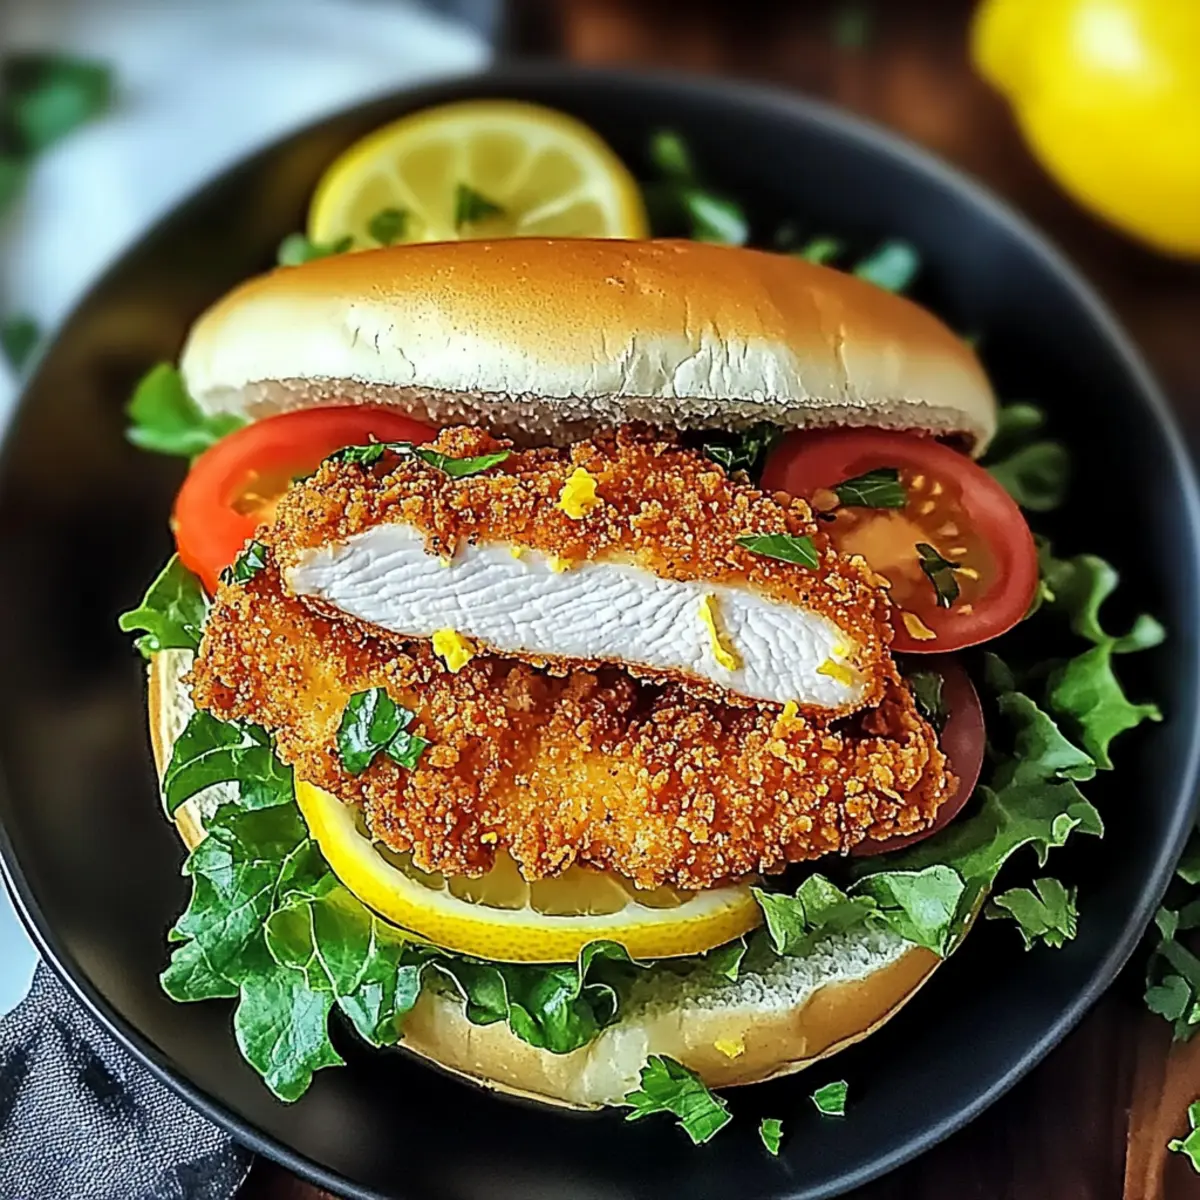
Start by slicing boneless, skinless chicken breasts horizontally into ½ inch thick fillets. This ensures even cooking, creating juicy chicken that will be the star of your Lemon Pepper Chicken Sandwich. Lay the sliced chicken on a clean cutting board, and don’t forget to wash your hands and surfaces afterward for safety.
Step 2: Create the Breading Mixture
In a shallow bowl, combine all-purpose flour, salt, black pepper, garlic powder, onion powder, paprika, and cayenne pepper. Mix these dry ingredients well, ensuring an even distribution for a flavorful coating that enhances your chicken. Set this bowl aside for use later in the dredging step—it will act as the first layer for your crispy chicken.
Step 3: Prepare the Egg Wash
In another bowl, whisk a large egg together with a splash of water until the mixture is smooth and well combined. This egg wash will help your breading adhere nicely to the chicken fillets, providing that satisfying crunch when it’s fried. Make sure this bowl is ready to go as you move on to the next step.
Step 4: Set Up the Breadcrumb Station
Place breadcrumbs in a third bowl, creating a simple assembly line for dredging your chicken. If you prefer extra crunch, choose panko breadcrumbs. This will be the final coating layer that gives your Lemon Pepper Chicken Sandwich its signature crispy exterior, ensuring each bite is a delight.
Step 5: Dredge the Chicken
Take each chicken fillet and first coat it in the flour mixture, allowing any excess to fall off. Next, dip it into the egg wash to ensure it’s well-coated, and finally, press it into the breadcrumbs fully to cover every inch. Repeat this process until all your chicken fillets are breaded, preparing them for frying.
Step 6: Heat the Oil
In a large skillet, heat about ¼ inch of vegetable oil over medium-high heat. To test if the oil is hot enough, sprinkle a few breadcrumbs into the pan—if they sizzle, it’s ready! This step is crucial as the oil temperature will determine how crispy your chicken turns out in the Lemon Pepper Chicken Sandwich.
Step 7: Fry the Chicken
Gently place the breaded chicken fillets into the hot oil, making sure not to overcrowd the skillet. Fry each side for about 4-5 minutes, or until the chicken is golden brown and crispy. You’ll know it’s done as the coating transforms into a crunchy, golden hue while the chicken remains juicy inside. Transfer the cooked chicken to a plate lined with paper towels to drain excess oil.
Step 8: Toast the Buns
While the chicken is frying, lightly toast your hamburger buns in a toaster or on another skillet until they are golden brown. Toasting adds a delightful crunch and makes sure your sandwich has the perfect foundation for all the tasty ingredients, perfectly complementing your crispy chicken.
Step 9: Prepare the Lemon Mustard Sauce
In a small bowl, mix together mayonnaise, Dijon mustard, fresh lemon juice, and lemon zest until well combined. This sauce brings a zesty kick to your Lemon Pepper Chicken Sandwich, enhancing the flavors of the crispy chicken and adding creaminess that balances the crunch perfectly.
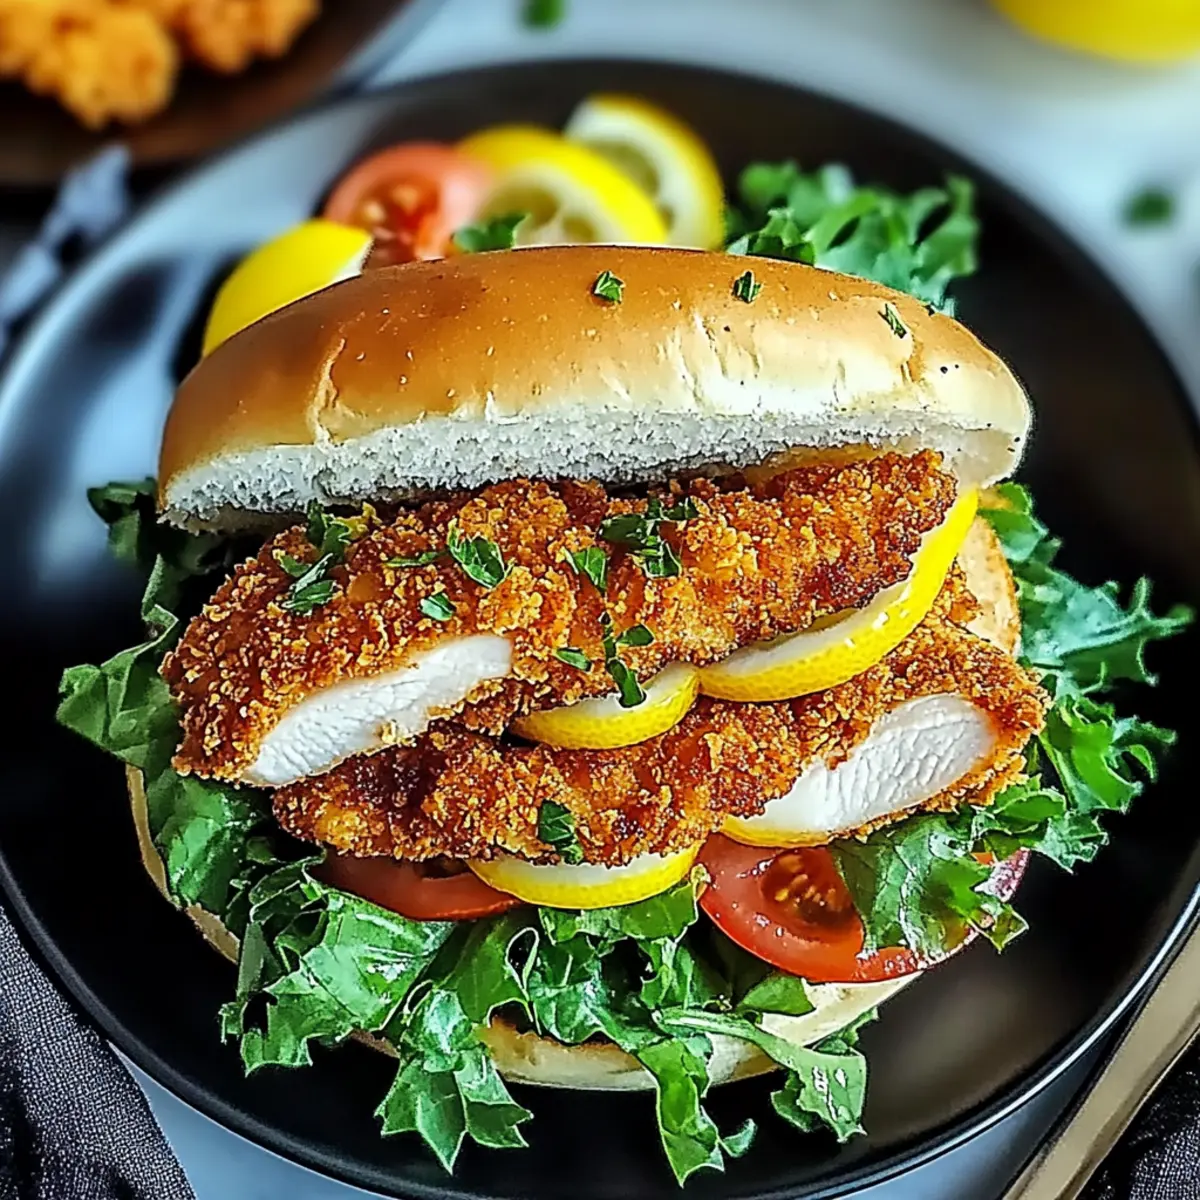
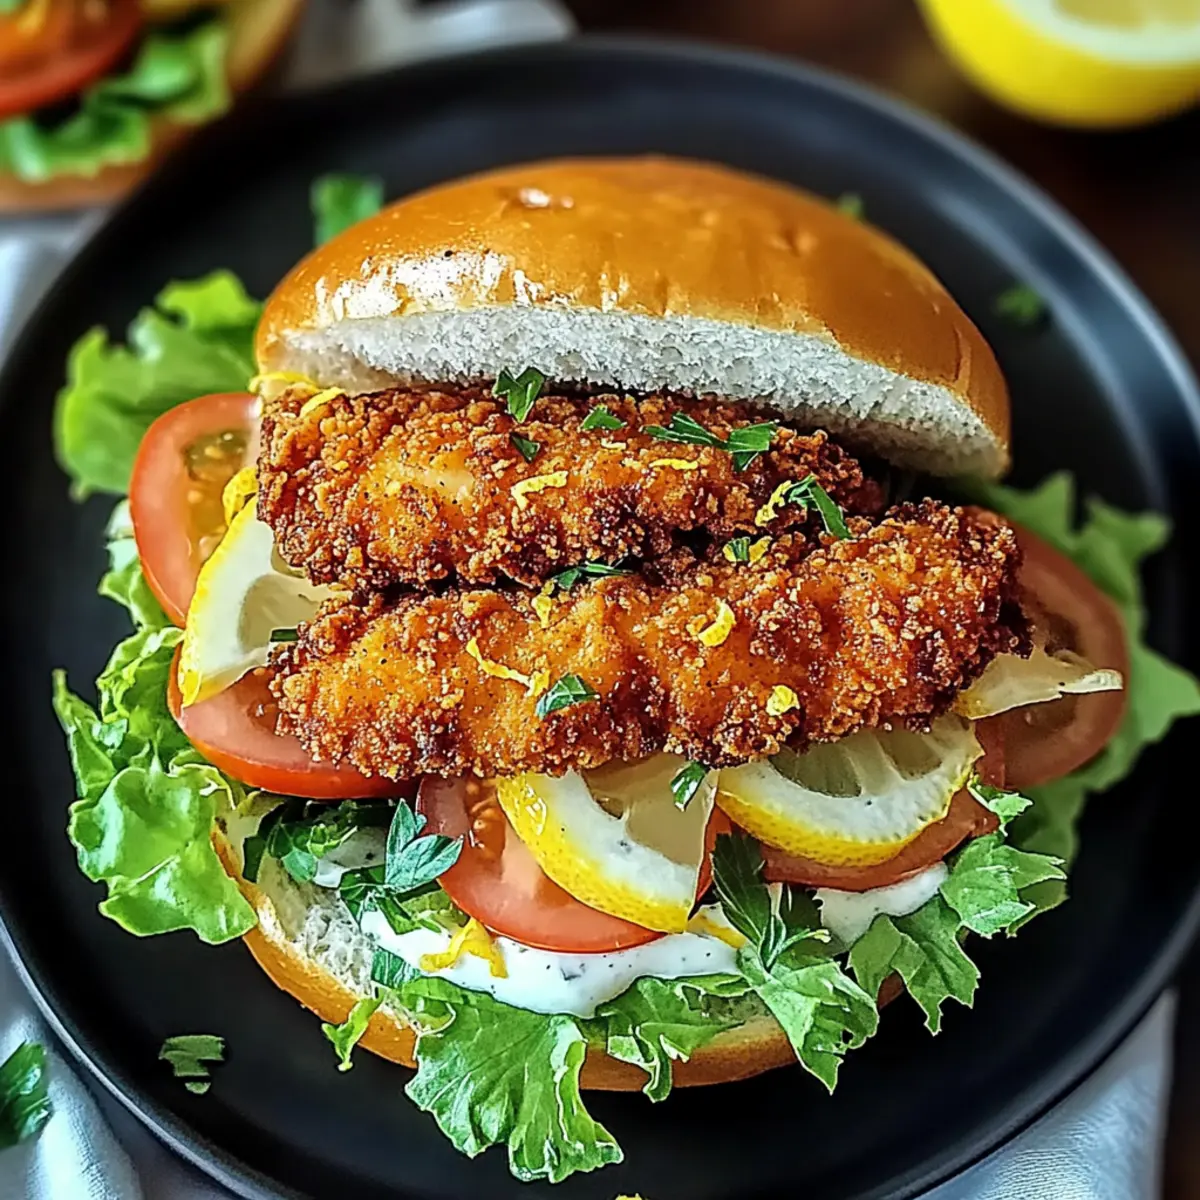
Step 10: Assemble the Sandwich
Spread a generous layer of the lemon mustard sauce on the toasted buns. Layer it with your crispy chicken, followed by shredded lettuce, slices of fresh tomato, and a sprinkle of chopped parsley for a pop of color and flavor. Each layer contributes its own texture and taste to your delicious creation.
Step 11: Serve Immediately
Once assembled, serve your Crispy Lemon Pepper Chicken Sandwich warm to enjoy the delightful crunch and tender chicken. Pair it with crispy fries, a fresh salad, or your preferred side for a satisfying meal that feels like a treat, whether it’s for a weeknight dinner or a weekend gathering.
Make Ahead Options
These Crispy Lemon Pepper Chicken Sandwiches are a lifesaver for busy weeknights! You can marinate the chicken in buttermilk with lemon juice and seasoning up to 24 hours in advance, which not only saves you time but also ensures tender, flavorful meat. Additionally, prepare the breading mixture of flour and spices ahead of time and store it in an airtight container for up to 3 days. When you’re ready to enjoy the sandwiches, simply dredge and fry the chicken, toast the buns, and assemble with your favorite toppings. This way, you’ll savor restaurant-quality sandwiches with minimal effort and maximum flavor, making meal prep a breeze!
What to Serve with Crispy Lemon Pepper Chicken Sandwich
Elevate your dining experience with delightful accompaniments that beautifully complement the zesty flavors of your sandwich.
-
Crispy French Fries: Nothing beats a classic pairing of golden fries with your sandwich. Their crunch and saltiness balance the zesty chicken perfectly.
-
Fresh Garden Salad: A light, refreshing salad featuring mixed greens, cherry tomatoes, and a tangy vinaigrette enhances the meal with fresh flavors and textures.
-
Sweet Coleslaw: The creamy, sweet elements of coleslaw provide a delightful contrast to the crunch of your chicken, adding a perfect touch of zing.
-
Garlic Parmesan Roasted Vegetables: Roasted carrots, zucchini, and bell peppers seasoned with garlic and Parmesan add a hearty, savory side that rounds out your plate beautifully.
-
Zucchini Fries: Opt for a healthier, crispy alternative that pairs wonderfully with the lemon pepper flavors, offering a delightful crunch.
-
Lemonade or Iced Tea: A refreshing drink like homemade lemonade or sweet iced tea serves as a delightful contrast to the flavors of your sandwich, offering a cooling effect.
These side options will not only enhance your meal but also create a memorable dining experience that will leave everyone wanting more!
Expert Tips for the Best Lemon Pepper Chicken Sandwich
-
Pat the Chicken Dry: Make sure to pat the chicken dry with paper towels before breading; this helps the coating stick better and achieve that perfect crunch.
-
Check Oil Temperature: Use a thermometer if possible; oil should be around 350°F (175°C). If it’s too cool, your chicken can turn soggy instead of crispy.
-
Don’t Overcrowd: Fry in batches if needed to avoid overcrowding the skillet. This ensures even cooking and allows the chicken to crisp up beautifully without steaming.
-
Coating Consistency: Ensure each piece of chicken is fully coated in flour, egg, and breadcrumbs; a complete coating leads to an incredibly satisfying crispy texture in your Lemon Pepper Chicken Sandwich.
-
Customize Wisely: Feel free to add your favorite spices to the breading mix to elevate the flavor! Just be mindful not to overpower the lemon pepper essence.
-
Serve Fresh: This sandwich is best served immediately after assembly, as the chicken stays crispier when it hasn’t been sitting. Enjoy at its peak deliciousness!
Lemon Pepper Chicken Sandwich Variations
Feel free to get creative and make this Lemon Pepper Chicken Sandwich truly your own—your taste buds will thank you!
-
Spicy Twist: Adding diced jalapeños to the sauce introduces a vibrant kick. Just imagine that heat mingling with the zesty flavors—it’s an adventure for your palate!
-
Herb-Infused: Enhance the breadcrumbs with fresh herbs like thyme or basil. This simple addition elevates your sandwich, bringing a garden-fresh taste with every bite.
-
Asian-Style: Substitute mayonnaise for sweet chili sauce and finish with sesame seeds and green onions. This Asian-inspired twist makes for a delightful and unexpected flavor journey.
-
Creamy Avocado: Layering avocado slices adds rich creaminess and a satisfying texture. It not only feels indulgent but also brings a buttery, nutritious touch to the sandwich.
-
BBQ Bliss: Brush your fried chicken with BBQ sauce just before serving for a smoky flavor infusion. It’s a marvelous way to combine tangy sweetness with your zesty lemon pepper chicken.
-
Crunchy Slaw: Top your sandwich with a tangy cabbage slaw for extra crunch. This refreshing layer perfectly balances the crispy chicken, making every mouthful an exciting mix of textures.
-
Cheesy Surprise: Melt some pepper jack cheese over the chicken while it’s still hot. This spicy, gooey addition will take your sandwich to the next level of indulgence.
-
Lemon Herb Mayo: Mix chopped fresh herbs into your mayonnaise along with lemon juice and zest for a vibrant sauce that complements the chicken beautifully.
Enhance your culinary journey by trying these variations! And if you crave more delicious chicken ideas, don’t forget to explore Healthy White Chicken Chili or indulge in the comforting flavors of Cheesy Chicken Roll-Ups.
How to Store and Freeze Lemon Pepper Chicken Sandwich
-
Fridge: Store leftover chicken and buns separately in airtight containers for optimal freshness. The chicken lasts up to 3 days, while the buns are best consumed within 2 days to maintain their texture.
-
Freezer: For longer storage, let the chicken cool before placing it in a freezer-safe bag. Properly stored, it can be frozen for up to 3 months without compromising flavor.
-
Reheating: To revive that crispy texture, reheat chicken in an oven at 375°F (190°C) for about 10-15 minutes, ensuring it’s heated through while staying crispy.
-
Sandwich Assembly: If you’ve prepped individual components, assemble the sandwich just before serving to enjoy the delightful crunch and freshness of the Lemon Pepper Chicken Sandwich.
Crispy Lemon Pepper Chicken Sandwich Recipe FAQs
What type of chicken is best for this sandwich?
Absolutely! Boneless, skinless chicken breasts are perfect for this Crispy Lemon Pepper Chicken Sandwich. If you prefer a juicier and more flavorful option, you can easily substitute them with chicken thighs. Just make sure they are trimmed of excess fat for the best results!
How should I store leftover chicken and buns?
To maintain freshness, store leftover chicken and buns separately in airtight containers. The chicken will last up to 3 days in the fridge, while the buns remain best within 2 days. This keeps the buns from getting soggy and the chicken perfectly delicious for your next meal.
Can I freeze the crispy chicken?
Definitely! To freeze leftover crispy chicken, first let it cool completely. Then, wrap each piece in plastic wrap and place them in a freezer-safe bag, expelling as much air as possible to avoid freezer burn. Properly stored, it can be kept in the freezer for up to 3 months. When you’re ready to enjoy, just reheat it in the oven to bring back that irresistible crunch!
What should I do if the chicken isn’t crispy enough?
If your chicken isn’t crispy, it may be due to oil temperature being too low or the coating not adhering properly. Try frying the chicken in batches to avoid overcrowding the skillet, which can cause steaming instead of frying. Ensure the oil is around 350°F (175°C) for an ideal frying environment; if a breadcrumb sizzles upon contact, you’re good to go!
Are there any dietary considerations for this recipe?
Absolutely! If you or someone you’re serving has gluten sensitivities, you can easily make this dish gluten-free by using gluten-free flour and breadcrumbs. Always check ingredient labels to ensure they meet dietary needs, and consider using mayonnaise alternatives like Greek yogurt for a lighter option.
Can I customize the toppings for the sandwich?
Very much so! The beauty of the Crispy Lemon Pepper Chicken Sandwich is its versatility. You can add jalapeños for a spicy kick, layer on creamy avocado, or mix fresh herbs into the breadcrumbs for an extra burst of flavor. Feel free to experiment with your favorite toppings to make it uniquely yours!
Crispy Lemon Pepper Chicken Sandwich for Zesty Flavor Lovers
Ingredients
Equipment
Method
- Slice boneless, skinless chicken breasts horizontally into ½ inch thick fillets.
- In a shallow bowl, combine all-purpose flour, salt, black pepper, garlic powder, onion powder, paprika, and cayenne pepper.
- Whisk a large egg with a splash of water until smooth for the egg wash.
- Place breadcrumbs in a third bowl for dredging.
- Coat each chicken fillet in the flour mixture, dip it into the egg wash, then press into the breadcrumbs to fully cover.
- Heat about ¼ inch of vegetable oil in a skillet over medium-high heat.
- Fry each side of the chicken fillets for about 4-5 minutes or until golden brown and crispy.
- While the chicken is frying, lightly toast your hamburger buns until golden brown.
- Mix together mayonnaise, Dijon mustard, lemon juice, and lemon zest in a small bowl for the sauce.
- Spread a layer of lemon mustard sauce on the toasted buns, layer with crispy chicken, followed by shredded lettuce, tomato, and parsley.
- Serve immediately to enjoy the crunch and tenderness.