Advertisement
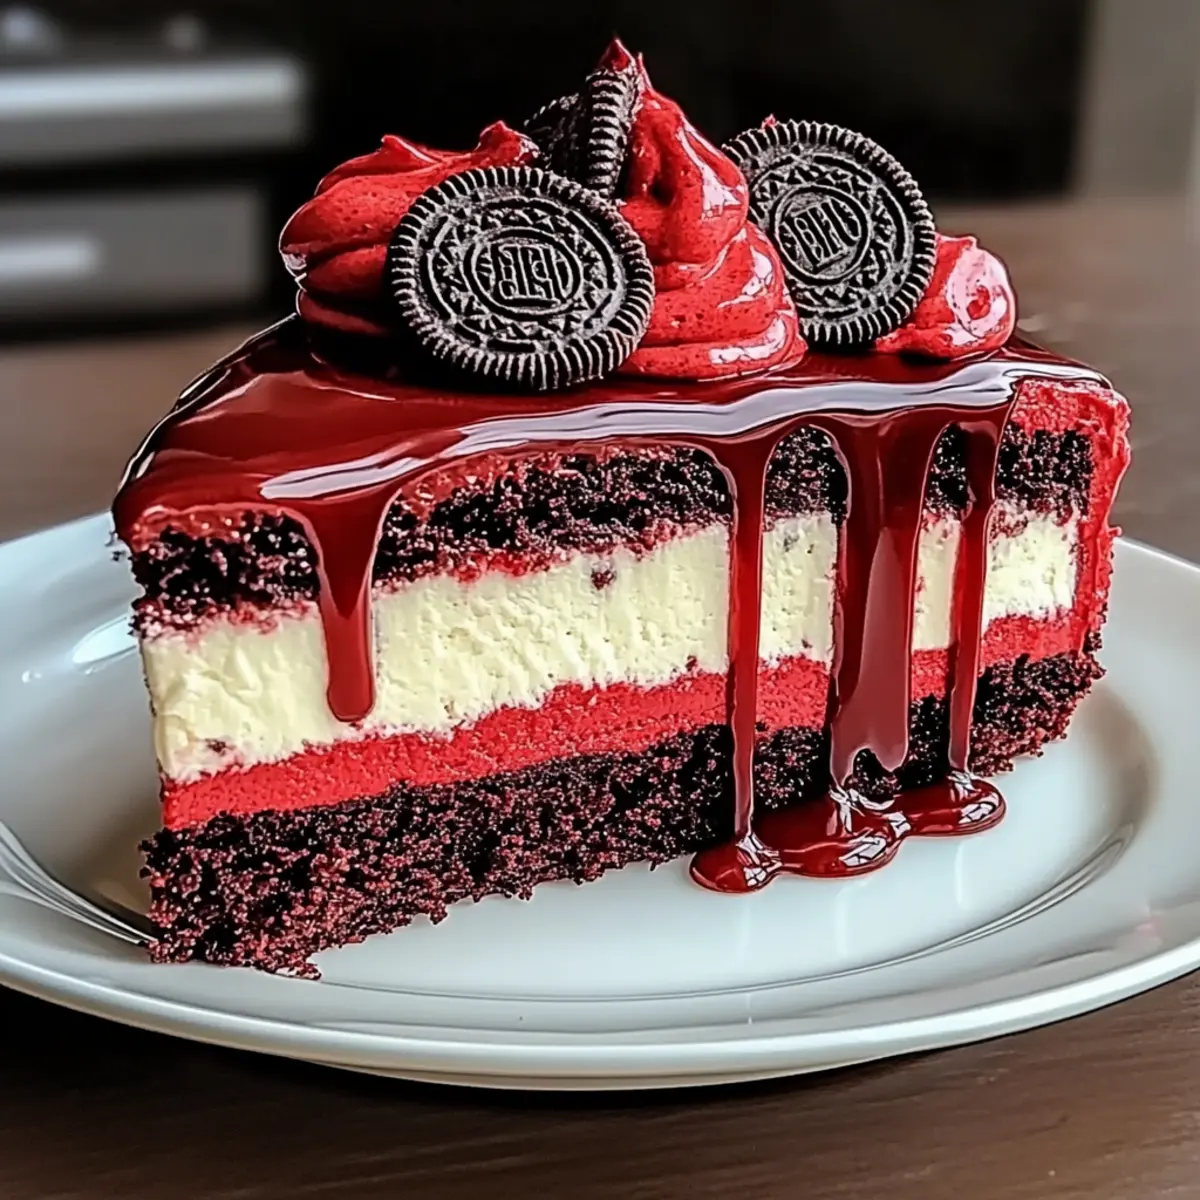
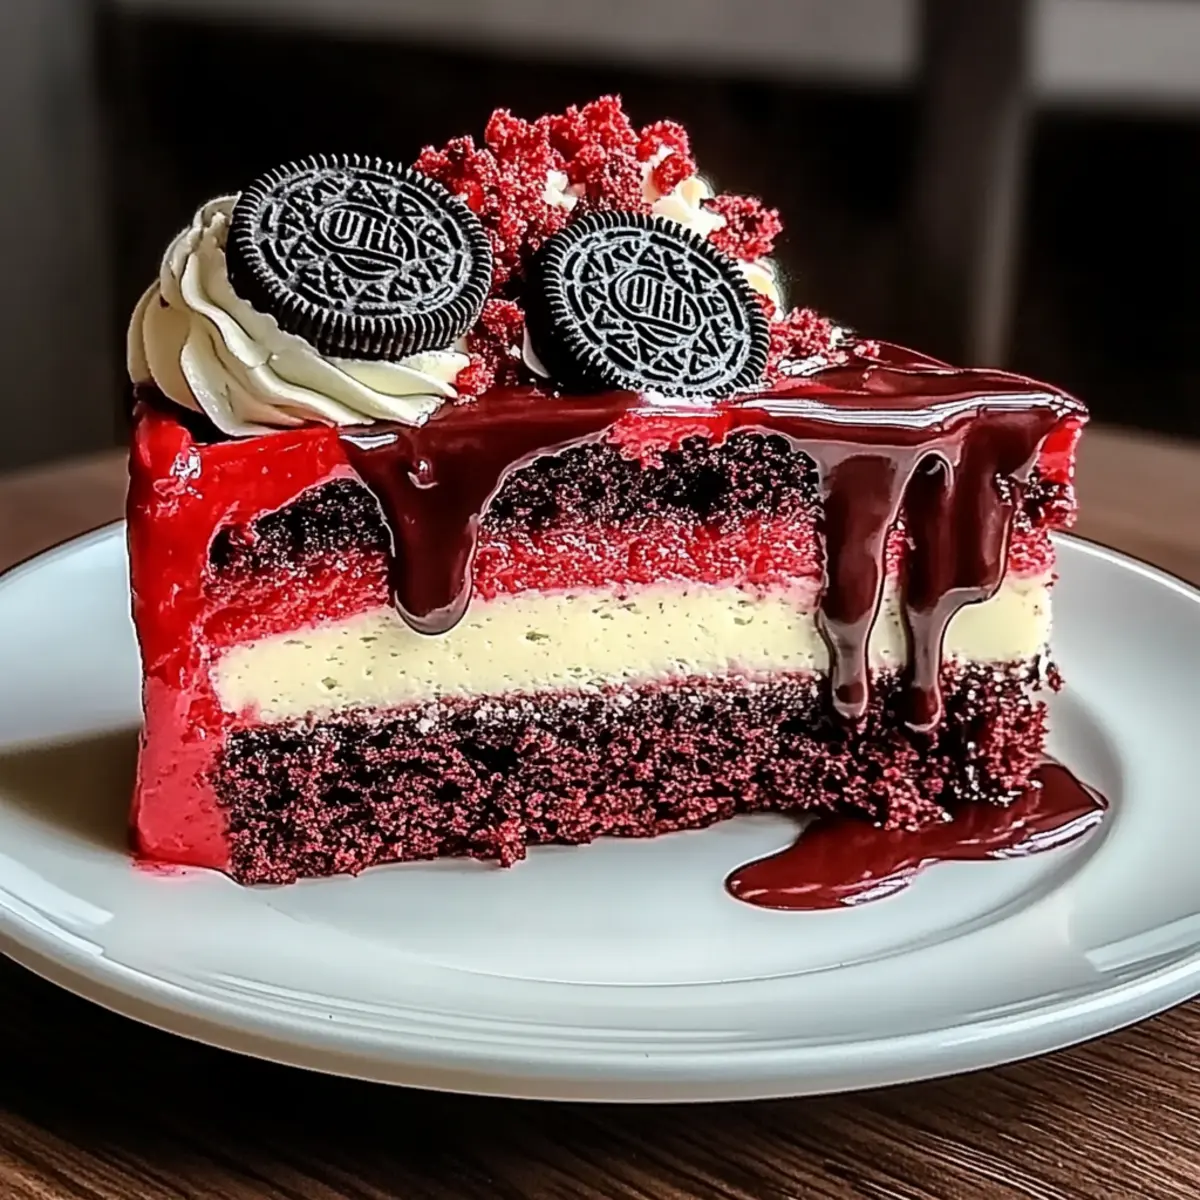
If you’ve ever hosted a gathering and wished for the perfect showstopper dessert, your search ends here! My Decadent Oreo Red Velvet Cheesecake Drip Cake is not just a treat for the taste buds, but a feast for the eyes as well. This awe-inspiring cake marries the lusciousness of a velvety red cake with the creamy indulgence of cheesecake, all layered over a crunchy Oreo crust. What’s more, it’s a make-ahead treat that actually improves in flavor after a night in the fridge—ideal for busy home chefs like us! Whether you want to impress your loved ones or whip up something special for a celebration, this customizable dessert caters to all, including those with dietary preferences. So, why not dive into this delightful recipe that promises to elevate your baking game? Are you ready to create a masterpiece that will leave everyone asking for seconds?
Why You’ll Love This Cheesecake Drip Cake
Irresistible Combination: This Oreo Red Velvet Cheesecake Drip Cake perfectly fuses rich chocolatey flavors with creamy cheesecake indulgence, creating a dessert that’s simply unforgettable.
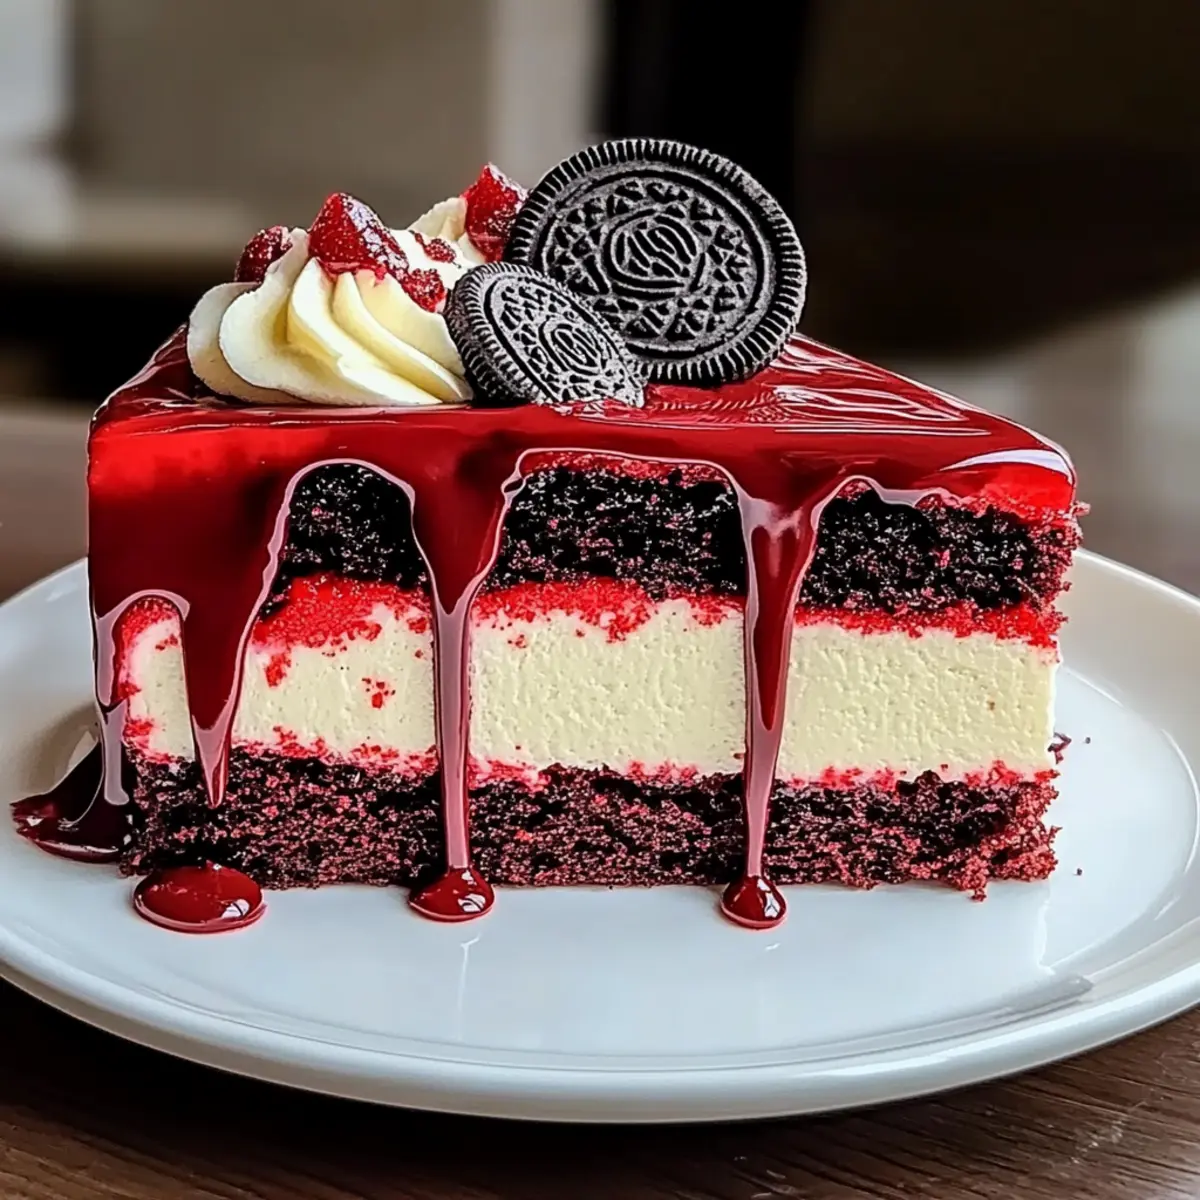
Showstopper Presentation: With its stunning layers and glossy chocolate drip, this cake is bound to steal the spotlight at any gathering.
Advertisement
Make-Ahead Magic: Prepare it in advance to save time, as the flavors deepen overnight for a more delicious experience.
Customizable Delight: Whether you prefer dairy-free or gluten-free options, this recipe allows for easy substitutions without sacrificing flavor.
Crowd-Pleasing Treat: Bring people together with a dessert that delights both kids and adults alike, making it the perfect choice for birthdays or special occasions.
Oreo Red Velvet Cheesecake Drip Cake Ingredients
For the Crust
• Oreo cookie crumbs – A delicious base for the crust; consider using graham cracker crumbs for a change.
• Melted butter – Essential for binding your crust; be sure to use real butter for the best flavor.
For the Cake Layer
• Red velvet cake batter – This moist layer is key; you can always substitute with a pre-made boxed mix for convenience.
• Eggs (2 large) – They add necessary structure and moisture to your cake.
For the Cheesecake Filling
• Cream cheese (16 oz) – The main component that adds creaminess; Neufchâtel works as a reduced-fat alternative.
• Granulated sugar (3/4 cup) – Sweetens the cheesecake for a perfect balance.
• Vanilla extract (1 tsp) – Enhances the flavor beautifully; almond extract can provide an interesting twist.
• Sour cream (1 cup) – Optional, but adds extra creaminess; Greek yogurt can be a suitable substitute.
For the Drip Topping
• White chocolate chips (1 cup) – Creates a glossy drip; dark chocolate makes a richer topping, if preferred.
• Red gel food coloring (1 tbsp) – Gives the drip a vibrant color; liquid food coloring can be mixed in as a substitution.
For Decoration
• Whipped topping or buttercream (1 cup) – Ideal for decoration; store-bought options save precious time.
• Whole Oreo cookies – Perfect as a garnish for added visual appeal and extra crunch.
This Oreo Red Velvet Cheesecake Drip Cake is not only a delectable showstopper but also a heartwarming addition to any gathering! Enjoy these ingredients as you create your masterpiece.
Step‑by‑Step Instructions for Oreo Red Velvet Cheesecake Drip Cake
Step 1: Preheat & Prepare the Crust
Preheat your oven to 350°F (175°C). In a mixing bowl, combine the Oreo cookie crumbs and melted butter until well blended. Press this mixture firmly into the bottom of a springform pan to create a crust. Bake for 10 minutes, then remove from the oven and allow it to cool completely while you prepare the red velvet layer.
Step 2: Make the Red Velvet Layer
Prepare the red velvet cake batter using your preferred recipe or boxed mix, following the instructions closely. Pour the batter evenly over the cooled Oreo crust in the springform pan. Bake at 350°F (175°C) for 25-30 minutes, or until a toothpick inserted into the center comes out clean. Allow it to cool while you whip up the cheesecake filling.
Step 3: Prepare the Cheesecake Filling
In a large mixing bowl, beat the cream cheese until it’s smooth and creamy. Gradually add in the granulated sugar and vanilla extract, mixing well. Add the eggs one at a time, beating lightly after each addition. If desired, incorporate the sour cream for added creaminess. Pour this luscious cheesecake filling over the cooled red velvet cake layer in your prepared pan.
Step 4: Bake the Cheesecake in a Water Bath
To ensure the perfect texture for your cheesecake, place the springform pan in a larger baking dish and fill it with hot water, about halfway up the sides of the pan. Bake at 325°F (163°C) for 50-60 minutes, until the center of the cheesecake jiggles slightly but is set. Let it cool for an hour at room temperature before refrigerating.
Step 5: Chill the Cake
Refrigerate the cake for at least 4 hours, or preferably overnight. This chilling step not only enhances the flavors but also helps the cheesecake to firm up, making it easier to slice. Once chilled, gently run a knife around the edges of the pan before unlocking the springform to remove the sides.
Step 6: Prepare the Drip Topping
In a microwave-safe bowl, melt the white chocolate chips in 20-second intervals, stirring in between until smooth. Add the red gel food coloring gradually, mixing until you achieve your desired shade. This rich, vibrant mixture forms a glossy topping that will beautifully accent your stunning Oreo Red Velvet Cheesecake Drip Cake.
Step 7: Drip & Decorate
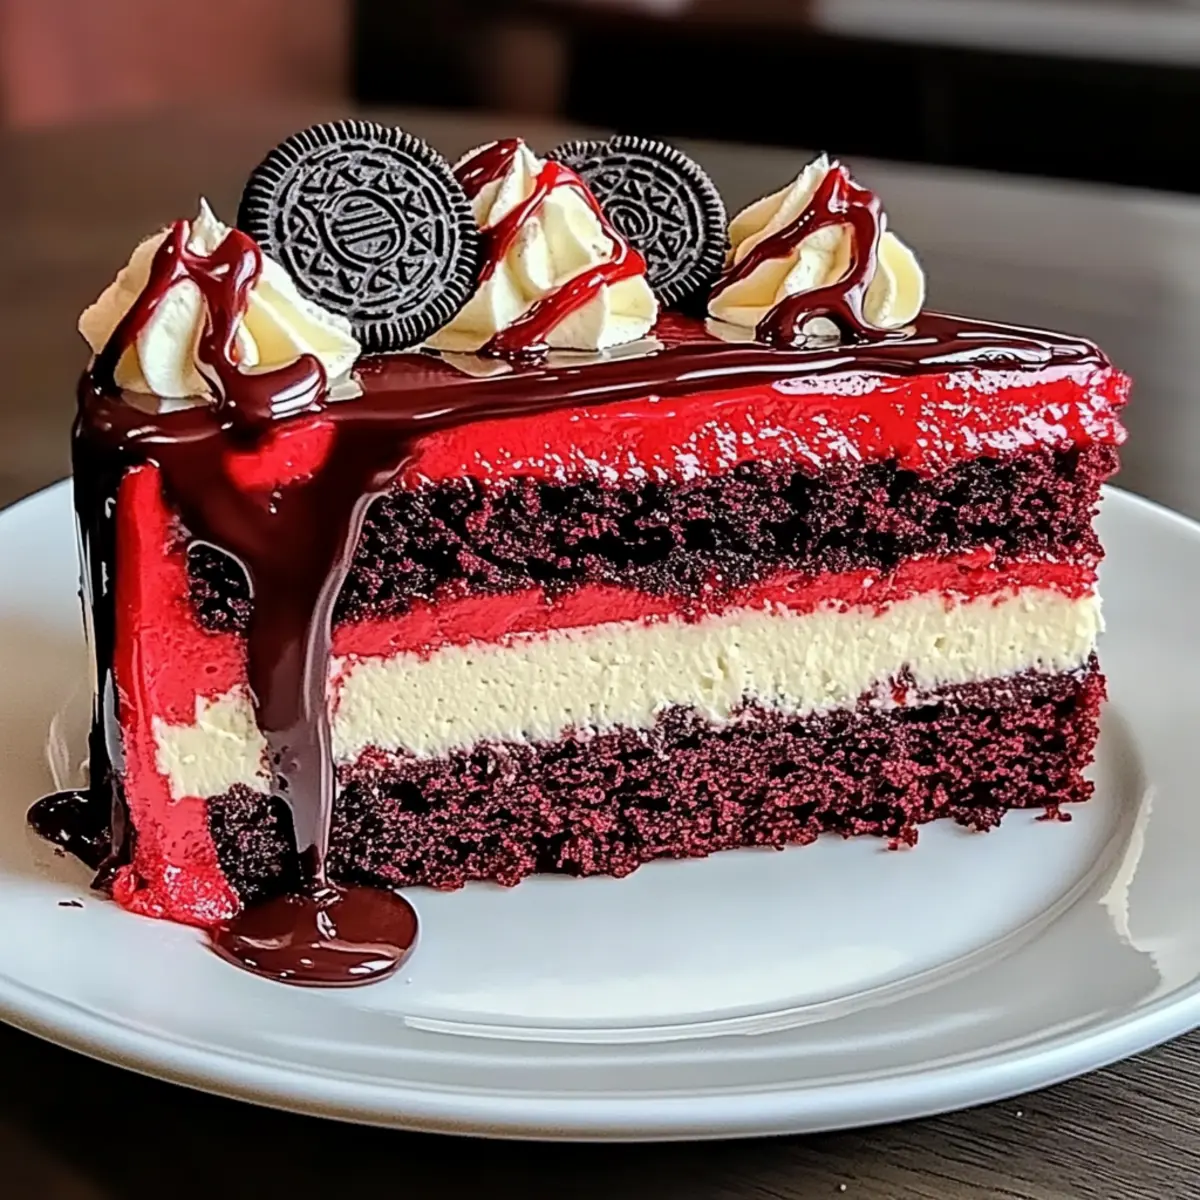
Carefully drizzle the melted chocolate mixture over the chilled cheesecake, allowing it to drip down the sides for that irresistible look. Once you finish the drizzle, use whipped topping or buttercream to pipe decorative swirls on top. For an extra touch, place whole Oreo cookies on the cake for visual appeal and delightful crunch.
Step 8: Slice & Serve
When ready to serve, use a clean, heated knife dipped in hot water to cut through the cheesecake effortlessly. This ensures clean slices of your gorgeous Oreo Red Velvet Cheesecake Drip Cake. Enjoy it chilled, perhaps with a scoop of vanilla ice cream or fresh berries for an added touch of indulgence!
Oreo Red Velvet Cheesecake Drip Cake Variations
Customize this delightful dessert to make it even more special and satisfying for everyone!
- Dairy-Free: Substitute vegan cream cheese and coconut milk for a completely dairy-free version that’s just as delicious!
- Gluten-Free: Swap Oreo crumbs with gluten-free cookie alternatives to make this showstopper suitable for gluten-sensitive friends.
- Chocolate Lovers: Add chocolate chips to the cheesecake filling for an extra chocolatey surprise in every bite. More chocolate always makes things better!
- Fruity Twist: Incorporate fresh fruit such as raspberries or strawberries into the cheesecake layer to bring a refreshing burst of flavor. The contrast of berries and creamy cheesecake is simply divine.
- Nutty Delight: Fold in crushed nuts like walnuts or pecans into your cheesecake for added texture and a nutty richness. This will give your cheesecake a delightful crunch!
- Seasonal Spice: Sprinkle in a pinch of cinnamon or nutmeg for a warm, cozy flavor that’s perfect for the holidays. It’s a simple twist that transforms the taste profile beautifully.
- Minty Fresh: Add peppermint extract to the cheesecake for a refreshing minty flavor. This works wonderfully if you’re feeling festive or just want a refreshing change!
- S’mores Style: Top with toasted mini marshmallows and a drizzle of chocolate sauce to mimic a s’mores experience that everyone will adore.
And if you’re looking for more decadent desserts to satisfy your sweet tooth, check out these delightful recipes for Cherry Pistachio Cheesecake or Dulce Leche Cheesecake. Enjoy experimenting and making this cheesecake truly your own!
What to Serve with Decadent Oreo Red Velvet Cheesecake Drip Cake
Ready to elevate your dessert experience? This indulgent cheesecake deserves the perfect accompaniments to round out your meal and delight your guests.
- Fresh Berries: A medley of strawberries, raspberries, and blueberries provides a burst of freshness that contrasts beautifully with the rich cheesecake flavors.
- Vanilla Ice Cream: This classic pairing adds a creamy, sweet touch that complements the cake’s velvety texture, making each bite more heavenly.
- Chocolate Ganache Tart: Add layers of flavor and richness by serving a thin slice of chocolate ganache tart alongside; it’s a delightful marriage of chocolate and cream.
- Caramel Sauce: Drizzle warm caramel sauce over your cheesecake slice for an extra touch of sweetness and decadence that enhances the overall experience.
- Coffee or Espresso: The bitterness of a well-brewed cup balances the sweetness and richness of the cheesecake, creating an irresistible dessert break.
- Lemon Sorbet: Serve a refreshing scoop of lemon sorbet to cleanse the palate; its tartness acts as a bright contrast to the heavy cheesecake layers.
- Mint Leaves Garnish: Adding a sprig of fresh mint on the plate not only elevates the aesthetic but also adds a refreshing finish to your dessert.
- Champagne or Sparkling Wine: For a celebratory tone, pair your cake with a glass of bubbly, enhancing the festive atmosphere while keeping it light.
- Spiced Nuts: A bowl of spiced nuts adds a delightful crunch and savory note, balancing the sweet indulgence of the cheesecake.
- Chocolate-Covered Strawberries: For a chic touch, serve chocolate-covered strawberries alongside your cake; they’ll bring a flavor explosion that delights all.
Make Ahead Options
These Decadent Oreo Red Velvet Cheesecake Drip Cakes are perfect for busy home cooks who want to impress without the last-minute rush! You can prepare the crust and the red velvet cake layer up to 24 hours in advance. Simply cool both layers completely and store them separately in the refrigerator, covered tightly to maintain freshness. The cheesecake filling can also be made ahead and stored in an airtight container in the fridge for up to 3 days before being poured over the cake layer. When ready to serve, bake your cheesecake as directed, then finish it with the chocolate drip and decorations. This make-ahead approach not only saves you time but also enhances the flavors, ensuring every bite of your Oreo Red Velvet Cheesecake Drip Cake is just as delicious!
Expert Tips for Oreo Red Velvet Cheesecake Drip Cake
Chill Layers Properly: Always chill each layer before adding the next to ensure clean separations and prevent mixing.
Water Bath Magic: Utilize a water bath when baking the cheesecake to maintain moistness and eliminate cracks, ensuring the perfect texture for your Oreo Red Velvet Cheesecake Drip Cake.
Slice with Ease: For clean cuts, dip your knife in hot water and wipe it between each slice; this prevents the layers from smooshing together.
Adjust Food Coloring Gradually: Add red gel food coloring bit by bit until you reach your desired vibrancy; this helps prevent over-saturation.
Allow Time to Set: Let the cake chill for at least 4 hours or overnight; this deepens the flavors and firms up the cheesecake for easier slicing.
How to Store and Freeze Oreo Red Velvet Cheesecake Drip Cake
Fridge: Store the cake in an airtight container for up to 5 days to maintain its freshness and flavor. This make-ahead treat tastes even better after a day in the fridge!
Freezer: For longer storage, wrap individual slices tightly in plastic wrap and then in aluminum foil. Freeze for up to 3 months, ensuring each slice is well-protected.
Thawing: When ready to enjoy, thaw slices overnight in the fridge. This method helps retain the creamy texture of the cheesecake filling.
Reheating: While this cake is best served chilled, if desired, you can gently warm a slice in the microwave for a few seconds to enhance its decadent creaminess.
Oreo Red Velvet Cheesecake Drip Cake Recipe FAQs
How do I choose the right ingredients for my Oreo Red Velvet Cheesecake Drip Cake?
Absolutely! Start with high-quality Oreo cookie crumbs for the crust, as they provide a rich chocolate flavor. For the red velvet cake batter, opt for a good cocoa powder and ensure your ingredients are fresh—particularly the baking soda and eggs—to achieve a moist cake. If you can, use block cream cheese rather than spreadable for the filling, as it whips up smoother and creamier.
How should I store the cake after baking?
Very good question! Keep the Oreo Red Velvet Cheesecake Drip Cake in an airtight container in the refrigerator for up to 5 days. To help maintain its moistness, cover it gently with plastic wrap before sealing the container. This dessert actually tastes better the next day, so storing it properly ensures it stays delicious!
Can I freeze leftover slices of cheesecake?
Of course! Wrap individual slices tightly in plastic wrap, then seal them in aluminum foil to protect against freezer burn. This will ensure your cake remains fresh and delicious for up to 3 months. When you’re ready to indulge, simply thaw the slices overnight in the fridge for optimal texture.
What should I do if my cheesecake cracks during baking?
Don’t worry; it’s an easy fix! If you notice cracks in your cheesecake, it’s likely due to overbaking or rapid temperature changes. To prevent this in the future, always bake your cheesecake in a water bath, which helps regulate temperature and adds moisture. Additionally, avoid opening the oven door while the cheesecake is baking, and let it cool gradually.
Are there any dietary considerations for this recipe?
Absolutely, this recipe is highly customizable! For a dairy-free version, swap the cream cheese with vegan cream cheese and use coconut milk. If you need a gluten-free dessert, replace the Oreo cookie crumbs with gluten-free alternatives or brands. This way, everyone can enjoy a delicious slice of your delectable Oreo Red Velvet Cheesecake Drip Cake!
What’s the best way to decorate my cheesecake?
The more the merrier! To create an eye-catching design, use a piping bag to add whipped topping or buttercream in decorative swirls on top. Don’t forget the final touch—whole Oreo cookies for both garnish and crunch! The glossy chocolate drip will also add an elegant flair that makes this cake a true showstopper.
Indulge in Oreo Red Velvet Cheesecake Drip Cake Bliss
Ingredients
Equipment
Method
- Preheat your oven to 350°F (175°C). In a mixing bowl, combine the Oreo cookie crumbs and melted butter until well blended. Press this mixture firmly into the bottom of a springform pan to create a crust. Bake for 10 minutes, then remove from the oven and allow it to cool completely while you prepare the red velvet layer.
- Prepare the red velvet cake batter using your preferred recipe or boxed mix, following the instructions closely. Pour the batter evenly over the cooled Oreo crust in the springform pan. Bake at 350°F (175°C) for 25-30 minutes, or until a toothpick inserted into the center comes out clean. Allow it to cool while you whip up the cheesecake filling.
- In a large mixing bowl, beat the cream cheese until it's smooth and creamy. Gradually add in the granulated sugar and vanilla extract, mixing well. Add the eggs one at a time, beating lightly after each addition. If desired, incorporate the sour cream for added creaminess. Pour this luscious cheesecake filling over the cooled red velvet cake layer in your prepared pan.
- To ensure the perfect texture for your cheesecake, place the springform pan in a larger baking dish and fill it with hot water, about halfway up the sides of the pan. Bake at 325°F (163°C) for 50-60 minutes, until the center of the cheesecake jiggles slightly but is set. Let it cool for an hour at room temperature before refrigerating.
- Refrigerate the cake for at least 4 hours, or preferably overnight. This chilling step not only enhances the flavors but also helps the cheesecake to firm up, making it easier to slice. Once chilled, gently run a knife around the edges of the pan before unlocking the springform to remove the sides.
- In a microwave-safe bowl, melt the white chocolate chips in 20-second intervals, stirring in between until smooth. Add the red gel food coloring gradually, mixing until you achieve your desired shade. This rich, vibrant mixture forms a glossy topping that will beautifully accent your stunning Oreo Red Velvet Cheesecake Drip Cake.
- Carefully drizzle the melted chocolate mixture over the chilled cheesecake, allowing it to drip down the sides for that irresistible look. Once you finish the drizzle, use whipped topping or buttercream to pipe decorative swirls on top. For an extra touch, place whole Oreo cookies on the cake for visual appeal and delightful crunch.
- When ready to serve, use a clean, heated knife dipped in hot water to cut through the cheesecake effortlessly. Enjoy it chilled, perhaps with a scoop of vanilla ice cream or fresh berries for an added touch of indulgence!