Advertisement
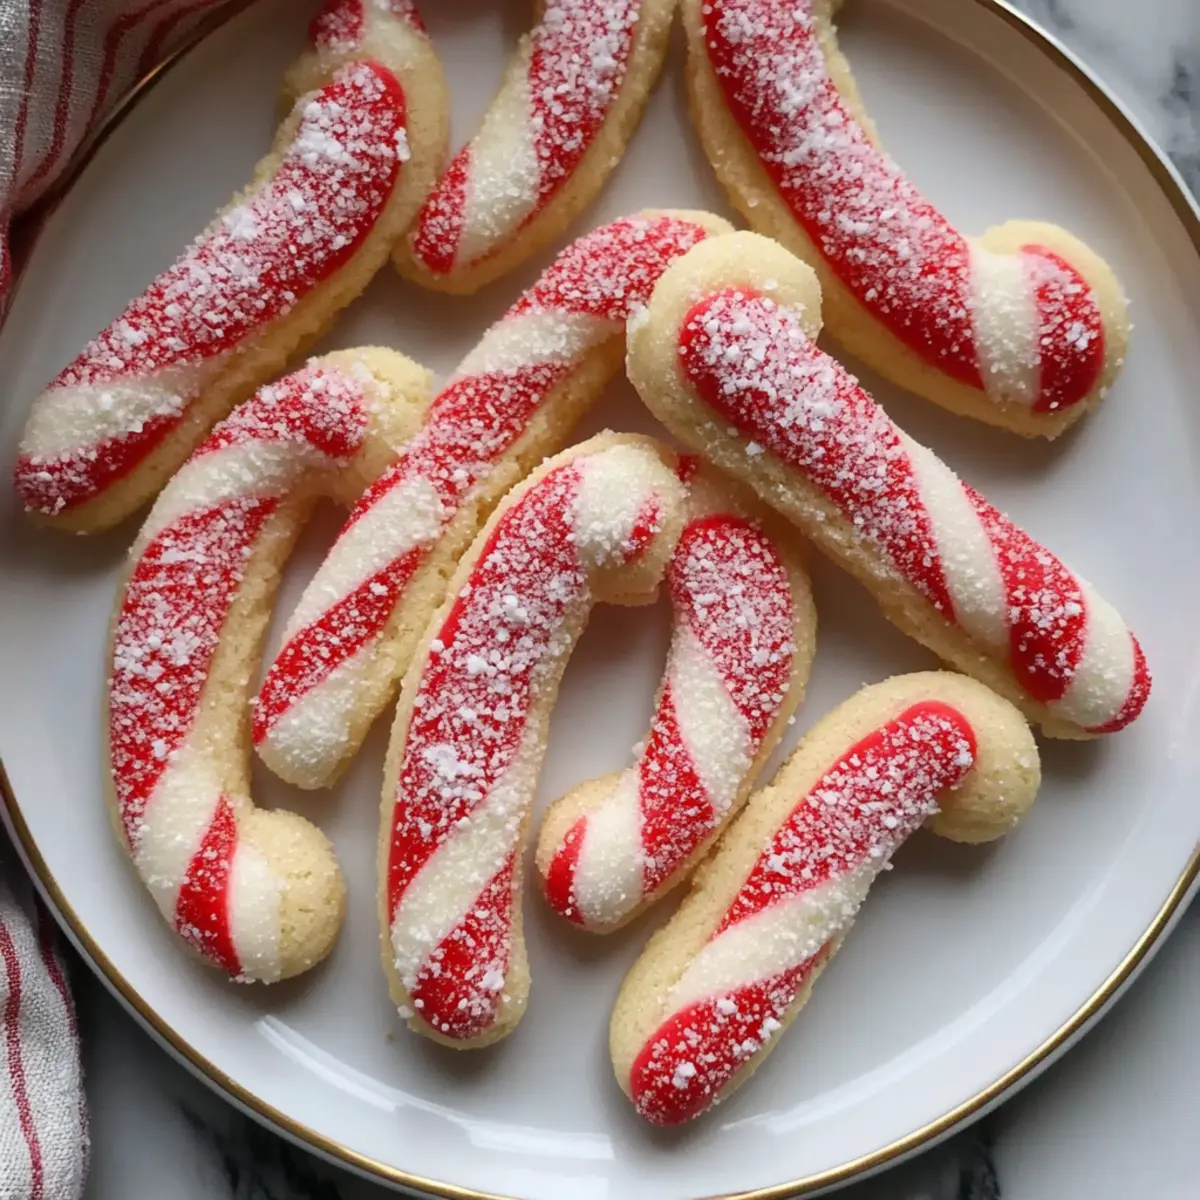
As I unwrapped a candy cane last holiday season, the sweet peppermint aroma filled the air, instantly bringing back warm memories of festive baking with loved ones. These Classic Candy Cane Cookies are my go-to for evoking that joyful spirit. Combining buttery softness with a delightful hint of peppermint, they make a splendid addition to any Christmas gathering. Not only are they easy to whip up, allowing for quick prep, but they also create an inviting atmosphere that encourages family bonding in the kitchen. Plus, you can easily adapt this recipe with variations like gluten-free options or chocolate-dipped delights! Curious about how to capture that holiday magic in cookie form? Let’s dive in!
Why Choose Classic Candy Cane Cookies?
Celebrating Tradition: These Classic Candy Cane Cookies are a heartwarming holiday staple, bringing back cherished memories of baking with family.
Versatile Variations: Whether you prefer gluten-free options or chocolate-dipped versions, there’s a candy cane cookie for everyone!
Easy to Make: With a straightforward process, you’ll find them simple to whip up, making them perfect for bakers of all levels.
Festive Flavor: The buttery texture combined with a delightful peppermint kick will surely impress your guests, perfect for cookie trays this season!
Perfect for Gifting: Pack them in festive boxes or arrange them beautifully for a sweet, homemade gift that spreads joy.
Want to explore even more cookie ideas? Check out our Chocolate-Dipped Candy Canes for a delicious twist!
Classic Candy Cane Cookies Ingredients
For the Cookie Dough
Advertisement
- All-purpose flour – Provides structure; substitute with a gluten-free blend for gluten-free Candy Cane Cookies.
- Baking powder – A vital leavening agent for lightness; no substitutions recommended.
- Salt – Enhances flavor; use sea salt or kosher salt for variations.
- Unsalted butter – Adds moisture and richness; can be replaced with non-dairy butter for dairy-free cookies.
- Granulated sugar – Provides sweetness; feel free to use brown sugar for a deeper flavor profile.
- Large egg – Binds the ingredients together; consider a flax egg for a vegan variant.
- Vanilla extract – Enhances the cookie’s flavor; swap with pure almond extract for a nuttier taste.
- Peppermint extract – Infuses seasonal flavor; for non-mint options, you can replace it with vanilla.
- Red gel food coloring – Creates a festive appearance; avoid liquid coloring to maintain dough consistency.
For the Topping
- Crushed candy canes or sugar – Adds extra taste and holiday flair; totally optional but recommended for festive presentation.
Step‑by‑Step Instructions for Classic Candy Cane Cookies
Step 1: Prepare Dough
In a mixing bowl, whisk together 2 cups of all-purpose flour, 1 teaspoon of baking powder, and ¼ teaspoon of salt until well combined. In another large bowl, cream together ½ cup of unsalted butter and 1 cup of granulated sugar until the mixture is light and fluffy. Next, beat in 1 large egg and stir in 1 teaspoon each of vanilla and peppermint extracts. Gradually add the flour mixture, combining until a soft dough forms.
Step 2: Chill Dough
Divide the dough into two equal portions. Tint one half with a few drops of red gel food coloring, mixing it until the color is evenly distributed. Wrap both halves in plastic wrap, ensuring they are well sealed, and chill in the refrigerator for at least 30 minutes. This chilling time helps firm up the dough, making it easier to handle when shaping the Classic Candy Cane Cookies.
Step 3: Shape Cookies
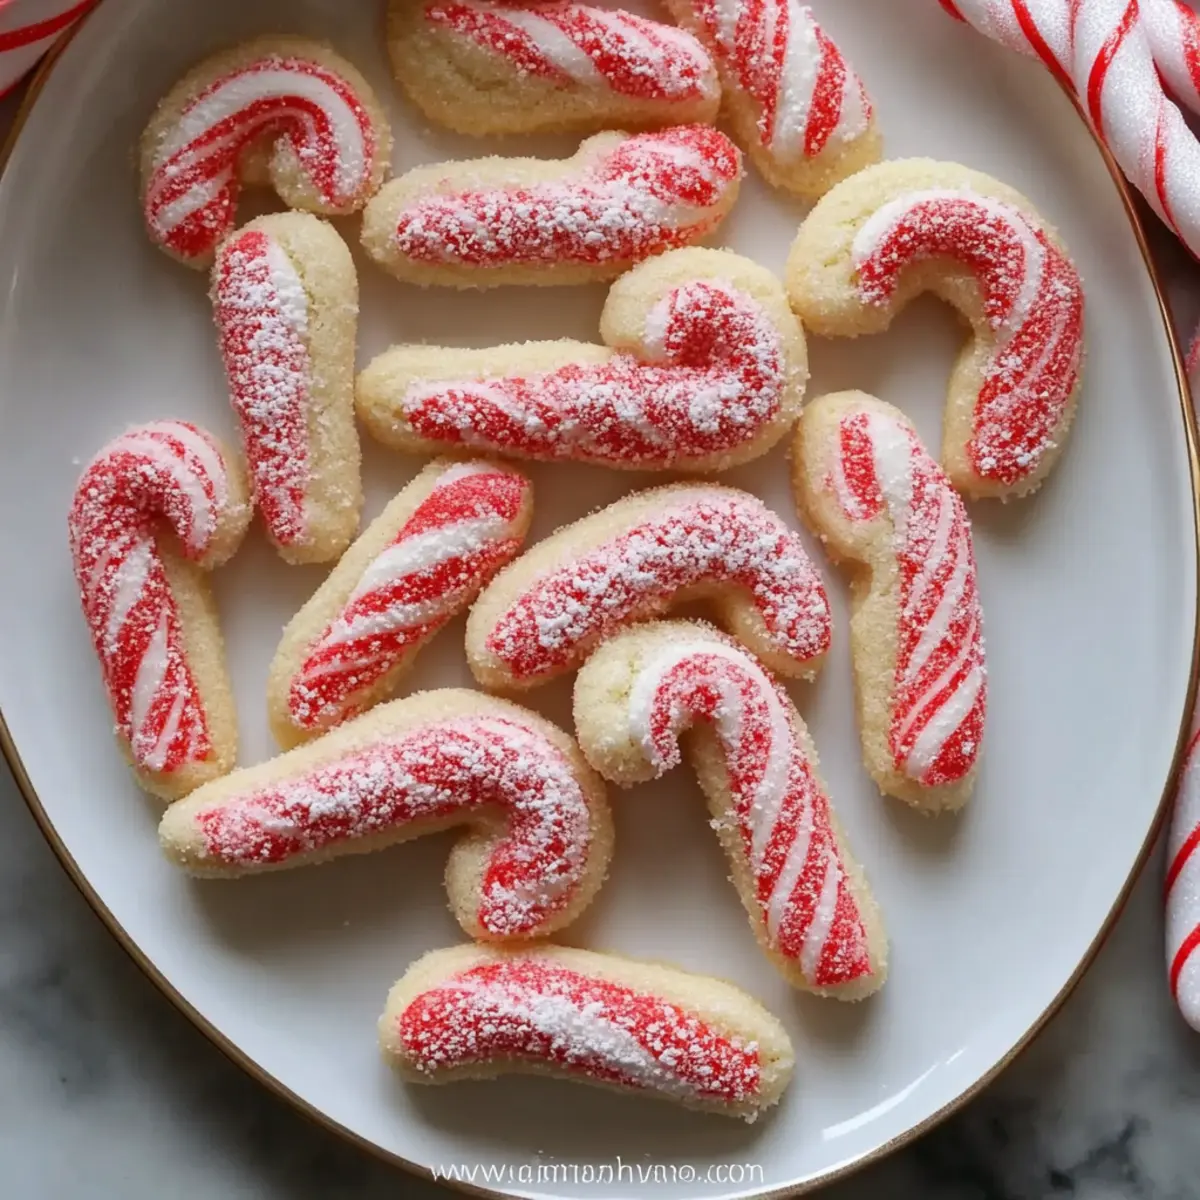
Preheat your oven to 350°F (175°C) and line a baking sheet with parchment paper. Once chilled, take both dough halves and roll them into 12-inch long ropes. Gently twist the red and white ropes together to form the iconic candy cane shape, ensuring the colors are intertwined without too much pressure. Place the shaped cookies on the prepared baking sheet, leaving space between each to allow for spreading.
Step 4: Bake
Bake the twisted candy cane cookies in the preheated oven for 8-10 minutes, or until the edges are just set and the cookies barely start to turn golden. Keep an eye on them to prevent overbaking, as they should remain soft and chewy. Once baked, remove the cookies from the oven and let them cool on the baking sheet for a few minutes before transferring to a wire rack.
Step 5: Cool & Serve
Allow the Classic Candy Cane Cookies to cool completely on the wire rack. This helps them set perfectly, maintaining their soft texture. Once cooled, feel free to sprinkle crushed candy canes or sparkling sugar on top for an extra festive touch. These cookies can be enjoyed right away or stored in an airtight container to maintain their freshness for up to 5 days.

Make Ahead Options
These Classic Candy Cane Cookies are fantastic for meal prep, allowing you to enjoy the festive spirit without the last-minute rush! You can prepare the dough up to 3 days in advance; simply wrap it tightly in plastic wrap and refrigerate. If you’re looking to store it longer, freeze the wrapped dough for up to 2 months. When you’re ready to bake, just thaw the dough overnight in the refrigerator. It’s crucial to chill the dough for at least 30 minutes before shaping to prevent spreading while baking. Once shaped and baked, allow the cookies to cool completely before storing in an airtight container, ensuring they taste just as delicious as freshly made!
Expert Tips for Classic Candy Cane Cookies
-
Chill Time Matters: Always chill the dough for at least 30 minutes; this prevents spreading and ensures perfectly shaped cookies as they bake.
-
Twist Gently: When shaping the cookies, twist the dough ropes gently but firmly; too much pressure can distort the iconic candy cane shape.
-
Color Consistency: Use red gel food coloring for vibrant swirls. Avoid liquid coloring, as it can alter the dough’s consistency for these Classic Candy Cane Cookies.
-
Add Some Crunch: For festive flair, sprinkle crushed candy canes or colored sugar on top before baking, enhancing both texture and appearance.
-
Storage Strategy: Store your cookies in an airtight container at room temperature for up to 5 days to keep them fresh and soft; freezing is an option for longer storage.
How to Store and Freeze Classic Candy Cane Cookies
Room Temperature: Store the cookies in an airtight container at room temperature for up to 5 days to keep them soft and fresh.
Fridge: For extended freshness, you can keep them in the fridge in a sealed container for up to 7 days, but this may alter their texture slightly.
Freezer: Freeze the cookies in layers separated by parchment paper for up to 2 months. To enjoy, simply thaw at room temperature.
Reheating: If you’d like warm cookies, reheat in the microwave for about 10-15 seconds until soft. Enjoy the delightful peppermint aroma all over again!
Classic Candy Cane Cookies Variations
Get ready to customize your Classic Candy Cane Cookies and delight your taste buds with unique twists!
- Chocolate Candy Cane Cookies: Mix cocoa powder into half the dough for a rich chocolate variation that complements the peppermint beautifully. Imagine the luscious combination of chocolate and mint melting in your mouth!
- Vanilla Almond Candy Canes: Swap peppermint extract for almond extract to create a warm, nutty flavor profile. This gentle twist offers a nice change of pace during the festive season.
- Peppermint Swirl Cookies: Instead of twisting the dough, roll it out together and slice it into spirals. This presentation is both appealing and delicious, making each bite a surprise!
- Chocolate-Dipped Candy Canes: Once baked, dip half of each cookie into melted chocolate and sprinkle with festive toppings like crushed candy canes or colorful sprinkles. Decadent and delightful, they’re sure to impress!
- Gluten-Free Candy Canes: Use a gluten-free flour blend in place of all-purpose flour for a deliciously inclusive cookie that everyone can enjoy. With the right blend, no one will miss the gluten!
- Sparkling Sugar Candy Canes: Before baking, sprinkle the cookies with coarse sparkling sugar for an added crunch and shimmer. This simple trick elevates the festive appeal of your cookies!
- Stuffed Candy Cane Cookies: Add a surprise filling of chocolate chips or caramel in the center of each cookie before shaping into canes, creating a gooey treat that will have everyone coming back for more.
- Mini Candy Cane Bites: Roll the dough into small bite-sized balls to create adorable mini versions. Perfect for sharing and snacking, these delightful bites are a hit among kids and adults alike!
For even more cookie inspiration, don’t miss our delightful Marshmallow Swirl Cookies, a festive addition for any holiday gathering!
What to Serve with Classic Candy Cane Cookies
The joy of baking these Classic Candy Cane Cookies is just the beginning; let’s elevate your festive gathering with perfect pairings!
-
Hot Chocolate: The rich, velvety warmth of hot chocolate is an indulgent treat that complements the cookies’ peppermint flavor beautifully. Serve it in cozy mugs for a delightful experience.
-
Peppermint Mocha: Infuse your festive spirit with a peppermint mocha, where coffee meets the essence of seasonal flavors, creating a comforting drink to accompany your sweet treats.
-
Spiced Mulled Wine: This aromatic beverage blends warm spices and fruity notes, making it an excellent match for the sweet, buttery cookies. Quiet evenings are made even warmer with this pairing.
-
Creamy Vanilla Ice Cream: A scoop of creamy vanilla ice cream melting over the warm cookies adds a delightful contrast of textures and flavors. The ice cream caters to those craving a chill next to the festive warmth.
-
Fruit Salad: A fresh fruit salad, bursting with berries and citrus, provides a refreshing contrast to the sweet taste of the cookies, brightening up the holiday table and palate.
-
Gingerbread Cookies: Celebrate the season’s typical flavors by including gingerbread cookies on the platter. Their spiced notes harmonize well, inviting an array of traditional tastes into the mix.
-
Peppermint Bark: This sweet, crunchy treat made with layers of chocolate and crushed candy canes complements the delightful peppermint essence in your candy cane cookies.
-
Eggnog: Rich and creamy eggnog creates a luxurious treat that pairs well with the festive flavors of mint and butter in the cookies. A sprinkle of nutmeg ties the flavors together beautifully.
-
Chocolate Dipped Pretzels: Combining sweet and salty, chocolate-dipped pretzels add an exciting crunch and are perfect as a festive snack alongside your candy cane delights.
-
Festive Cookie Platter: Create a cookie platter that includes sugar cookies, snickerdoodles, and your Classic Candy Cane Cookies for a vibrant celebration of flavors and festive cheer.
Classic Candy Cane Cookies Recipe FAQs
What’s the best way to choose ripe ingredients for Classic Candy Cane Cookies?
Absolutely! For the best results, ensure your unsalted butter is softened but not melted, allowing it to cream properly with sugar. Use fresh peppermint extract for vibrant flavor and make sure your baking powder is within its expiration date for optimal leavening.
How should I store Classic Candy Cane Cookies and for how long?
Store your cookies in an airtight container at room temperature for up to 5 days. If you want to keep them fresher longer, you can refrigerate them for about a week. Just keep in mind that refrigeration may alter the texture slightly.
Can I freeze Classic Candy Cane Cookies? If so, how?
Very! To freeze, layer your cookies with parchment paper in an airtight container, placing them carefully to avoid crushing. They can be stored in the freezer for up to 2 months. When you’re ready to enjoy, let them thaw at room temperature, and they’ll be just as delicious!
What should I do if my candy cane cookies are spreading too much while baking?
No worries! If your cookies spread too much, it might be due to the dough not being chilled sufficiently. Make sure you chill the dough for at least 30 minutes before shaping. If you notice spreading still occurs, try adding a bit more flour; just do so gradually to avoid altering the dough’s consistency.
Are there any dietary considerations for making Classic Candy Cane Cookies?
Yes, you’re covered! For gluten-free cookies, substitute the all-purpose flour with a gluten-free 1:1 blend that includes xanthan gum for structure. Additionally, for dairy-free options, you can use non-dairy butter, and consider a flax egg as a substitute for the egg. Always check your extracts and toppings for allergens like gluten or nuts!
How can I ensure my Classic Candy Cane Cookies maintain their vibrant colors?
To keep those festive swirls vivid, always use gel food coloring for the best results, as liquid dye can affect your dough’s hydration levels. When rolling your dough, be gentle. Also, adding the coloring before chilling helps it distribute more evenly throughout the batch!

Classic Candy Cane Cookies: Soft, Sweet, and Festively Fun
Ingredients
Equipment
Method
- In a mixing bowl, whisk together 2 cups of all-purpose flour, 1 teaspoon of baking powder, and 1/4 teaspoon of salt until well combined. In another large bowl, cream together 1/2 cup of unsalted butter and 1 cup of granulated sugar until light and fluffy. Beat in 1 large egg and stir in 1 teaspoon each of vanilla and peppermint extracts. Gradually add the flour mixture until a soft dough forms.
- Divide the dough into two equal portions. Tint one half with a few drops of red gel food coloring, mixing until evenly distributed. Wrap both halves in plastic wrap and chill in the refrigerator for at least 30 minutes.
- Preheat your oven to 350°F (175°C) and line a baking sheet with parchment paper. Roll each dough half into 12-inch long ropes and twist them together to form the candy cane shape. Place the shaped cookies on the baking sheet, leaving space between each.
- Bake the cookies for 8-10 minutes, or until the edges are just set. Remove from oven and let cool on the baking sheet for a few minutes before transferring to a wire rack.
- Allow the cookies to cool completely. Sprinkle crushed candy canes or sparkling sugar on top for a festive touch. Enjoy or store in an airtight container for freshness.