Advertisement
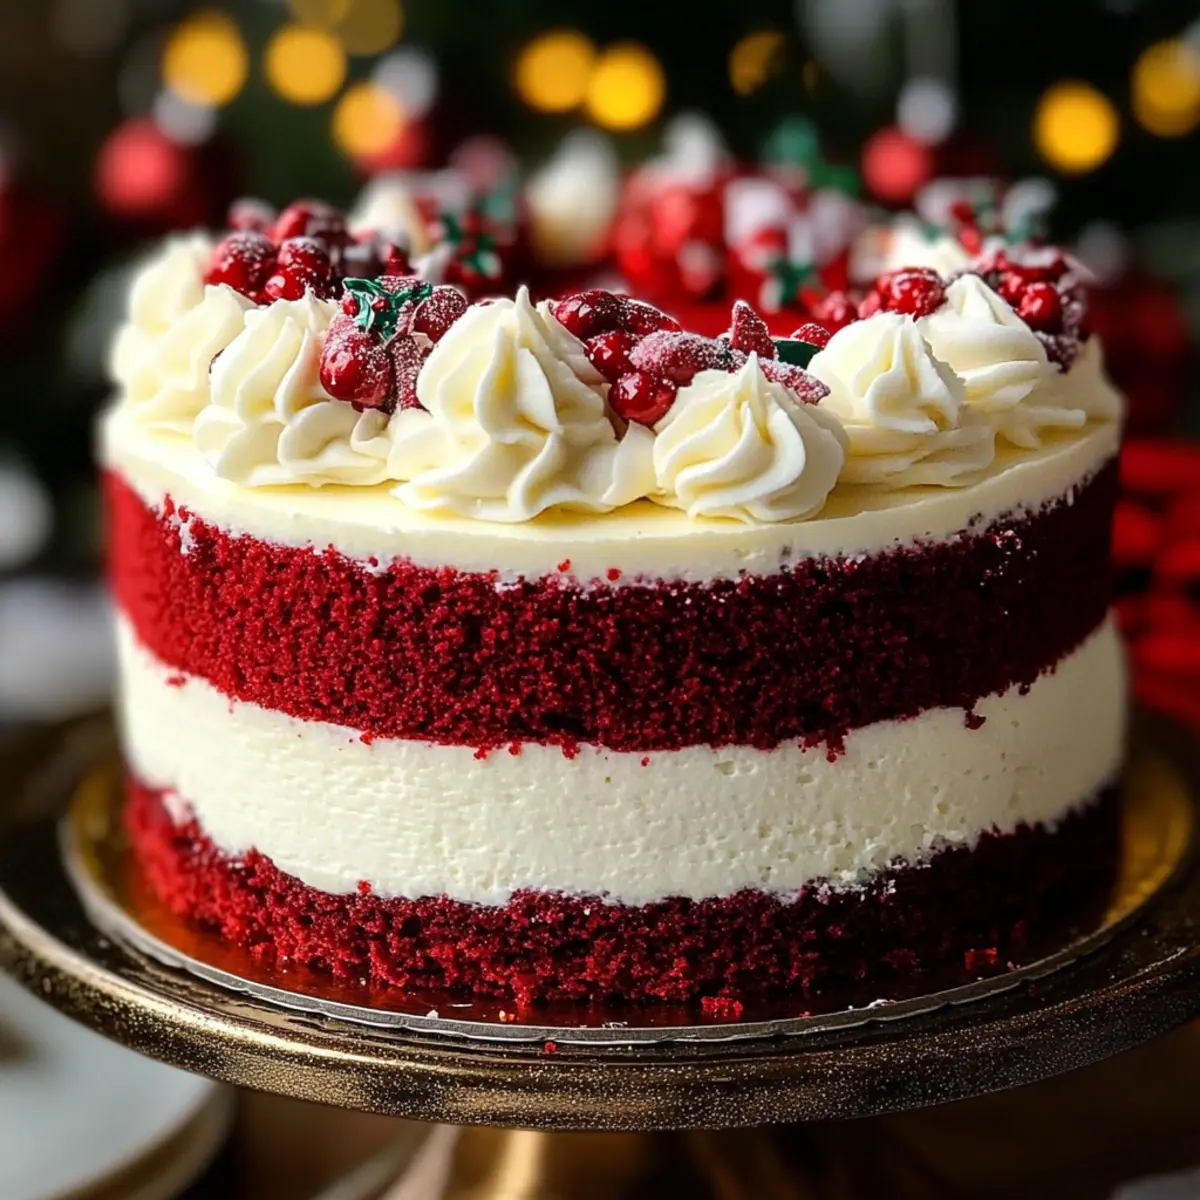
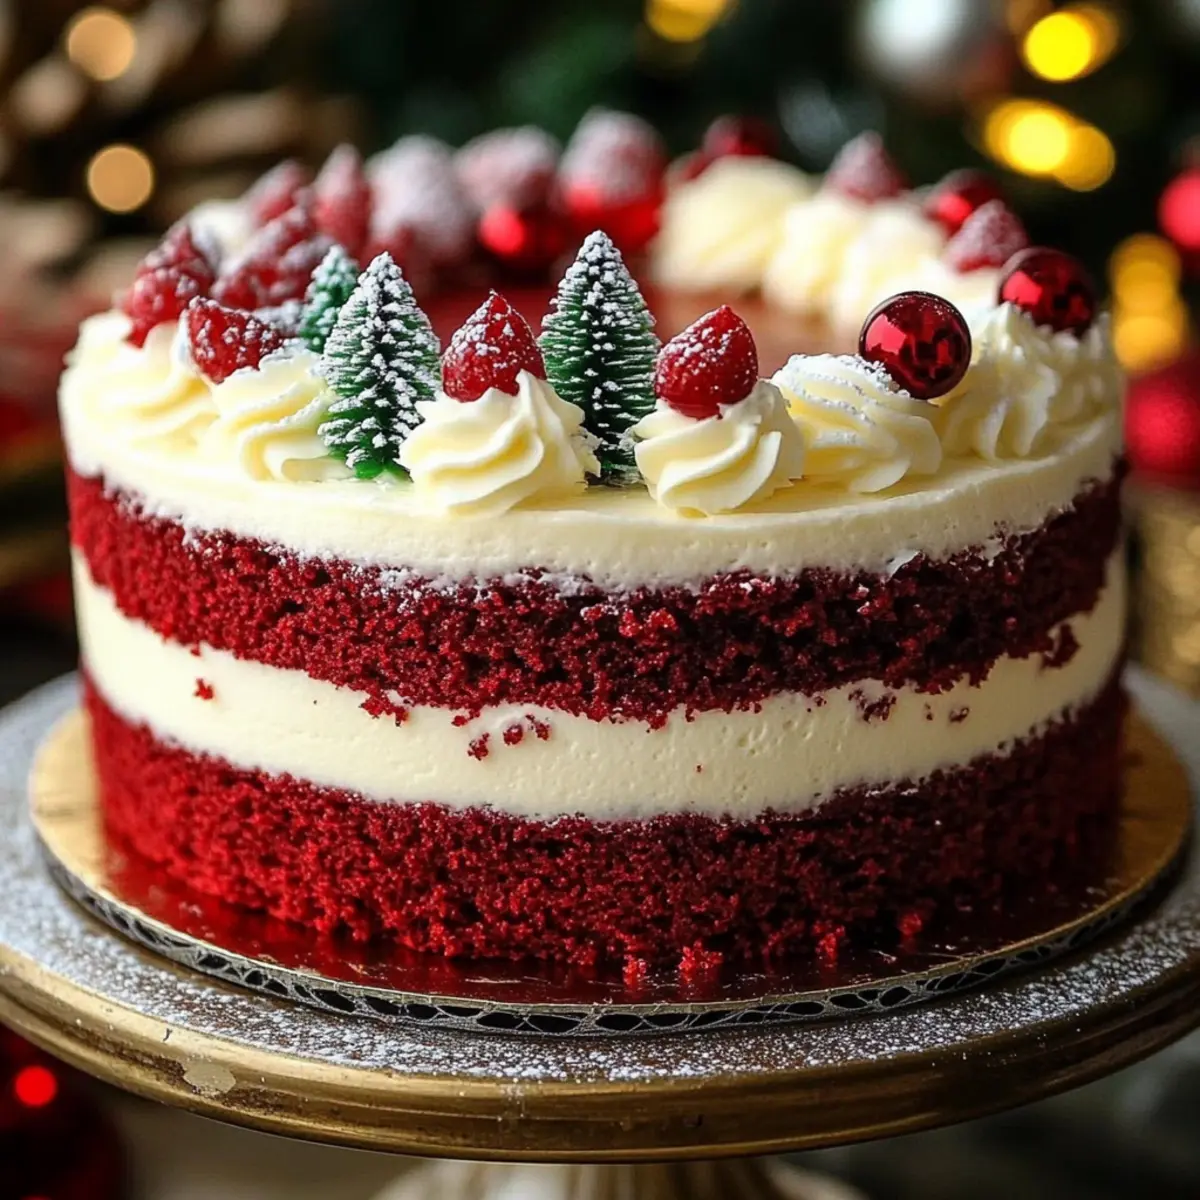
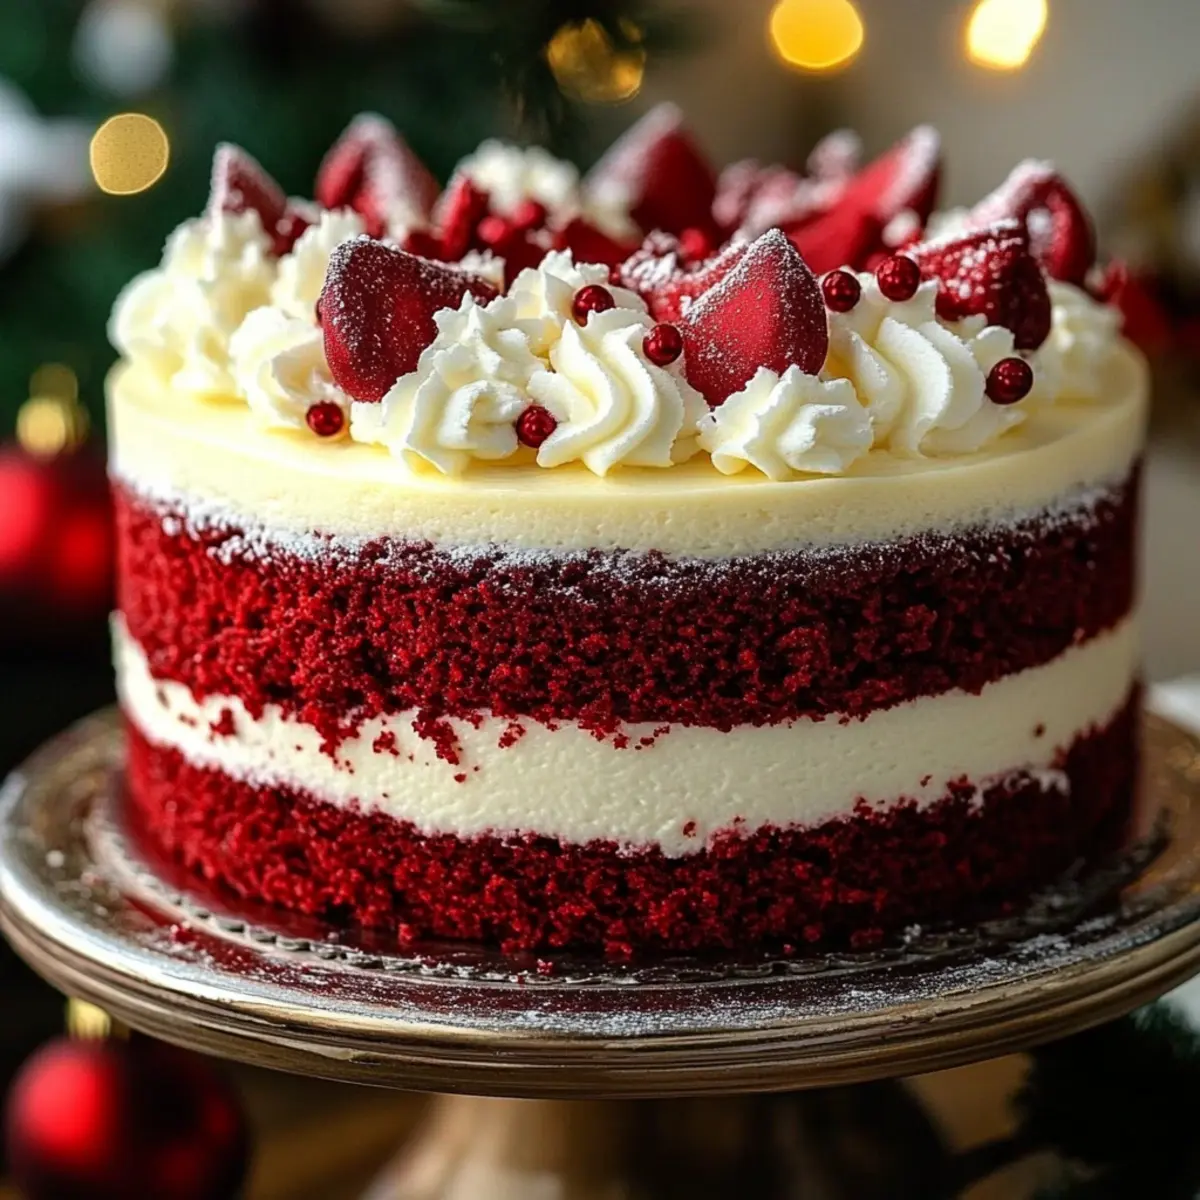
The kitchen is alive with whispers of holiday cheer, and there’s nothing quite like the allure of a stunning Christmas Red Velvet Cheesecake to elevate your festive gatherings. This showstopper blends rich, velvety red cake layers with a creamy cheesecake center, making it a visual delight and a delicious showpiece. Not only is it a true treat for the eyes, but this indulgent dessert also boasts a straightforward preparation, perfect for impressing guests without overwhelming yourself in the kitchen. Whether you’re entertaining family or treating yourself during this joyful season, this cheesecake is bound to become a cherished holiday tradition. Are you ready to dive into the layers of flavor and color that will steal the spotlight at your next celebration?
Why is This Cheesecake So Special?
Decadent Layers: The exquisite combination of red velvet and creamy cheesecake creates a flavor sensation that’s hard to resist. Visually Stunning: Its vibrant hues make it a centerpiece for any holiday table, ensuring everyone reaches for a slice. Easy to Make: With straightforward instructions, you can master this dessert even if you’re new to baking. Flavor Versatility: Consider pairing it with a dollop of whipped cream or a side of your favorite holiday beverage for a unique twist. Crowd-Pleaser: It’s excellent for gatherings, where each slice elicits smiles and satisfaction. And if you’re in the mood for more cheesecake inspirations, don’t miss our Cherry Pistachio Cheesecake or Dulce Leche Cheesecake for even more festive indulgence!
Christmas Red Velvet Cheesecake Ingredients
For the Cake Layers
Advertisement
- All-Purpose Flour – Provides structure to the cake layers; substitute with gluten-free flour for a gluten-free version.
- Unsweetened Cocoa Powder – Enhances the chocolate flavor of the red velvet; opt for high-quality cocoa for the best result.
- Baking Powder – Helps the cake rise; ensure it’s fresh for optimal leavening.
- Baking Soda – Aids in leavening; don’t skip this as it reacts with vinegar to give lift.
- Salt – Balances sweetness; using fine salt helps it distribute evenly.
- Granulated Sugar – Sweetens both the cake and cheesecake layers; brown sugar can add a richer flavor.
- Vegetable Oil – Keeps the cake moist; melted coconut oil or butter can serve as a great substitute.
- Buttermilk – Adds moisture and acidity for a tender crumb; mix regular milk with a splash of vinegar for a substitute.
- Large Eggs – Binds everything together while assisting in leavening; make sure they’re at room temperature.
- Red Food Coloring – Gives the cake its signature hue; opting for gel food coloring is best for vibrant color.
- Vanilla Extract – Deepens the flavor; use pure vanilla for the most delightful aroma.
- White Vinegar – Works with baking soda to enhance leavening; lemon juice can be a suitable alternative.
For the Cheesecake Layer
- Cream Cheese – The heart of the cheesecake filling; using full-fat cream cheese ensures creaminess.
- Granulated Sugar (for cheesecake) – Sweetens the cheesecake layer perfectly.
- Sour Cream – Adds tang and creaminess; Greek yogurt can be a great substitute.
For the Frosting
- Unsalted Butter – Provides richness; make sure to use softened butter.
- Powdered Sugar – Sweetens and stabilizes the frosting; sift before use to avoid lumps.
Each ingredient plays a vital role in making your Christmas Red Velvet Cheesecake not just a dessert, but a memorable centerpiece for your festive gatherings. Happy baking!
Step‑by‑Step Instructions for Christmas Red Velvet Cheesecake
Step 1: Preheat and Prepare
Begin by preheating your oven to 350°F (175°C) and greasing two round cake pans. Line the bottom of each pan with parchment paper to ensure easy release. This is essential for achieving perfect layers in your Christmas Red Velvet Cheesecake. Set these prepared pans aside to get ready for your batter.
Step 2: Mix Dry Ingredients
In a large mixing bowl, combine the all-purpose flour, unsweetened cocoa powder, baking powder, baking soda, and salt. Whisk these dry ingredients together until well mixed, ensuring no lumps remain. This step sets the foundation for a consistent texture in your red velvet cake layers, which are crucial for the overall balance of your cheesecake.
Step 3: Combine Wet Ingredients
In another bowl, whisk together the granulated sugar, vegetable oil, buttermilk, eggs, red food coloring, vanilla extract, and vinegar until the mixture appears uniform. This vibrant, liquid blend is key to achieving the signature red hue and moist crumb of your Christmas Red Velvet Cheesecake. Feel free to choose a bowl that allows for easy mixing.
Step 4: Blend Wet and Dry Mixtures
Gradually add the dry ingredients to the wet mixture, stirring gently until just combined. Be careful not to overmix; a few lumps are perfectly fine. This stage ensures your red velvet batter is light and airy, which is essential for creating fluffy cake layers that will complement the creamy cheesecake.
Step 5: Bake the Cake Layers
Divide the red velvet batter evenly between the prepared cake pans. Bake in the preheated oven for 25-30 minutes, or until a toothpick inserted in the center comes out clean. The cakes should be firm and spring back slightly when touched. Allow the layers to cool in the pans for about 10 minutes before transferring them to wire racks.
Step 6: Prepare the Cheesecake Layer
For the cheesecake filling, in a mixing bowl, beat the cream cheese, granulated sugar, and sour cream together until smooth. Add the eggs one at a time, along with the vanilla extract, mixing each addition until just incorporated. This smooth and creamy filling will be the luxurious cornerstone of your finished Christmas Red Velvet Cheesecake.
Step 7: Bake the Cheesecake Layer
Pour the cheesecake batter over one of the cooled red velvet cake layers in the pan. Bake at 325°F (163°C) for about 45-50 minutes, until the edges are set but the center still has a slight jiggle. This gentle baking temperature helps prevent cracking, ensuring a beautiful presentation for your cheesecake.
Step 8: Cool and Chill
Once baked, allow the cheesecake to cool completely in the pan on a wire rack. After cooling, refrigerate it for at least 4 hours, or overnight if possible. Chilling is crucial as it helps the cheesecake firm up, making it easier to slice when you prepare to serve your stunning Christmas Red Velvet Cheesecake.
Step 9: Make the Frosting
For the frosting, in a bowl, cream together softened butter and cream cheese until light and fluffy. Gradually add sifted powdered sugar and the remaining vanilla extract, mixing until the frosting is smooth and spreadable. This luscious cream cheese frosting will beautifully complement the layers of your festive cheesecake.
Step 10: Assemble the Cake
To assemble, carefully place the cheesecake layer on top of the other red velvet cake layer. Frost the top and sides with the cream cheese mixture, smoothing it out for a neat finish. This assembly is where your Christmas Red Velvet Cheesecake begins to shine, showcasing its stunning layers.
Step 11: Final Chill
Place the assembled cake in the refrigerator for an additional hour to allow the frosting to set and the flavors to meld. This final chilling step helps achieve a cohesive taste and easy slicing. After chilling, your Christmas Red Velvet Cheesecake is ready to dazzle at your holiday gatherings!

Make Ahead Options
These Christmas Red Velvet Cheesecakes are perfect for busy home cooks looking to save time during the holiday rush! You can bake the red velvet cake layers up to 3 days in advance; simply wrap them tightly in plastic wrap and refrigerate to ensure they stay moist. The cheesecake layer can also be prepared 24 hours ahead—just cool it completely and chill it overnight. When it’s time to serve, frost the assembled cheesecake and let it sit in the refrigerator for at least 1 hour to allow the flavors to meld beautifully. This way, you’ll have an impressive and indulgent dessert ready with minimal effort!
Expert Tips for Christmas Red Velvet Cheesecake
- Room Temperature Ingredients: Ensure all ingredients, particularly eggs and buttermilk, are at room temperature for better emulsification, avoiding lumps in the batter.
- Mix Gently: Don’t overmix your cake batter. Overmixing can lead to tough layers; stop mixing just when the dry ingredients are incorporated.
- Cool Completely: Allow the cheesecake layer to cool completely before chilling it in the refrigerator; this prevents cracking and helps it set properly.
- Use Gel Coloring: For that stunning red hue, opt for gel food coloring rather than liquid. It provides a more vibrant and consistent color in your Christmas Red Velvet Cheesecake.
- Sifting Powdered Sugar: Sift your powdered sugar before adding it to the frosting; this keeps your frosting smooth and free of lumps.
- Chill Before Serving: Don’t skip the chilling stages. Allowing the cheesecake to firm up will make slicing easier and enhance the delicious flavors of your dessert.
What to Serve with Christmas Red Velvet Cheesecake?
Elevate your festive feast with delightful accompaniments that tantalize the taste buds and enhance the celebration.
-
Rich Hot Cocoa: A warm, comforting drink that balances the rich flavors of the cheesecake with its creamy texture. Perfect for a cozy holiday atmosphere.
-
Whipped Cream: A dollop of lightly sweetened whipped cream adds airy lightness to each slice, providing a beautiful contrast to the dense cheesecake.
-
Spiced Chai Latte: The warming spices in chai complement the indulgent layers, enhancing the dessert’s flavor profile while adding a festive touch.
-
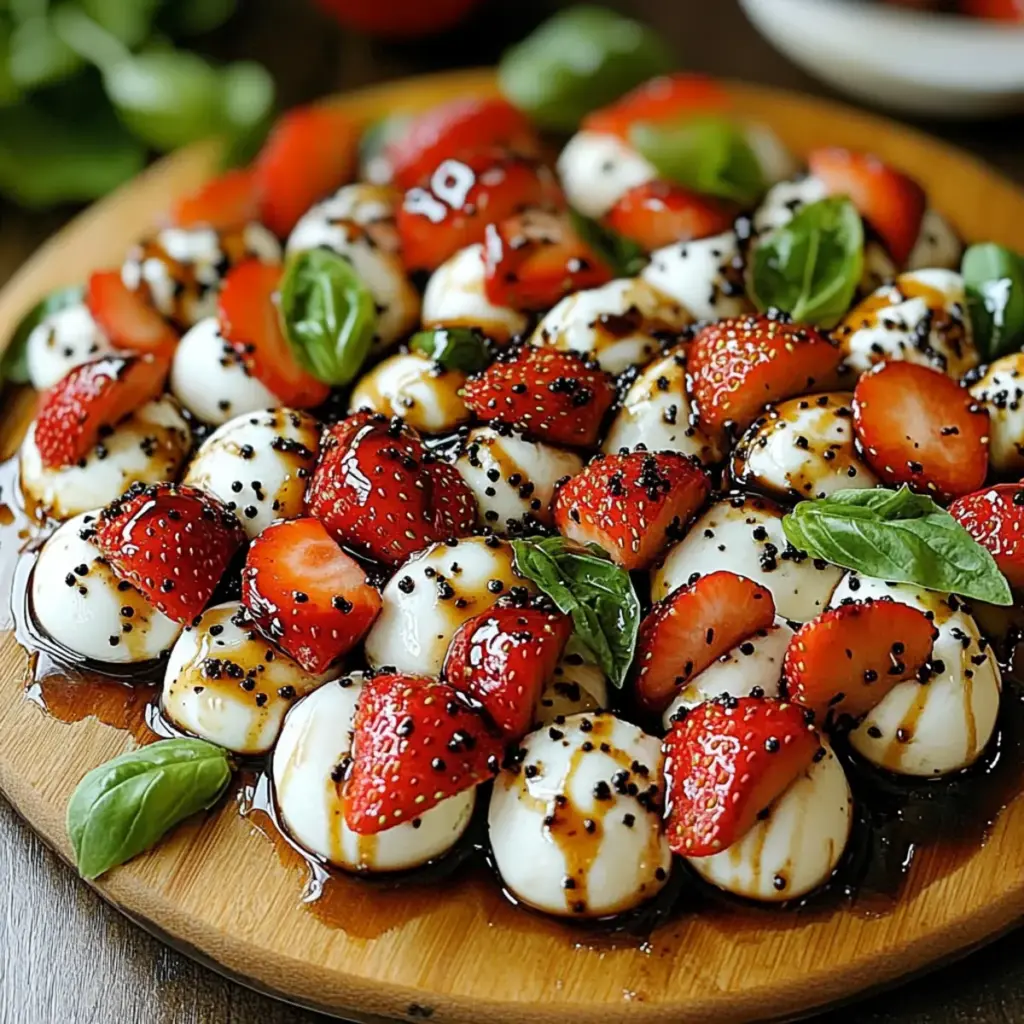
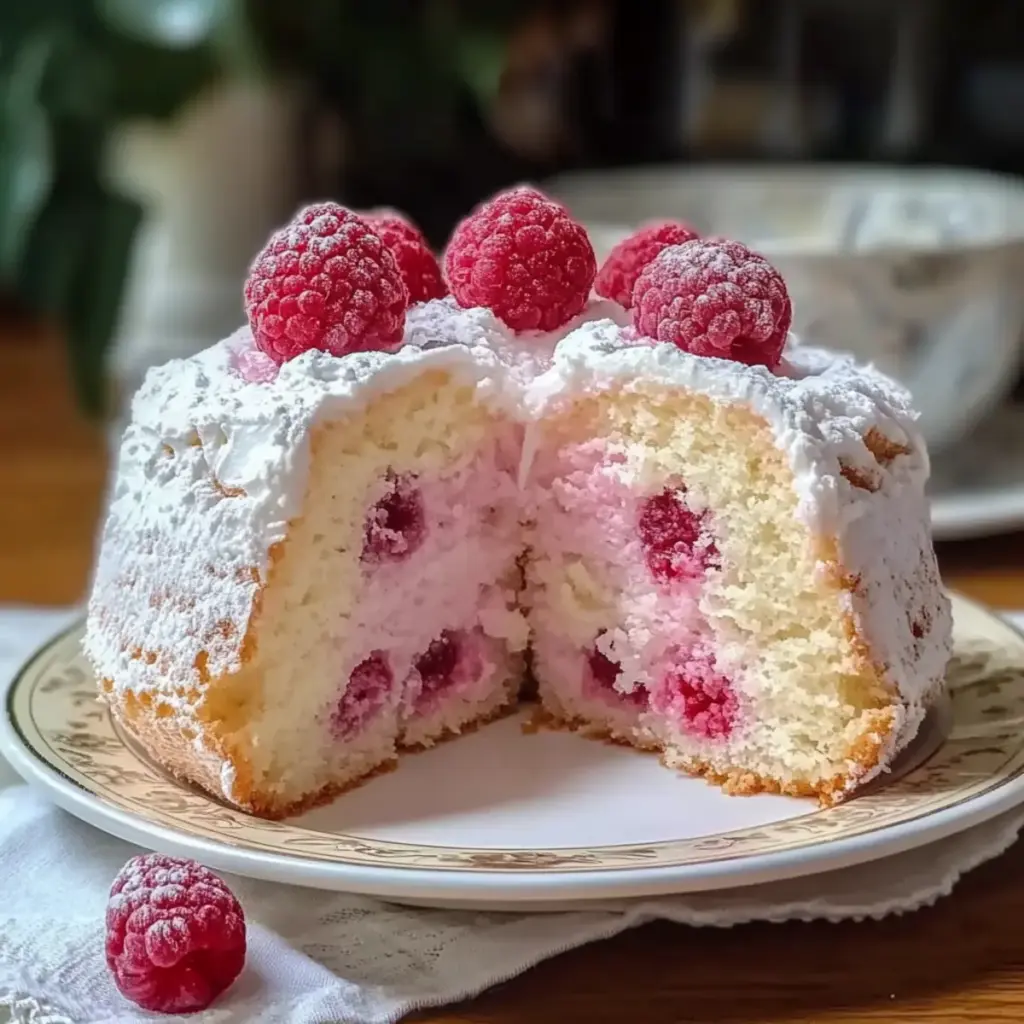
Fresh Berries: Juicy raspberries or strawberries not only add a refreshing tartness but also make the vibrant colors pop even more on your plate.
-
Peppermint Bark: The refreshing crunch of chocolate and peppermint creates a delightful contrast with the creamy cheesecake, perfect for those who love a holiday twist.
For a complete experience, pair your cheesecake with something sweet and spicy and create a cozy, festive ambiance that keeps everyone coming back for more!
Storage Tips for Christmas Red Velvet Cheesecake
Fridge: Store your leftover Christmas Red Velvet Cheesecake in an airtight container in the refrigerator for up to 5 days to maintain freshness.
Freezer: You can freeze the cheesecake for up to 3 months. Wrap it tightly in plastic wrap and then in aluminum foil to prevent freezer burn.
Thawing: When ready to serve, thaw the cheesecake in the refrigerator overnight for the best texture and flavor. Avoid thawing at room temperature to preserve its creaminess.
Reheating: If desired, slice and gently reheat individual pieces in the microwave for about 15-20 seconds to enjoy a warm treat, but be cautious not to overheat.
Christmas Red Velvet Cheesecake Variations
Feel free to let your creativity run wild with these delightful twists on the classic Christmas Red Velvet Cheesecake!
- Gluten-Free: Substitute the all-purpose flour with a gluten-free blend to make this cheesecake suitable for gluten-sensitive guests without compromising flavor.
- Fruit-Filled: Add a layer of raspberry or cherry preserves between the cake and cheesecake layers for a delicious fruity contrast. The tartness of fruit beautifully cuts through the rich sweetness!
- Nutty Crunch: Incorporate chopped walnuts or pecans into the cake batter for an unexpected crunch and extra flavor. Not only does this elevate the texture, but it also adds a warm, comforting nutty aroma.
- Vegan: Swap out eggs and cream cheese for chia seeds (or flaxseed) and cashew cream for a plant-based version. While it takes some adjustments, this variation is wonderfully rich and satisfying.
- Chocolate Lovers: For an extra chocolate kick, use chocolate syrup in place of some of the granulated sugar in the cheesecake. It helps achieve a more decadent flavor profile that chocolate lovers will adore.
- Spiced: Add a pinch of cinnamon and nutmeg to the cheesecake batter for a warm spiced flavor perfect for holiday gatherings. This gentle warmth evokes the cozy feelings of the festive season.
- Layered Delight: Instead of a single cheesecake layer, create two thinner layers of cheesecake for a more dramatic presentation. Swirl in some red velvet batter for beautiful marbling in the slices!
- Coconut Flour: For a tropical twist, substitute all-purpose flour with coconut flour. This leads to a moist and fragrant cake that pairs well with the creamy cheesecake.
No matter how you choose to personalize your Christmas Red Velvet Cheesecake, each variation holds the potential to create unforgettable moments around your holiday table. And for more cheesecake inspiration, check out our Chocolate Chip Cheesecake or Strawberry Cheesecake Crunch to make every celebration even sweeter!
Christmas Red Velvet Cheesecake Recipe FAQs
What type of cocoa powder should I use for the red velvet cake?
I recommend using unsweetened cocoa powder, as it enhances the chocolate flavor of the red velvet. Opt for high-quality cocoa for the best results; it really elevates the taste!
How should I store leftover cheesecake?
Store your leftover Christmas Red Velvet Cheesecake in an airtight container in the refrigerator for up to 5 days. Keeping it chilled maintains its creamy texture and prevents it from drying out.
Can I freeze the cheesecake, and if so, how?
Absolutely! You can freeze the cheesecake for up to 3 months. Wrap it tightly in plastic wrap, then in aluminum foil, to prevent freezer burn. When you’re ready to enjoy it, thaw it in the refrigerator overnight for the best flavor and texture.
What happens if my cheesecake cracks while baking?
If your cheesecake cracks, don’t worry! This can happen due to rapid temperature changes or overbaking. To prevent this in the future, bake at a lower temperature, and ensure the cheesecake cools gradually. You can always cover cracks with frosting for a beautiful finish!
Can I use a substitute for the cream cheese?
If cream cheese isn’t available, you can use mascarpone for a creamy texture, though it may alter the flavor slightly. Another alternative is a mixture of silken tofu and a bit of lemon juice for a dairy-free option, but the taste will vary.
Are there any dietary considerations with this recipe?
Yes! Make sure to check for allergies related to dairy, eggs, and gluten since this recipe contains all-purpose flour, cream cheese, and eggs. For gluten-free options, you can substitute with gluten-free flour. If you’re serving guests with lactose intolerance, consider using dairy-free cream cheese alternatives.
Irresistible Christmas Red Velvet Cheesecake for Festive Joy
Ingredients
Equipment
Method
- Preheat your oven to 350°F (175°C) and grease two round cake pans. Line the bottom of each with parchment paper.
- In a large mixing bowl, combine the all-purpose flour, cocoa powder, baking powder, baking soda, and salt. Whisk until well mixed.
- In another bowl, whisk together the granulated sugar, vegetable oil, buttermilk, eggs, red food coloring, vanilla extract, and vinegar until uniform.
- Gradually add the dry ingredients to the wet mixture, stirring gently until just combined.
- Divide the red velvet batter between the prepared pans. Bake for 25-30 minutes, or until a toothpick inserted in the center comes out clean.
- In a mixing bowl, beat the cream cheese, granulated sugar, and sour cream until smooth. Add the eggs one at a time, mixing until just incorporated.
- Pour the cheesecake batter over one cooled red velvet layer. Bake at 325°F (163°C) for about 45-50 minutes.
- Allow the cheesecake to cool completely in the pan on a wire rack. After cooling, refrigerate for at least 4 hours.
- Cream together softened butter and cream cheese until light and fluffy. Gradually add sifted powdered sugar and remaining vanilla extract.
- Carefully place the cheesecake layer atop the other red velvet layer. Frost the top and sides with the cream cheese mixture.
- Chill the assembled cake in the refrigerator for an additional hour before serving.