Advertisement
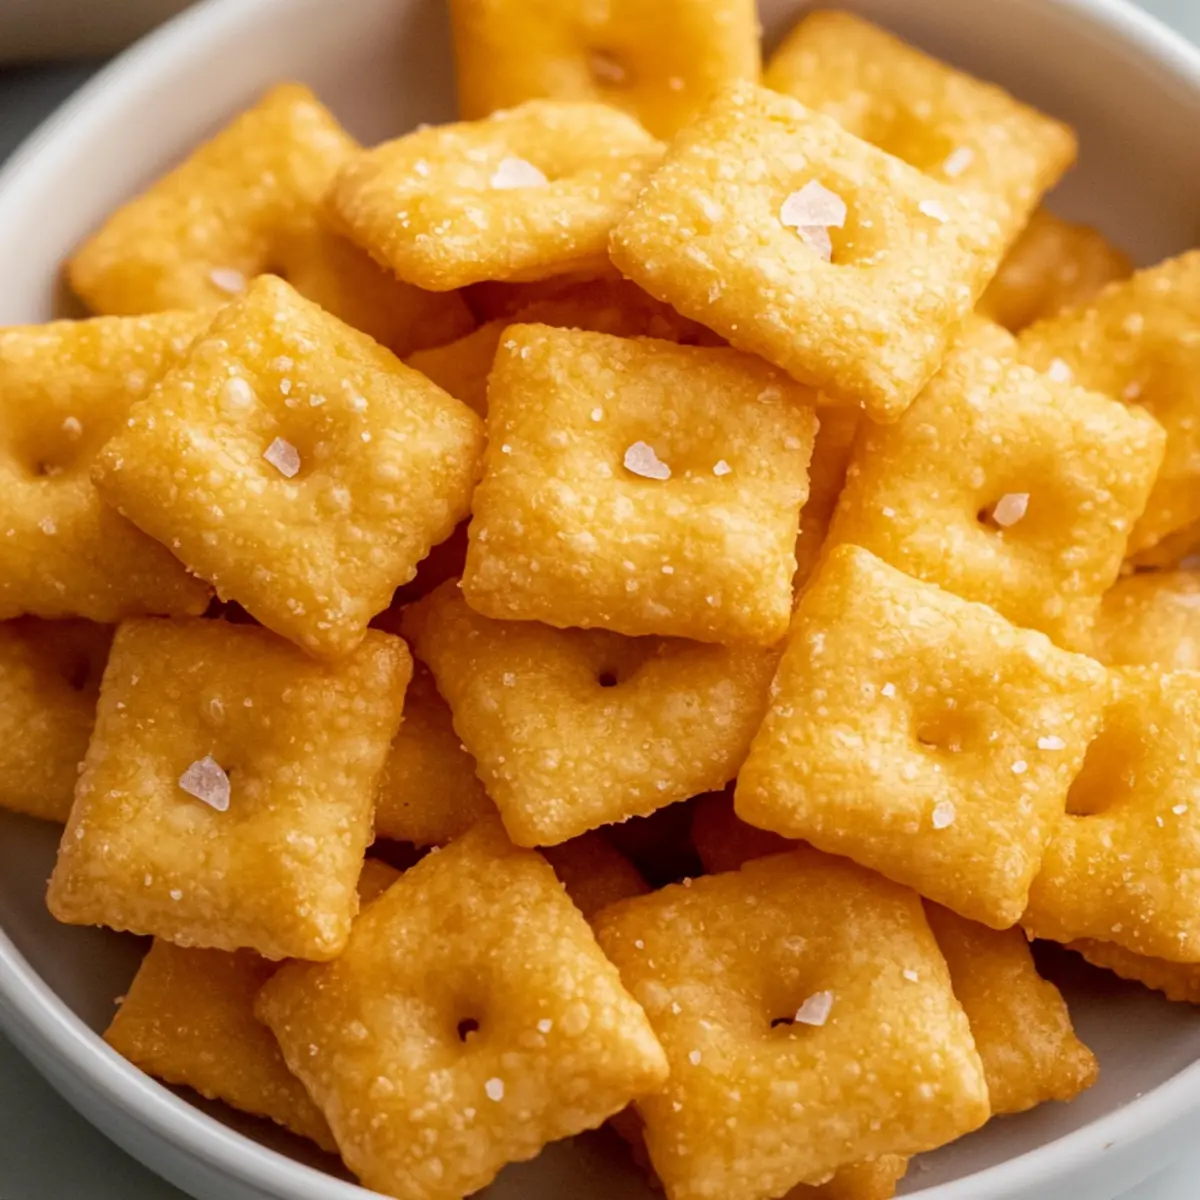
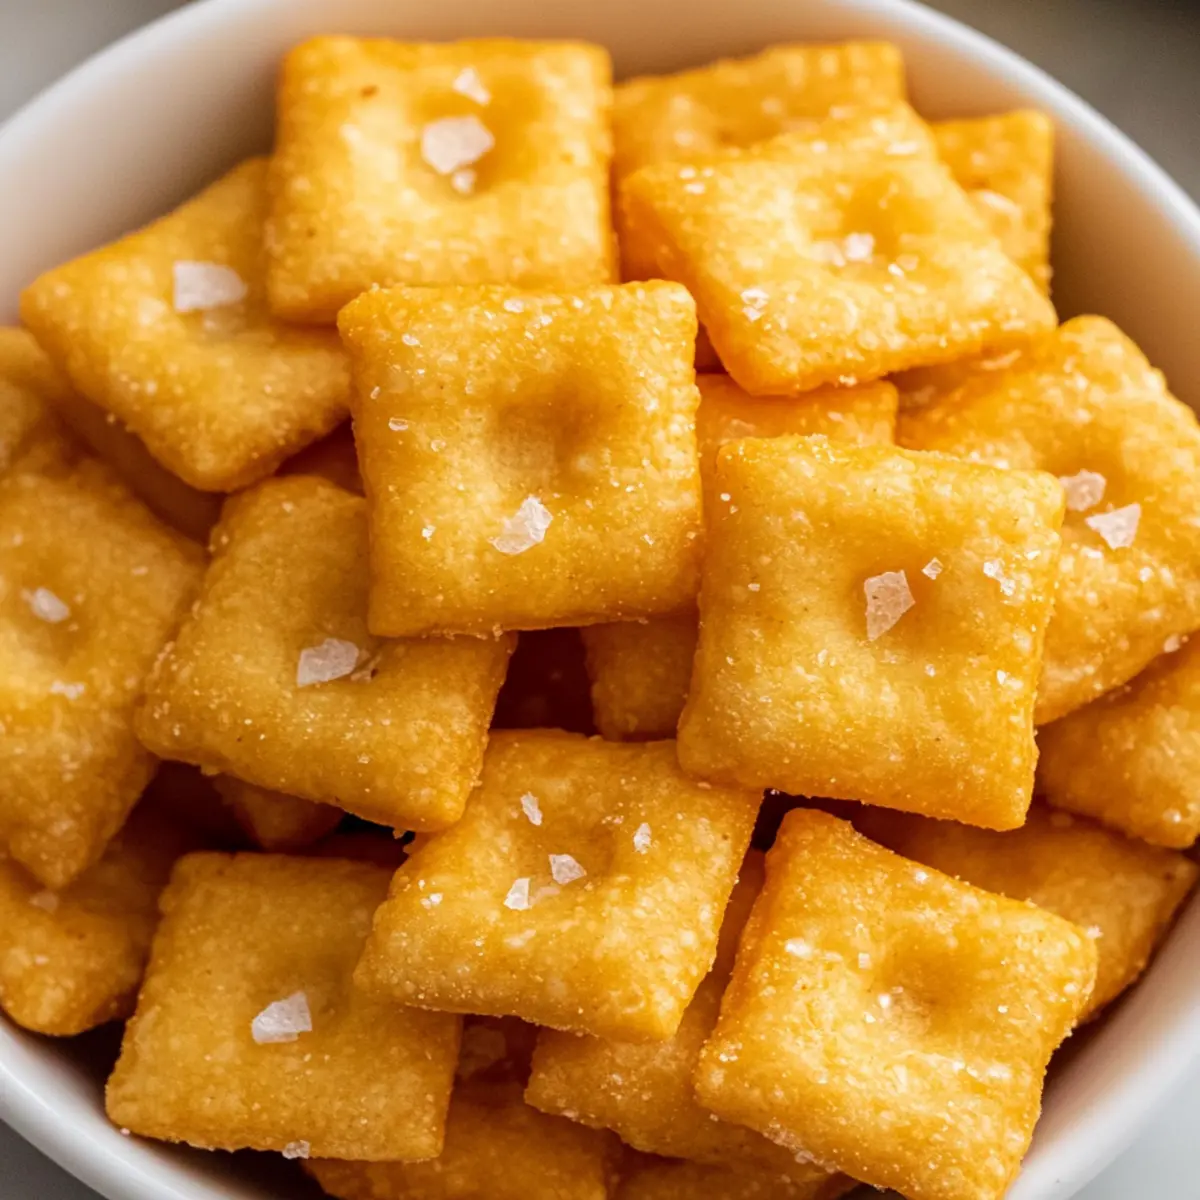
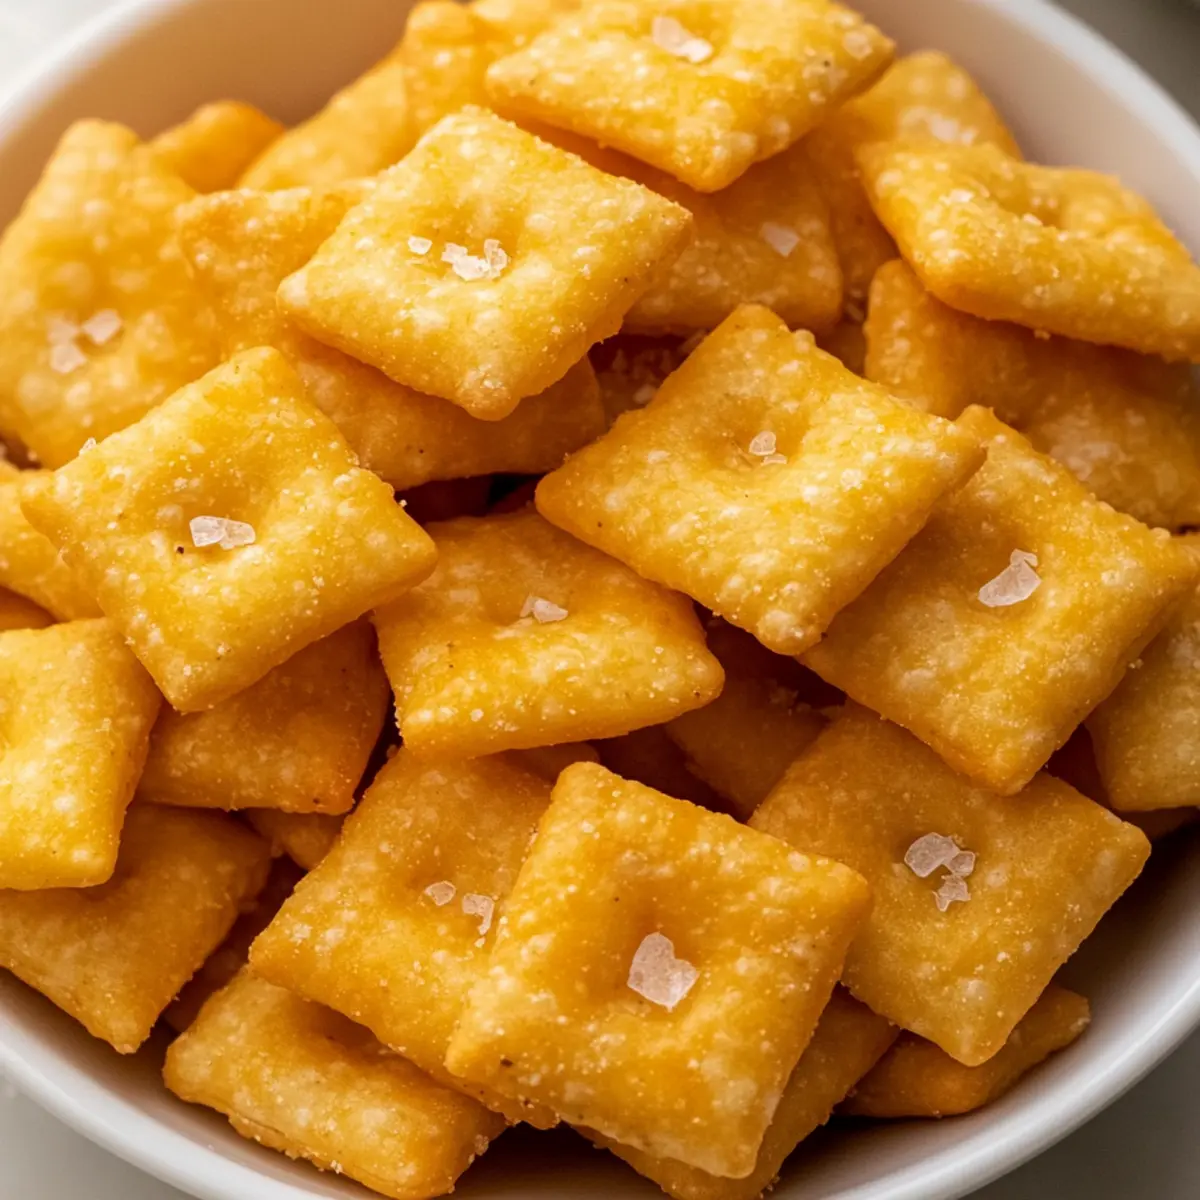
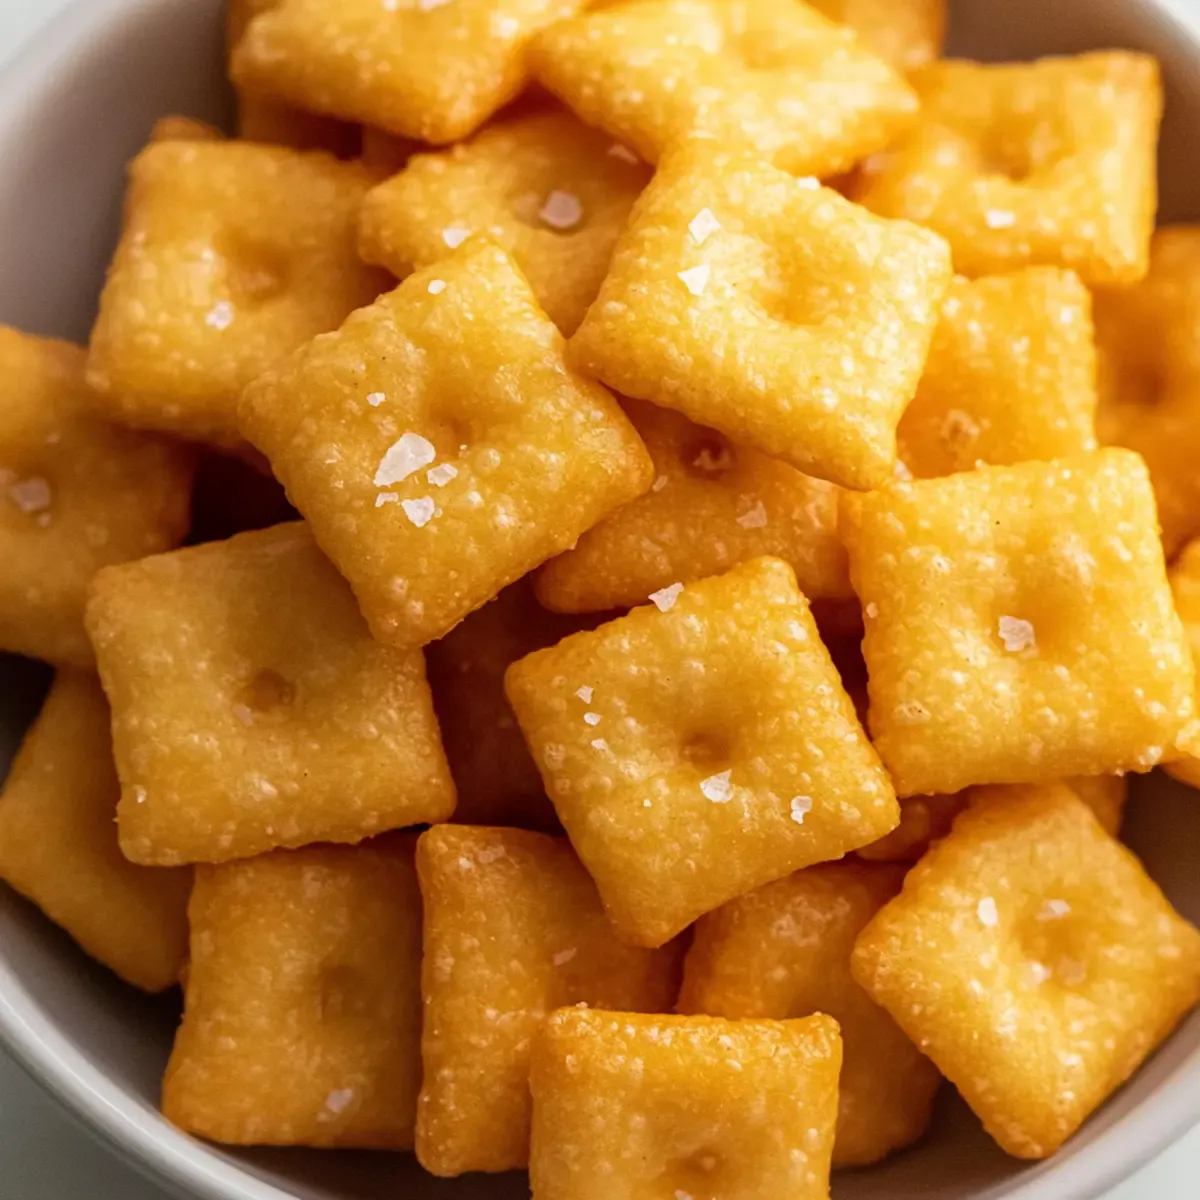
Crunchy, cheesy snacks that are easy to whip up are the holy grail for busy home chefs. That’s why I’m thrilled to share my recipe for 3-Ingredient Gluten-Free Cheez-Its! With just a handful of pantry staples, you can create these delightful crackers in under 30 minutes, making them an ideal alternative to store-bought snacks. Not only are they naturally gluten-free, but they’re also sprinkled with love, saving you from the excessive preservatives found in many packaged options. These little bites of joy will have everyone—kids and adults alike—coming back for seconds. Are you ready to give your snack time a homemade upgrade? Let’s dive into this easy recipe!
Why Homemade Gluten Free Cheez-Its?
Easy and Fast: With just three simple ingredients, these Cheez-Its can be effortlessly prepared in under 30 minutes, making them a perfect snack for busy days.
Crispy Goodness: Enjoy the irresistible crunch that comes from making snacks at home, with flavors that outshine anything you’ll find in the store.
Advertisement
Customizable Flavor: Get creative by trying different cheeses or adding spices like cayenne, allowing you to tailor these crackers to your taste.
Health-Conscious Choice: Ditch the preservatives and artificial flavors; with homemade Cheez-Its, you’re treating yourself and your family to a healthier option without compromising on taste.
Crowd-Pleasing Treat: These crackers are sure to be a hit at gatherings or even just for movie night, pleasing both kids and adults alike.
Try pairing them with your favorite dips like hummus or guacamole for an extra flavor dimension that’s sure to impress your guests!
Gluten Free Cheez-Its Ingredients
• Make sure you gather these essential ingredients to whip up your delicious gluten-free Cheez-Its!
For the Dough
- Gluten-Free All-Purpose Flour – Provides structure; opt for a blend with xanthan gum for the best results.
- Shredded Cheddar Cheese – Adds rich, cheesy flavor; substitute with a dairy-free cheese for a vegan option.
- Cold Butter – Contributes to flakiness and flavor; use plant-based butter for a dairy-free version.
- Cold Water – Helps in forming the dough; adjust the amount based on how the dough feels.
- Pinch of Salt – Enhances overall flavor; sprinkle flaky sea salt on top for an irresistible finish.
These gluten-free Cheez-Its require just a few ingredients, making them an easy and enjoyable snack that everyone will love!
Step‑by‑Step Instructions for Gluten Free Cheez-Its
Step 1: Preheat the Oven
Start by preheating your oven to 350°F (175°C). This step is crucial to ensure that your gluten-free Cheez-Its bake evenly and reach that perfect golden crunch. While the oven heats up, gather your ingredients and equipment, including a food processor and parchment paper, to streamline your cooking process.
Step 2: Combine Ingredients
In your food processor, add the gluten-free all-purpose flour, shredded cheddar cheese, and cold butter. Pulse the mixture until it resembles coarse breadcrumbs, which should take about 30 seconds. The consistency is key here—make sure the cheese and butter are well incorporated for that irresistible cheesy flavor in your Cheez-Its.
Step 3: Form the Dough
Gradually drizzle in cold water while pulsing the food processor. Continue until the mixture begins to form a cohesive dough ball, which usually takes 1-2 minutes. If the dough feels too dry or crumbly, add an extra tablespoon of cold water until it holds together nicely. This dough is what will create your delicious gluten-free Cheez-Its.
Step 4: Roll Out the Dough
Once your dough is ready, place it between two sheets of parchment paper. Using a rolling pin, roll out the dough to about 1/8-inch thickness. Take your time to get an even thickness, as this ensures that all the crackers bake uniformly. The dough should be pliable but not too sticky; if necessary, dust with a bit more gluten-free flour.
Step 5: Cut and Season
Using a sharp knife or a pizza cutter, cut the rolled dough into 1-inch squares. As you cut, remember to poke a hole in the center of each square with a toothpick or the end of a dowel. This little step helps them hold their shape while baking. Finally, sprinkle a pinch of flaky sea salt on top for that extra touch of flavor.
Step 6: Bake the Cheez-Its
Transfer the cut squares onto a baking sheet lined with fresh parchment paper. Place them in the preheated oven and bake for 12-15 minutes, watching closely for a light golden color. Once they are crispy, remove them from the oven and let them cool completely on the baking sheet. This cooling process is essential for achieving that satisfying crunch in your gluten-free Cheez-Its.
Step 7: Store or Enjoy
After the Cheez-Its have cooled, you can enjoy them immediately or store them in an airtight container at room temperature. Allowing them to cool completely before storing is key to maintaining their crispiness. Now you’re all set to dive into these irresistible homemade gluten-free Cheez-Its, perfect for snacking at any time!
What to Serve with 3-Ingredient Gluten Free Cheez-Its
Elevate your snack time experience with delightful pairings that complement the crunchy, cheesy flavor of these homemade treats.
- Creamy Hummus: The rich, creamy texture of hummus enhances the dry, crispy nature of Cheez-Its, creating a delightful contrast that’s hard to resist.
- Zesty Guacamole: This avocado dip brings a refreshing twist, adding a creamy yet zesty layer that pairs beautifully with the cheesy crackers.
- Savory Salsa: A vibrant salsa introduces bright flavors that uplift the Cheez-Its, making every bite a burst of deliciousness. Try a mango salsa for a sweet touch!
- Cheesy Dip: Melted cheese dip can elevate the experience, providing a gooey indulgence that pairs perfectly with the crunchy crackers.
- Veggie Sticks: Fresh carrots, cucumbers, and bell peppers offer a crisp, refreshing balance to the salty Cheez-Its—perfect for a wholesome snack platter.
- Sparkling Water: A fizz in your drink refreshes the palate after each cheesy bite, making your snacking experience even more enjoyable.
- Fruit Kabobs: For a sweet ending, serve fresh fruit skewers. The natural sweetness of fruits contrasts well with the saltiness of Cheez-Its, creating a well-rounded snack time.
- Chocolate-Dipped Cheez-Its: Try a twist by dipping a few in melted chocolate for an unexpected sweet-salty combination that will surprise your taste buds!
Gluten Free Cheez-Its: Delicious Variations Await
Feel free to add your personal touch and make these crackers truly your own!
- Spicy Twist: Add a pinch of cayenne or paprika for a warm kick that will spice up your snack time.
- Cheese Variety: Swap out cheddar for gouda or pepper jack to experiment with unique flavor profiles.
- Herby Delight: Incorporate garlic or onion powder into the dough for a savory, aromatic twist that’ll enchant your taste buds.
- Nutty Flavor: Mix in ground flaxseed or nutritional yeast for an extra layer of complexity and nutrients without sacrificing taste.
- Zesty Citrus: Add a touch of lemon or lime zest to the dough for a refreshing burst of citrus that brightens the flavor.
- Cheesy Vegan Option: Use dairy-free shredded cheese for a vegan alternative that still delivers on that beloved cheesy goodness.
- Sundried Tomato Infusion: Fold in finely chopped sundried tomatoes for a tangy, Mediterranean-inspired cracker that pairs beautifully with dips.
- Extra Crunch: Sprinkle some sesame seeds or poppy seeds on top before baking for added texture and a delightful nutty finish.
Get creative with these variations to make your homemade Cheez-Its feel fresh every time! For more inspiration, don’t hesitate to explore ideas like serving these with your favorite dips or snacks, such as hummus or guacamole for a delightful crunchy experience.
Make Ahead Options
These Gluten Free Cheez-Its are an excellent choice for meal prep enthusiasts! You can prepare the dough up to 24 hours in advance; simply follow the initial steps and shape it into a ball, then wrap it tightly in plastic wrap and refrigerate. This not only enhances the flavors but also saves you time on busy snack days. To keep them fresh, ensure the dough is well-sealed to prevent drying out. When you’re ready to bake, allow the dough to come to room temperature for about 15 minutes, then roll, cut, and bake as per the original instructions. This way, you’ll enjoy the same delightful crunch and flavor without the last-minute fuss!
Storage Tips for Gluten Free Cheez-Its
Room Temperature: Store your gluten free Cheez-Its in an airtight container at room temperature to keep them crunchy. They will stay fresh for up to one week.
Freezer: For longer storage, you can freeze the Cheez-Its in a freezer-safe bag or container. They will maintain their quality for up to three months; just thaw before enjoying.
Reheating: If your Cheez-Its lose some crunch, simply reheat them in a 350°F (175°C) oven for a few minutes to restore their delightful crispiness.
Cooling: Ensure the Cheez-Its cool completely before storing to prevent moisture buildup, which can diminish their satisfying crunch.
Expert Tips for Gluten Free Cheez-Its
Use a Food Processor: This makes the mixing process quick and ensures an even texture. If you lack one, be prepared for a bit of extra effort with a pastry cutter.
Watch Baking Time: Overbaking can lead to hard crackers. Keep an eye on them while they bake; they should be lightly golden for the best crunch!
Cool Completely: Allow your gluten-free Cheez-Its to cool fully on the baking sheet to maintain their crispy texture. Storing them too soon can result in sogginess.
Experiment with Flavors: Get creative! Trying different cheeses or adding herbs and spices can transform your Cheez-Its into a personal favorite that suits your taste.
Store Properly: To keep your crackers crispy, store them in an airtight container at room temperature. Avoid refrigerating, as moisture can soften your delicious snacks.
Gluten Free Cheez-Its Recipe FAQs
What type of gluten-free flour should I use?
Absolutely! I recommend using a gluten-free all-purpose flour blend that contains xanthan gum. This combination helps to provide structure and elasticity to your Cheez-Its, making them crispy and delightful.
How should I store my gluten-free Cheez-Its?
To keep your gluten-free Cheez-Its crunchy, store them in an airtight container at room temperature. They will stay fresh for up to one week. If you have extras, freezing is a great option!
Can I freeze my gluten-free Cheez-Its?
Yes! For longer storage, you can freeze the Cheez-Its in a freezer-safe bag or container. They will maintain their quality for up to three months. Just thaw them at room temperature before enjoying, or reheat them in a 350°F (175°C) oven for a few minutes to regain their crispiness.
What should I do if my dough is too dry?
If your dough feels too dry and crumbles instead of forming a ball, simply add 1-2 tablespoons of cold water gradually while pulsing in the food processor. Continue until the dough holds together nicely. It’s a small adjustment that can make a big difference in your crackers’ texture!
Are these Cheez-Its safe for people with nut allergies?
Yes! This recipe for gluten-free Cheez-Its does not include any nut ingredients, making it safe for those with nut allergies. Just ensure that your gluten-free flour blend and any substitute cheese options used are free from cross-contamination if allergies are a concern.
Gluten Free Cheez-Its: Irresistibly Crunchy Homemade Snack
Ingredients
Equipment
Method
- Preheat your oven to 350°F (175°C). Gather your ingredients and equipment, including a food processor and parchment paper.
- In your food processor, add the gluten-free all-purpose flour, shredded cheddar cheese, and cold butter. Pulse until it resembles coarse breadcrumbs, about 30 seconds.
- Gradually drizzle in cold water while pulsing until the mixture forms a cohesive dough ball, about 1-2 minutes.
- Place the dough between two sheets of parchment paper and roll out to about 1/8-inch thickness.
- Cut the rolled dough into 1-inch squares and poke holes in the center of each square. Sprinkle flaky sea salt on top.
- Transfer the squares onto a baking sheet lined with parchment paper and bake for 12-15 minutes until lightly golden.
- Let the Cheez-Its cool completely on the baking sheet before enjoying or storing.