Advertisement
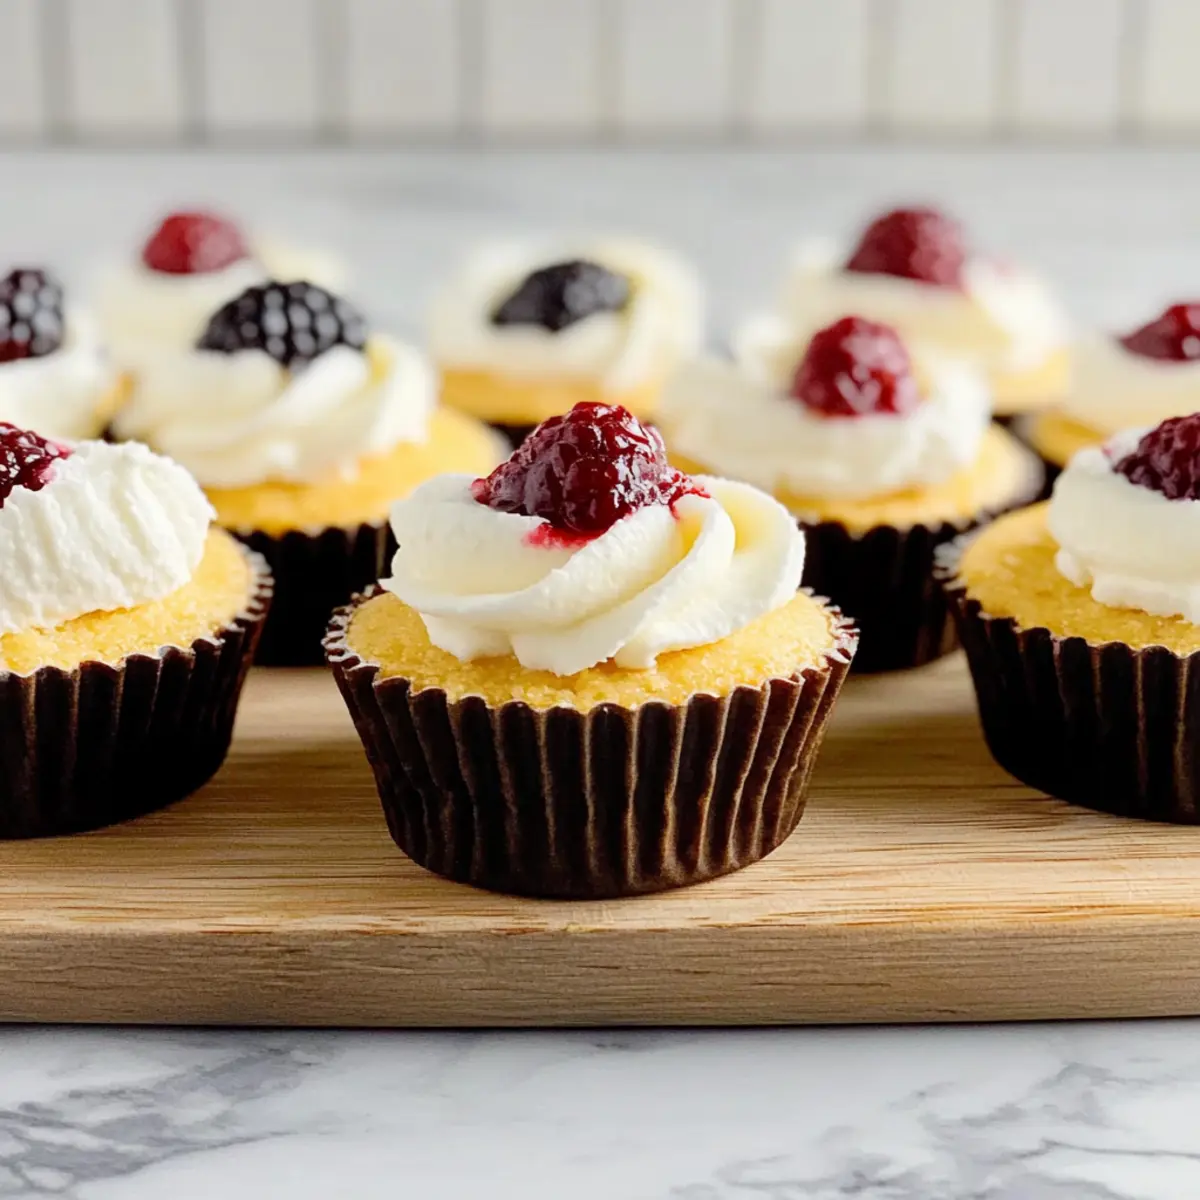
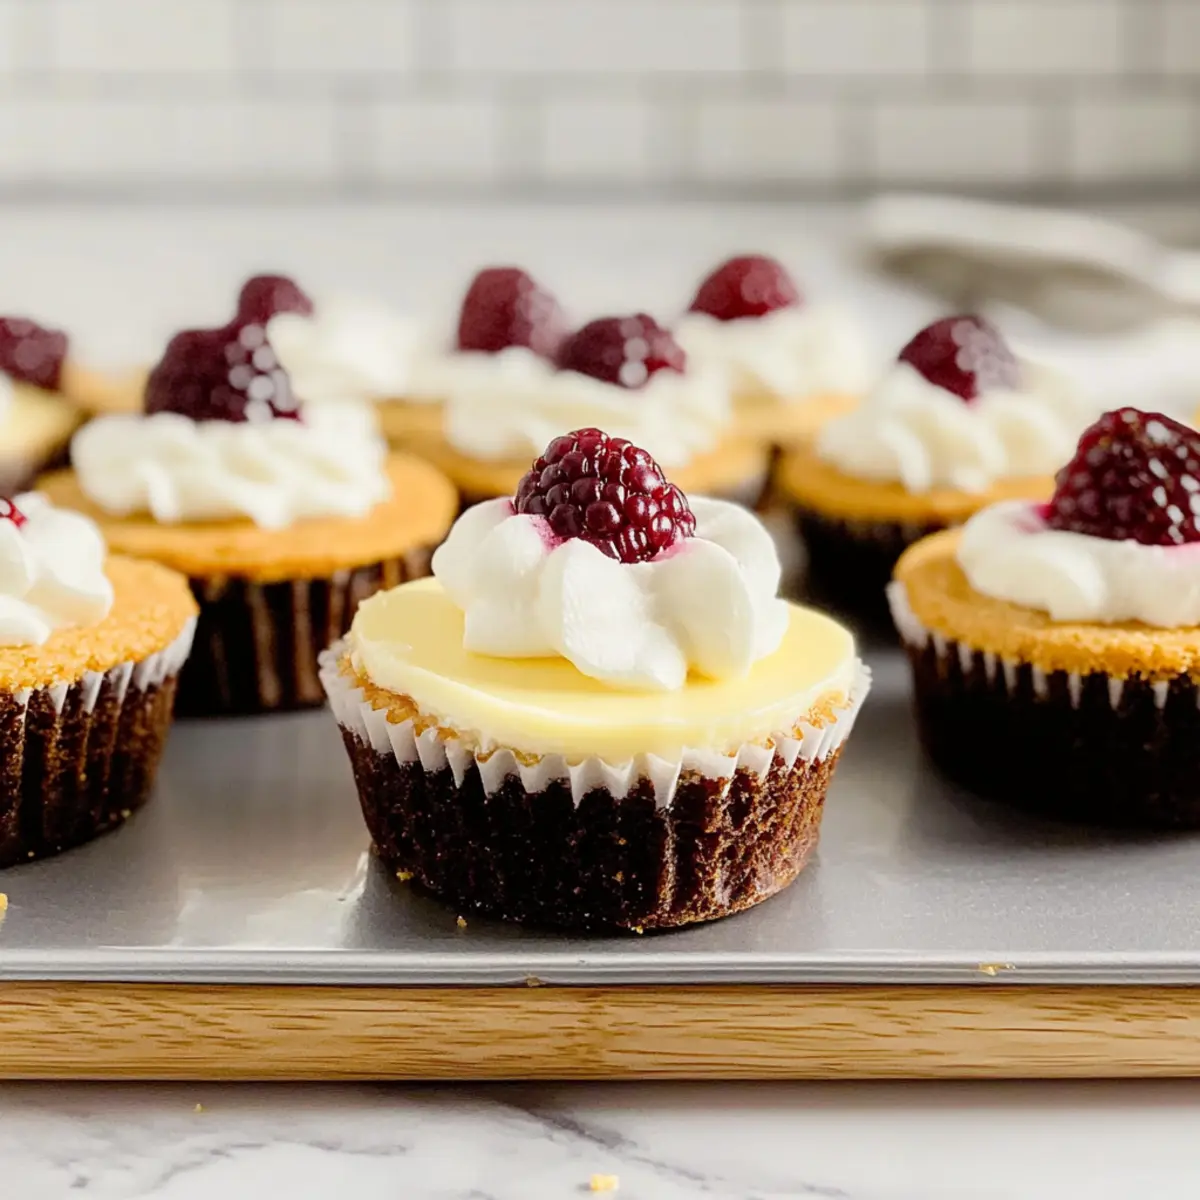
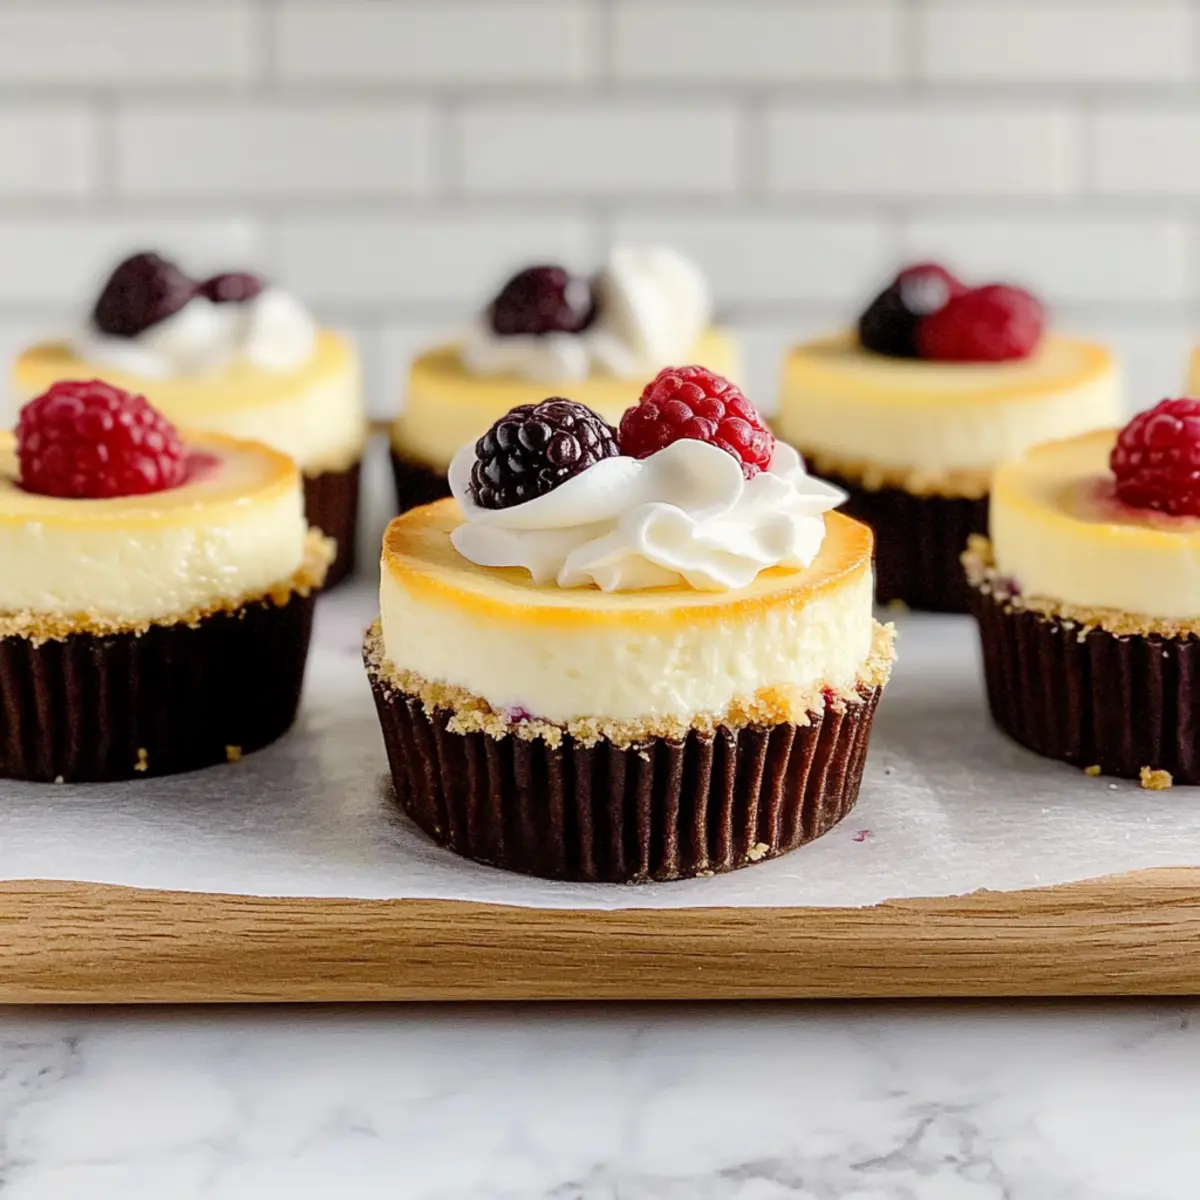
In the midst of a busy week, I found myself craving something sweet yet hassle-free. That’s when these Mini Cheesecakes came to mind—a creamy delight that transforms any moment into a celebration! With their velvety texture and buttery graham cracker crust, these individual servings are not only easy to whip up but also add an elegant touch to any dessert table. Whether you’re hosting a gathering, celebrating a special occasion, or simply treating yourself after a long day, these mini wonders deliver that bakery-quality taste without the fuss. Ready to dive into a recipe that’s sure to impress? Let’s get started on creating some delightful Mini Cheesecakes!
Why Are These Mini Cheesecakes Irresistible?
Simplicity at Its Finest: These Mini Cheesecakes are incredibly easy to make, requiring minimal ingredients and no tricky water bath, perfect for bakers of any level.
Creamy Texture: The rich filling achieves a luscious, velvety consistency that melts in your mouth, paired perfectly with the crunchy graham cracker base.
Advertisement
Versatile Toppings: Whether you prefer classic fruit toppings or decadent chocolate drizzles, these mini delights can be customized to suit any taste.
Perfect Portions: Their individual servings make them convenient for gatherings, ensuring everyone gets a delightful slice without the effort of cutting a larger cake.
Make Ahead Magic: These cheesecakes are ideal for prepping in advance, and they taste even better after a night in the fridge—perfect for busy hosts!
If you love easy desserts that wow, check out my Creamsicle Mini Cheesecakes for another delightful treat!
Mini Cheesecake Ingredients
For the Crust
- Graham Cracker Crumbs – Provides the base structure and crunch; substitute with gluten-free graham crackers for a gluten-free version.
- Granulated Sugar – Sweetens the crust; can replace with coconut sugar for a less processed option.
- Unsalted Butter – Binds crumbs together; try using vegan butter for a dairy-free version.
For the Filling
- Cream Cheese – Delivers that classic creamy filling; opt for a vegan cream cheese alternative if desired.
- Sour Cream – Adds richness and a hint of tang; Greek yogurt can be used for a lighter option.
- Granulated Sugar – Provides sweetness to the filling, as noted earlier.
- Vanilla Extract – Enhances flavor beautifully; no substitutes are recommended for this essential ingredient.
- Large Eggs – Sets the filling to create that perfect texture; aquafaba is a fantastic egg substitute for a vegan option.
Your journey to create unforgettable Mini Cheesecakes starts with these simple yet essential ingredients!
Step‑by‑Step Instructions for Mini Cheesecakes
Step 1: Preheat the Oven
Begin by preheating your oven to 325°F (163°C) to ensure it reaches the right temperature for baking. While the oven heats up, line a 12-count muffin pan with cupcake liners, which will hold the delicious Mini Cheesecakes and make for easy serving.
Step 2: Make the Crust
In a medium mixing bowl, combine the graham cracker crumbs with sugar, then drizzle in the melted butter. Stir until the mixture is evenly moistened and resembles damp sand. This crumbly crust is essential for the Mini Cheesecakes, providing a crunchy contrast to the creamy filling.
Step 3: Press the Crust
Evenly distribute the crumb mixture into the lined muffin cups, pressing firmly to form a solid base. Use the back of a spoon or your fingers to compact the crumbs. Bake the crust in the preheated oven for about 5 minutes, until just set but not browned.
Step 4: Prepare the Filling
In a large mixing bowl, beat the softened cream cheese and sour cream together until smooth and creamy, which should take about 2-3 minutes. Gradually add in granulated sugar and vanilla extract, mixing until fully incorporated. This creamy filling will be the star of your Mini Cheesecakes.
Step 5: Incorporate the Eggs
With the mixer on low speed, add the eggs one at a time, ensuring each egg is fully blended before adding the next. Avoid overmixing to keep the filling smooth and prevent cracks during baking. The batter should be silky and glossy by the end of this step.
Step 6: Fill the Liners
Carefully pour the cheesecake batter into each prepared crust, filling the liners nearly to the top. This ensures your Mini Cheesecakes will be luscious and indulgent. Use a measuring cup or a ladle for precise pouring and to avoid spills.
Step 7: Bake the Cheesecakes
Place the muffin pan in the oven and bake the Mini Cheesecakes for 17-20 minutes. You’ll know they’re done when the edges are set and the centers have a slight jiggle, indicating that they’re perfectly creamy yet firm.
Step 8: Cool and Chill
Once baked, allow the Mini Cheesecakes to cool in the pan for about 1 hour at room temperature. After cooling, transfer them to the refrigerator and let chill for at least 3-4 hours, or ideally overnight. This ensures the best flavor and texture for these delightful treats.
Mini Cheesecakes: Variations to Delight
Feel free to let your creativity shine while making these Mini Cheesecakes—there’s no limit to how you can customize this delicious treat!
-
Gluten-Free Crust: Substitute graham cracker crumbs with ground almonds or gluten-free cookie crumbs for a gluten-free dessert. This simple swap will maintain all the yummy flavors without sacrificing texture.
-
Vegan Option: Use vegan cream cheese and coconut oil instead of butter for a completely plant-based delight. Your friends might not even notice the difference!
-
Zesty Lemon: Add lemon zest to the filling for a refreshing citrus twist. This bright note not only enhances the flavor but also pairs beautifully with fresh berries on top.
-
Chocolate Lovers: Fold in melted dark chocolate into the filling or swap the crust for crushed chocolate cookies for an indulgent chocolate mini cheesecake. It’s a perfect way to satisfy any chocolate cravings!
-
Berry Swirl: Fold in a swirl of your favorite fruit puree (like raspberry or strawberry) into the cheesecake batter before baking for a gorgeous marbled effect. It’s visually stunning and full of flavor!
-
Crunchy Topping: After chilling, sprinkle chopped nuts or crushed cookies on top for an added crunch. This gives your mini cheesecakes some delightful texture for every bite.
-
Decadent Caramel Drizzle: Drizzle warm caramel sauce over the top before serving. The sweetness of the caramel complements the creamy filling beautifully, making it hard to resist.
-
Spicy Kick: Incorporate a dash of cayenne or cinnamon into the filling for an unexpected flavor boost that adds warmth and excitement. It’s a subtle twist that can elevate your cheesecakes to the next level.
These variations can make your Mini Cheesecakes sing with flavors and textures. If you’re interested in more individual treats, you might also enjoy my easy-to-make Mini Blueberry Muffins for a delightful breakfast option!
Make Ahead Options
These Mini Cheesecakes are perfect for busy home cooks looking to save time while enjoying a delightful dessert! You can prepare the crust and the filling up to 24 hours in advance, storing each component separately in the refrigerator. To maintain the quality, refrigerate the crust mixture in an airtight container and keep the filling in a bowl covered with plastic wrap to prevent drying. When you’re ready to bake, simply press the crust into the liners, fill with the prepared cheesecake mixture, and bake as instructed. Allow your mini wonders to cool and chill for at least 3-4 hours (or overnight) for the best flavor, making your dessert planning effortless and rewarding!
What to Serve with Mini Cheesecakes?
Elevate your dessert experience with delightful pairings that complement the creamy sweetness of these individual treats.
-
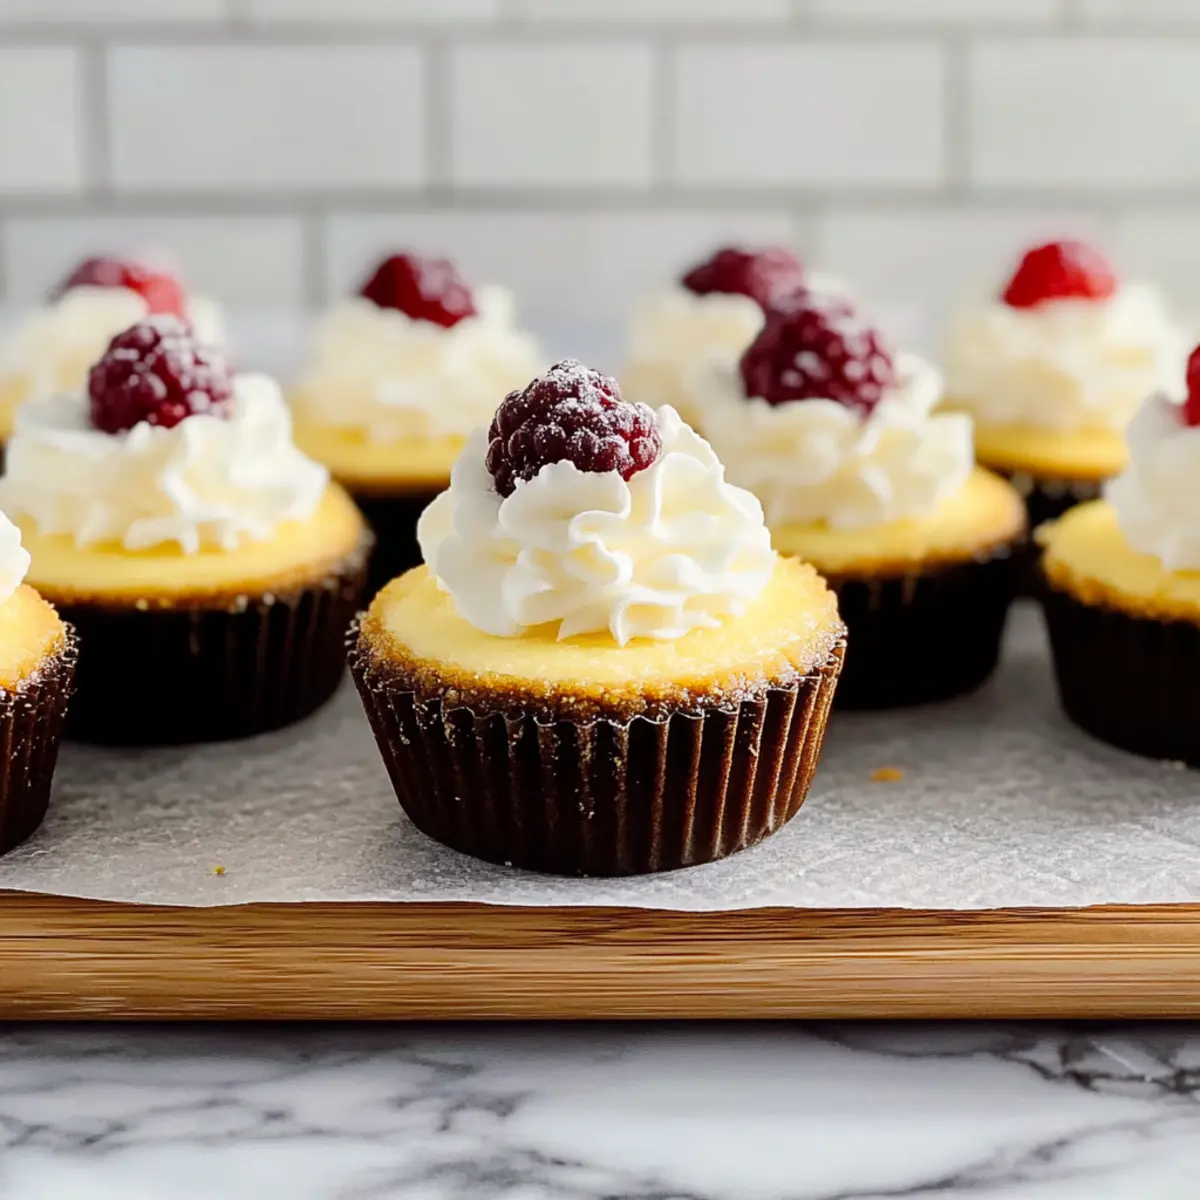
Fresh Berries: Juicy strawberries, blueberries, or raspberries add a burst of freshness, perfectly balancing the rich cheesecake flavor. A vibrant fruit medley on top can create a stunning presentation at any gathering.
-
Chocolate Ganache: Drizzling warm chocolate ganache brings a decadent layer to your mini cheesecakes, making every bite a luxurious experience. The contrast of the creamy chocolate with the rich filling is a match made in dessert heaven.
-
Caramel Sauce: A drizzle of rich caramel sauce enhances the sweetness and brings a delightful chewiness that pairs beautifully with the smooth texture. It’s a quick and indulgent addition that feels quite gourmet.
-
Whipped Cream: Light and airy whipped cream adds a lovely contrast to the density of the mini cheesecakes. This classic topping invites a nostalgic feel, reminding you of cherished moments with family and friends.
-
Coffee or Espresso: Serving mini cheesecakes with a warm cup of coffee or a shot of espresso creates a wonderfully balanced dessert experience. The slight bitterness of coffee complements the sweetness, making for a delightful end to any meal.
-
Mint Tea: A soothing cup of mint tea refreshes your palate after indulging in a rich dessert. Its aromatic properties work wonderfully to cleanse the taste buds while providing a calming touch.
-
Ice Cream: A scoop of vanilla or chocolate ice cream alongside your mini cheesecakes can elevate the dessert to a new level of indulgence. The contrasting temperatures and textures create a delightful sensory experience.
-
Chocolate-Covered Nuts: Offering a side of chocolate-covered almonds or hazelnuts introduces a satisfying crunch and a hint of saltiness that pairs surprisingly well with the sweet cheesecake.
-
Lemon Sorbet: For a refreshing touch, serve a small scoop of lemon sorbet alongside the mini cheesecakes. Its tangy flavor provides an exciting contrast to the creamy dessert, making each bite a little adventure.
How to Store and Freeze Mini Cheesecakes
Fridge: Store leftover Mini Cheesecakes in an airtight container for up to 5 days to maintain their creamy texture and flavor.
Freezer: For longer storage, freeze Mini Cheesecakes for up to 2 months. Wrap each cheesecake tightly in plastic wrap and place in a freezer-safe container.
Thawing: When ready to enjoy, thaw in the fridge overnight for the best texture, ensuring that they stay creamy and delicious.
Reheating: While Mini Cheesecakes are best served cold, if you prefer a slightly warmer dessert, let them sit out for 10-15 minutes after refrigeration before serving.
Expert Tips for Mini Cheesecakes
-
Room Temperature Cream Cheese: Ensure your cream cheese is at room temperature before mixing for a smoother texture and easier blending.
-
Don’t Overbeat Eggs: Mix the eggs just until incorporated; overbeating can lead to cracks during baking, ruining the beautiful appearance of your mini cheesecakes.
-
Cool Before Chilling: Allow the cheesecakes to cool completely in the pan before refrigerating. This helps prevent condensation which can make the crust soggy.
-
Use Cupcake Liners: Always line your muffin pan with cupcake liners for easy removal and to maintain the shape of your mini cheesecakes.
-
Add Toppings Wisely: For best flavor, add toppings like fruit or chocolate after they have chilled. This will keep your mini cheesecakes perfectly creamy and delicious.
Mini Cheesecakes Recipe FAQs
How do I know if my cream cheese is ripe enough to use?
Absolutely! It’s best to use cream cheese that is softened to room temperature before mixing. This ensures a smooth and creamy texture in your filling. To soften, simply leave it out on the counter for about 30 minutes before you’re ready to bake. If you’re in a hurry, you can cut it into small cubes and microwave it in 10-second bursts, checking to ensure it doesn’t melt.
What’s the best way to store leftover Mini Cheesecakes?
Very good question! Store leftover Mini Cheesecakes in an airtight container in the refrigerator for up to 5 days. It’s essential to keep them covered to maintain their deliciously creamy texture and prevent them from picking up any fridge odors. If you’re planning to keep them longer, consider freezing them!
Can I freeze Mini Cheesecakes, and if so, how?
Yes, indeed! To freeze Mini Cheesecakes, wrap each cheesecake individually in plastic wrap, ensuring they’re tightly sealed to prevent freezer burn. Then, place them inside a freezer-safe container or bag. They can be stored in the freezer for up to 2 months. When you’re ready to enjoy, simply transfer them to the fridge to thaw overnight for the creamiest results.
What should I do if my Mini Cheesecakes crack during baking?
Don’t worry, this is a common issue and can usually be avoided! Make sure not to overbeat the eggs when incorporating them into the filling; just mix until combined. Also, cooling the cheesecakes completely before refrigeration helps prevent cracks from forming due to moisture accumulation. If cracks do occur, consider topping them with a luscious fruit sauce or whipped cream to cover it up—no need to stress!
Are these Mini Cheesecakes suitable for those with dietary restrictions?
Absolutely! They can be customized to suit various dietary needs. Use gluten-free graham crackers for a gluten-free option and swap regular cream cheese with a vegan cream cheese alternative for a dairy-free treat. You can also substitute eggs with aquafaba for a vegan version. They’re incredibly versatile, ensuring that everyone can enjoy them!
Can I use different toppings on my Mini Cheesecakes?
Very much so! The beauty of Mini Cheesecakes lies in their versatility. You can top them with fresh berries, a drizzle of chocolate or caramel, or even a dollop of whipped cream. Get creative with your toppings to cater to different tastes and make your dessert a visual delight!
Mini Cheesecakes: Pure Creamy Joy in Every Bite
Ingredients
Equipment
Method
- Preheat the oven to 325°F (163°C) and line a 12-count muffin pan with cupcake liners.
- In a medium mixing bowl, combine the graham cracker crumbs with sugar, then drizzle in the melted butter. Stir until the mixture resembles damp sand.
- Evenly distribute the crumb mixture into the lined muffin cups, pressing firmly to form a solid base. Bake for about 5 minutes, until just set.
- In a large mixing bowl, beat the cream cheese and sour cream together until smooth. Gradually add sugar and vanilla extract, mixing until fully incorporated.
- With the mixer on low speed, add the eggs one at a time, mixing until each is fully blended.
- Carefully pour the cheesecake batter into each prepared crust, filling nearly to the top.
- Place the muffin pan in the oven and bake for 17-20 minutes, until the edges are set and the centers have a slight jiggle.
- Allow the Mini Cheesecakes to cool in the pan for about 1 hour, then transfer to the refrigerator to chill for at least 3-4 hours.