Advertisement
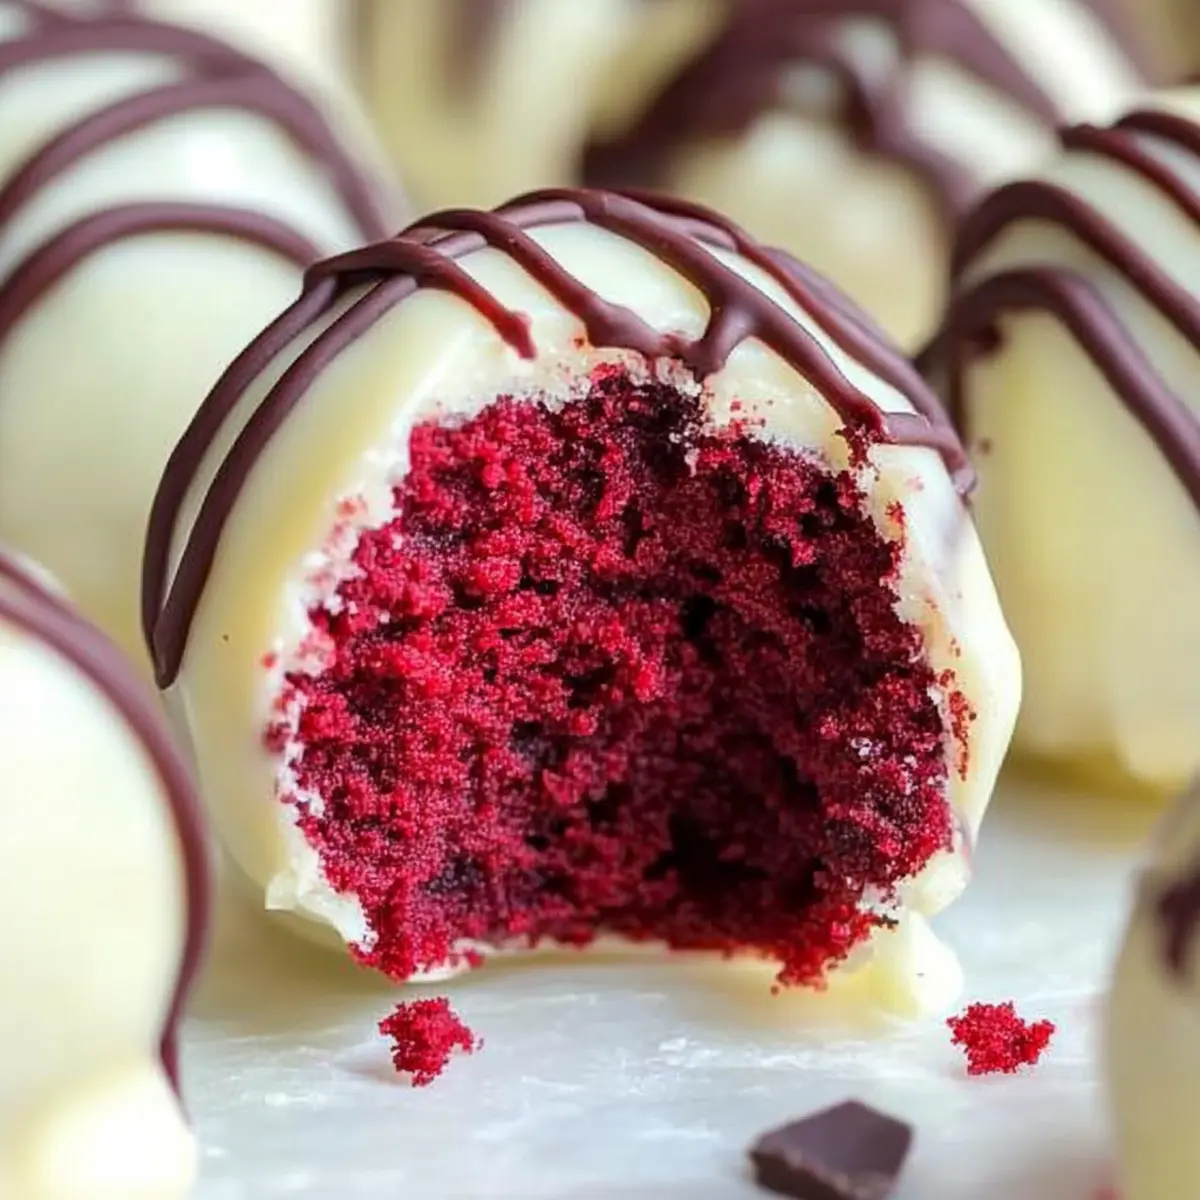
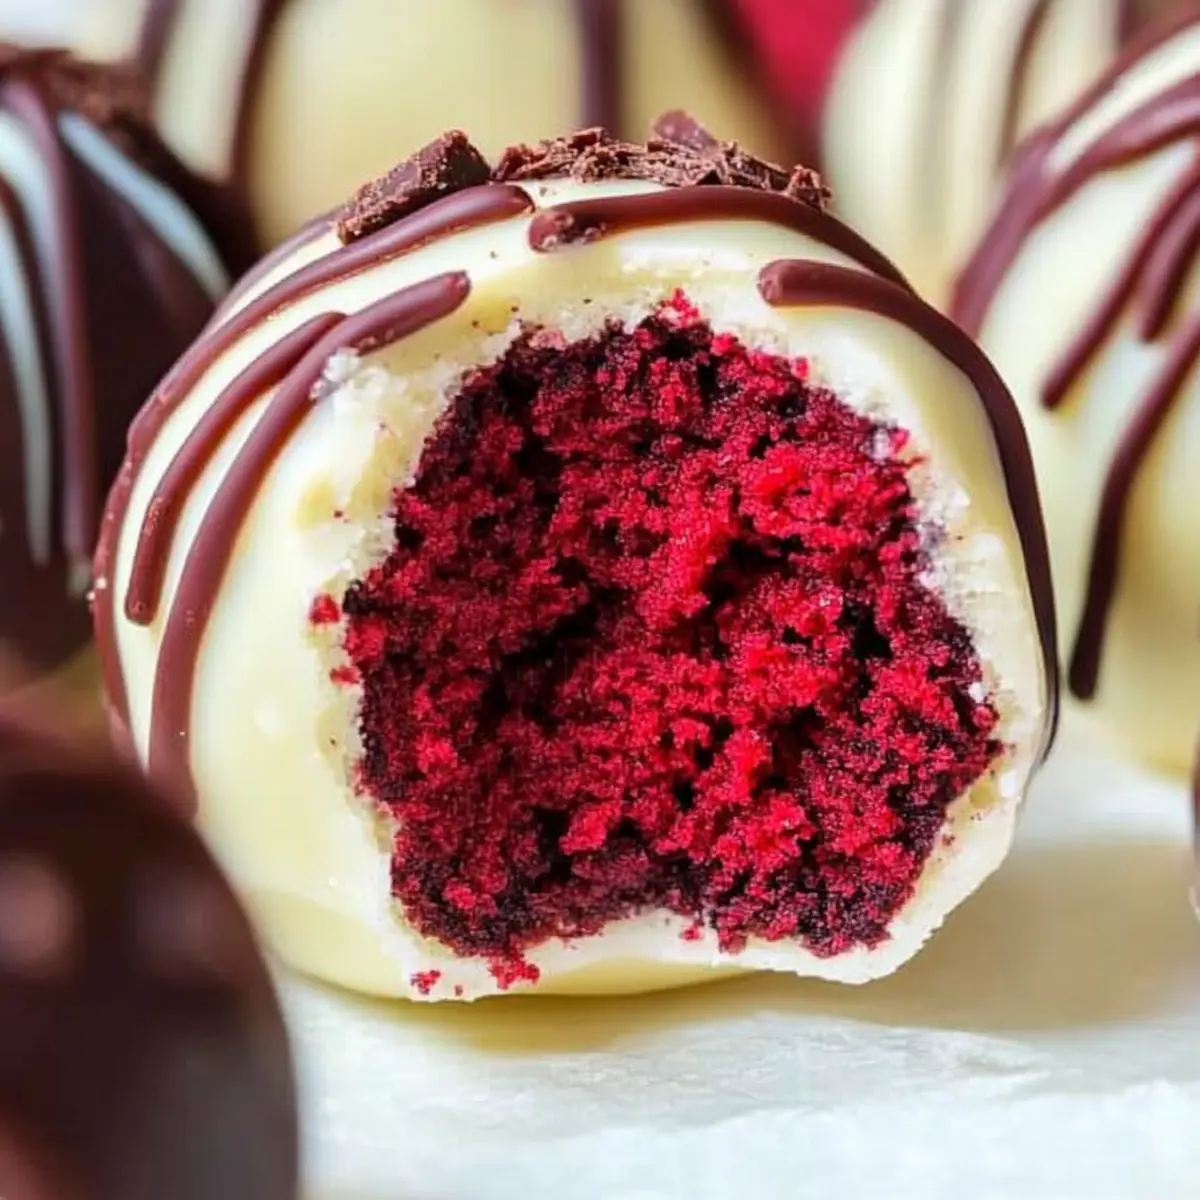
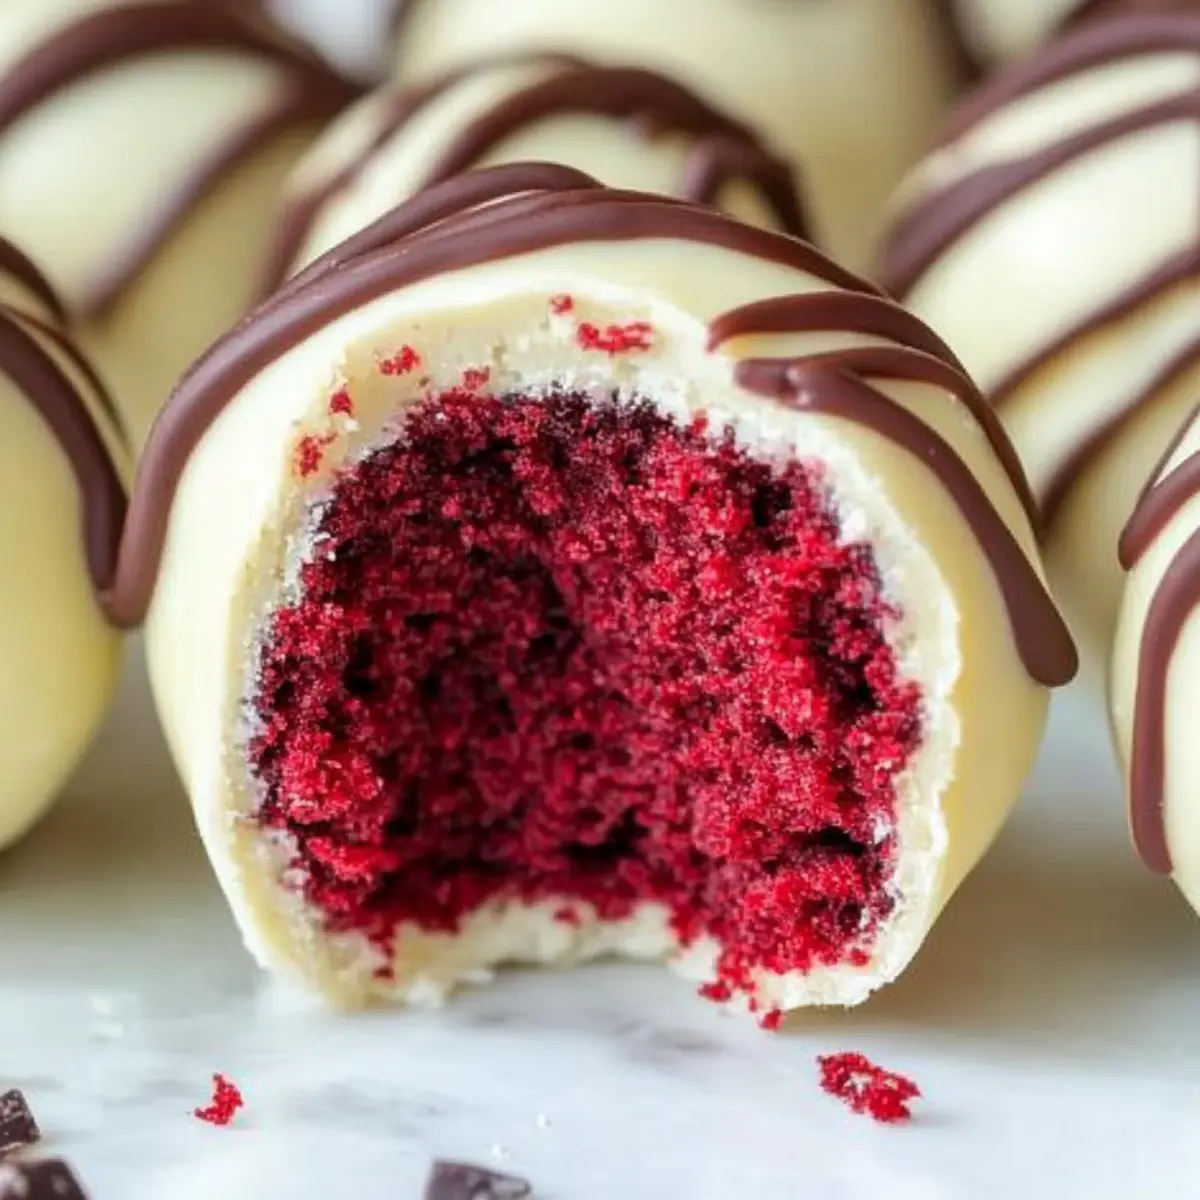
While flipping through holiday recipes, I stumbled upon a fun twist: Red Velvet Truffles. These delightful treats bring a festive flare to any gathering, combining rich red velvet cake and creamy cream cheese, all elegantly enveloped in a sweet white chocolate shell. What I adore about these truffles is not only their striking appearance, but also that they are a make-ahead dessert—perfect for us busy bakers who want to impress without the last-minute chaos. Plus, they’re no-bake, which means fewer dishes to clean after a joyful holiday celebration! Have you ever wondered how a little ball of sweetness can instantly elevate your dessert table? Let’s dive into this enchanting recipe together!
Why Will You Love Red Velvet Truffles?
Convenience: These truffles are a no-bake dessert, meaning you can whip them up without turning on the oven, saving time and effort during those busy holiday seasons.
A Make-Ahead Marvel: Prepare them in advance and store in the fridge for a week or freeze for longer. This ahead-of-time option frees you up on special occasions!
Advertisement
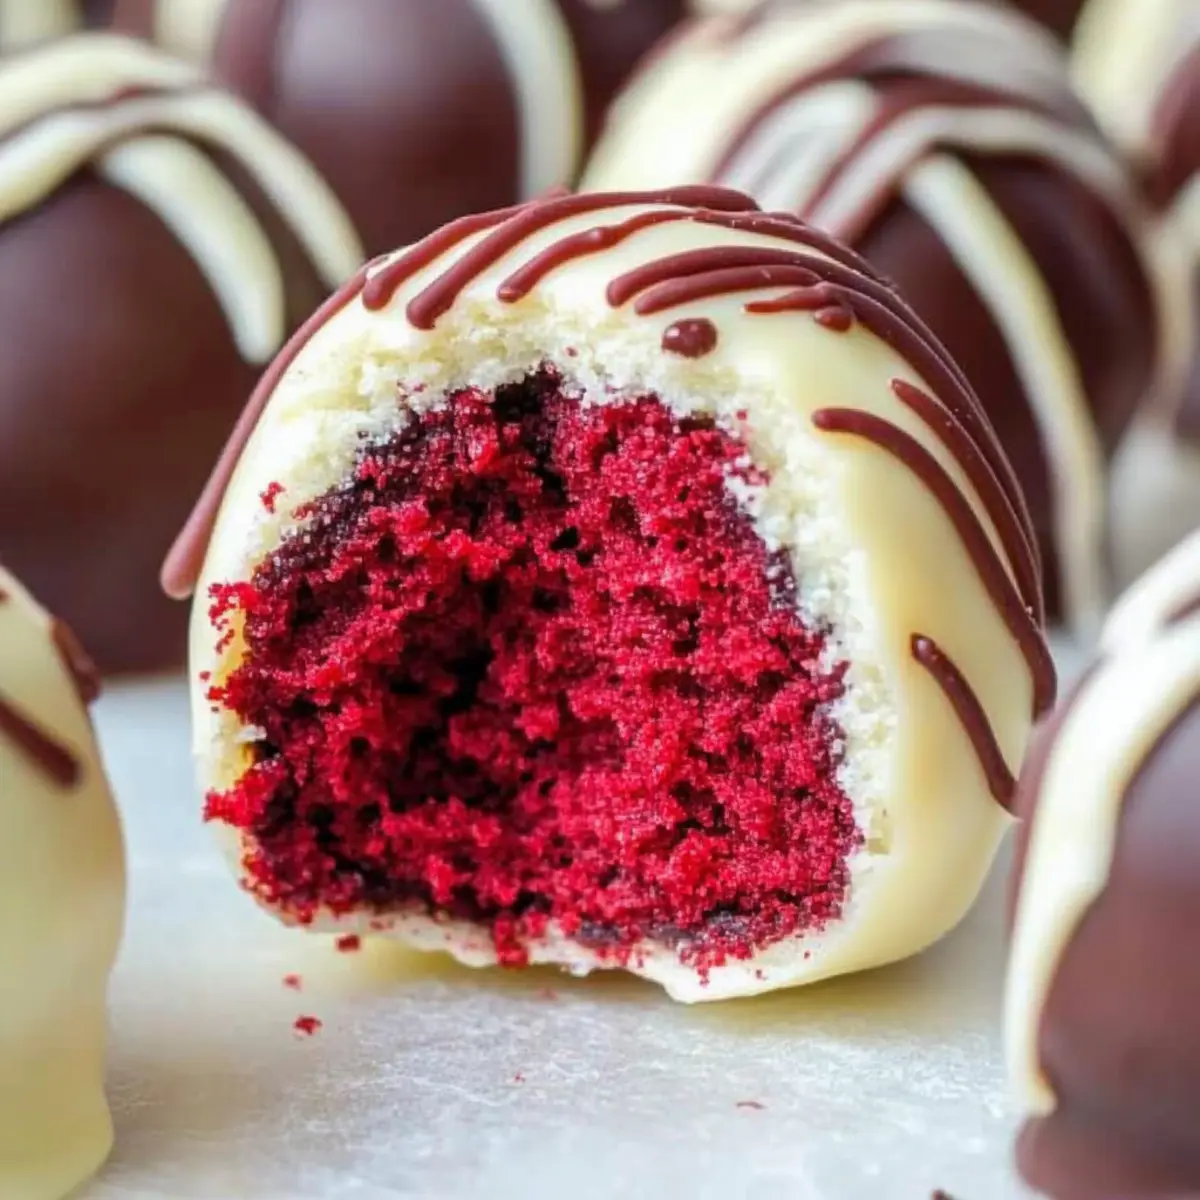
Stunning Presentation: With their vibrant red and white color combination, they add a gorgeous pop to your dessert table, making them perfect for gatherings.
Customizable: You can easily personalize these truffles—try rolling them in crushed nuts or sprinkles, or swap white chocolate for dark for an exciting flavor twist.
Decadent Flavor: Each bite delivers a creamy texture and rich taste, perfectly balancing the tang of cream cheese and sweetness of chocolate—absolutely irresistible!
If you’re looking for more delightful treats, check out my recipes for Orange Creamsicle Truffles or Raspberry Chocolate Truffles for your next holiday celebration!
Red Velvet Truffles Ingredients
• Prepare to indulge in these rich and creamy delights!
For the Truffle Base
- Red Velvet Cake Mix – Provides the base flavor and texture for the truffles. Substitution: Use homemade red velvet cake if preferred.
- Cream Cheese (8 oz) – Adds richness and creaminess to the truffles. Tip: Use softened cream cheese for easier mixing.
For the Coating
- White Chocolate (16 oz) – Coating for the truffles that adds sweetness and a beautiful finish. Substitution: Can use semi-sweet chocolate or peppermint bark for a twist.
- Semi-Sweet Chocolate (2 oz) – Optional for decoration. Prep note: Melt and drizzle over finished truffles for added visual appeal.
Step‑by‑Step Instructions for Red Velvet Truffles
Step 1: Bake the Cake
Prepare the red velvet cake mix according to the package instructions, baking it in a greased cake pan at 350°F (175°C) for about 30 minutes. Once baked, allow the cake to cool completely on a wire rack, ensuring it has a fluffy texture and vibrant color—this is the perfect base for your Red Velvet Truffles.
Step 2: Crumble and Mix
Once the cake is cool, crumble it into a large mixing bowl using your hands or a fork until there are no large chunks. Add the softened cream cheese and mix thoroughly until the mixture is smooth and well-combined. You’re looking for a sticky consistency that will hold together when shaped—this creamy blend forms the heart of your delightful truffles.
Step 3: Form Truffles
Using your hands, roll the creamy red velvet mixture into bite-sized balls, about 1 inch in diameter, and place them on a parchment-lined baking tray. Once all the mixture is formed into balls, transfer the tray to the freezer and let them chill for at least 30 minutes; this step helps the truffles firm up for easier coating.
Step 4: Melt the Chocolate
While the truffles are chilling, melt the white chocolate in a microwave-safe bowl. Heat in 30-second increments at medium power, stirring in between, until fully melted and smooth—this usually takes about 1 to 2 minutes. Ensure the chocolate is not too hot; a gentle melting process ensures a perfect, glossy finish for your Red Velvet Truffles.
Step 5: Dip and Set
Once melted, remove the truffles from the freezer and dip each one into the warm, melted white chocolate. Using a fork, lift each truffle out, allowing excess chocolate to drip back into the bowl. Place the coated truffles back on the parchment-lined tray and let them sit for a few minutes. If desired, drizzle melted semi-sweet chocolate over the tops for an extra touch before the coating hardens.
Expert Tips for Red Velvet Truffles
• Cool the Cake Fully: Ensure the red velvet cake is completely cooled before crumbling; a warm cake can lead to a soggy truffle mixture.
• Choose the Right Cream Cheese: Use softened cream cheese for easier mixing. Cold cream cheese can make it difficult to achieve a smooth blend.
• Chill for Firmness: Refrigerate or freeze the truffles after shaping them. This helps maintain their shape when dipped in chocolate and prevents crumbling.
• Melt Chocolate with Care: When melting white chocolate, do it in small batches at low heat to avoid burning. Stir frequently for a smooth finish.
• Decorate with Variety: Add crushed nuts or colorful sprinkles for additional texture and visual appeal after coating. Experiment with flavors by swapping white chocolate for dark!
Remember, these tips are here to ensure your Red Velvet Truffles turn out perfectly every time!
What to Serve with Red Velvet Truffles?
Creating a delightful dessert experience is all about balance, and these rich treats deserve the perfect companions.
-
Creamy Vanilla Ice Cream: The smooth, cold ice cream beautifully contrasts with the rich truffles, providing a refreshing element to each bite.
A scoop of creamy vanilla acts as a perfect palate cleanser that highlights the delightful flavors of the truffles. -
Fresh Berries: Strawberries or raspberries add a tart burst that complements the sweet creaminess of the truffles.
The brightness of fresh berries can cut through the richness, creating an appealing flavor balance you won’t want to miss. -
Coffee or Espresso: A cup of coffee offers warmth and depth, enhancing the decadent chocolate flavors of the truffles.
Sipping on a rich, aromatic brew while enjoying these treats makes for a cozy, inviting dessert experience. -
Chocolate Fondue: Dip additional fruits or marshmallows into a warm chocolate fondue for a fun interactive dessert.
This double chocolate experience will satisfy the deepest cravings, perfect for those who can’t get enough of that sweet treat feeling! -
Hot Cocoa: Pair with a decadent cup of hot cocoa for an indulgent winter treat that warms your heart and soul.
Topped with whipped cream and marshmallows, hot cocoa transforms your dessert enjoyment into a truly luxurious experience. -
Caramel Sauce: Drizzle warm caramel on top for an elegant finishing touch that adds a hint of salty sweetness.
The velvety texture of the caramel enhances each truffle’s richness, taking your dessert to a whole new level of indulgence.
Make Ahead Options
These Red Velvet Truffles are perfect for meal prep, allowing you to enjoy the holiday season without the last-minute hustle! You can prepare the truffle mixture and roll them into balls up to 24 hours in advance; simply refrigerate them until you’re ready to coat. For longer storage, freeze uncoated truffles for up to 3 months—just make sure to thaw them in the fridge overnight before dipping. This way, you maintain their delightful texture. When it’s time to serve, melt the white chocolate and dip each truffle, tapping off the excess before setting them back on parchment. This approach not only saves time but ensures your truffles are just as delicious when finished!
How to Store and Freeze Red Velvet Truffles
Fridge: Store your Red Velvet Truffles in an airtight container in the refrigerator for up to 1 week. This keeps them fresh and delicious, ready for whenever you need a sweet treat!
Freezer: For long-term storage, freeze uncoated truffles for 2–3 months. Place them in a single layer on a baking sheet to freeze first, then transfer to a freezer-safe container.
Thawing: When you’re ready to enjoy, simply thaw truffles in the fridge overnight. This ensures they maintain their lovely texture without any melting issues.
Reheating: There’s no need to reheat these truffles, as they are best enjoyed cold or at room temperature for a delightful bite-sized dessert!
Red Velvet Truffles Variations & Substitutions
Want to make these delightful Red Velvet Truffles your own? Here are some exciting ideas to personalize your delicious treats!
-
Frosting Swap: Use cream cheese frosting instead of regular cream cheese for an extra sweet and creamy finish. This twist raises the indulgence factor!
-
Nuts Galore: Roll your truffles in crushed pecans or walnuts for a delightful crunch that perfectly complements the soft interior. The combination of textures is simply divine!
-
Chocolate Choice: Exchange white chocolate for rich milk or dark chocolate for a bolder flavor profile. Each option brings a unique taste to these festive bites!
-
Peppermint Twist: Add a splash of peppermint extract to the truffle base for a refreshing holiday flavor. Imagine the festive aroma wafting through your kitchen!
-
Additional Coat: Instead of traditional chocolate, try using crushed candy canes or festive sprinkles for a fun and seasonal look. Kids and adults alike will appreciate the added flair!
-
Texture Boost: For a truly unique experience, fold in mini chocolate chips into the truffle mixture for bursts of sweetness with every bite. These little surprises will keep everyone coming back for more!
-
Flavor Infusion: Spice up your truffles with a hint of vanilla or almond extract to enrich the base. These subtle notes will enhance the overall flavor and make your truffles sing!
For more sweet inspirations, consider whipping up some Peppermint Oreo Truffles or treat yourself to some delectable Chocolate Truffles. Your holiday dessert table is about to get a whole lot sweeter!
Red Velvet Truffles Recipe FAQs
How do I choose the right red velvet cake mix?
Absolutely! When selecting a red velvet cake mix, look for one without any large dark spots on the packaging, as that might indicate stale ingredients. If you prefer homemade, ensure your cake has a rich red color and a moist texture for the best truffles!
What is the best way to store Red Velvet Truffles?
You can store your Red Velvet Truffles in an airtight container in the refrigerator for up to 1 week. Make sure to keep them covered to maintain their freshness and flavor. If you’d like to store them longer, they can be frozen.
Can I freeze uncoated truffles? How do I do it?
Yes, you can freeze uncoated truffles for up to 2–3 months! Start by placing the truffles in a single layer on a baking sheet to freeze for about an hour. Once solid, transfer them to a freezer-safe container, separating layers with parchment paper to prevent sticking. Thaw in the refrigerator overnight before coating.
What should I do if my truffle mixture is too crumbly?
Very! If you find your mixture crumbly and hard to shape, simply add a little more softened cream cheese—start with a tablespoon at a time. Mix thoroughly until you achieve a more cohesive texture. Always ensure your cream cheese is softened; it makes a world of difference!
Can I make these Red Velvet Truffles gluten-free?
Certainly! To make them gluten-free, simply substitute the red velvet cake mix with a gluten-free variety. There are many great options available. Just be sure to check the labels for ingredients to avoid any unwanted gluten exposure!
Are these truffles safe for pets or people with allergies?
Great question! These Red Velvet Truffles contain cream cheese and chocolate, which are not safe for pets like dogs and cats. Additionally, for people with dairy allergies, consider using dairy-free cream cheese and chocolate alternatives. Always check ingredient labels for allergens!
Red Velvet Truffles: Delicious No-Bake Holiday Treats
Ingredients
Equipment
Method
- Prepare the red velvet cake mix according to the package instructions, baking it in a greased cake pan at 350°F (175°C) for about 30 minutes. Once baked, allow the cake to cool completely on a wire rack.
- Once the cake is cool, crumble it into a large mixing bowl using your hands or a fork until there are no large chunks. Add the softened cream cheese and mix thoroughly until the mixture is smooth and well-combined.
- Using your hands, roll the creamy red velvet mixture into bite-sized balls, about 1 inch in diameter, and place them on a parchment-lined baking tray. Transfer the tray to the freezer and let them chill for at least 30 minutes.
- While the truffles are chilling, melt the white chocolate in a microwave-safe bowl. Heat in 30-second increments at medium power, stirring in between, until fully melted and smooth—this usually takes about 1 to 2 minutes.
- Once melted, remove the truffles from the freezer and dip each one into the warm, melted white chocolate. Using a fork, lift each truffle out, allowing excess chocolate to drip back into the bowl. Place the coated truffles back on the parchment-lined tray.
- If desired, drizzle melted semi-sweet chocolate over the tops for an extra touch before the coating hardens.