Advertisement
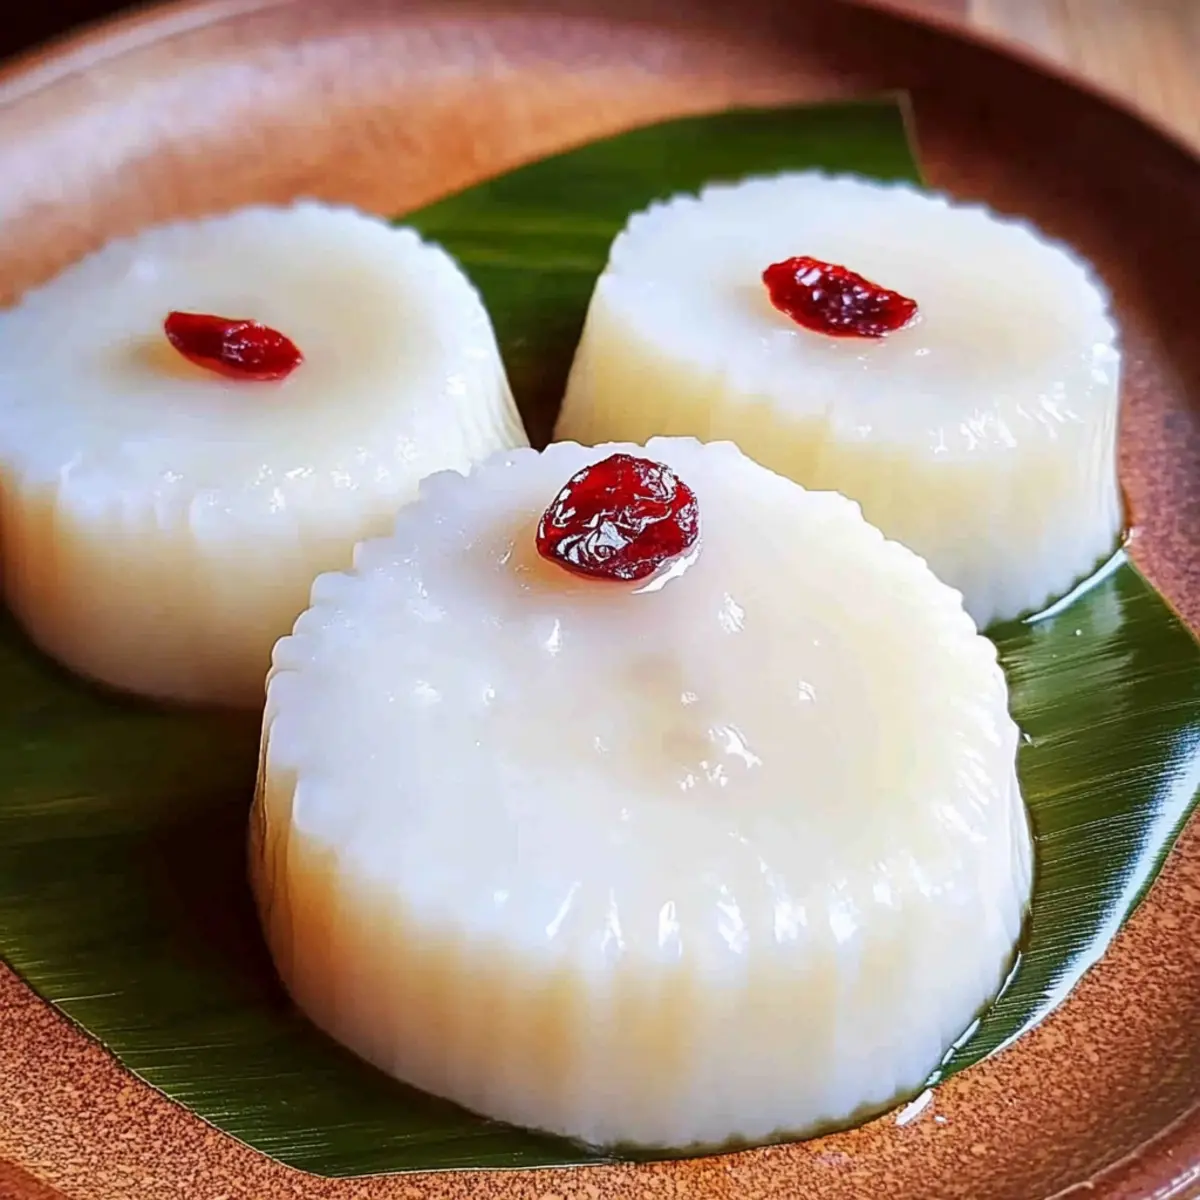
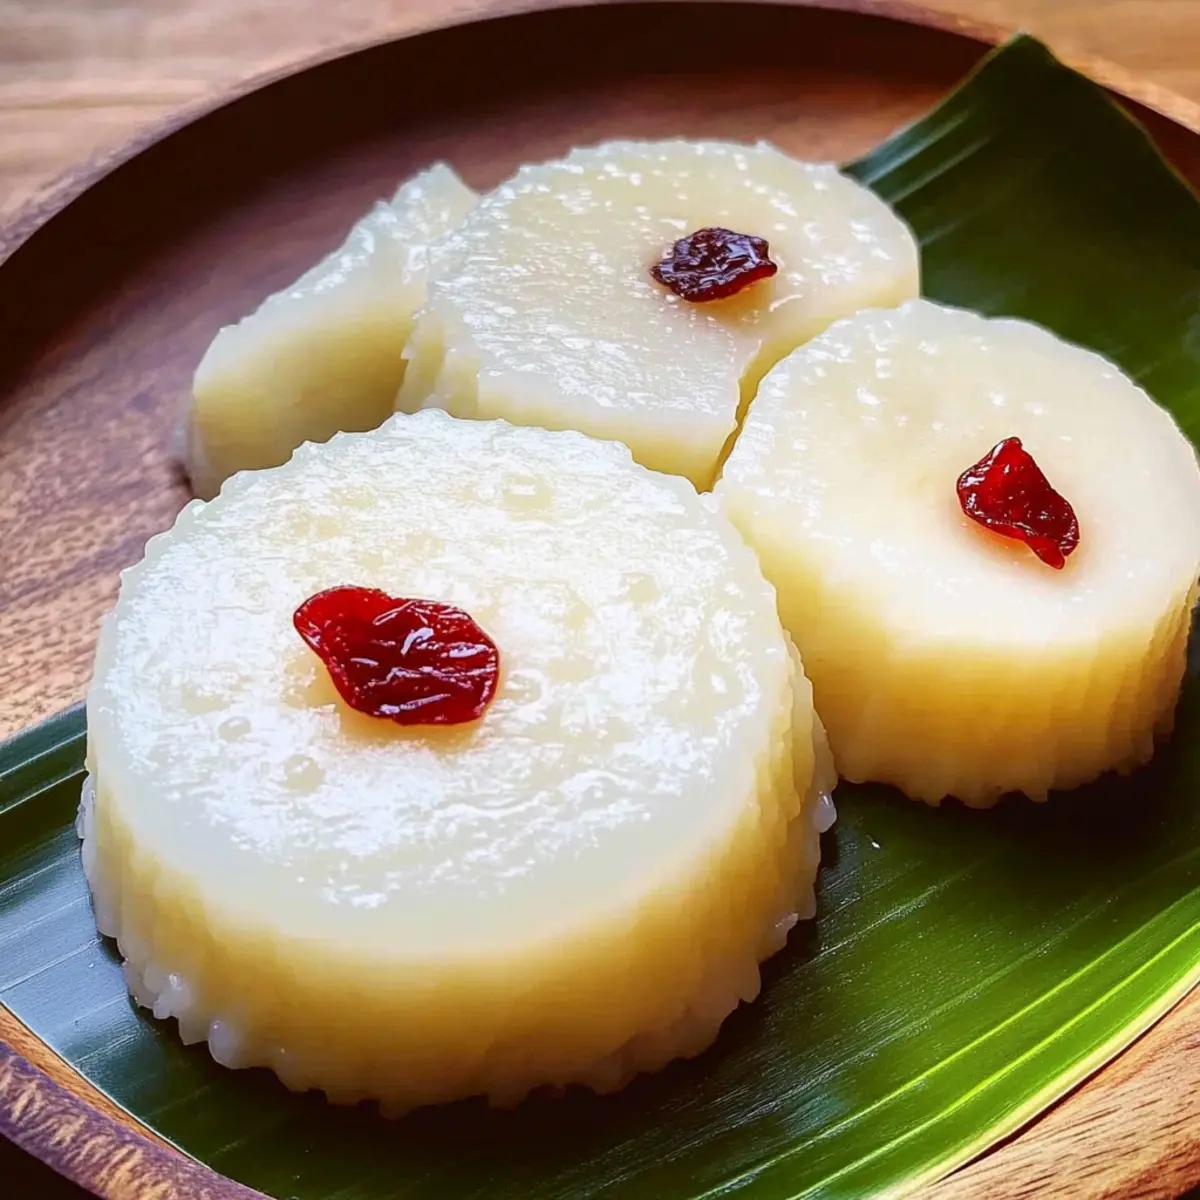
As I stood in my kitchen last week, the aroma of gently simmering rice filled the air, instantly transporting me back to those carefree afternoons of my childhood. Nothing compares to the simplicity and comfort of creating a 3-ingredient milk rice cake at home. This gluten-free delight is not only incredibly quick to whip up, but it’s also vegan-friendly, making it perfect for anyone looking to indulge without compromise. The soft, chewy texture brings a delightful nostalgia that’s hard to resist—ideal for a snack or as a sweet finish to your day. Ready to impress your loved ones or treat yourself as you savor each bite? Let’s dive in and make this easy homemade treasure together!
Why Is This Milk Rice Cake Special?
Simplicity at Its Best: With only three ingredients, this recipe makes it easy for anyone to whip up a delicious treat without fuss.
Gluten-Free Delight: Perfect for those with dietary restrictions, this milk rice cake is naturally gluten-free, allowing everyone to enjoy a comforting dessert.
Advertisement
Versatile Options: Prefer a vegan twist? Just swap regular milk for almond, soy, or oat milk to suit your lifestyle.
Quick to Prepare: In under 30 minutes of steaming, you can present a tasty dessert that impresses both family and friends!
Feel-Good Snack: With just about 93 calories per serving, this treat is light enough to satisfy your sweet tooth without the guilt.
Perfect for Customize: Add a personal touch by experimenting with flavors like matcha or cocoa for a unique twist, showcasing your creativity in the kitchen.
Try pairing this delightful milk rice cake with a warm cup of Vanilla Cinnamon Milk for an extra cozy experience!
Milk Rice Cake Ingredients
• Create your delicious milk rice cake with these three must-have ingredients!
For the Cake Base
- Short Grain White Rice – Essential for that soft, chewy texture; soak for at least 2 hours for the best results.
- Milk – Incorporates creaminess and moisture; feel free to substitute with soy milk, almond milk, or oat milk for a vegan-friendly option.
- Sugar – Sweetens your cake; adjust the quantity based on your personal sweetness preference.
Step‑by‑Step Instructions for Milk Rice Cake
Step 1: Soak the Rice
Begin by rinsing short grain white rice in a fine mesh strainer under cold water until the water runs clear. This helps remove excess starch. Transfer the rinsed rice into a bowl, covering it with enough water, and let it soak for at least 2 hours or overnight. By soaking, the rice will become soft and sticky, perfect for your milk rice cake.
Step 2: Blend the Mixture
Once soaked, drain the rice and place it in a blender. Add in the milk of your choice, along with sugar to taste. Blend on high speed for about 2 minutes until the mixture is completely smooth and creamy. The consistency should resemble a thick batter, which is essential for achieving the soft texture in your milk rice cake.
Step 3: Prepare the Steamer
While blending, set up your steamer by filling the bottom pot with water and bringing it to a gentle boil over medium heat. Prepare silicone or paper cupcake cups and ensure they are ready to hold the rice cake mixture. Filling them correctly will help the cakes cook evenly and release easily once done.
Step 4: Pour into Cups
Carefully pour the smooth rice mixture into the prepared cups, filling each about 80% full to allow space for expansion while steaming. A ladle works well for this task, ensuring minimal mess. Place the filled cups into the steamer rack, ensuring they do not touch to allow steam to circulate properly, which is crucial for the cooking process of your milk rice cake.
Step 5: Steam the Cups
Cover the steamer with a lid, sealing in the steam, and let the mixture cook for about 30 minutes. The cakes are done when they have a shiny appearance on top. After this time, insert a toothpick into the center of a cake; it should come out clean for the perfect milk rice cake texture.
Step 6: Check for Doneness
After 30 minutes, check the doneness of the cakes by using a toothpick. If it comes out wet with batter, steam for an additional 5 minutes. Repeat the toothpick test until it comes out dry. This step ensures that your milk rice cake is cooked thoroughly and will have the right chewy texture.
Step 7: Remove and Cool
Once the cakes are cooked, turn off the heat and allow them to cool slightly for about 5 minutes. Gently remove the cups from the steamer and carefully peel away the silicone or paper. The cakes will be hot, so use kitchen gloves if needed. Let them rest on a wire rack to cool completely before serving.
Step 8: Serve and Enjoy
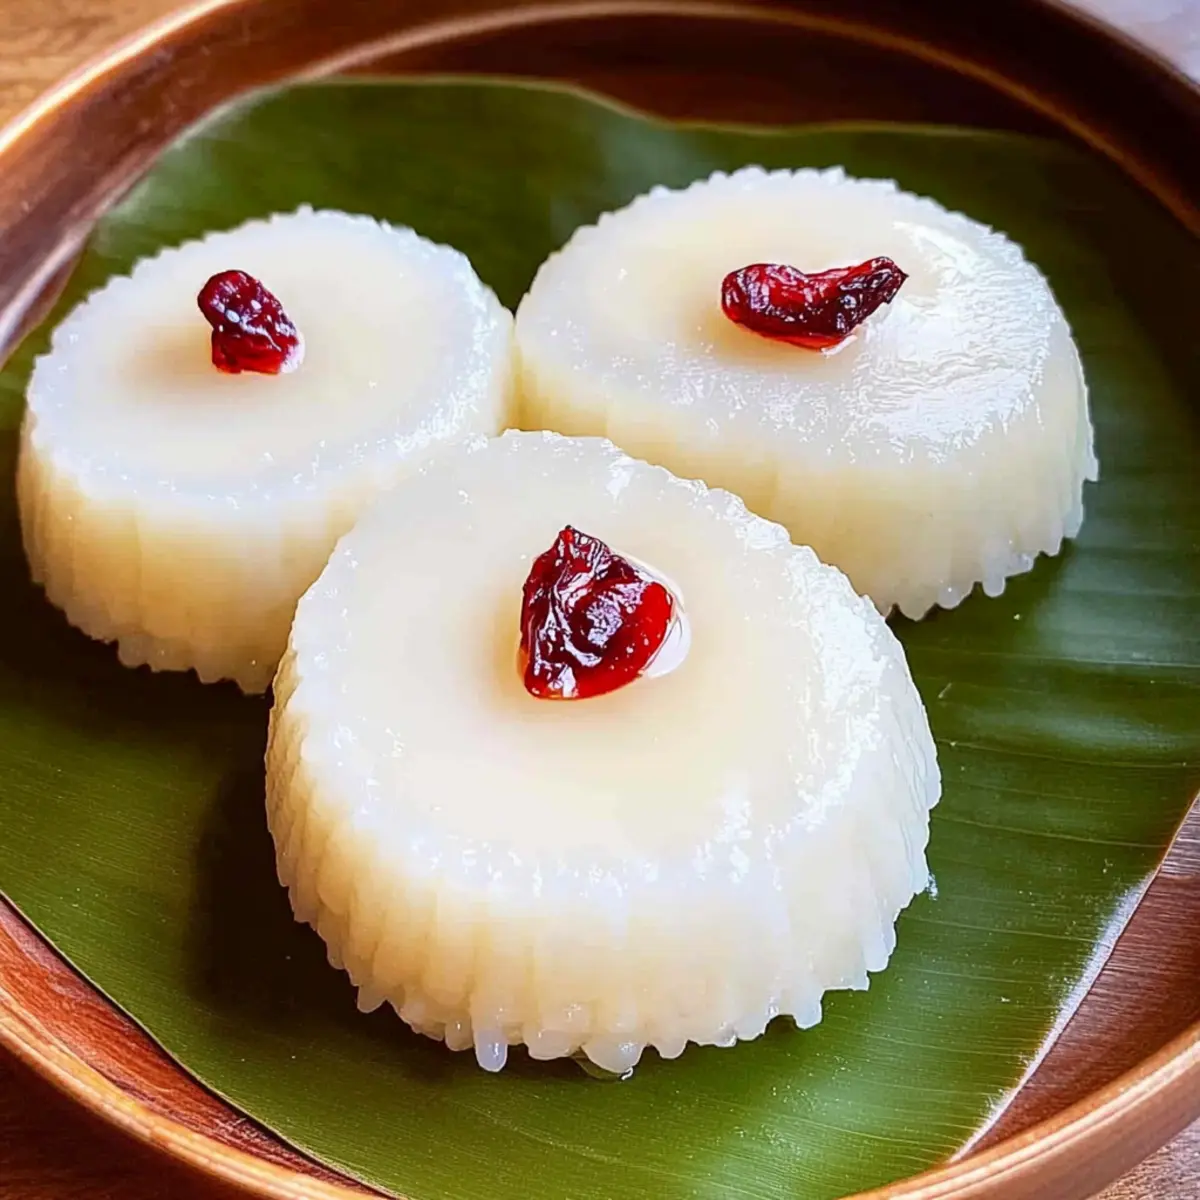
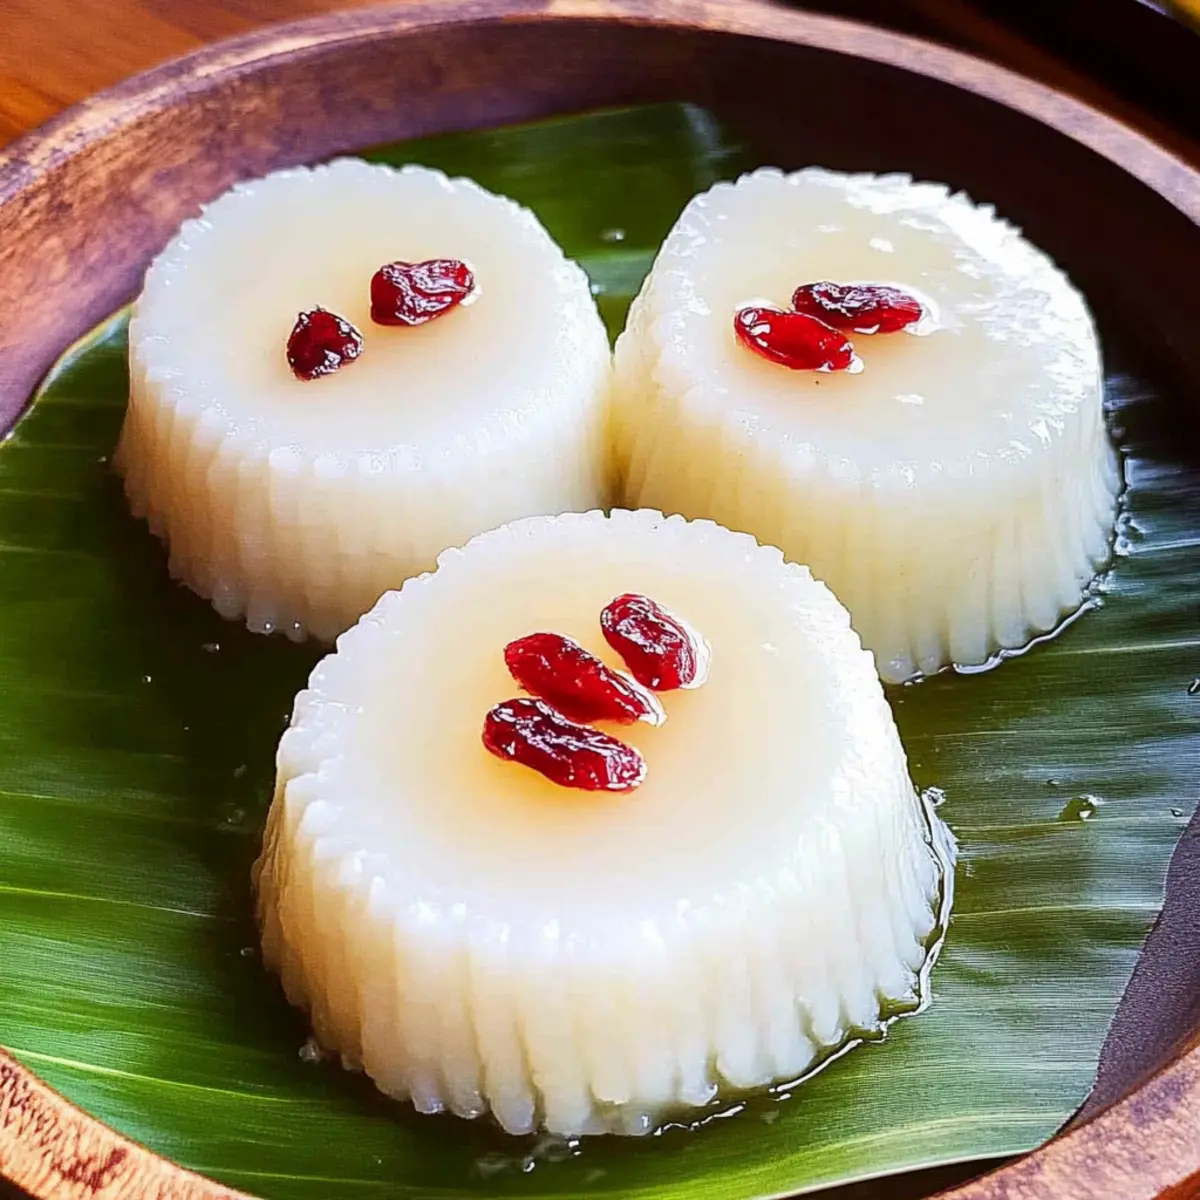
Plate the cooled milk rice cakes and drizzle with honey or condensed milk for added sweetness. If desired, top with garnishes like goji berries, raisins, or dried cranberries for a pop of color and extra flavor. Now, indulge in the soft, chewy delight of your homemade milk rice cake.
What to Serve with 3-Ingredient Milk Rice Cake
Indulging in the soft, chewy delight of homemade milk rice cake is a perfect way to brighten any day, especially when paired with complementary flavors.
- Honey Drizzle: Sweet, sticky honey enhances the cake’s natural sweetness, adding a velvety touch that harmonizes beautifully.
- Fresh Berries: Plump strawberries or blueberries bring a refreshing burst of tartness, balancing the cake’s sweetness with vibrant flavor.
To create a delightful experience, pair your milk rice cake with a refreshing cup of herbal tea. The warmth of the tea melds perfectly with the cake’s soft texture, making each bite a cozy moment.
- Coconut Flakes: Toasted coconut adds a crunchy texture and a tropical flair that enhances the soft chewiness of the cake.
- Mango Compote: This luscious, fruity topping brings an exciting contrast of flavors, creating an exotic pairing that is truly divine.
- Chai Spiced Almond Milk: The aromatic spices in chai offer depth and warmth, enveloping the rice cake in cozy flavors that evoke comfort.
Proper Storage for Milk Rice Cake
Fridge: Store your milk rice cake in an airtight container in the refrigerator for up to one week. This will help maintain its soft and chewy texture.
Freezer: For longer storage, freeze the milk rice cake in individual portions wrapped tightly in plastic wrap or placed in a zip-top bag. They can be kept for up to three months.
Reheating: When ready to enjoy, steam the frozen milk rice cake for about 10 minutes to restore its delightful texture. Always check for doneness before serving.
Room Temperature: If you plan to consume the milk rice cake within a day, you can keep it covered at room temperature; however, refrigerate any leftovers promptly.
Make Ahead Options
These delicious Milk Rice Cakes are perfect for meal prep enthusiasts looking to save time during busy weeks! You can soak the short grain white rice up to 24 hours in advance, allowing for a smoother blending process later on. Additionally, you can prepare the milk and sugar mixture and refrigerate it for up to 3 days; this not only maintains quality but also makes the workflow much easier. When you’re ready to serve, simply blend the soaked rice with your prepped milk mixture, pour them into cups, and steam as directed. This method ensures your milk rice cakes are just as soft and chewy, offering delightful homemade flavors with minimal effort on the day of serving!
Milk Rice Cake Variations & Substitutions
Feel free to get creative and make this delightful milk rice cake your own with these fun twists and modifications!
-
Dairy-Free: Use almond, soy, or oat milk instead of regular milk for a vegan-friendly version. The different flavors can enhance the cake’s sweetness!
-
Chewy Twist: For an extra chewy texture, substitute one-third of the rice with tapioca starch. It’ll give your cake a delightful bounce that’s hard to resist.
-
Flavor Boosts: Mix in matcha powder, cocoa, or ground cinnamon before blending for a unique and flavorful take on the classic cake. Each addition brings a new dimension to savor.
-
Fruit Infusion: Fold in chopped fruits like bananas or shredded coconut for natural sweetness and extra texture. It’s a fun way to create a fruity version that bursts with flavor!
-
Nutty Delight: Add finely ground nuts or nut butter to the batter for a rich, nutty flavor. This will not only enhance taste but also add depth to the texture.
-
Savory Version: Swap sugar for a pinch of salt and mix in some savory herbs or spices. It’s a fun way to transform the cake into a unique savory dish!
-
Steam Variants: Instead of steaming in cups, try using a flat steaming tray for larger rice cakes that can be sliced into squares. It’s perfect for sharing!
-
Serving Suggestions: Pair your milk rice cake with a warm cup of Vanilla Cinnamon Milk or drizzle with honey and top with goji berries for a beautiful presentation!
Each of these variations invites you to explore new flavors—you might just find a new favorite! Happy cooking!
Expert Tips for the Best Milk Rice Cake
-
Silicone Cups Recommended: Using silicone cups makes it easier to release the cakes once they’re cooked, preventing the common issue of sticking with paper cups.
-
Avoid Over-Steaming: Steaming the cakes too long can lead to a rubbery texture. Follow the toothpick test for perfect results and check for doneness early!
-
Rice Soaking Time: Soaking the short grain white rice is vital; it ensures that the rice becomes soft and sticky. Don’t skip this step to achieve that delightful chewiness.
-
Adjust Sweetness Wisely: Personal taste varies! Start with less sugar and taste the batter before steaming to better suit your sweetness preference in your milk rice cake.
-
Storing Leftovers: Keep any leftover milk rice cakes in an airtight container in the refrigerator. Re-steam to restore their soft, chewy texture when you’re ready to enjoy again.
Milk Rice Cake Recipe FAQs
What type of rice should I use for this milk rice cake?
For the best results, use short grain white rice as it provides that signature sticky and chewy texture important for making a soft milk rice cake. Make sure to rinse the rice thoroughly and soak it for at least 2 hours or overnight to achieve optimal softness.
How should I store leftovers?
Store any leftover milk rice cake in an airtight container in the refrigerator for up to one week. This will help maintain its soft, chewy texture. When you’re ready to enjoy it again, simply steam it for a few minutes to restore its consistency.
Can I freeze the milk rice cake?
Absolutely! To freeze, wrap individual portions of the milk rice cake tightly in plastic wrap or place them in a zip-top bag. You can freeze them for up to three months. When ready to eat, steam the frozen cakes for about 10 minutes until heated through.
What if my milk rice cake is too rubbery or dense?
If your milk rice cake turns out rubbery, it may have been over-steamed. To prevent this, always check for doneness with a toothpick after about 30 minutes of steaming. If it comes out wet, steam for just another 5 minutes, checking again until it comes out clean.
Can I make this recipe nut-free?
Yes, you can easily make the milk rice cake nut-free by substituting any nut milk with oat milk or simply sticking to regular cow’s milk. This way, it’s approachable for everyone, and those with nut allergies can enjoy this delightful treat!
Is the milk rice cake suitable for pets?
It’s best to avoid giving milk rice cake to pets, especially if they are sensitive to dairy or grains. The sugar content and the other ingredients may not be suitable for them, so it’s advisable to stick to treats specifically crafted for pets.
Soft and Chewy Milk Rice Cake: Easy 3-Ingredient Wonder
Ingredients
Equipment
Method
- Begin by rinsing short grain white rice in a fine mesh strainer under cold water until the water runs clear. This helps remove excess starch. Transfer the rinsed rice into a bowl, covering it with enough water, and let it soak for at least 2 hours or overnight.
- Once soaked, drain the rice and place it in a blender. Add in the milk of your choice, along with sugar to taste. Blend on high speed for about 2 minutes until the mixture is completely smooth and creamy.
- While blending, set up your steamer by filling the bottom pot with water and bringing it to a gentle boil over medium heat. Prepare silicone or paper cupcake cups.
- Carefully pour the smooth rice mixture into the prepared cups, filling each about 80% full. Place the filled cups into the steamer rack.
- Cover the steamer with a lid, sealing in the steam, and let the mixture cook for about 30 minutes. Insert a toothpick into the center of a cake to check doneness.
- After 30 minutes, check the doneness of the cakes using a toothpick. If it comes out wet, steam for an additional 5 minutes.
- Once the cakes are cooked, turn off the heat and allow them to cool slightly for about 5 minutes. Gently remove the cups from the steamer.
- Plate the cooled milk rice cakes and drizzle with honey or condensed milk for added sweetness. Serve and enjoy!