Advertisement
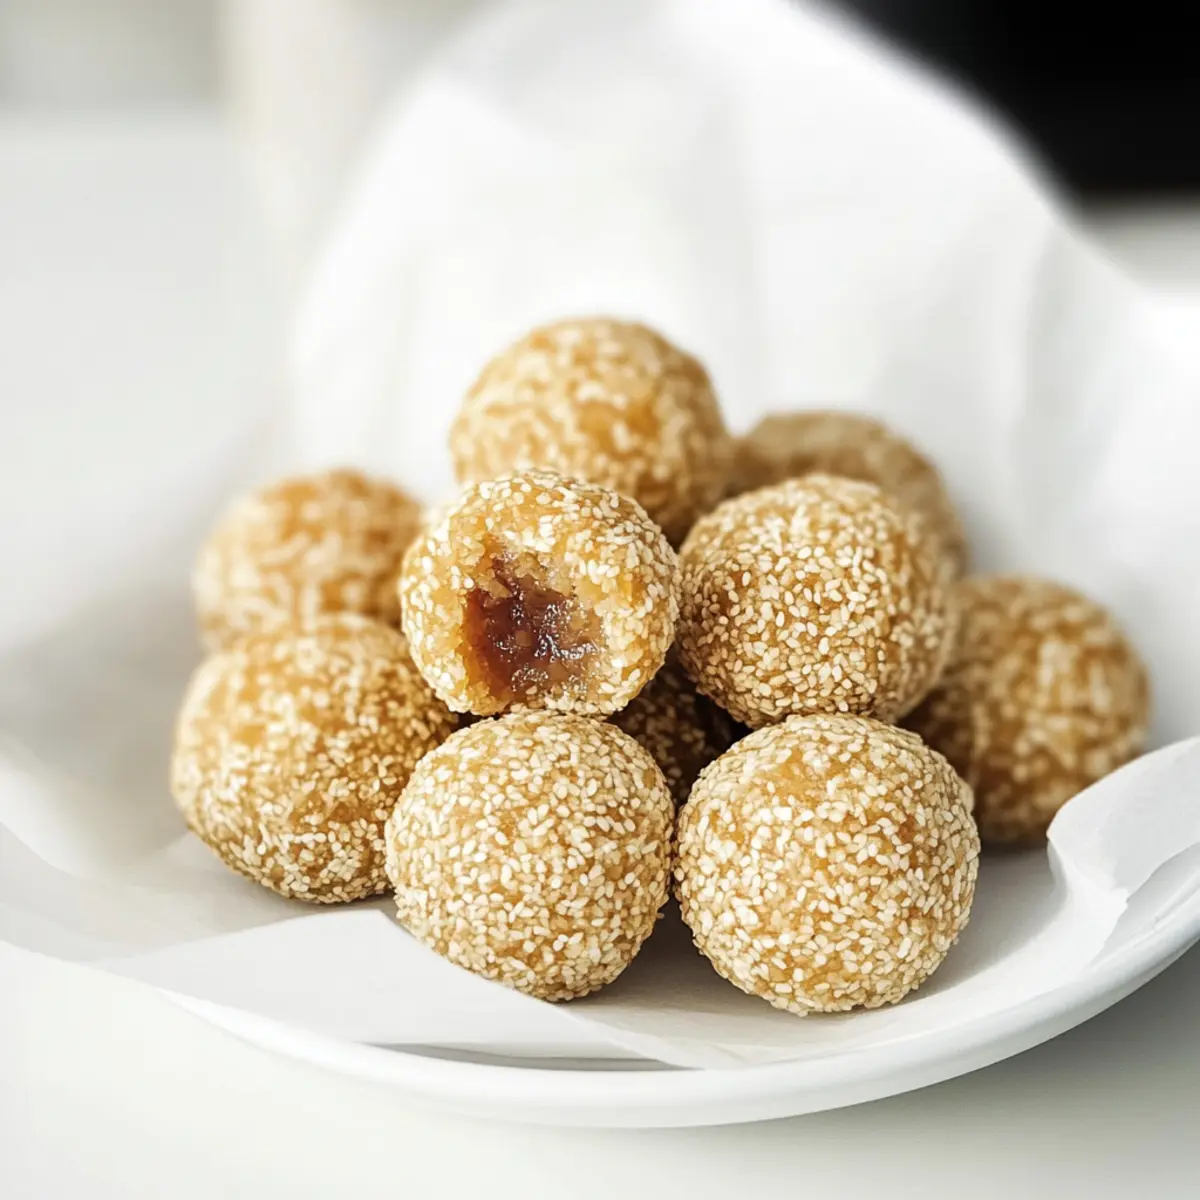
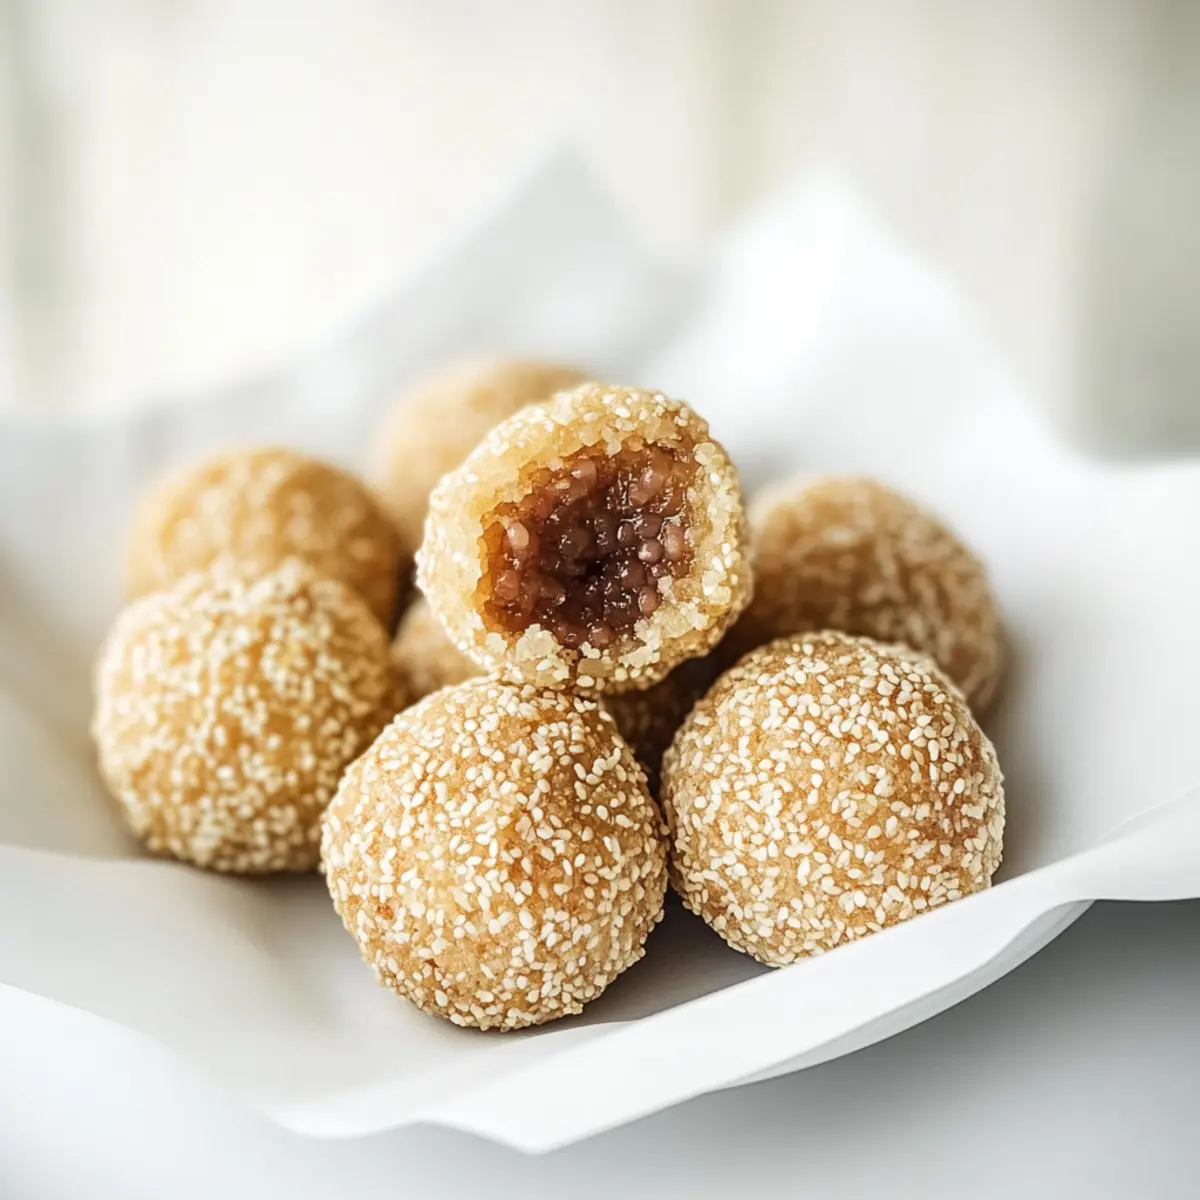
As I scoured my pantry for a delightful treat to satisfy my sweet tooth, I stumbled upon a treasure trove of ingredients perfect for making these mouthwatering Sesame Balls with Red Bean Filling. With just five simple components, this Sesame Balls recipe is not only incredibly easy to whip up but also a deliciously versatile dessert that can wow guests or elevate a cozy night in. The crispy outer layer combined with the soft, sweet filling creates a harmonious balance that’s perfect for any occasion. Plus, they’re vegan-friendly and deep-fried to perfection, making them an enticing alternative to fast food. Are you ready to dive into the world of homemade Asian desserts? Let’s bring the joy of cooking right to your kitchen!
Why is this Sesame Balls Recipe a must-try?
Simplicity: With only five ingredients, this recipe is incredibly accessible, perfect for both novice cooks and seasoned chefs alike.
Versatility: Feel free to experiment with different fillings such as lotus seed paste or pumpkin paste to suit your taste!
Advertisement
Crowd-Pleasing: These treats are sure to impress guests at gatherings or delight your family on a cozy night in.
Vegan-Friendly: Enjoy a guilt-free dessert that aligns with various dietary preferences, making it a great choice for everyone!
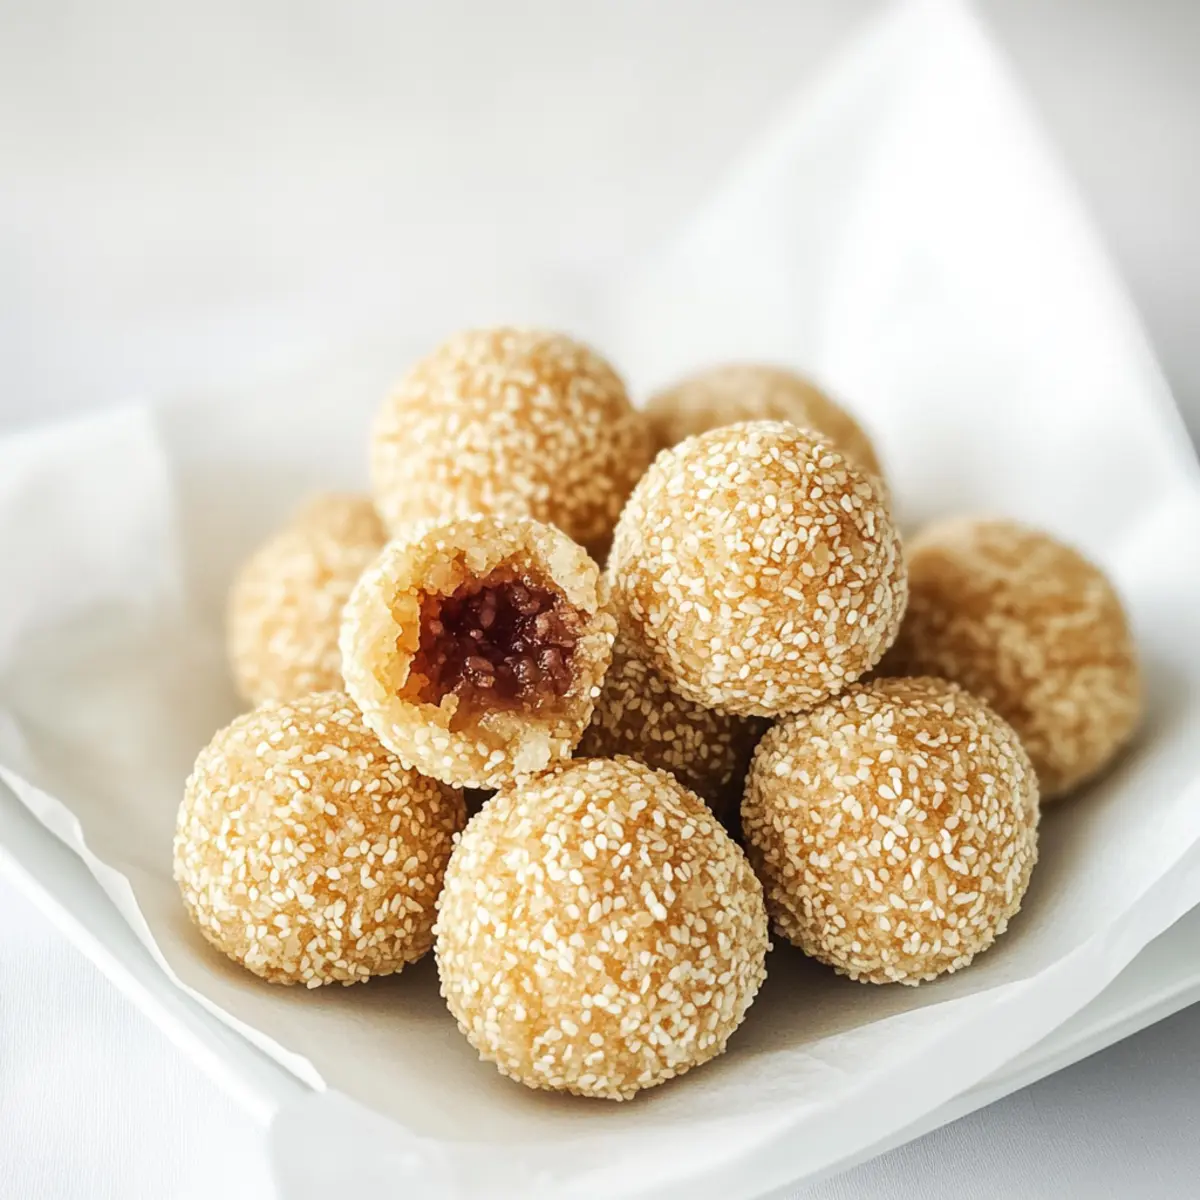
Crispy Perfection: The golden-brown exterior adds a satisfying crunch to balance the chewy and sweet red bean filling, making every bite a memorable experience.
Plus, if you’re looking for other quick dessert options, check out our Butterfinger Balls or try some Breakfast Egg Muffins for a wholesome start to your day!
Sesame Balls Recipe Ingredients
For the Dough
- Glutinous Rice Flour – Provides structure and chewiness to your Sesame Balls; regular rice flour can be used for a different texture.
- Hot Water – Activates the flour and helps create a smooth, elastic dough; ensure it’s boiling for best results.
- Sugar – Adds a hint of sweetness to the dough; try coconut sugar for an interesting flavor twist.
For the Filling
- Red Bean Paste – This sweet filling makes the dessert a delight; consider alternatives like lotus seed paste or leave it unfilled for a plain option.
For the Coating
- White Sesame Seeds – Not only do they add nuttiness, but they also provide a beautiful crunch; black sesame seeds can make a bold statement instead.
Dive into this Sesame Balls recipe that promises an irresistible combination of flavors and textures!
Step‑by‑Step Instructions for Sesame Balls Recipe
Step 1: Prep Hot Water
In a small saucepan, combine water and sugar, heating over medium until boiling and the sugar has completely dissolved. This sweetened hot water is essential for activating the glutinous rice flour, giving your Sesame Balls their delightful chewy texture. Remove from heat and let it cool slightly before proceeding.
Step 2: Prepare Dough
In a large mixing bowl, pour the hot sugar water over glutinous rice flour. Stir the mixture until well combined, then knead it gently for about 5 minutes until a smooth, elastic dough forms. Cover the dough with a damp cloth and let it rest for 30 minutes to ensure the perfect consistency for shaping your Sesame Balls.
Step 3: Shape and Divide
Once the dough has rested, divide it into golf-sized portions. Flatten each portion in your hand, then place a small amount of red bean paste in the center. Carefully pinch the edges to seal the filling inside, and roll the dough between your palms to form a smooth, round ball. This step is vital for ensuring a perfect bite of that sweet red bean filling.
Step 4: Coating
To prepare for frying your Sesame Balls, lightly moisten the formed balls with water. Roll each ball in white sesame seeds, pressing gently to ensure they are well-coated. This coating not only adds flavor but also contributes to the beautiful golden finish once fried, making your Sesame Balls truly irresistible and visually appealing.
Step 5: Frying
In a deep skillet or wok, heat vegetable oil to 300°F (150°C). Carefully place the coated Sesame Balls into the hot oil, frying them for about 10 minutes. Gently press down on the balls to ensure even cooking. After they begin to puff up and turn golden, increase the heat to 350°F (175°C) and fry for an additional 3-5 minutes until they are beautifully golden brown and crispy.
Step 6: Cooling and Serving
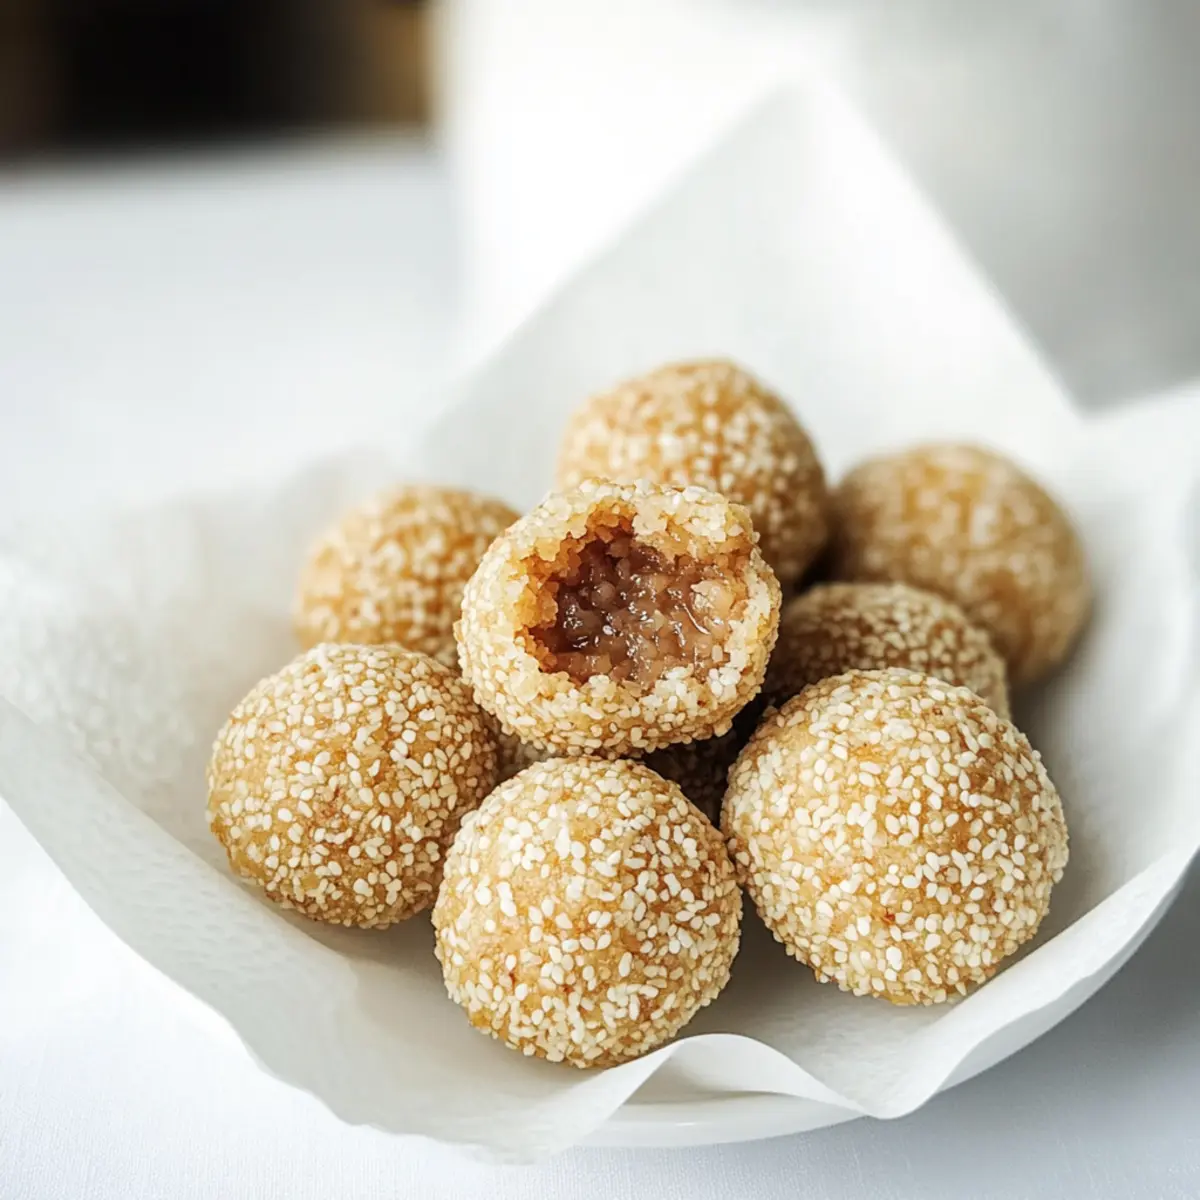
Once golden brown and deliciously crispy, remove the Sesame Balls from the oil and place them on a paper towel-lined plate to drain excess oil. Allow them to cool slightly before serving. These delightful treats are best enjoyed warm, complementing a cup of tea or as a festive dessert for special occasions.
Sesame Balls Recipe Variations
Feel free to explore different twists on this delightful treat, allowing your taste buds to embark on an exciting culinary adventure!
- Dairy-Free: Substitute regular sugar with coconut sugar for a subtle caramel flavor while keeping it vegan-friendly.
- Filling Options: Swap out red bean paste for lotus seed paste or pumpkin paste to explore new flavors that excite your palate.
- Plain Sesame Balls: Skip the filling entirely for classic sesame balls that showcase the beautiful crunch of toasted seeds.
- Customize Your Crunch: Experiment with different seeds like black sesame for a deeper flavor and visual contrast that’s sure to impress at gatherings.
- Spice It Up: Add a pinch of cinnamon or nutmeg to the dough for a warm, aromatic twist that will surprise and delight.
- Taro Paste Filling: Use taro paste instead of red bean for a creamy, subtly sweet filling that pairs perfectly with the crispy outside.
- Texture Variation: Opt for a mix of glutinous and regular rice flour for a unique chewy and light texture that creatively redefines the sesame balls.
- Heat Level: For those who like a kick, a pinch of chili powder or cayenne can be added to the dough, creating a sweet-and-spicy party in your mouth!
These variations can take your homemade sesame balls to new heights. If you’re in the mood for more easy bites, why not try our delicious Mongolian Ground Beef Noodles next?
How to Store and Freeze Sesame Balls Recipe
Airtight Container: Store leftover sesame balls in an airtight container at room temperature for up to 3 days to maintain their crispy texture.
Freezer: For longer storage, place sesame balls in a single layer on a baking sheet, freeze until solid, then transfer to a freezer bag. They can be frozen for up to 2 months.
Reheating: To enjoy frozen sesame balls, allow them to thaw in the fridge overnight, then reheat in a 350°F (175°C) oven for about 10 minutes for that fresh-out-of-the-fryer crunch.
Frying Fresh: For best results, consume your sesame balls right after frying; they’re delightfully crispy when enjoyed fresh!
Expert Tips for Your Sesame Balls Recipe
-
Rest the Dough: Allow the dough to rest covered for 30 minutes; this improves texture, making it easier to shape your Sesame Balls.
-
Seal Well: Ensure the filling is securely sealed inside each ball to prevent leaks during frying; pinch the edges firmly.
-
Coating Technique: Moisten the balls lightly before rolling in sesame seeds; this helps the seeds stick better and prevents them from falling off.
-
Watch the Temperature: Control the frying oil temperature; too hot can burn the sesame seeds, while too cool can result in greasy balls.
-
Fry in Batches: Fry your Sesame Balls in small batches to ensure they cook evenly and remain crispy throughout.
Make Ahead Options
These Sesame Balls with Red Bean Filling are perfect for meal prep, saving you precious time on busy days! You can prepare the dough and shape the balls up to 24 hours in advance. Simply keep the formed balls covered in the refrigerator to prevent drying out. For even more convenience, you can also prepare the red bean filling and store it separately in an airtight container for up to 3 days. When you’re ready to indulge, simply coat the chilled balls in sesame seeds and fry them straight from the fridge to achieve that deliciously crispy exterior, resulting in treats that are just as delightful as if freshly made!
What to Serve with 5-Ingredient Crispy Sesame Balls with Red Bean Filling
Delight your senses as you create a full meal experience to accompany these tempting Asian treats.
- Jasmine Rice: A fragrant side that balances the sweetness of the sesame balls, making for a harmonious meal.
- Stir-Fried Vegetables: Crisp, colorful veggies add texture and freshness, creating a refreshing contrast to the crunchy sesame coating.
- Sweet Chili Sauce: Drizzle or dip these beauties in this tangy sauce for an added kick that elevates the flavors beautifully.
- Green Tea: A calming beverage that perfectly complements the sweetness and richness, enhancing your dessert enjoyment.
- Mango Sticky Rice: For a well-rounded Asian dessert experience, this sweet and creamy treat plays beautifully against the savory sesame balls.
- Coconut Ice Cream: The creaminess of this dessert partners wonderfully with the crunch, bringing a tropical twist to your plate.
- Fruit Salad: A light and refreshing mix of seasonal fruits adds brightness and balances the rich flavors of your deep-fried treat.
With these pairings, your meal will evoke warmth, comfort, and the joy of shared moments at the dining table.
Sesame Balls Recipe FAQs
What type of glutinous rice flour should I use?
Absolutely! You should use glutinous rice flour specifically for making sesame balls, as it provides the ideal structure and chewiness. Regular rice flour can be substituted, but it will yield a less chewy texture.
How should I store leftover sesame balls?
To maintain their crispy texture, store leftover sesame balls in an airtight container at room temperature for up to 3 days. However, for the best experience, I often recommend frying them fresh just before serving—they’re unbeatable when enjoyed right after cooking!
Can sesame balls be frozen?
Yes! Place your sesame balls in a single layer on a baking sheet and freeze until solid. Transfer them to a freezer bag, and they can last for up to 2 months. When you’re ready to enjoy them, simply let them thaw overnight in the fridge, then reheat in a 350°F (175°C) oven for about 10 minutes to restore that delightful crunch.
What should I do if the sesame seeds fall off during frying?
Very! If you’re worried about sesame seeds falling off during frying, ensure that each ball is moistened with water before rolling in the seeds. This helps the sesame seeds adhere better. Moreover, applying gentle pressure while rolling can keep them firmly in place. Also, check the temperature of your frying oil—if it’s not hot enough, the balls won’t set properly, making it easier for the seeds to fall off.
Are sesame balls suitable for pets or individuals with allergies?
While sesame balls are a tasty treat, they are not recommended for pets, particularly dogs, as the high-fat content from frying may be harmful. Additionally, if you or your guests have allergies to sesame seeds or beans, it’s essential to let everyone know, as the fillings and coatings can vary. Always check for any specific allergens related to the ingredients used in your recipe.
Can I use different fillings for my sesame balls?
Absolutely! One of my favorite things about this sesame balls recipe is its versatility. You can use various fillings like lotus seed paste, black bean paste, or even pumpkin paste. Just make sure the filling is well-sealed inside to enjoy that perfect sweet bite!
Sweet and Crunchy Sesame Balls Recipe You’ll Love
Ingredients
Equipment
Method
- In a small saucepan, combine water and sugar, heating over medium until boiling and the sugar has completely dissolved.
- In a large mixing bowl, pour the hot sugar water over glutinous rice flour. Stir until well combined, then knead gently for about 5 minutes.
- Divide dough into golf-sized portions, flatten each, place red bean paste in the center, seal edges, and roll into a smooth ball.
- Moisten the balls lightly with water and roll in white sesame seeds, pressing gently.
- Heat vegetable oil to 300°F (150°C). Fry the coated sesame balls for about 10 minutes until golden, then increase heat to 350°F (175°C) for an additional 3-5 minutes.
- Remove from oil and drain on paper towels. Allow cooling slightly before serving.