Advertisement
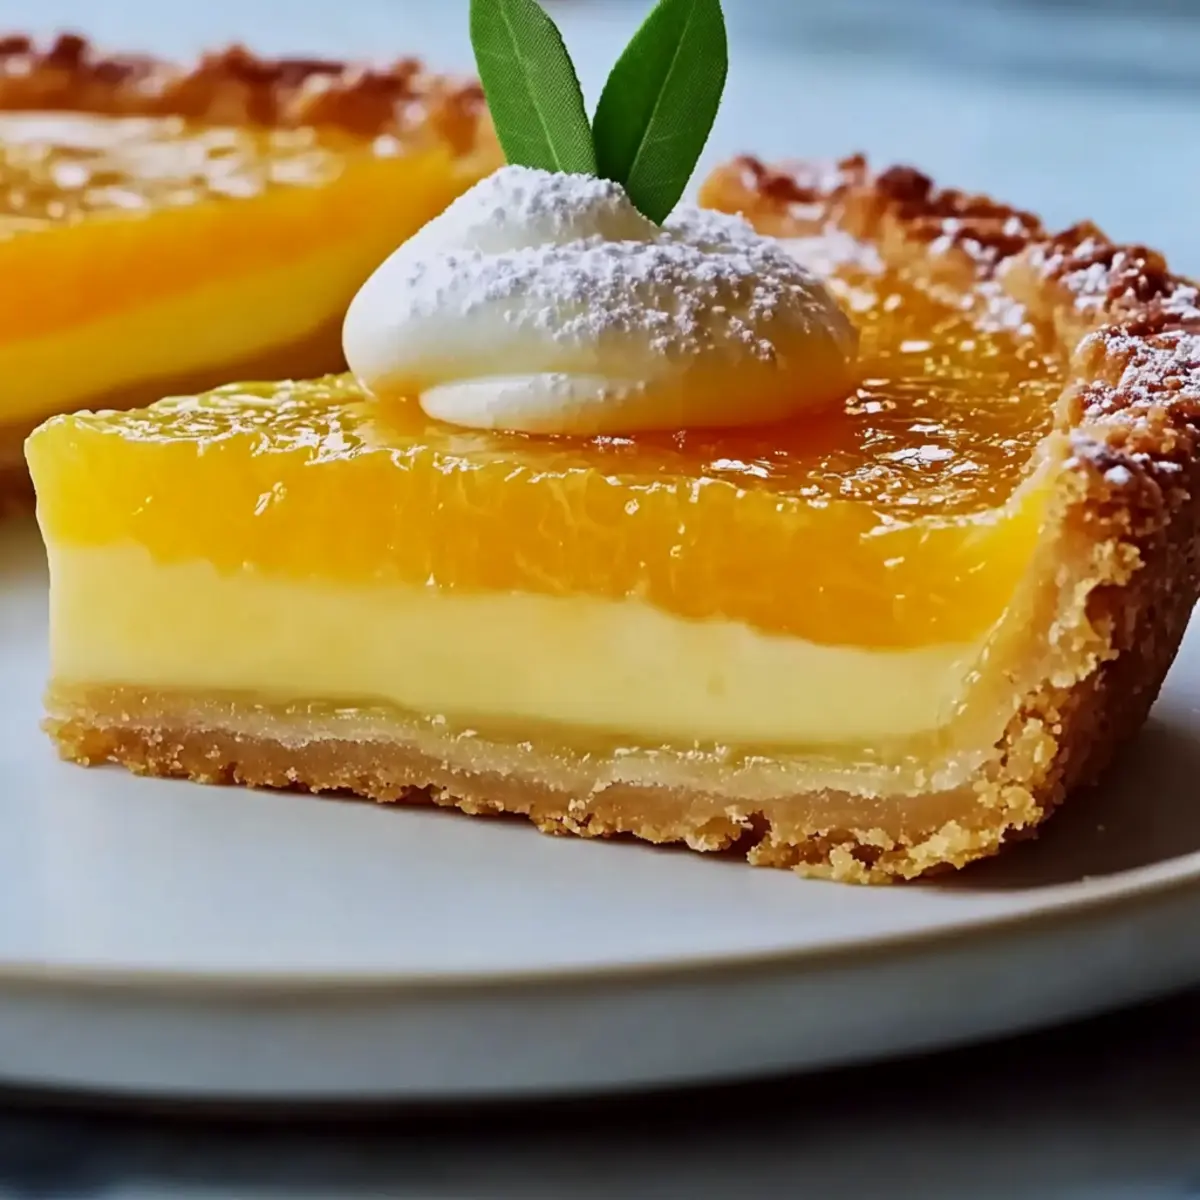
At the rustic kitchen table, I overheard a friend rave about her latest culinary experiment: a Classic Orange Tart that elicited joyful gasps from everyone who tasted it. Intrigued, I knew I had to try my hand at this stunning dessert that promised a sweet-tart symphony in every slice. Perfect for impressing guests or indulging in a cozy night at home, this elegant dessert is both approachable and versatile, with gluten-free options for those looking to accommodate dietary needs. Whether you’re a seasoned baker or just beginning your culinary journey, the Classic Orange Tart will elevate your dessert game while ensuring a delightful baking experience. Ready to see your loved ones light up over their next slice? Let’s dive into this irresistible recipe!
Why is This Orange Tart a Must-Try?
Impressive Presentation: The striking visual appeal of the Classic Orange Tart will leave your guests in awe, making it the star of any dessert table.
Simplicity: With straightforward steps and easily accessible ingredients, this recipe is perfect for bakers of all levels, encouraging kitchen creativity.
Advertisement
Bright, Fresh Flavor: The combination of fresh orange juice and zest creates a vibrant taste that perfectly balances sweetness and tartness, ensuring every bite is a delight.
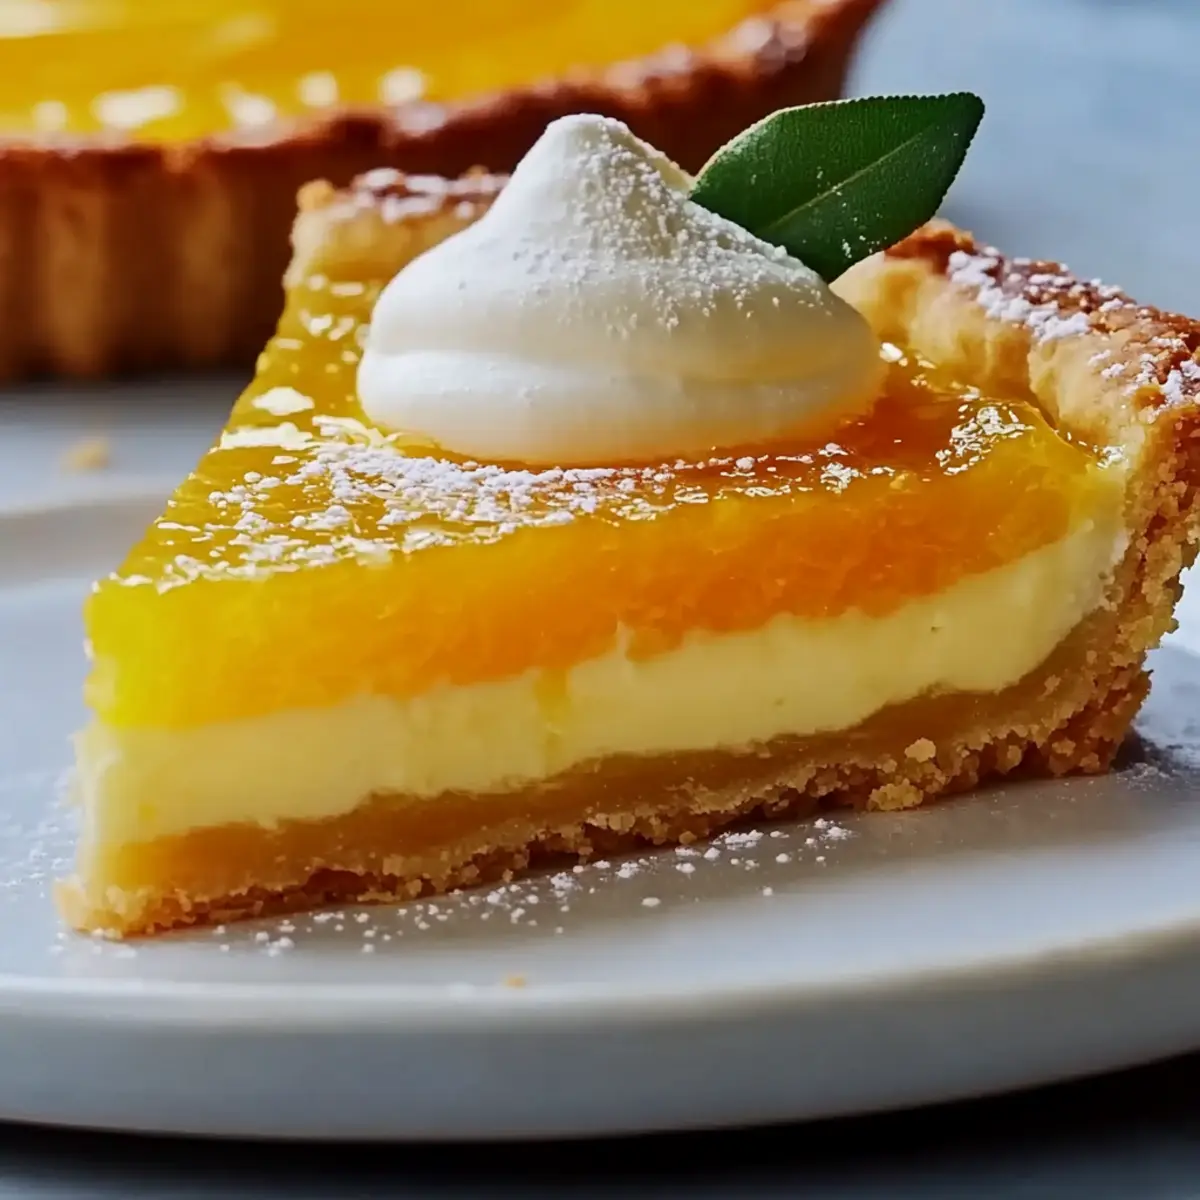
Versatile Serving Options: Serve it with a dollop of whipped cream or a scoop of vanilla ice cream; it pairs well with coffee or a cup of tea, adding elegance to any occasion.
Make-Ahead Convenience: You can prepare this tart up to two days in advance, making it an excellent choice for busy schedules while still impressing family and friends!
Explore a few more delightful desserts like the Potato Casserole Comfort and Oven Baked Chicken that will make your next gathering unforgettable!
Classic Orange Tart Ingredients
For the Crust
- Flour – Provides structure to the crust; use gluten-free all-purpose flour for a gluten-free version.
- Powdered Sugar – Adds sweetness and helps create a tender crust.
- Almond Flour – Enhances flavor and texture of the crust; don’t skip it for best results.
- Salt – Balances sweetness in the crust.
- Orange Zest – Adds aromatic flavor to the crust, infusing it with citrusy notes.
- Butter – Gives richness and flakiness to the tart crust; make sure it’s chilled.
- Egg Yolk – Contributes richness and binds the crust ingredients together.
- Cold Water – Helps bring the dough together; keeping it cold ensures flakiness.
For the Orange Curd Filling
- Fresh Orange Juice – The core flavor of the filling; use Navel or Valencia oranges for optimal taste.
- Superfine Sugar – Sweetens the orange curd without creating graininess.
- Cornstarch – Thickens the curd while providing a smooth texture.
- Gelatin – Stabilizes the orange curd; can be omitted for a dairy-free version.
For the Whipped Topping
- Heavy Cream – Adds richness when whipped for topping the tart; whip until soft peaks form.
- Powdered Sugar – Sweetens the whipped cream to complement the tart flavors.
Step‑by‑Step Instructions for Classic Orange Tart
Step 1: Prepare the Crust Dough
In a large bowl, combine flour, powdered sugar, almond flour, salt, and orange zest. Using your fingers or a pastry cutter, mix in chilled butter until the mixture resembles coarse crumbs. Add the egg yolk and cold water, stirring until the dough forms. Shape into a disk, wrap in plastic, and chill in the refrigerator for 15 to 60 minutes, ensuring a flaky crust for your Classic Orange Tart.
Step 2: Bake the Tart Shell
Preheat your oven to 200°C (390°F). Roll out the chilled dough on a lightly floured surface to fit your tart pan. Gently press it into the greased pan, pricking the base with a fork to prevent bubbles. Chill for another 15 minutes, then bake covered with parchment and weights for 12-15 minutes. Remove the cover and bake for an additional 10-12 minutes or until the crust is golden brown.
Step 3: Make the Orange Curd Filling
In a saucepan over medium heat, combine fresh orange juice, superfine sugar, and cornstarch, stirring until dissolved. In a separate bowl, whisk together eggs. Slowly add a bit of the warm orange mixture to temper the eggs, then pour the egg mixture back into the saucepan. Cook while continuously stirring until the curd thickens and coats the back of a spoon. Remove from heat, then mix in dissolved gelatin and butter until smooth.
Step 4: Assemble the Tart
Once the tart shell has cooled completely, pour the freshly made orange curd into the baked crust, spreading evenly with a spatula. Cover the tart with plastic wrap and refrigerate for at least 3 hours, allowing the curd to set properly. This chilling step is crucial for achieving that perfect texture for your Classic Orange Tart.
Step 5: Prepare the Whipped Cream Topping
In a mixing bowl, whip the heavy cream on medium speed until it begins to thicken. Gradually add powdered sugar while continuing to whip until soft peaks form. Be careful not to overwhip, as you want a light texture that beautifully complements the tart’s richness. Once ready, set aside until the tart is chilled and ready to serve.
Step 6: Serve and Enjoy
After the tart has set, remove it from the refrigerator and decorate the top with generous dollops of whipped cream. You can also add fresh berries or a sprinkle of orange zest for added flair. Slice with a sharp knife, wiping it clean between cuts for neat slices, and delight in the refreshing taste of your Classic Orange Tart.
Expert Tips for Classic Orange Tart
-
Flaky Crust Secrets: Avoid overworking the pastry dough to ensure your crust remains tender and flaky. Gentle handling is key!
-
Blind Baking: Properly blind bake the tart shell using weights; this prevents a soggy bottom and creates that perfect crisp texture.
-
Curd Consistency: Cook the orange curd over medium-low heat while stirring constantly. This helps prevent the eggs from scrambling and ensures a perfectly smooth filling.
-
Chilling Time Matters: Be patient when chilling the tart. A thorough chill for at least 3 hours ensures clean, beautiful slices when serving your Classic Orange Tart.
-
Orange Juice Quality: Use fresh Navel or Valencia oranges to get the best flavor from your curd, providing that vibrant citrus taste that shines through every bite.
Classic Orange Tart Variations
Feel free to get creative with this recipe and make it your own!
-
Citrus Swap: Replace orange juice with grapefruit or lemon juice for a refreshing twist on the filling. Each citrus brings its own unique flavor profile, making it a delightful surprise every time.
-
Nutty Crust: Add crushed walnuts or hazelnuts to the almond flour in the crust for an extra depth of flavor and texture. This not only elevates the taste but also provides a crunchy contrast to the smooth curd.
-
Dairy-Free Option: Substitute heavy cream with coconut cream for the whipped topping, making it entirely dairy-free. The slight coconut flavor pairs beautifully with the tart, creating an exotic dessert experience.
-
Mini Tarts: Use a muffin tin or mini tart pans to create individual servings of this delicious dessert. Perfect for parties, these adorable bites allow everyone to enjoy a taste without sharing!
-
Berry Garnish: Top the finished tart with fresh berries or a blueberry compote for an eye-catching presentation. The sweet-tart contrast will surprise your guests and enliven the overall flavor!
-
Chocolate Drizzle: For a hint of decadence, drizzle melted dark chocolate over the ganache before serving. This adds a rich layer that beautifully complements the citrus.
-
Spicy Kick: Infuse the orange curd with a pinch of cayenne or some grated fresh ginger for a warm, spicy note. This unexpected addition will tantalize the taste buds — a delightful surprise!
If you’re looking for more delicious recipes, try making the delightful Oven Baked Chicken for dinner or treat yourself to some Orange Creamsicle Mini for dessert!
How to Store and Freeze Classic Orange Tart
Fridge: Store the Classic Orange Tart covered in the refrigerator for up to 3 days. This keeps it fresh while allowing the flavors to meld beautifully.
Freezer: If you’d like to freeze it, wrap the tart tightly in plastic wrap, then aluminum foil, and store for up to 3 months. Thaw it in the fridge before serving for best results.
Reheating: For a warm slice, microwave it for about 15-20 seconds. Alternatively, place it in a preheated oven at 180°C (350°F) for about 10 minutes until warmed through.
Make-Ahead Tips: Prepare the tart shell and filling up to 2 days in advance, assembling just before serving for a delightful treat any day of the week!
Make Ahead Options
The Classic Orange Tart is an ideal recipe for busy cooks looking to streamline their dessert prep! You can prepare the tart shell up to 24 hours in advance by baking it and storing it wrapped in plastic wrap at room temperature to maintain its crispness. The orange curd filling can also be made up to 3 days ahead; simply refrigerate it in an airtight container to keep it fresh and prevent any browning. When you’re ready to serve, pour the chilled curd into the tart shell, refrigerate until set for at least 3 hours, and top with freshly whipped cream. This ensures your tart is just as delightful with minimal effort on the day of your gathering!
What to Serve with Classic Orange Tart
Indulge your senses by creating a full meal around this delightful dessert that sings with vibrant citrus notes.
-
Creamy Mashed Potatoes: The velvety texture and mild flavor provide a delicious contrast to the tartness of the orange. Creamy potatoes soothe your palate, making every bite of dessert even more enjoyable.
-
Grilled Salmon: Fresh, flaky salmon pairs beautifully with the sweet and tangy flavors of the tart. The lightness of the fish complements the rich filling, creating a harmonious balance.
-
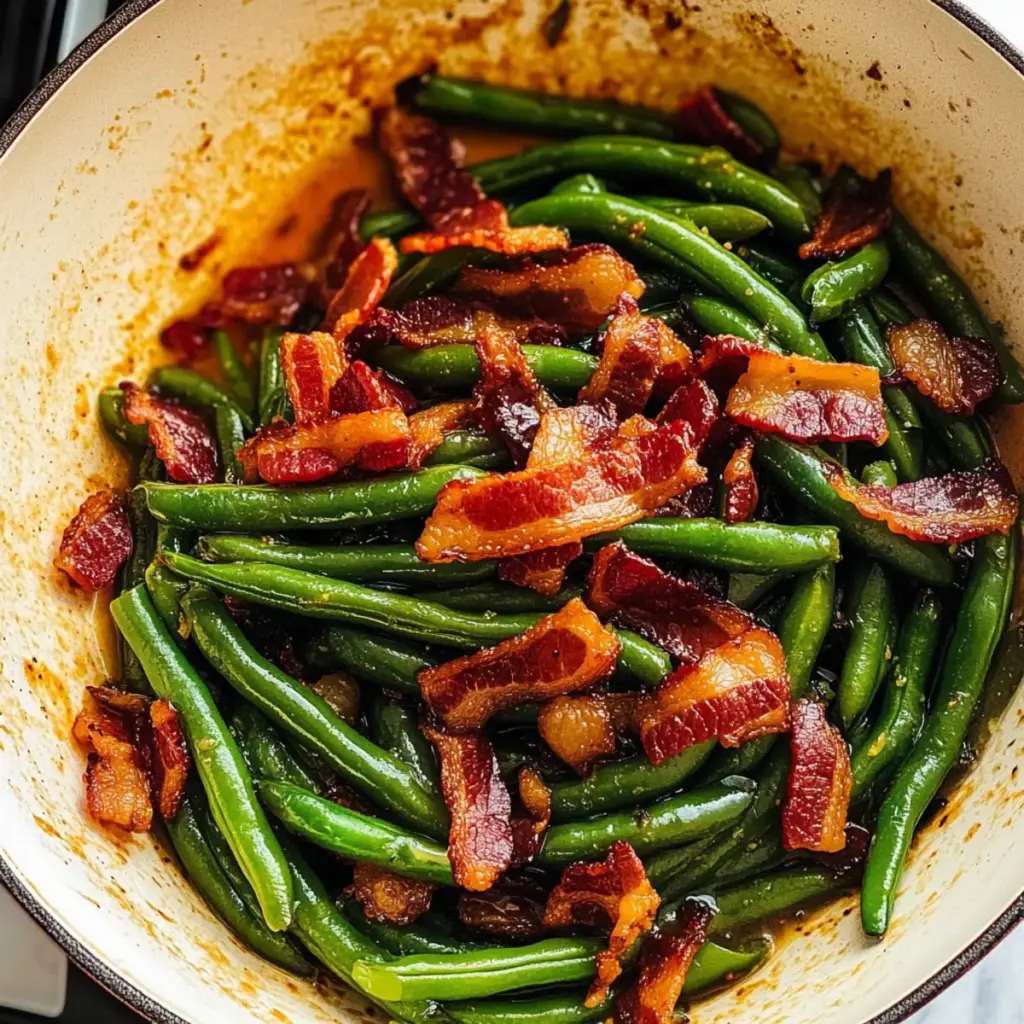
Sautéed Green Beans: Crisp-tender green beans, lightly seasoned, bring a crunchy texture that enhances the overall dining experience. Their freshness adds brightness to your plate, marrying well with the citrus notes.
-
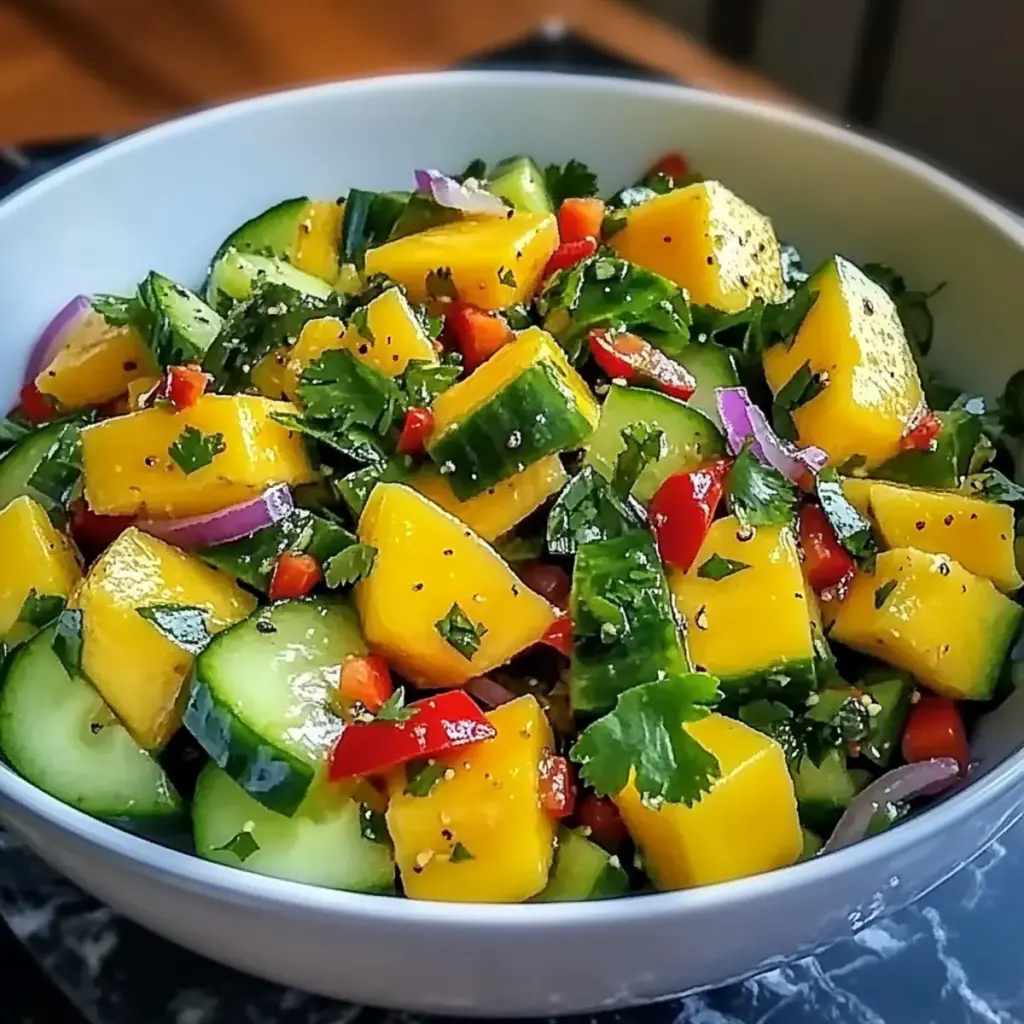
Mixed Green Salad: A vibrant salad with arugula, walnuts, and a citrus vinaigrette mirrors the orange’s zestiness while adding a refreshing crunch. It’s the perfect way to cleanse your palate before relishing your tart.
-
Vanilla Ice Cream: A scoop of creamy vanilla ice cream melts beautifully alongside the tart, enhancing its sweetness. The combination creates a dessert experience that feels both indulgent and satisfying.
-
Iced Green Tea: This refreshing drink brings a subtle bitterness that can balance out the tartness of the dessert. A squeeze of lemon can enhance the citrus theme, making it a perfect beverage pairing.
-
Chocolate-Covered Strawberries: These sweets provide a luscious addition to the fruity dessert. Their dark chocolate flavor creates an exquisite contrast, enhancing the richness of the orange curd while remaining delightful and elegant.
-
Limoncello: This Italian lemon liqueur provides a bright, refreshing complement, enhancing the citrus experience while adding a spirited touch to your dinner table.
Each of these pairings elevates your meal, turning a simple dessert into a memorable dining event.

Classic Orange Tart Recipe FAQs
What should I look for when selecting oranges for the filling?
Absolutely! When choosing oranges, select ripe, fragrant ones that feel heavy for their size. Look for vibrant, blemish-free skin with no dark spots. Navel or Valencia oranges are the best choices for a sweet and tangy flavor in your Classic Orange Tart.
How should I store leftover Classic Orange Tart?
Very! To keep your Classic Orange Tart fresh, cover it tightly with plastic wrap or aluminum foil and store it in the refrigerator for up to 3 days. This allows the flavors to meld beautifully while maintaining its texture.
Can I freeze the Classic Orange Tart?
Yes, you can! To freeze, wrap the completely cooled tart tightly in plastic wrap, followed by a layer of aluminum foil. It can be stored in the freezer for up to 3 months. When you’re ready to enjoy, simply thaw it in the refrigerator overnight before serving.
What if my orange curd filling doesn’t thicken properly?
Don’t worry, this can happen! If your curd doesn’t thicken, it might need more heat. To fix it, return the mixture to medium-low heat and cook gently while stirring for a few more minutes. Make sure you’re cooking it until it thickens enough to coat the back of a spoon. If you’re short on time, you can whisk in a little more cornstarch mixed with water, then heat it until thickened.
Can I adjust the sweetness level of the tart?
Absolutely! If you prefer a less sweet tart, you can reduce the amount of superfine sugar in the orange curd filling. Just remember, the balance between the sweetness and tartness is key for a Classic Orange Tart, so make adjustments little by little to find your perfect taste!
Are there any ingredient substitutes for allergens?
Very much! If you’re dealing with allergies, you can replace the butter with dairy-free alternatives or coconut oil. For those avoiding gluten, simply use gluten-free all-purpose flour as a substitute. Always ensure you read labels of prepackaged ingredients to verify they are allergen-friendly.

Delight in Every Bite: Classic Orange Tart Made Easy
Ingredients
Equipment
Method
- In a large bowl, combine flour, powdered sugar, almond flour, salt, and orange zest. Mix in butter until coarse crumbs form. Add egg yolk and cold water, stirring until dough forms. Shape into a disk, wrap in plastic, and chill for 15 to 60 minutes.
- Preheat oven to 200°C (390°F). Roll out the chilled dough, press into greased tart pan, prick with a fork, and chill for 15 minutes. Bake covered for 12-15 minutes, then remove cover and bake an additional 10-12 minutes until golden brown.
- In a saucepan over medium heat, combine orange juice, superfine sugar, and cornstarch until dissolved. Whisk eggs in a separate bowl and temper with the warm mixture. Return to saucepan, cook, stirring continuously until thickened. Remove from heat and mix in gelatin and butter.
- Once crust cools, pour orange curd into baked shell, spreading evenly. Cover with plastic wrap and refrigerate for at least 3 hours.
- In a bowl, whip heavy cream on medium speed. Gradually add powdered sugar until soft peaks form. Don't overwhip and set aside until ready to serve.
- Once set, remove tart, top with whipped cream, fresh berries, or orange zest. Slice and serve.