
Advertisement
While rummaging through my pantry one afternoon, I stumbled upon a forgotten bottle of cotton candy flavoring. A wave of nostalgia washed over me, transporting me back to carnival days, complete with bright colors and sweet scents. Inspired by that memory, I whipped up a batch of Cotton Candy Cookies, mixing vibrant pinks and blues that not only visually delight but also evoke the whimsical flavors of our favorite fair treats. This quick recipe is not only a fun project for both novice and seasoned bakers but also a sure-fire crowd-pleaser for birthday parties and bake sales. In just 12 minutes, you can fill your kitchen with the inviting aroma of freshly baked cookies. Are you ready to take your taste buds on a colorful adventure?
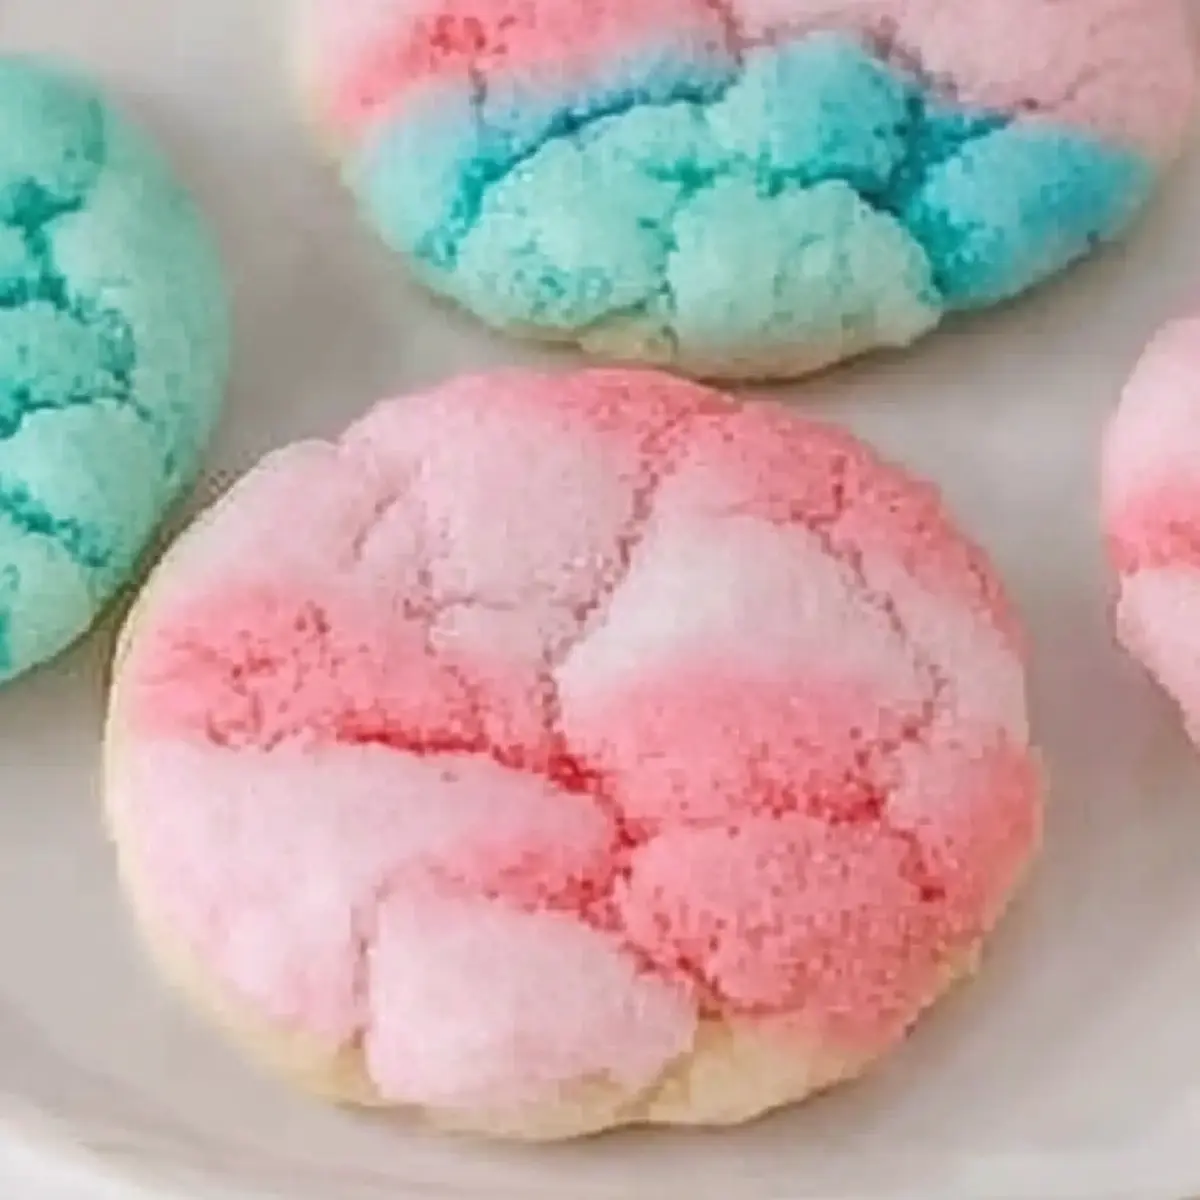
Why Are Cotton Candy Cookies So Special?
Nostalgic Delight: These cotton candy cookies will whisk you back to childhood carnival days, enveloping your senses in whimsical sweetness.
Vibrant Colors: With their eye-catching pink and blue swirls, these cookies not only taste delightful but look stunning on any dessert table.
Advertisement
Quick and Easy: Perfect for busy bakers, this simple recipe takes merely 12 minutes from dough to delicious cookies!
Versatile Fun: Customize with different flavor extracts or colors for themed parties—consider trying bubblegum for a fresh twist! Pair them with Marshmallow Swirl Cookies for a colorful cookie platter that’s sure to impress.
Crowd-Pleasing Treat: Whether for a birthday bash or a cozy gathering, they’re a hit with everyone, young and old!
Cotton Candy Cookies Ingredients
• Whip up a batch of Cotton Candy Cookies with these vibrant ingredients!
For the Dough
- Butter – Provides richness and tenderness; make sure it’s softened for optimal mixing.
- Granulated Sugar – Adds sweetness and helps achieve those delightfully crisp edges in every bite.
- Eggs – Bind the ingredients together, giving structure to your cookies to prevent crumbling.
- Cotton Candy Flavoring Extract – Imparts that unique carnival taste essential for the sweetness we love.
- Vanilla Extract – Balances the overall sweetness, adding depth to the flavor profile.
- All-Purpose Flour – Forms the cookie structure, helping keep them soft while holding their shape.
- Baking Powder and Baking Soda – These leavening agents ensure your cookies rise slightly, resulting in a tender interior.
- Salt – Enhances overall flavor and balances the sweetness beautifully.
For the Color
- Pink and Blue Food Coloring – Creates the signature carnival swirl, adding a fun and festive flair to your cookies!
Step‑by‑Step Instructions for Cotton Candy Cookies
Step 1: Preheat and Prepare
Begin by preheating your oven to 375°F (190°C) and lining a baking sheet with parchment paper, ensuring a non-stick surface for your cookies. This step sets the stage for success and helps create lovely, crisp edges on your cotton candy cookies as they bake. While the oven warms up, gather all your ingredients for a smooth baking experience.
Step 2: Cream Butter and Sugar
In a large mixing bowl, combine softened butter and granulated sugar. Using a hand mixer or stand mixer, beat the mixture on medium speed until it becomes light and fluffy, about 2-3 minutes. This step is crucial, as it incorporates air into the batter for a tender texture in your cotton candy cookies.
Step 3: Add Eggs and Extracts
Crack in one egg and pour in the cotton candy flavoring extract along with the vanilla extract. Beat the mixture on low speed until everything is well combined and smooth. Take a moment to enjoy the delightful aroma that fills your kitchen, as this combination creates the sweet base of your cookies.
Step 4: Combine Dry Ingredients
Gradually sift in the all-purpose flour, along with baking powder, baking soda, and salt. Mix on low speed just until a soft dough forms, ensuring not to over-mix. The dough should be slightly tacky to the touch, but still hold its shape, preparing your cotton candy cookies for their vibrant colors.
Step 5: Color the Dough
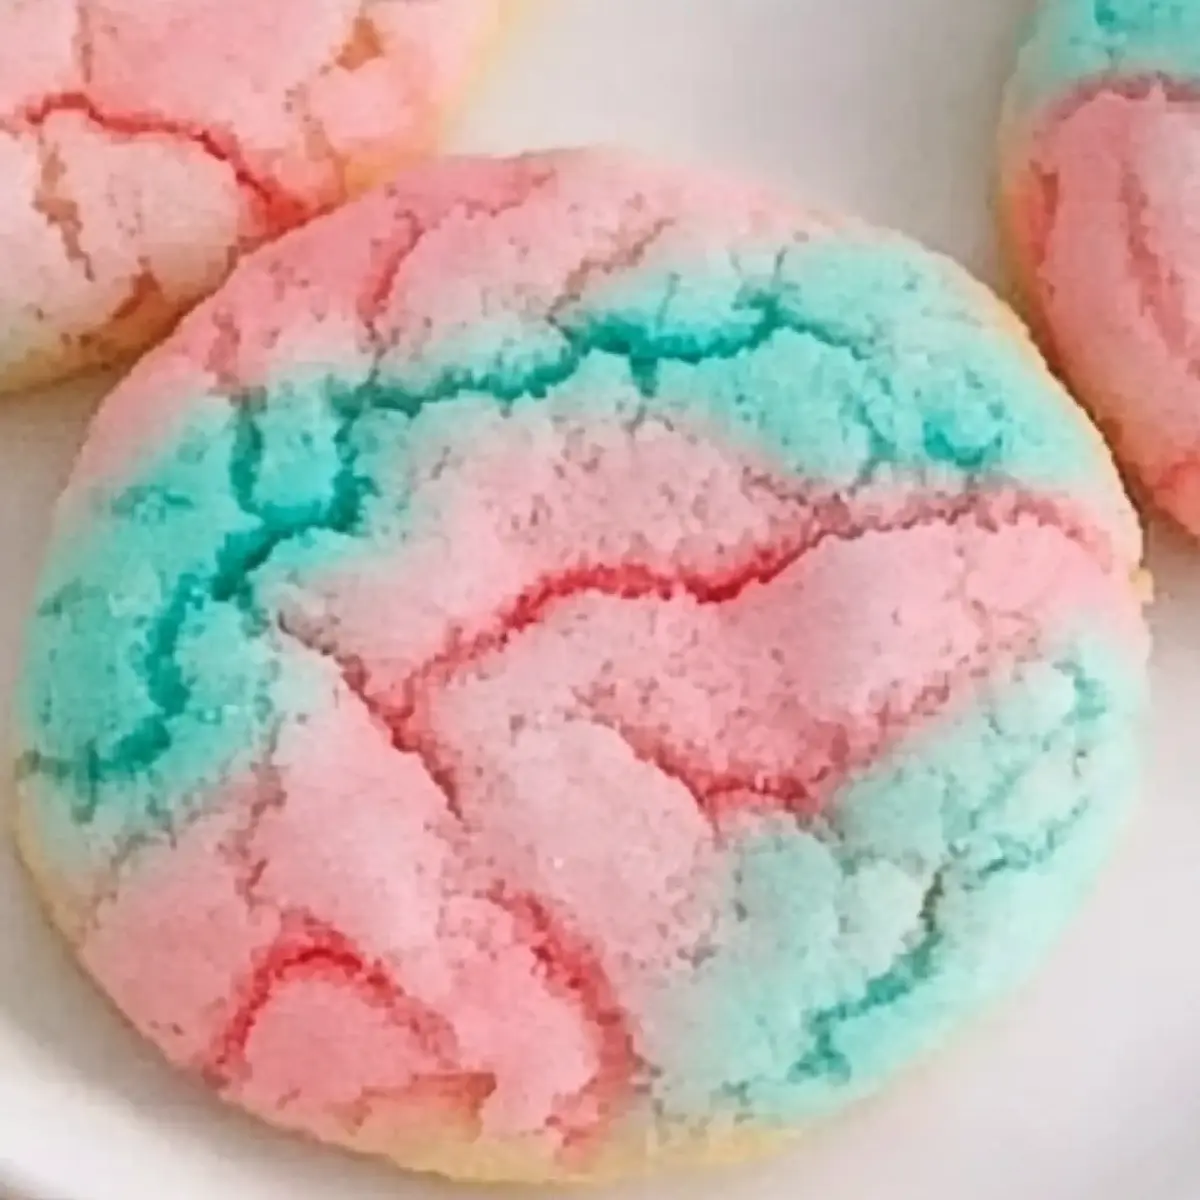
Divide the dough evenly into two separate bowls. Add a few drops of pink food coloring to one bowl and blue food coloring to the other, mixing each until you achieve the desired pastel hues. The contrasting colors will create that signature cotton candy swirl in your finished cookies, making them visually stunning!
Step 6: Form Cookie Dough Balls
Using a cookie scoop or your hands, take a portion of the pink dough and a portion of the blue dough, combining them to form a half-pink, half-blue ball. This method will create the eye-catching swirl effect that mimics cotton candy in each cookie. Aim for uniform sizes to ensure even baking.
Step 7: Arrange on Baking Sheet
Place the dough balls on the prepared baking sheet, spacing them about 2-3 inches apart to allow for spreading. Be careful not to overcrowd the baking sheet, as this will prevent your cotton candy cookies from achieving their perfect round shape and golden edges.
Step 8: Bake the Cookies
Slide the baking sheet into the preheated oven and bake for about 12 minutes. Keep an eye on the cookies; they should be slightly golden around the edges while still soft in the center. This is the perfect doneness to achieve that chewy texture your taste buds will adore.
Step 9: Cool and Transfer
Once baked, remove the cookies from the oven and let them cool on the baking sheet for a few minutes. This brief resting period allows them to set before gently transferring the cookies to a cooling rack. Allow them to cool completely, letting the sweet aroma linger in your kitchen and build excitement for your colorful creation!
How to Store and Freeze Cotton Candy Cookies
Airtight Container: Store your cotton candy cookies in an airtight container at room temperature for up to 3-4 days. This helps maintain their softness and delightful texture.
Refrigeration: If you prefer a firmer cookie, you can refrigerate them for up to a week. Just make sure they are well-wrapped to prevent them from drying out.
Freezing Dough: To freeze dough, scoop the cookie balls onto a tray and freeze until firm. Then transfer them to a resealable bag and store in the freezer for up to 3 months. Bake directly from frozen when you crave a fresh batch!
Reheating: For a warm treat, pop cookies in a microwave for about 10-15 seconds, allowing their sweet aroma to fill your kitchen once again.
Expert Tips for Cotton Candy Cookies
Butter Matters: Use softened, not melted butter for the perfect texture. Over-melting can lead to flat cookies that spread too much during baking.
Accurate Measurements: Measure your flour carefully; too much can turn those delightful cotton candy cookies into dense, heavy treats. Use a spoon to scoop flour and level it off for precision.
Chilling the Dough: If the dough feels too soft or sticky, refrigerate it for 10-15 minutes before scooping. This will make it easier to handle and shape.
Watch the Bake Time: Keep an eye on your cookies in the oven. Remove them when the edges are golden; centers will continue to set as they cool.
Experiment with Colors: Don’t hesitate to unleash your creativity! Try different pastel colors or mix flavors to suit your theme—these cookies are all about fun!
Make Ahead Options
These delightful Cotton Candy Cookies are perfect for busy home cooks looking to save time during party preparations! You can prepare the cookie dough up to 24 hours in advance; simply cover it tightly in plastic wrap and refrigerate until you’re ready to bake. For longer storage, the dough can also be frozen; scoop the dough into balls, freeze them on a baking tray for about an hour, then transfer to a resealable bag for up to 3 months. When you’re ready to enjoy freshly baked cookies, bake directly from frozen, adding a minute or two to the baking time for soft, flavorful treats. With this make-ahead option, you’ll have irresistible Cotton Candy Cookies any time you need a sweet surprise!
What to Serve with Cotton Candy Cookies?
Imagine a colorful dessert spread that’s as delightful as a day at the carnival, enhancing the cheerful vibes of your cotton candy cookies!
- Milkshakes: Creamy milkshakes, either vanilla or strawberry-flavored, provide a rich and nostalgic pairing that complements the sweetness of your cookies.
- Fruity Ice Cream: A scoop of refreshing sorbet or light ice cream, like lemon or raspberry, contrasts beautifully with the cookies’ sweetness for a refreshing treat.
- Fruit Skewers: Colorful skewers of fresh fruits—like strawberries, pineapple, and blueberries—add a crunchy, juicy element that brightens up the dessert table.
- Rainbow Sprinkles: Top your cotton candy cookies with colorful sprinkles for an extra festive touch, inviting smiles from guests of all ages with their playful textures!
- Lemonade: A glass of chilled lemonade offers a refreshing tang that balances the cookies’ airy sweetness while quenching your thirst on a warm day.
- Colorful Cupcakes: For a dessert table that’s all about vibrance, serve mini cupcakes with varied frosting colors, perfectly continuing the carnival theme.
- Candy Floss: Enhance the carnival experience with a side of fluffy, sweet cotton candy, echoing the cookies’ flavor and evoking joyous childhood memories!
- Sweet Tea: A frosty glass of sweet tea serves as a delightful drink option, pairing well with the cookies without overwhelming their flavors.
- Chocolate Dipped Pretzels: The crunchy, salty pretzels dipped in chocolate offer a contrasting bite, turning your treat offering into a delightful mix of sweet and savory.
- Milk: A classic cold glass of milk is the ultimate companion to cookies, enhancing that delightful moment of indulgence!
Variations & Substitutions for Cotton Candy Cookies
Feel free to get creative with these Cotton Candy Cookies to match your mood or occasion!
-
Flavor Swap: Replace cotton candy flavoring with bubblegum extract for a unique spin. The nostalgic taste takes these cookies to a whole new level!
-
Colorful Themes: Use pastel shades like green and yellow to celebrate spring or fall colors for autumn gatherings, making your cookies visually appealing for any occasion.
-
Sprinkle Surprise: Add candy sprinkles or edible glitter on top before baking to enhance the festive look. It adds a delightful crunch with added sweetness that makes everyone smile!
-
Nutty Twist: Fold in chopped nuts such as pistachios or walnuts for a delicious crunch. The added texture complements the softness of the cookie perfectly, creating delightful contrast.
-
Chocolate Chip Delight: Mix in mini chocolate chips for a fun chocolatey burst. They balance out the sweetness and add an extra layer of flavor in every delightful bite.
-
Lower Sugar: Cut back the sugar by substituting with a sugar alternative like coconut sugar. This tweak keeps the sweetness while offering a different flavor profile.
-
Frosted Fusion: After baking, top with a light frosting of your choice, making them even more indulgent. Try pairing them with a strawberry frosting for a surprising fruitiness!
-
Bite-Sized Treats: Create mini versions of these cookies by using a smaller scoop. They’re perfect for gatherings and pair beautifully with other whimsical treats like Pistachio Shortbread Cookies or Filled Snowball Cookies for a delightful dessert spread.

Cotton Candy Cookies Recipe FAQs
What’s the best way to select ripe ingredients for cotton candy cookies?
Absolutely! Using high-quality ingredients enhances the flavor of your cotton candy cookies. For the best butter, opt for a brand that is rich in creaminess—look for a high-fat content. Ensure your eggs are fresh (check the expiration date on the carton) for optimal binding and texture. As for the cotton candy flavoring extract, it should be vibrant in color and aroma—avoid any that smell off or have a color that appears faded.
How should I store my cotton candy cookies, and how long will they last?
I recommend storing your delicious cotton candy cookies in an airtight container at room temperature. They will stay fresh for about 3-4 days. If you prefer them a bit firmer, refrigerating can help, and they’ll be good for up to a week. Just ensure they are wrapped well to prevent drying out!
Can I freeze cotton candy cookie dough, and how should I do it?
Very much! To freeze the dough, first scoop the shaped cookie balls onto a tray lined with parchment paper, placing them slightly apart. Freeze them until fully firm, which usually takes about 1-2 hours. Afterward, transfer the balls to a resealable freezer bag or airtight container and freeze for up to 3 months. When you’re ready to bake, you can bake them straight from the freezer—just add a couple of extra minutes to the baking time.
What if my cotton candy cookie dough is too sticky to handle?
If you find your dough is too sticky, don’t fret! Simply refrigerate it for 10-15 minutes. This brief cooling period allows the butter to firm up, making the dough easier to scoop and shape without losing that delightful cotton candy swirl.
Are cotton candy cookies safe for dogs or pets?
Not at all! While the ingredients in cotton candy cookies are generally safe for humans, many are not suitable for pets, especially the sugar and artificial flavorings. Dogs can’t process sugar effectively, and some flavorings may even be toxic to them. It’s best to keep these sweet treats far away from your furry friends!
Can I use other flavors or colors for my cotton candy cookies?
Absolutely! Experimenting is part of the fun. If you’re looking for a different flavor profile, consider swapping the cotton candy extract for bubblegum or even strawberry for a fresh twist! As for colors, let your creativity shine—pastel greens and yellows for spring celebrations or vibrant reds and blues for themed gatherings can make a delightful difference!

Delicious Cotton Candy Cookies for Colorful Celebrations
Ingredients
Equipment
Method
- Preheat your oven to 375°F (190°C) and line a baking sheet with parchment paper.
- In a large mixing bowl, cream together the softened butter and granulated sugar until light and fluffy.
- Add the egg, cotton candy flavoring extract, and vanilla extract; mix until well combined.
- Sift in the flour, baking powder, baking soda, and salt; mix until a soft dough forms.
- Divide dough into two bowls, adding pink food coloring to one and blue to the other.
- Form cookie balls using a scoop of pink and a scoop of blue dough, creating a half-pink, half-blue ball.
- Place cookie dough balls on the prepared baking sheet, leaving space for spreading.
- Bake for about 12 minutes or until edges are golden; centers should remain soft.
- Let cookies cool on the baking sheet for a few minutes before transferring to a cooling rack.