Advertisement
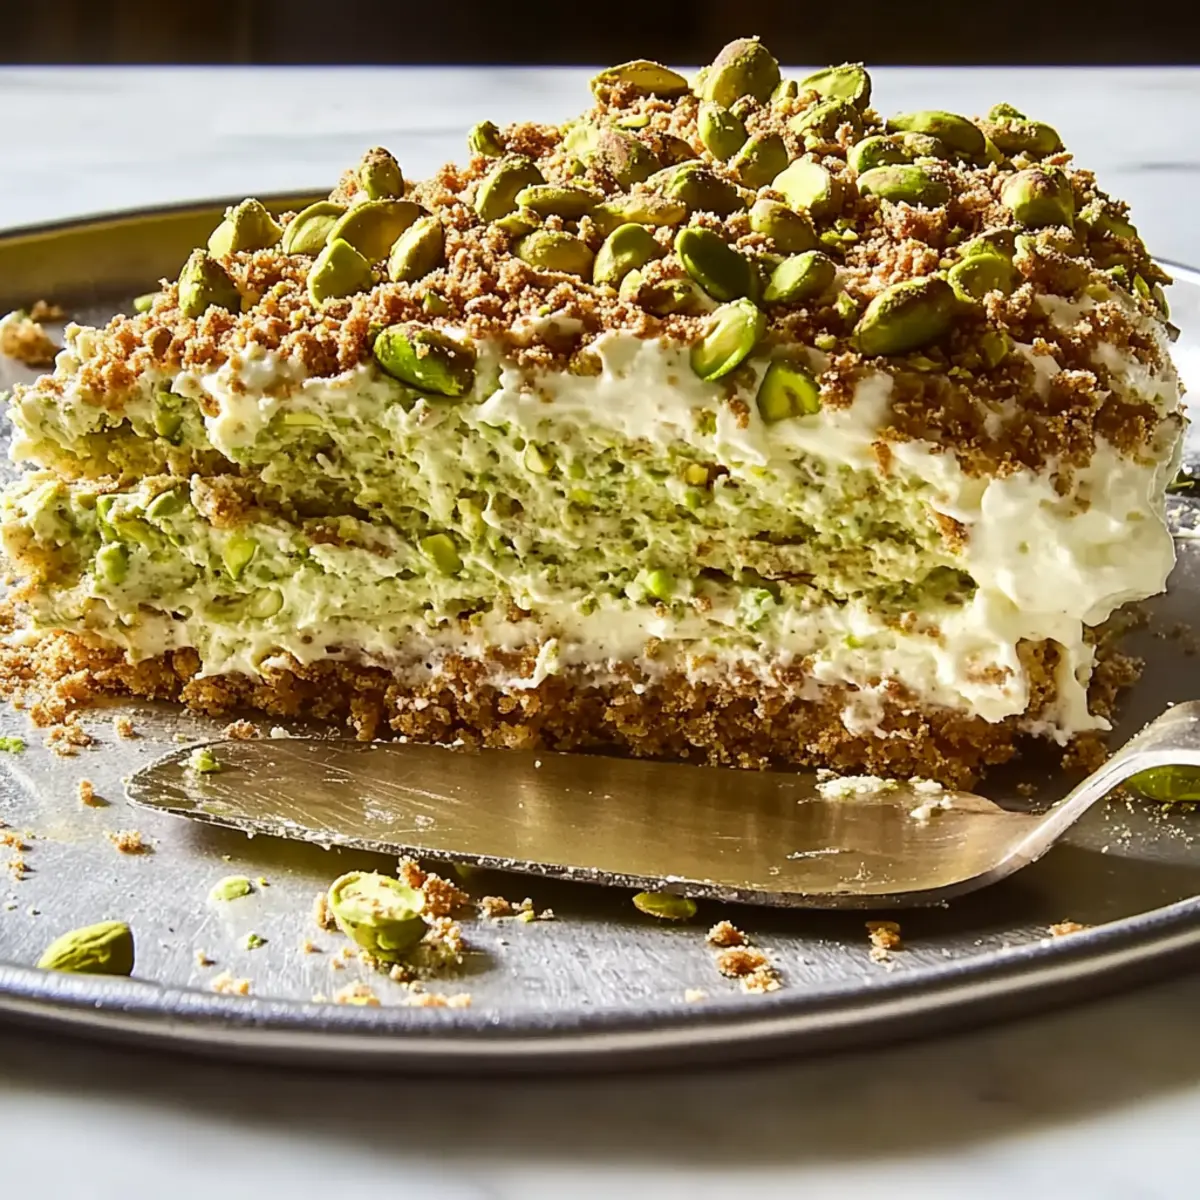
The kitchen was filled with the sweet, nutty aroma of pistachios when I decided to give a classic Italian dessert a unique spin. Enter my No-Bake Pistachio Tiramisu—a delightful twist on a beloved favorite that’s as creamy as it is colorful! This recipe sets itself apart with its lighter texture and refreshing flavors, making it an ideal treat for those spring gatherings. Plus, it requires minimal effort, allowing you to whip it up in no time while still impressing your guests. With layers of coffee-soaked ladyfingers and a rich mascarpone-pistachio blend, this dessert is bound to become your new go-to. Are you ready to dive into this creamy, dreamy pistachio paradise?
Why is Pistachio Tiramisu a Must-Try?
Unique Twist: This no-bake Pistachio Tiramisu reimagines the classic dessert, infusing it with a nutty flavor that’s both refreshing and indulgent.
Effortless Delight: With simple steps, you can create an impressive dessert that looks as good as it tastes, perfect for novice and seasoned bakers alike.
Flavor Harmony: The blend of creamy mascarpone and coffee-soaked ladyfingers offers a delightful balance of taste and texture, making each bite a treat.
Versatile Structure: Customize your dessert with variations like fresh berries or different nut creams for added creativity, ensuring you can cater to every palate.
Time-Saving: This recipe is not only quick to prepare but also a make-ahead option that enhances the flavors, perfect for busy days!
Embrace the joy of homemade desserts with this Pistachio Tiramisu, and if you’re looking for more pistachio inspiration, check out Pistachio Cream Stuffed for another delightful recipe!
Pistachio Tiramisu Ingredients
• Get ready to create a culinary masterpiece!
Advertisement
For the Cream Mixture
• Heavy Cream – Provides richness and structure to the whipped cream.
Note: Use cold for optimal whipping.
• Confectioners’ Sugar – Adds sweetness to the whipped cream without grittiness.
Substitution: Can use granulated sugar but may require more mixing.
• Kosher Salt – Enhances the flavors in the mascarpone mixture.
• Mascarpone – Key ingredient for the creamy filling; provides a rich texture.
• Pistachio Cream – Acts as a flavoring and coloring agent; replaces traditional chocolate or coffee flavors.
Note: Use store-bought for convenience.
For the Ladyfinger Layer
• Ladyfingers – The base of the dessert; soaks up coffee flavor.
Substitution: Can use sponge cake in a pinch.
• Cold Espresso or Strongly Brewed Coffee – Soaks the ladyfingers, imparting rich coffee flavor.
Tip: May add a splash of coffee liqueur for extra depth.
• Almond Extract – Adds a subtle nutty note that complements the pistachios.
For the Topping
• Raw Pistachios (Crushed) – For topping; adds crunch and visual appeal.
Step‑by‑Step Instructions for Pistachio Tiramisu
Step 1: Whip the Cream
In a large mixing bowl, pour in the cold heavy cream and sift in the confectioners’ sugar. Using an electric mixer, beat on medium speed until soft, medium peaks form, which should take about 3-5 minutes. Be careful not to overwhip; you want a smooth texture without any graininess. Set the whipped cream aside for later use.
Step 2: Prepare the Mascarpone Mixture
In a separate bowl, combine the mascarpone and pistachio cream. Using a spatula, mix thoroughly until the mixture appears smooth and light green with streaks of pistachio. This should take about 2-3 minutes. The creamy texture is essential, so take your time blending until it’s homogeneous and inviting!
Step 3: Combine Both Mixtures
Gently fold one-third of the whipped cream into the mascarpone mixture to lighten it. Use a spatula and employ a gentle folding motion to incorporate air, keeping the mixture fluffy. Once combined, add the remaining whipped cream and fold carefully until no streaks remain, ensuring the final pistachio tiramisu mix is luscious and airy.
Step 4: Dip the Ladyfingers
In a shallow dish, combine the cold espresso and almond extract. Quickly dip each ladyfinger into this mixture—around 1 second per side; avoid sogginess. Arrange half of the dipped ladyfingers in a single layer at the bottom of a 13″x9″ pan, ensuring they soak up the coffee flavor without becoming too mushy.
Step 5: Layer the Cream Mixture
Spread half of the creamy pistachio mixture evenly over the layer of dipped ladyfingers using a spatula. Make sure it’s smooth and covers all edges. This creamy layer should be thick and inviting, creating a beautiful contrast with the coffee-infused ladyfingers below, and bringing the texture of the pistachio tiramisu to life.
Step 6: Repeat Layering
Add another layer of quickly dipped ladyfingers on top of the creamy mixture, ensuring each piece is well-soaked. Follow with the remaining pistachio cream mixture, smoothing it out evenly with your spatula. This will give your pistachio tiramisu those beautiful layered visuals that are perfectly appealing to the eye.
Step 7: Chill the Tiramisu
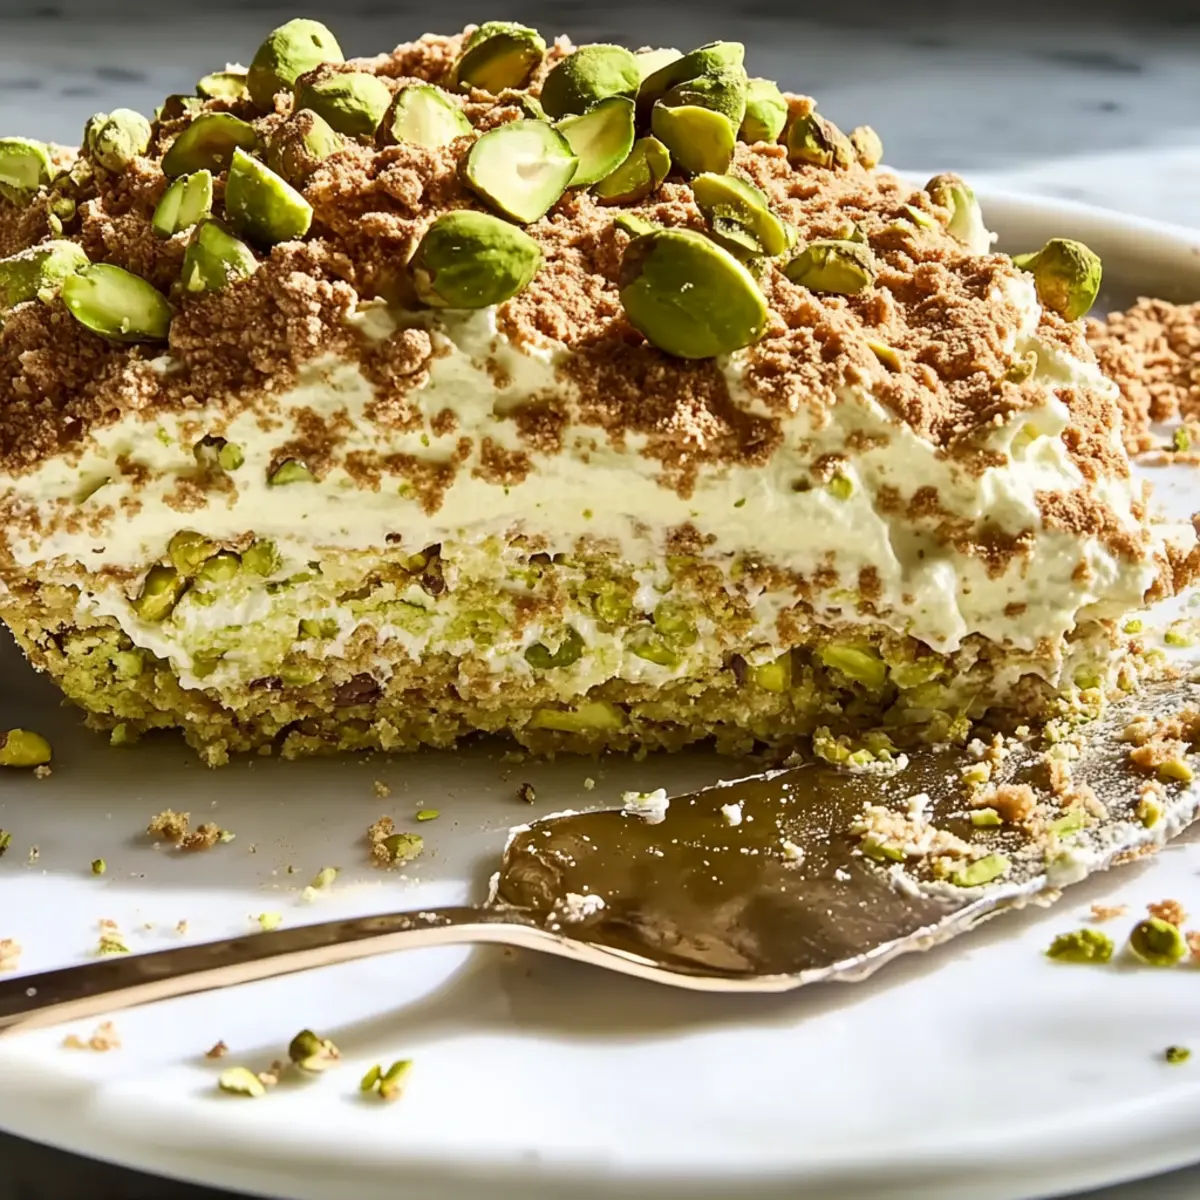
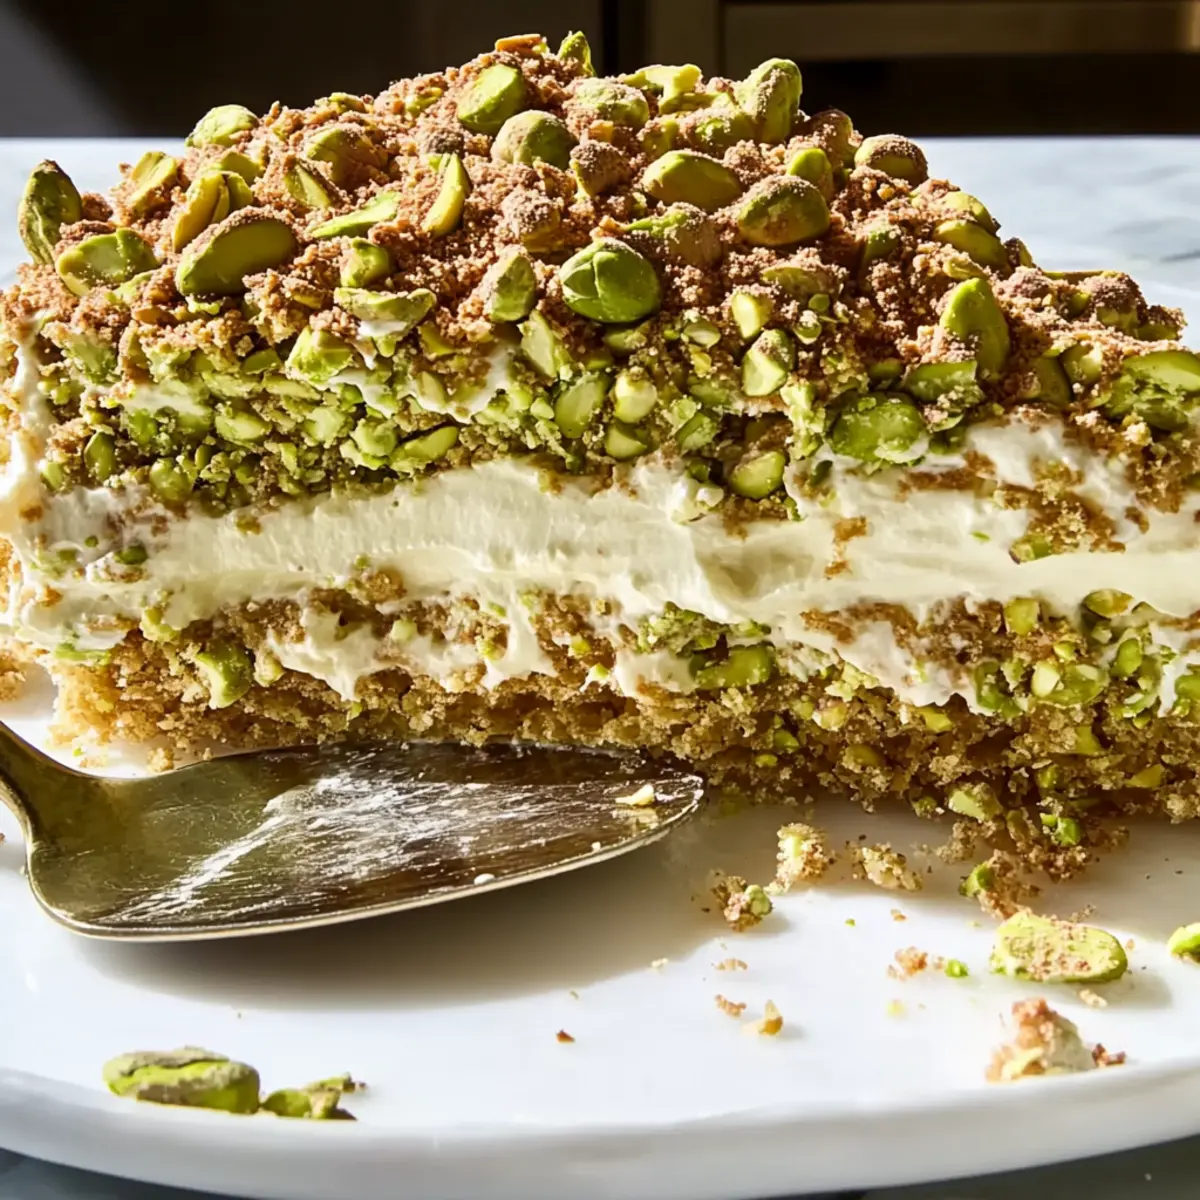
Top your layered pistachio tiramisu with the crushed pistachios for added texture and visual appeal. Cover the pan tightly with plastic wrap and refrigerate for at least 3 hours, although overnight is best. This chilling time allows the flavors to meld beautifully, resulting in an irresistible dessert that’s well worth the wait!
What to Serve with No-Bake Pistachio Tiramisu
Elevate your dessert experience with these delightful pairings that perfectly complement the creamy layers of your Pistachio Tiramisu.
- Creamy Mashed Potatoes: Their buttery richness contrasts wonderfully with the airy dessert, adding a savory touch to your meal.
- Zesty Citrus Salad: A refreshing mix of oranges and grapefruits adds brightness to the table, balancing the creaminess with a burst of flavor.
Delight your guests with this pairing!
-
Italian Espresso: A robust cup contrasts beautifully with the gentle sweetness of the tiramisu, rounding out the meal splendidly.
-
Chocolate Hazelnut Biscotti: Their crunch offers a perfect textural contrast and enhances the nutty flavors of the pistachios.
-
Sparkling Water with Mint: The refreshing bubbles cleanse the palate between bites, enhancing the dessert experience.
-
Fresh Berries: Serve on the side for a splash of color and a tangy contrast that complements the pistachio flavor.
-
Whipped Cream: A dollop atop each slice enhances the creaminess and adds a decadent finish.
-
Chocolate Sauce Drizzle: For those who love a bit of indulgence, a drizzle over the tiramisu adds an extra layer of flavor.
-
Vanilla Ice Cream: A scoop alongside your pistachio treat not only heightens the dessert’s overall experience but brings delightful creaminess too!
Expert Tips for Pistachio Tiramisu
-
Quick Dipping: Dip ladyfingers for just 1 second to prevent sogginess while soaking up the coffee flavor; soggy layers can ruin the texture of your pistachio tiramisu.
-
Chill Time Matters: Refrigerate for at least 3 hours or overnight for best results; this ensures the flavors meld and the dessert sets beautifully.
-
Creamy Consistency: Be gentle when folding the whipped cream into the mascarpone mixture; overmixing can lead to a grainy texture in your luscious pistachio tiramisu.
-
Use Cold Ingredients: Ensure your heavy cream is cold before whipping; this helps achieve the perfect peaks and maintains a rich consistency in the final product.
-
Customization Options: Feel free to experiment with different nut creams like hazelnut or add fresh berries for a delightful twist to your pistachio tiramisu.
Make Ahead Options
These Pistachio Tiramisu layers are perfect for meal prep enthusiasts! You can prepare the creamy mascarpone mixture and dip the ladyfingers up to 24 hours in advance, allowing the flavors to deepen while saving time on busy days. Simply whip the cream and mix it with the mascarpone and pistachio cream, then store it in an airtight container in the refrigerator. When ready to serve, layer your prepped ladyfingers with the cream mixture, top with crushed pistachios, and chill for at least 3 hours before enjoying. This way, you’ll have an effortlessly delicious dessert that’s just as delightful as if you made it fresh!
Storage Tips for Pistachio Tiramisu
-
Fridge: Store your Pistachio Tiramisu covered in the refrigerator for up to 5 days. This keeps it fresh and creamy for you to enjoy later.
-
Freezer: For longer storage, you can freeze it, wrapped tightly in plastic and foil, for up to 2 months. Thaw overnight in the fridge before serving.
-
Serving: When ready to enjoy, serve chilled. A light dusting of cocoa powder or an extra sprinkle of crushed pistachios on top can elevate the presentation.
-
Make-Ahead: Prepare your Pistachio Tiramisu a day in advance. This not only saves time but also allows the flavors to meld beautifully for an even more delightful experience.
Pistachio Tiramisu Variations & Substitutions
Feel free to get creative and tailor this delicious dessert to your preferences with these fun twists!
-
Vanilla Variation: Replace almond extract with vanilla extract for a classic and comforting flavor.
-
Berry Burst: Layer in fresh berries between the cream and ladyfingers for a refreshing twist that adds color and tartness.
-
Nut Cream Swap: Experiment with different nut creams, like hazelnut or walnut, to discover new flavors that bring a unique flair to your pistachio tiramisu.
-
Caffeine Fix: For a coffee-loving audience, incorporate a splash of coffee liqueur into the espresso mixture to elevate the richness of the dessert even further.
-
Chocolate Drizzle: Add a drizzle of melted chocolate on top before serving for an indulgent touch; it pairs beautifully with the nutty flavors.
-
Dairy-Free Delight: Substitute mascarpone with a dairy-free cream cheese alternative to make your tiramisu suitable for lactose-intolerant friends, while still keeping it rich and creamy.
-
Sponge Cake Swap: If ladyfingers are unavailable, use sponge cake as a substitute; just be sure to soak it in the coffee mixture briefly.
-
Crushed Nut Topping: Instead of crushed pistachios, try using crushed pecans or almonds on top for a different texture and flavor contrast.
Feel inspired? Don’t forget to check out delightful recipes like Cranberry Pistachio Snowball and Cherry Pistachio Cheesecake for more delicious pistachio treats!
Pistachio Tiramisu Recipe FAQs
What is the best way to select ripe pistachios for this recipe?
Absolutely! When choosing pistachios, look for ones that are vibrant green and not overly dull or faded. Avoid any shells that are closed or have dark spots; they may not be fresh. If possible, opt for raw pistachios, as they hold the most flavor and crunch!
How should I store leftover Pistachio Tiramisu?
Very important! Store your Pistachio Tiramisu covered in the refrigerator for up to 5 days. This keeps the delightful creaminess intact without drying out. Just make sure to cover it tightly with plastic wrap or foil to prevent it from absorbing any other odors in your fridge.
Can I freeze Pistachio Tiramisu, and if so, how?
Definitely! To freeze your Pistachio Tiramisu, wrap it tightly in plastic wrap, followed by aluminum foil to prevent freezer burn. You can store it in the freezer for up to 2 months! To enjoy, simply thaw it in the refrigerator overnight before serving, ensuring it retains its creamy texture.
What should I do if my whipped cream is grainy?
Oh no! If your whipped cream turns grainy, it’s likely overwhipped. To fix this, you can try folding in a little cold heavy cream, beating it gently until you reach the desired consistency. Going forward, keep a close watch while whipping and stop as soon as you reach medium peaks.
Are there any dietary considerations for this Pistachio Tiramisu?
Absolutely! If you have nut allergies, be cautious with this recipe, as pistachios are a key ingredient. Additionally, you might want to use a dairy-free mascarpone alternative for a vegan-friendly version. As always, check the labels on your ingredients to ensure they meet your dietary needs!
Can I prepare Pistachio Tiramisu a day ahead of time?
Yes, you can! In fact, making your Pistachio Tiramisu a day in advance enhances the flavors and allows them to meld beautifully. This is a fantastic time-saving tip, perfect for when you’re hosting gatherings or need to plan ahead for busy days!
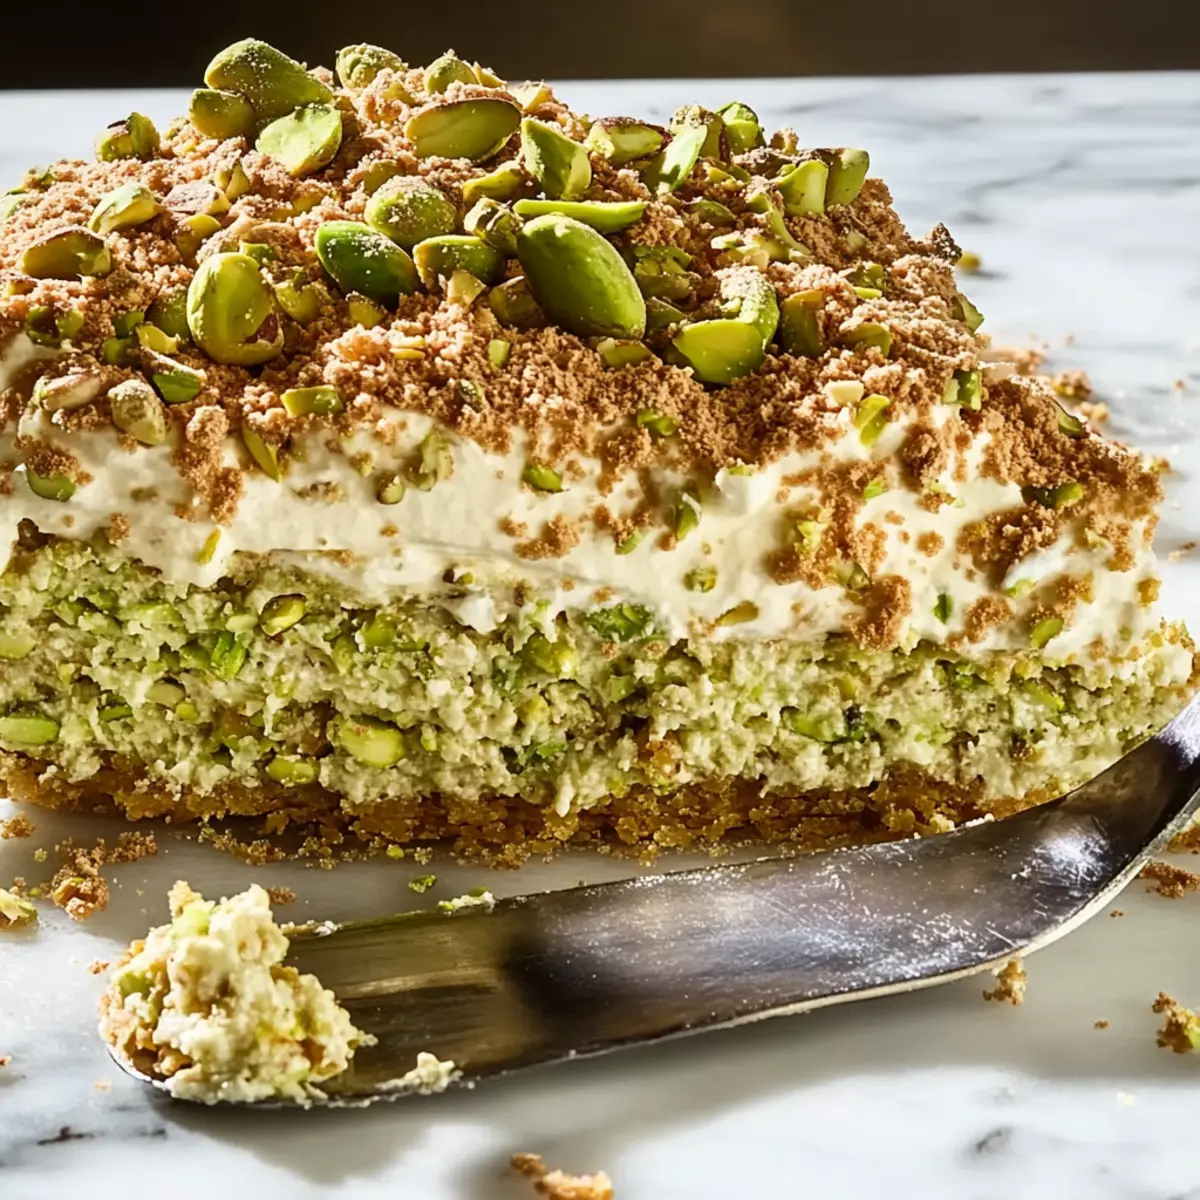
Creamy Pistachio Tiramisu is a No-Bake Delight
Ingredients
Equipment
Method
- In a large mixing bowl, pour in the cold heavy cream and sift in the confectioners' sugar. Using an electric mixer, beat on medium speed until soft, medium peaks form, about 3-5 minutes. Set the whipped cream aside.
- In a separate bowl, combine the mascarpone and pistachio cream. Mix thoroughly until smooth and light green with streaks of pistachio, about 2-3 minutes.
- Gently fold one-third of the whipped cream into the mascarpone mixture to lighten it. Add the remaining whipped cream and fold carefully until no streaks remain.
- Combine the cold espresso and almond extract in a shallow dish. Quickly dip each ladyfinger into this mixture for about 1 second per side, then arrange half of the dipped ladyfingers in a single layer at the bottom of a 13x9 pan.
- Spread half of the creamy pistachio mixture evenly over the layer of dipped ladyfingers using a spatula.
- Add another layer of quickly dipped ladyfingers on top of the creamy mixture, followed by the remaining pistachio cream mixture, smoothing it out evenly.
- Top the dessert with crushed pistachios. Cover tightly with plastic wrap and refrigerate for at least 3 hours, preferably overnight.