Go Back
+ servings
Merry

Butterfinger Balls

Indulge in the perfect combination of creamy peanut butter, crunchy Butterfinger candy, and rich milk chocolate with these no-bake Butterfinger Balls. Quick to make and irresistibly delicious, they’re perfect for parties, gifts, or satisfying your sweet tooth at home.
Prep Time 15 minutes
Total Time 1 hour
Servings: 24 balls
Course: Dessert
Cuisine: American

Ingredients
  

  • 1 cup creamy peanut butter
  • 2 cups powdered sugar
  • 1 teaspoon vanilla extract
  • 2 cups crushed Butterfinger candy bars
  • 12 oz milk chocolate melted

Method
 

  1. Prepare the Peanut Butter Mixture:In a large mixing bowl, combine the creamy peanut butter, powdered sugar, and vanilla extract. Mix thoroughly until smooth and well combined.
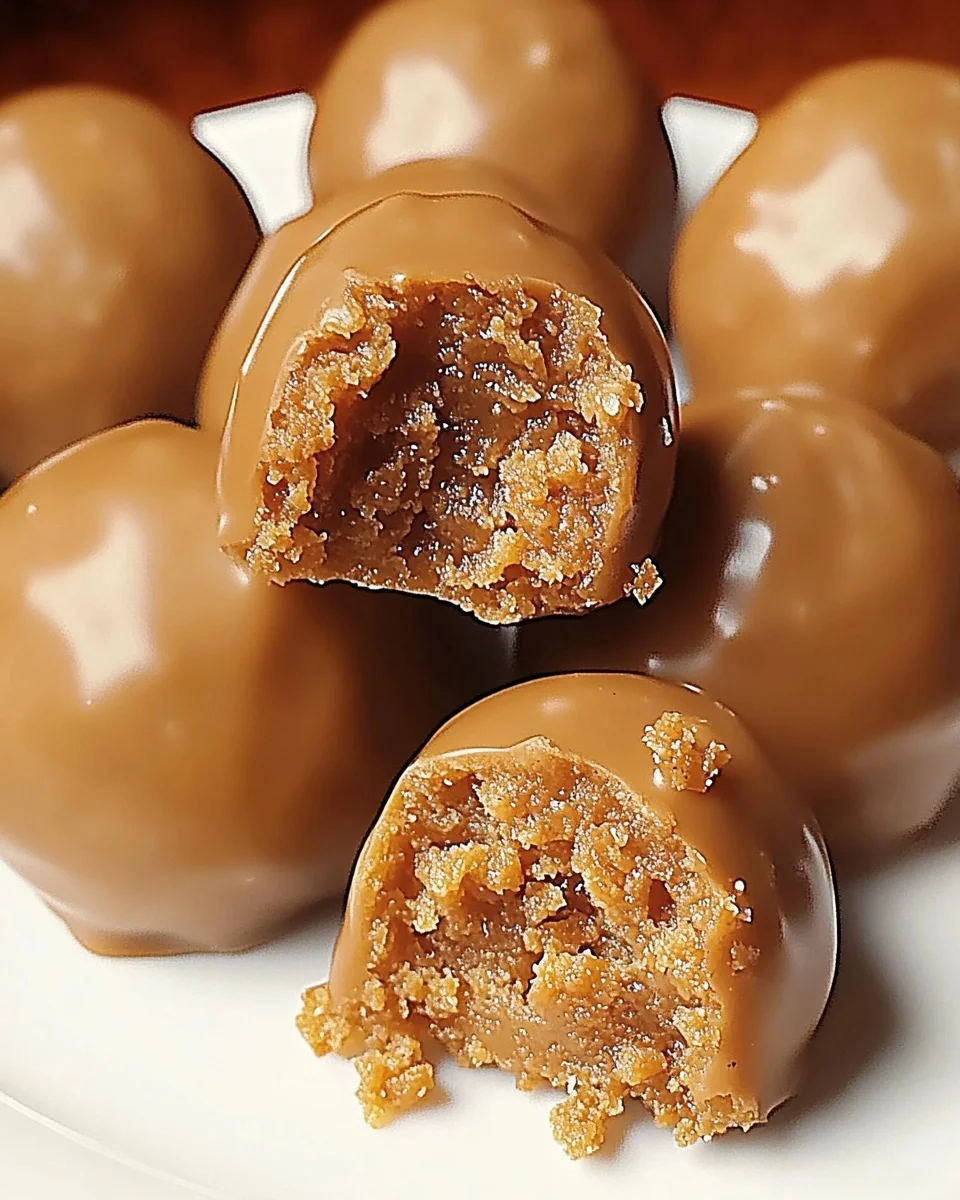
  2. Add the Butterfinger Crunch:Stir in the crushed Butterfinger candy bars, ensuring the pieces are evenly distributed throughout the mixture.
  3. Shape the Balls:Scoop out small portions of the mixture (about 1 tablespoon) and roll them into 1-inch balls using your hands. Place the balls on a baking sheet lined with parchment paper.
  4. Freeze the Balls:Transfer the baking sheet to the freezer and let the balls chill for 30 minutes. This step makes them firm and easier to coat in chocolate.
  5. Dip in Chocolate:Melt the milk chocolate in a microwave-safe bowl, stirring every 20 seconds until smooth. Use a fork or dipping tool to coat each ball in melted chocolate, letting the excess drip off before placing them back on the parchment paper.
  6. Set the Chocolate:Refrigerate the coated Butterfinger Balls for 15 minutes or until the chocolate is completely set.

Notes

  • For a nut-free version, substitute peanut butter with sunflower seed butter or almond butter.
  • If you prefer a richer flavor, use dark chocolate instead of milk chocolate.
  • To store, place the Butterfinger Balls in an airtight container in the refrigerator for up to one week or freeze for up to three months.
  • For a decorative touch, drizzle white chocolate over the top after the coating has set.

Tried this recipe?

Let us know how it was!