Ingredients
Equipment
Method
Step-by-Step Instructions
- Preheat your oven to 350°F (175°C). In a mixing bowl, prepare the cake mix according to the package instructions. Fill each sugar cone with about 2 tablespoons of the batter, ensuring not to overfill. Place them upright on a baking sheet and bake for 15-18 minutes until a toothpick inserted comes out clean. Allow the cones to cool completely before moving to the next step.
- Carefully trim any excess cake batter around the edges of the cooled cones for a neat appearance. Using the black color mist food coloring spray, evenly coat the outside of each cone to create a spooky black hat effect. Allow the cones to dry completely to prevent smudging during assembly.
- While the cones are drying, divide the creamy white decorator icing into several small bowls. Add lemon yellow to one bowl and mix until you achieve your desired shade, reserving other colors like rose or violet for additional decoration. Fit piping bags with fine tips and fill them with your tinted icing for detailed decorating later.
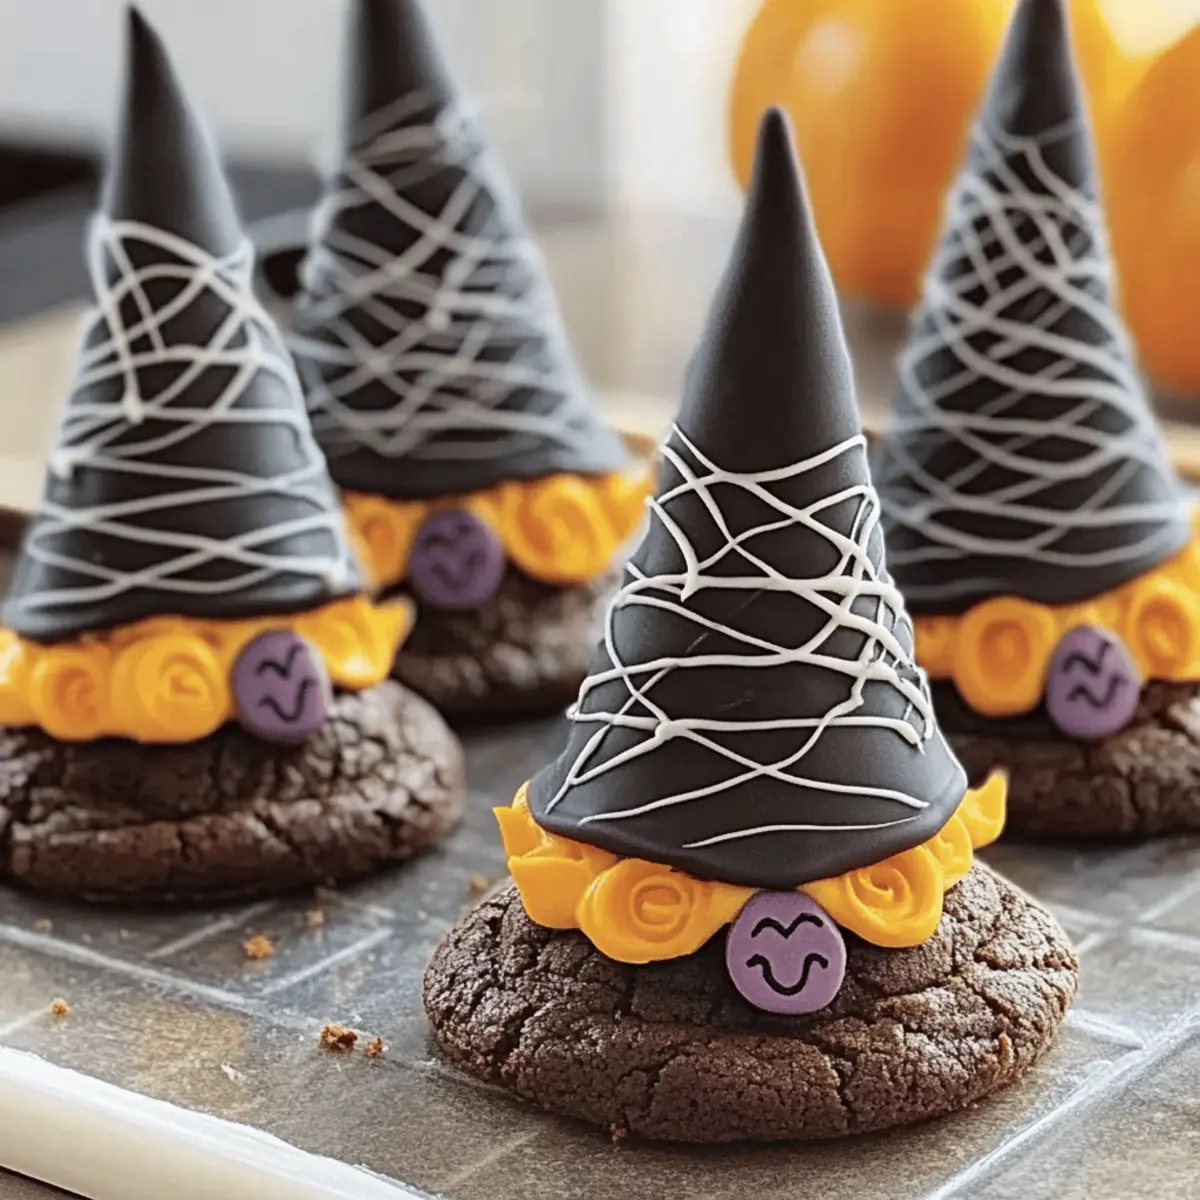
- To construct your Fun Halloween Witch Hat Cookies, pipe a generous amount of orange icing onto the top of each cookie as adhesive. Carefully place a prepared sugar cone on top of the icing, then use the piping bag filled with icing to pipe around the base of the cone, securing it to the cookie. Allow the icing to set slightly before moving forward.
- Once the initial icing has set firm, take your yellow icing and carefully pipe a small buckle around the band of each cone to enhance the witch hat’s charm. Let the decoration dry completely for a polished finish.
Nutrition
Notes
Store cookies in an airtight container at room temperature for up to 5 days. If making in advance, freeze them wrapped for freshness!
