Advertisement
Easter has always been a time of joy, laughter, and family gatherings. As a child, I remember waking up to the excitement of an Easter egg hunt, baskets filled with chocolate, and the smell of something sweet baking in the kitchen. But the highlight of the day was always the bunny cake. My grandmother, who had a knack for turning simple ingredients into edible masterpieces, would bring out a cake shaped like a bunny, decorated with coconut “fur” and candy accents. It wasn’t just a dessert; it was a centerpiece, a tradition, and a symbol of the love and effort put into making the holiday special.
Now, years later, I continue this tradition with my own family, passing down the joy of making the Hippity Hop Bunny Cake. Whether you’re baking this cake for a family gathering, an Easter party, or just for fun, it’s guaranteed to bring smiles to everyone’s faces. This whimsical treat is not only delicious but also a wonderful way to create memories in the kitchen with loved ones.
The Story Behind the Bunny Cake
The bunny cake has been a beloved Easter tradition for generations. Its origins can be traced back to home bakers who wanted to create a festive and playful dessert that captured the spirit of the holiday. While some families bake lamb-shaped cakes for Easter, the bunny cake gained popularity due to its association with the Easter Bunny, a symbol of spring, renewal, and new beginnings.
Over the years, variations of the bunny cake have emerged, with different flavors, decorations, and techniques. Some bakers use coconut to mimic the soft fur of a rabbit, while others prefer smooth buttercream. No matter the variation, the essence of the bunny cake remains the same—a delightful, family-friendly dessert that brings joy to all who make and eat it.
Advertisement
Why You’ll Love This Easter Bunny Cake
- Easy to Make: Despite its impressive appearance, this cake requires simple ingredients and techniques.
- Fun for Kids: Letting children help with decorating makes for a wonderful bonding activity.
- A Stunning Centerpiece: This cake is not just dessert—it’s a showstopper for your Easter table.
- Customizable: Change up the flavors, colors, and decorations to make it uniquely yours.
- Brings Back Childhood Memories: Whether it’s a new tradition or an old favorite, this cake is full of nostalgia.
Hippity Hop Bunny Cake
Ingredients:
For the Cake:
- 1 package white cake mix (regular size)
- Ingredients as per package instructions (typically eggs, water, and oil)
For the Frosting and Decoration:
- 1 can (16 ounces) vanilla frosting
- 1¾ cups sweetened shredded coconut, divided
- 2 black jelly beans (for eyes)
- 1 pink jelly bean (for nose)
- 2 pink marshmallows (for cheeks)
- 1 large marshmallow (for tail)
- Pink decorator sugar
- 2 black licorice whips (for whiskers)
- Pink construction paper or card stock (for ears)
Directions:
- Bake the Cake:
- Prepare the white cake mix according to the package instructions.
- Pour the batter into two greased and floured 9-inch round baking pans.
- Bake as directed, then allow the cakes to cool completely on wire racks.
- Assemble the Bunny Shape:
- Place one whole cake layer in the center of a large platter; this will be the bunny’s head.
- From the second cake layer, cut two football-shaped pieces to create the ears.
- The remaining center piece will form the bow tie.
- Position the ears at the top of the head and the bow tie below the head on the platter.
- Frost the Cake:
- Frost the top and sides of the cake with vanilla frosting, ensuring all pieces are covered.
- Decorate the Bunny:
- Sprinkle 1½ cups of shredded coconut over the entire cake to create a fur-like texture.
- Use black jelly beans for the eyes and a pink jelly bean for the nose.
- Place pink marshmallows on either side of the nose to represent cheeks.
- Cut the black licorice into six short pieces and insert three on each side of the nose for whiskers.
- Dip the large marshmallow in water, then roll it in the remaining shredded coconut to create the tail; attach it to the lower side of the bow tie.
- For the ears, cut two ear shapes from pink construction paper or card stock, sprinkle with pink decorator sugar for sparkle, and insert them into the top of the cake.
Nutrition Information (per serving):
- Calories: 479
- Total Fat: 28g
- Saturated Fat: 17g
- Cholesterol: 93mg
- Sodium: 261mg
- Total Carbohydrates: 55g
- Sugars: 45g
- Protein: 4g
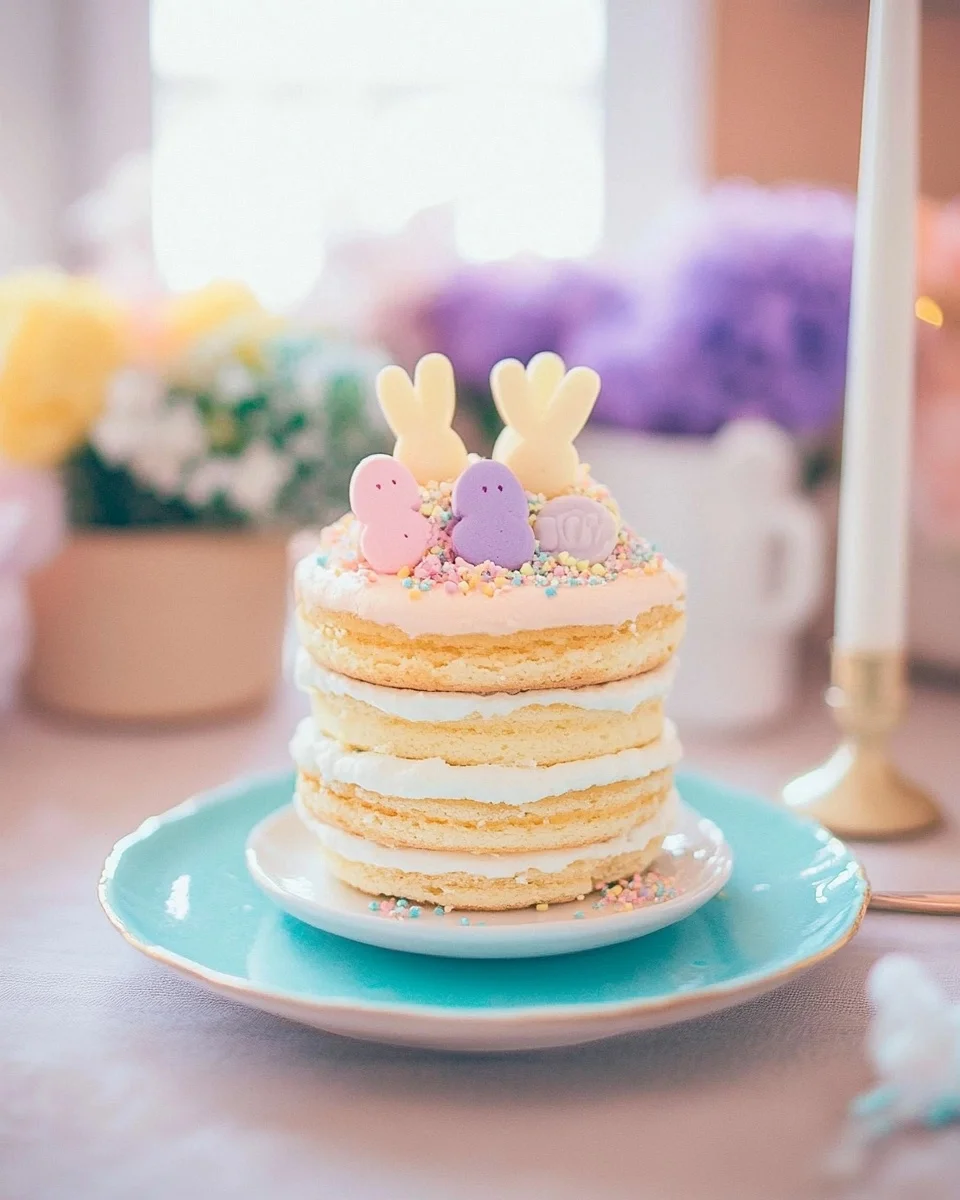
Note: This festive bunny-shaped cake is perfect for Easter celebrations and is sure to delight both children and adults alike. Feel free to customize the decorations to suit your preferences.
Creative Ways to Decorate Your Bunny Cake
The classic bunny cake is covered in white frosting and sprinkled with shredded coconut for a fluffy effect, but there are plenty of ways to make it your own:
1. Chocolate Bunny Cake
If you’re a chocolate lover, swap out the vanilla frosting for chocolate buttercream and use crushed chocolate cookies for a “fur” texture. This creates a charming brown bunny that looks as delicious as it tastes.
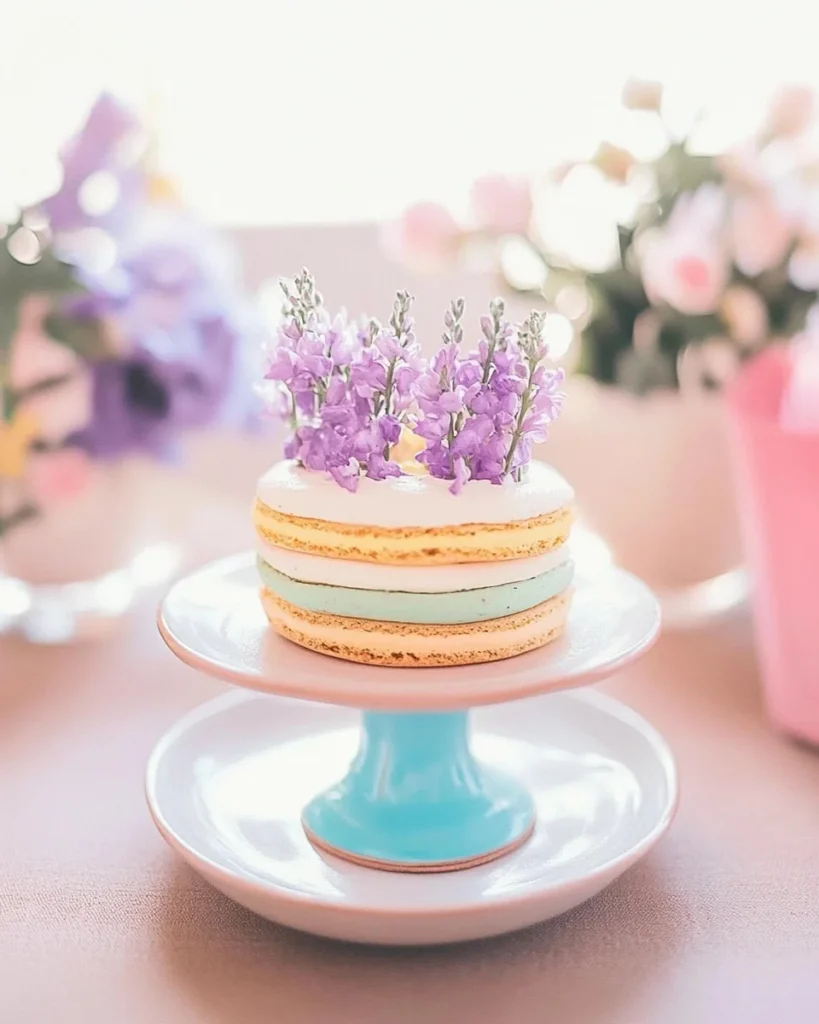
2. Pastel Bunny Cake
For a more colorful approach, use pastel-colored frosting, such as pink, lavender, or baby blue. Pastel sprinkles or sanding sugar can add a whimsical touch.
3. Fuzzy Bunny Effect
Instead of coconut, use a grass piping tip to create a fur-like texture with frosting. This works especially well if you want a smoother appearance without the crunch of coconut.
4. Candy Explosion Bunny
Incorporate mini chocolate eggs, jelly beans, or sprinkles around the cake to make it extra festive. You can even hide a few chocolate eggs near the bunny’s bow tie for a surprise treat.
5. 3D Bunny Cake
If you’re feeling adventurous, you can bake and carve a standing bunny cake instead of the traditional flat version. This requires a bit more effort but is sure to impress!
How to Make the Perfect Bunny Ears
The bunny’s ears are a key feature of this cake, and there are different ways to create them:
- Edible Option: Use fondant or modeling chocolate to shape the ears and insert them into the cake.
- Paper Ears: If you prefer a simple approach, cut ear shapes out of pink construction paper or card stock, sprinkle them with edible glitter, and stick them into the cake.
- Marshmallow Ears: Slice large marshmallows diagonally, dip the sticky side in pink sugar, and attach them to the cake for a fluffy look.
Tips for a Flawless Bunny Cake
- Let the Cake Cool Completely – If you frost a warm cake, the frosting will melt and slide off. Patience is key!
- Use a Serrated Knife for Clean Cuts – When cutting out the ears and bow tie from the cake, a serrated knife ensures smooth edges.
- Apply a Crumb Coat – A thin layer of frosting before the final coat helps seal in any crumbs, giving a polished look.
- Chill Before Decorating – If your frosting becomes too soft, pop the cake in the fridge for 15-20 minutes to firm it up.
- Experiment with Flavors – Vanilla is classic, but you can try flavors like lemon, strawberry, or almond for a fun twist.
Frequently Asked Questions
1. Can I make this cake ahead of time?
Yes! You can bake the cake layers a day in advance and store them, wrapped tightly, at room temperature. Frost and decorate the cake the day you plan to serve it for the freshest appearance.
2. How do I store leftovers?
Leftover bunny cake should be stored in an airtight container in the refrigerator. It will stay fresh for up to three days. Let it sit at room temperature for 15-20 minutes before serving.
3. Can I use a homemade cake recipe instead of a cake mix?
Absolutely! A homemade vanilla or butter cake works beautifully. Just ensure the batter yields enough for two 9-inch round cakes.
4. What if I don’t like coconut?
You can skip the coconut and smooth out the frosting instead. Alternatively, use grated white chocolate for a similar fluffy effect.
5. How can I make this cake gluten-free?
Substitute the cake mix for a gluten-free cake mix or homemade gluten-free cake recipe. Also, double-check that any decorations used (like candy) are gluten-free.
6. Can I make a mini version of this cake?
Yes! Use smaller cake pans or even cupcakes to create individual bunny cakes. These are perfect for kids’ parties or Easter gifts.
Conclusion
The Hippity Hop Bunny Cake is more than just a dessert—it’s a tradition, a creative project, and a way to bring loved ones together. Whether you’re baking it for an Easter celebration, a spring-themed party, or simply to relive childhood memories, this cake is sure to delight.
From the soft, moist cake to the playful decorations, every bite is filled with nostalgia and joy. The best part? You can make it your own with unique decorations and flavors. So, gather your ingredients, invite the kids to help, and have fun creating a whimsical bunny cake that will be remembered for years to come.
Happy Easter and happy baking!
Fluffy Bunny Cake Recipe
Ingredients
Method
- Bake the Cake
- Prepare the cake batter according to package instructions.
- Divide the batter between two greased and floured 9-inch round cake pans.
- Bake as directed, then allow the cakes to cool completely on wire racks.
- Assemble the Bunny Shape
- Place one whole cake layer in the center of a large serving platter to form the bunny’s head.
- Cut two football-shaped pieces from the second cake layer to create the ears.
- The remaining center piece will be used for the bow tie.
- Arrange the ears at the top of the head and the bow tie below the head on the platter.
- Frost the Cake
- Spread vanilla frosting evenly over the top and sides of the cake pieces.
- Decorate the Bunny
- Sprinkle 1½ cups of shredded coconut over the entire cake to give the bunny a fluffy appearance.
- Place black jelly beans for the eyes and a pink jelly bean for the nose.
- Add pink marshmallows to create the bunny’s cheeks.
- Cut the black licorice into small strips and position them as whiskers.
- Dip the large marshmallow in water, roll it in the remaining shredded coconut, and place it as the bunny’s tail.
- Cut two ear shapes from pink construction paper, sprinkle them with pink decorator sugar, and insert them at the top of the cake.
Notes
-
- Ensure the cake is completely cool before frosting to prevent melting.
- If you don’t like coconut, you can skip it or use finely grated white chocolate for texture.
- Store leftovers in an airtight container in the refrigerator for up to three days.
- Get creative with decorations! Use colored frosting, sprinkles, or candy to customize your bunny’s look.