Advertisement
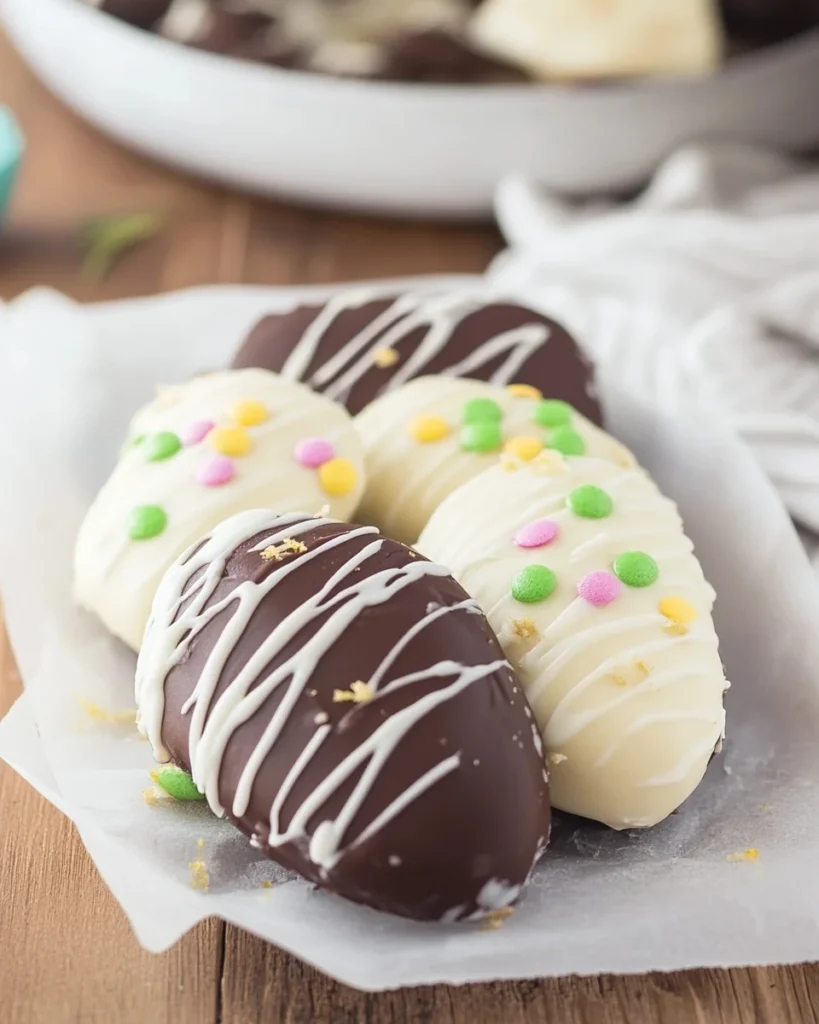
Some desserts have a way of bringing back the best memories. For me, these chocolate-coated peanut butter bars instantly remind me of afternoons spent in my grandmother’s kitchen. She always had a knack for whipping up something sweet without needing a complicated recipe, and these bars were one of her specialties.
I’d sit on the counter, watching her mix the creamy peanut butter with sugar and butter, sneaking tiny spoonfuls when she wasn’t looking. Then came my favorite part—melting the chocolate and spreading it across the top, knowing that in just a couple of hours, we’d have the perfect balance of sweet, salty, and chocolatey goodness waiting for us in the fridge.
Now, whenever I make these bars, I’m reminded that the best desserts aren’t just about taste—they’re about the memories, traditions, and simple joys they bring. Whether you’re making them for a party, a family gathering, or just because you’re craving something sweet, these bars are guaranteed to bring a little happiness with every bite.
Why You’ll Love These Peanut Butter Bars
These bars are everything you love about peanut butter cups—without the hassle of shaping and dipping. Here’s why they’ll become a go-to dessert in your home:
Advertisement
- No baking required – A simple, stress-free treat that sets in the fridge.
- Minimal ingredients – Made with pantry staples you likely already have.
- Quick to prepare – Only takes 10 minutes of active prep time.
- Perfectly balanced – Sweet, salty, and chocolatey all in one bite.
- Great for any occasion – Whether for a party, holiday, or late-night craving, these bars are always a hit
Ingredients:
- 1 cup creamy peanut butter
- ½ cup unsalted butter, melted
- 2 tablespoons brown sugar
- Pinch of salt
- 2 cups powdered sugar
- 16 ounces milk chocolate chips (see notes for alternatives)
Directions: Crafting the Ultimate No-Bake Treat
Step 1: Create the Peanut Butter Base
- In a mixing bowl, combine peanut butter, melted butter, brown sugar, and a pinch of salt.
- Stir until smooth, then gradually add powdered sugar, mixing until fully incorporated.
- Press the mixture evenly into a lined 9×9-inch baking dish.
Step 2: Melt the Chocolate
- In a microwave-safe bowl, melt milk chocolate chips in 30-second intervals, stirring in between until smooth.
- Pour the melted chocolate over the peanut butter layer and spread evenly.
Step 3: Chill & Serve
- Refrigerate for 1-2 hours, or until firm.
- Cut into squares and enjoy!
Nutritional Breakdown: A Decadent Treat
(Per Serving, Approximate Values)
- Calories: 320
- Protein: 5g
- Carbohydrates: 35g
- Fats: 20g
- Sugar: 28g
- Sodium: 80mg
These rich and creamy peanut butter bars are the perfect combination of sweet, salty, and chocolatey goodness, making them an irresistible no-bake dessert for any occasion!
Secrets to Making the Perfect Peanut Butter Bars
While this recipe is incredibly simple, a few small tweaks can take it to the next level:
1. Use the Right Peanut Butter
For the best texture, creamy peanut butter works best. If using natural peanut butter, make sure to stir it well to prevent excess oil separation, which can affect the consistency of the bars.
2. Don’t Skip the Salt
Even if you use salted peanut butter, adding just a pinch of salt enhances the flavors and balances the sweetness.
3. Choose High-Quality Chocolate
Since chocolate is a major component of these bars, using high-quality milk chocolate chips or dark chocolate can make a big difference. If you prefer a richer taste, go for semi-sweet or dark chocolate instead of milk chocolate.
4. Press the Peanut Butter Layer Firmly
To avoid crumbling when slicing, make sure to press the peanut butter mixture firmly and evenly into the pan. This helps the layers hold together perfectly.
5. Let It Chill Completely
Patience is key! Refrigerating the bars for at least 1-2 hours ensures that they set properly. If you’re in a rush, you can pop them in the freezer for 30 minutes to speed up the process.
Ways to Customize These Bars
One of the best things about this recipe is how easy it is to customize based on your preferences. Here are some fun variations:
- Crunchy Peanut Butter Bars – Use crunchy peanut butter for extra texture.
- Nutty Chocolate Bars – Stir in chopped almonds, pecans, or walnuts into the peanut butter layer.
- Salted Caramel Drizzle – Drizzle with homemade caramel sauce before serving.
- Dark Chocolate Lovers’ Version – Swap milk chocolate for dark chocolate chips for a deeper, richer taste.
- White Chocolate Peanut Butter Bars – Use white chocolate instead of milk chocolate for a sweet, creamy twist.
Best Ways to Serve Peanut Butter Bars
These bars are delicious on their own, but you can make them even more fun by pairing them with:
- A scoop of vanilla ice cream – For a peanut butter-chocolate sundae.
- A drizzle of warm chocolate sauce – Because more chocolate is always a good idea.
- A sprinkle of flaky sea salt – To balance out the sweetness with a touch of saltiness.
- With a glass of cold milk – A classic pairing that never fails.
Frequently Asked Questions (FAQs)
1. Can I make these bars ahead of time?
Yes! These bars are perfect for meal prepping because they stay fresh in the fridge for up to a week. Just store them in an airtight container to keep them from drying out.
2. Can I freeze peanut butter bars?
Absolutely! To freeze, place the bars in a single layer in a freezer-safe container with parchment paper between layers to prevent sticking. They’ll last for up to 3 months. When ready to eat, let them thaw at room temperature for about 10-15 minutes before serving.
3. Can I use a different nut butter?
Yes! While peanut butter gives these bars their signature taste, you can substitute almond butter, cashew butter, or sunflower seed butter for a different flavor profile.
4. Why is my chocolate layer cracking when I cut the bars?
If your chocolate layer is too firm, it may crack when slicing. To avoid this:
- Let the bars sit at room temperature for 5-10 minutes before cutting.
- Use a sharp knife warmed under hot water, then wipe it dry before slicing.
5. Can I reduce the sugar?
Yes! If you prefer a less sweet version, reduce the powdered sugar to 1½ cups or use a sugar substitute like monk fruit sweetener.
6. How do I make these bars dairy-free?
To make dairy-free peanut butter bars:
- Use vegan chocolate chips or dark chocolate.
- Swap out butter for coconut oil or a plant-based butter alternative.
Final Thoughts: A Classic Treat Everyone Will Love
Chocolate-coated peanut butter bars are proof that the best desserts don’t have to be complicated. With just a handful of ingredients, no oven required, and a taste that rivals any store-bought candy bar, these bars are the ultimate homemade indulgence.
Whether you’re making them for a party, a weekend treat, or simply to satisfy a peanut butter craving, these bars never disappoint. They’re rich, creamy, and perfectly balanced—just like the ones I used to enjoy in my grandmother’s kitchen.
So go ahead, grab a mixing bowl, melt that chocolate, and treat yourself to a batch of these irresistible peanut butter bars. I promise, once you take that first bite, they’ll become a staple in your dessert collection!
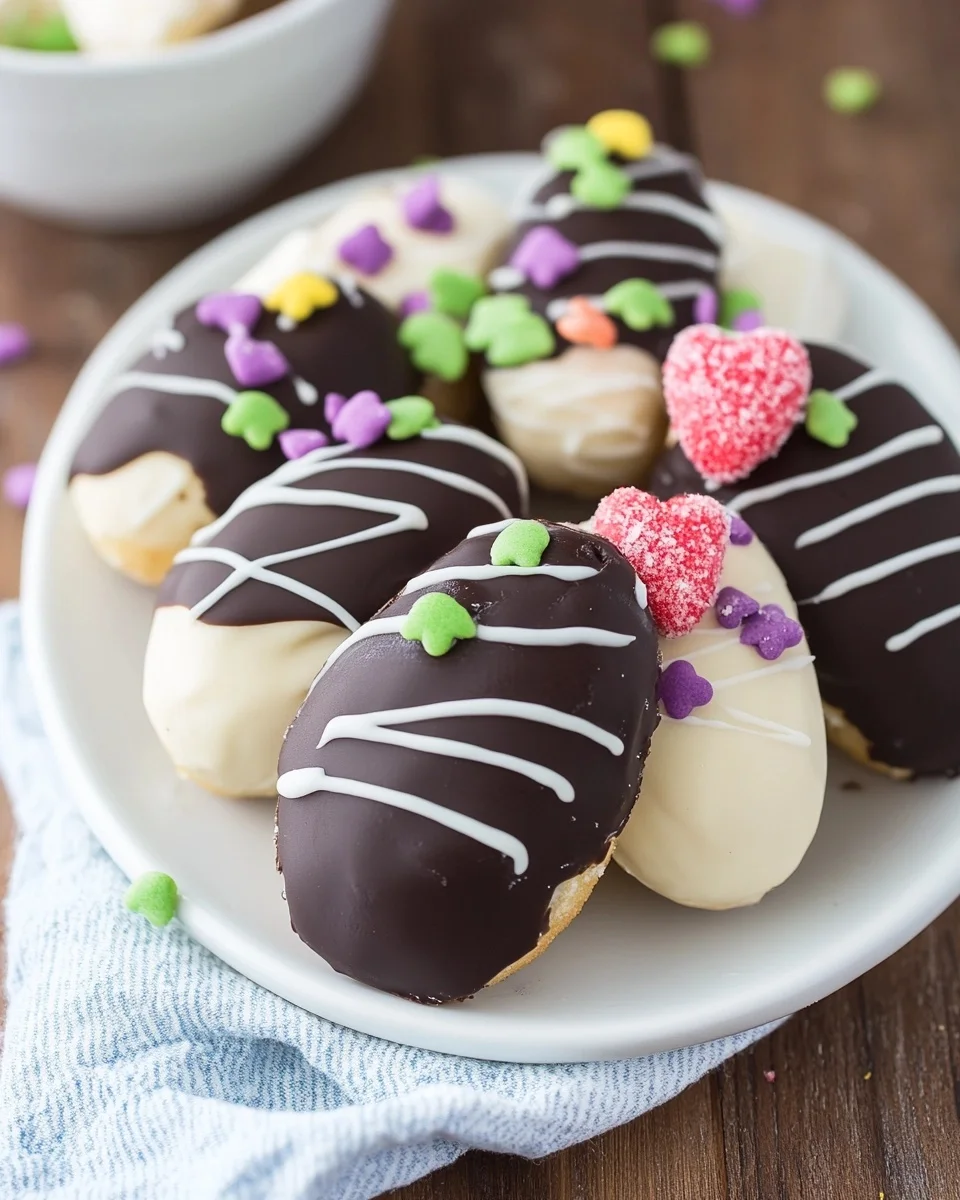
Keto & Low-Carb REESE’S Peanut Butter Eggs
Ingredients
Method
- Line a 9×9-inch baking dish with parchment paper for easy removal.
- In a mixing bowl, combine peanut butter, melted butter, brown sugar, and a pinch of salt. Stir until smooth.
- Gradually add powdered sugar, mixing until fully incorporated. The mixture should be thick but spreadable.
- Press the peanut butter mixture evenly into the prepared baking dish, smoothing the top.
- In a microwave-safe bowl, melt milk chocolate chips in 30-second intervals, stirring in between until smooth.
- Pour the melted chocolate over the peanut butter layer and spread evenly.
- Refrigerate for 1-2 hours, or until firm.
- Once set, cut into squares and serve.
Notes
- For crunchy peanut butter bars, use crunchy peanut butter instead of creamy.
- Store in an airtight container in the fridge for up to 1 week.
- Freeze for up to 3 months for a make-ahead treat.
- Let bars sit at room temperature for 5 minutes before cutting to prevent the chocolate from cracking.