Advertisement
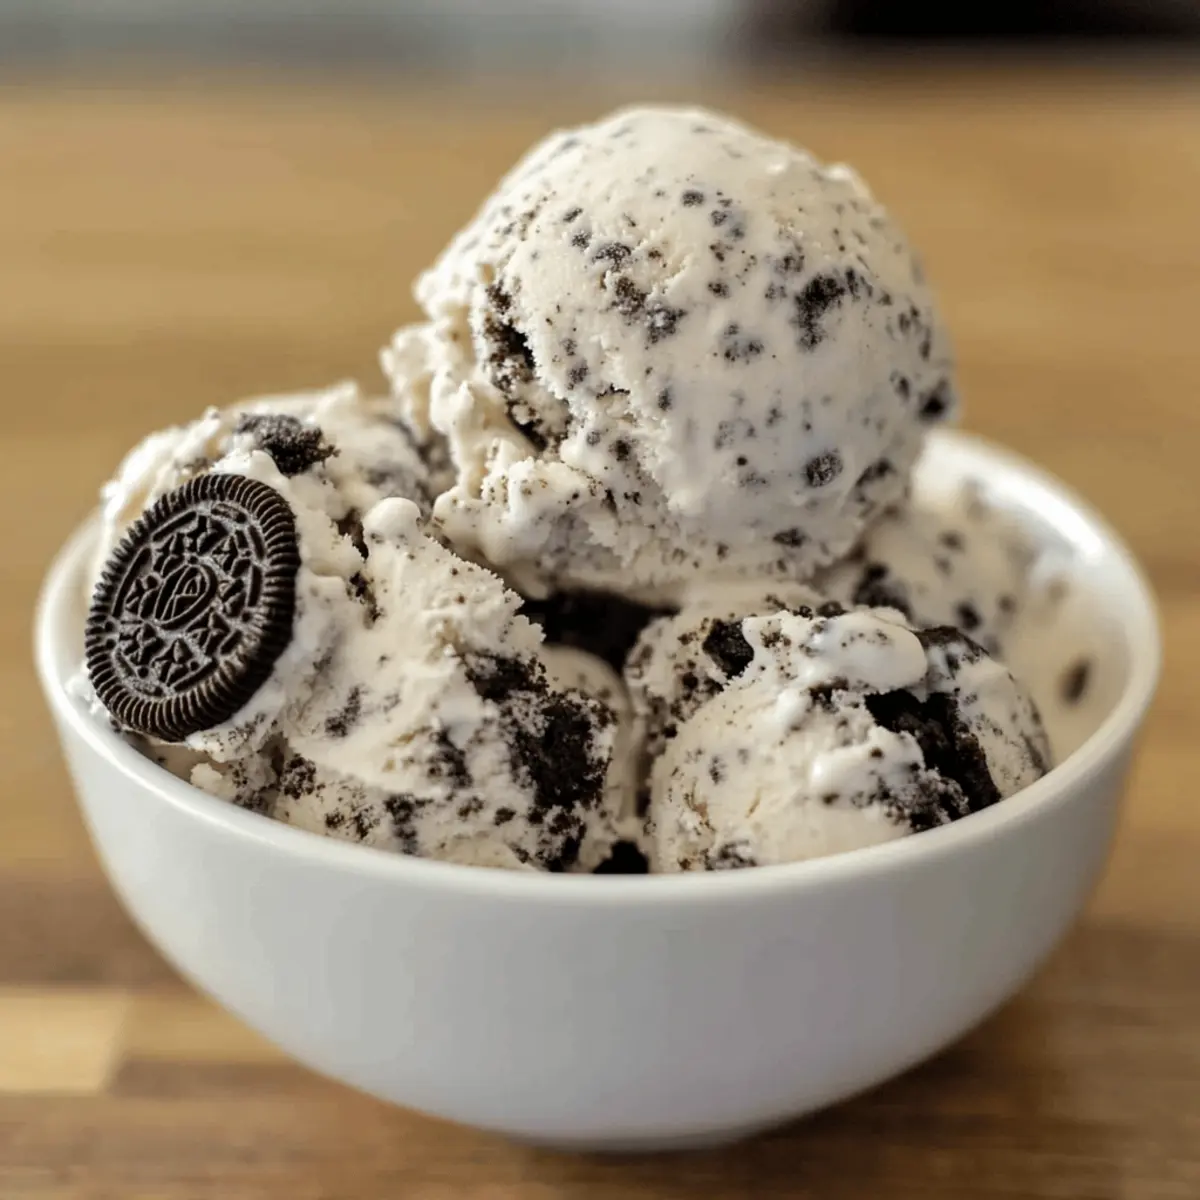
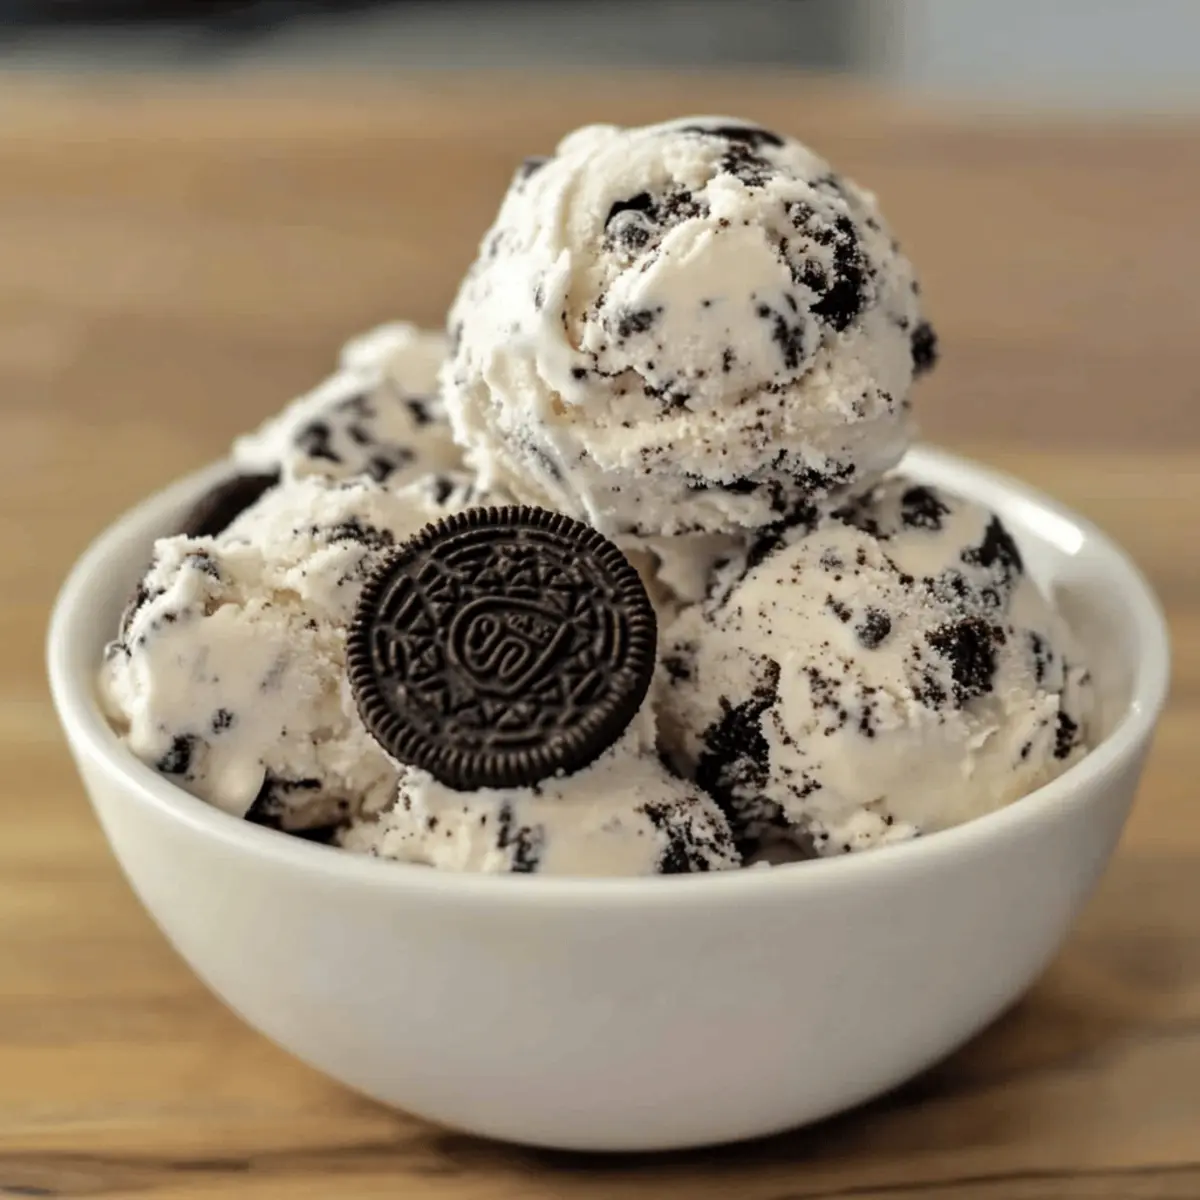
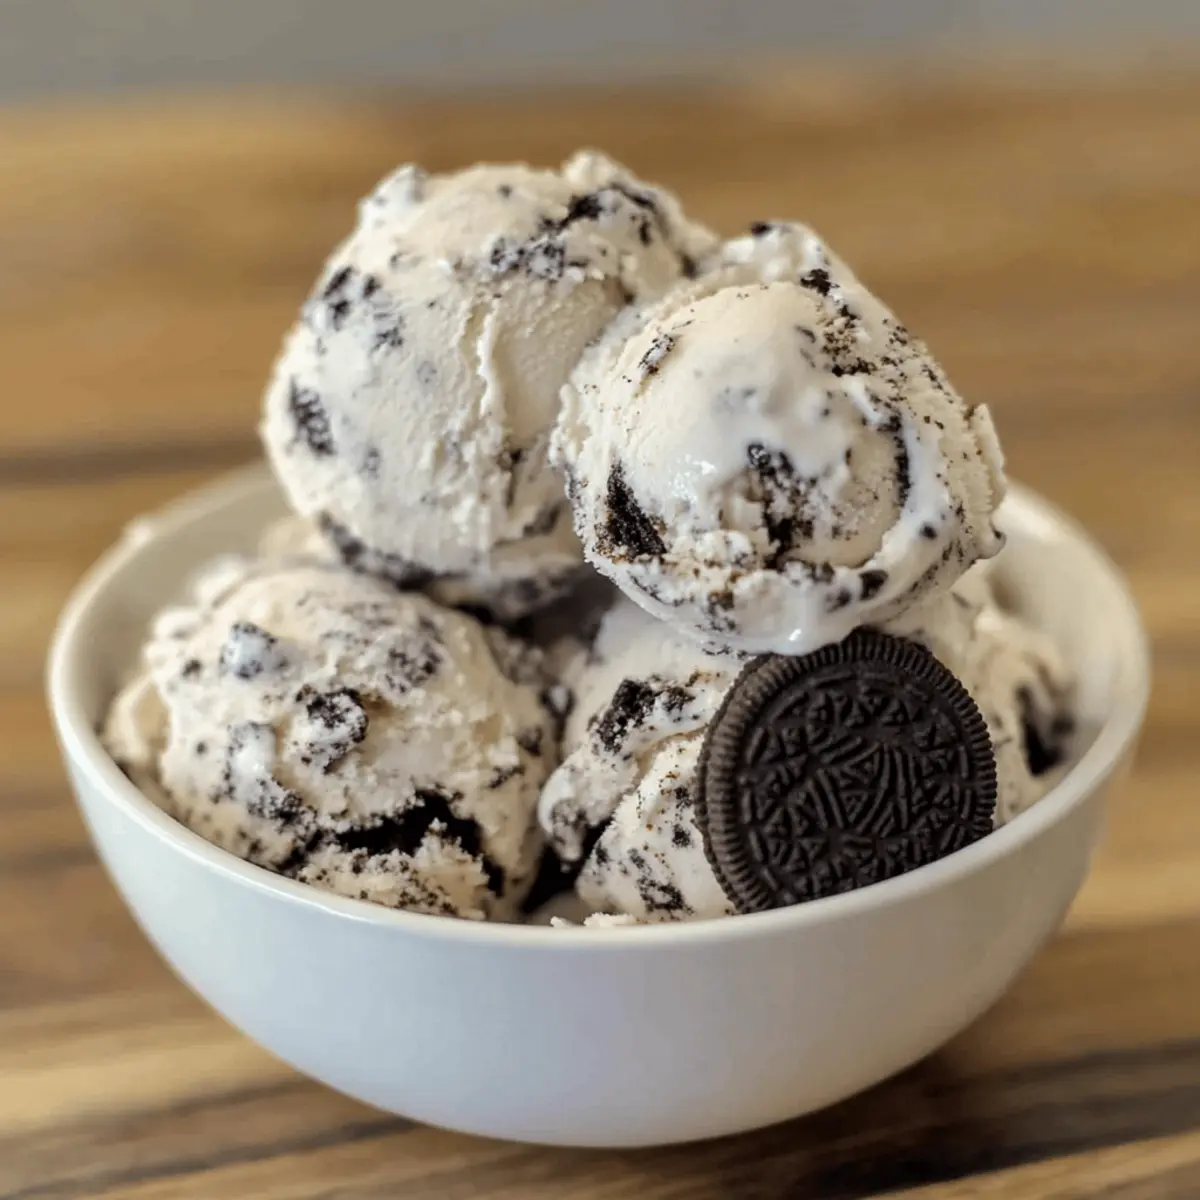
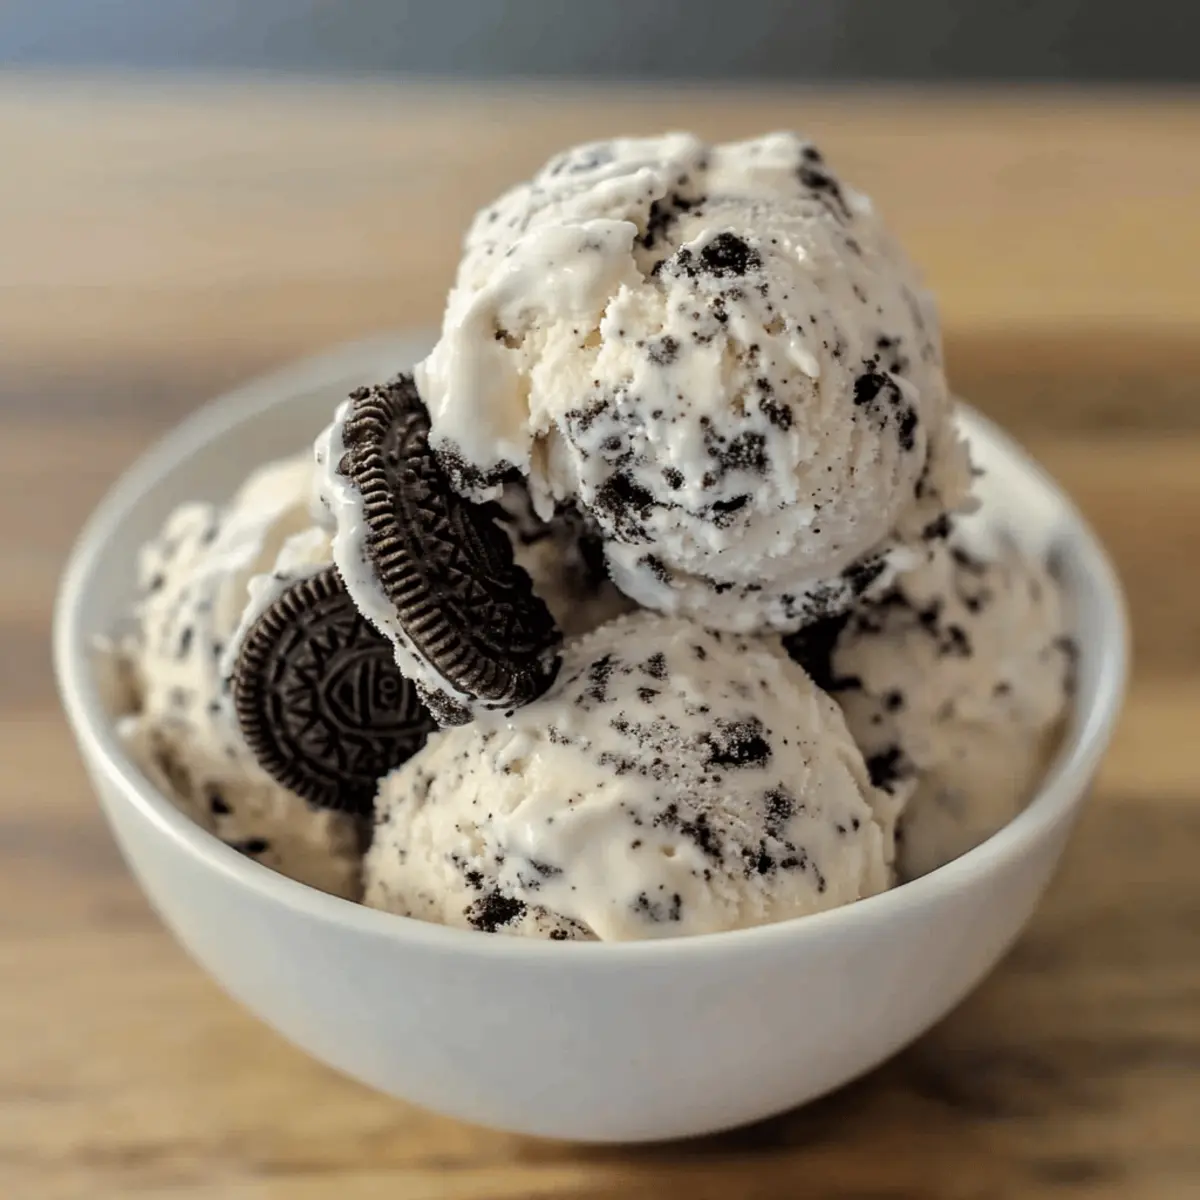
On a scorching summer day, nothing beats the feeling of digging into a bowl of homemade ice cream. That’s why I’m excited to share my Easy Homemade Oreo Ice Cream recipe, which brings together just three simple ingredients for a truly delightful treat. Best of all, it’s eggless and doesn’t require an ice cream machine, making it the ultimate quick fix for cookie lovers everywhere. This no-churn dessert is perfect for family gatherings, picnics, or simply enjoying a quiet evening at home. You’ll love how effortlessly this creamy concoction comes together, not to mention the delightful crunch of Oreo pieces that transform every spoonful into a celebration. What do you say we whip up this delectable treat together?
Why Is This Oreo Ice Cream Special?
Irresistible Simplicity: With just three ingredients, you can create a decadent dessert without the need for complicated steps or special equipment.
No Machine, No Problem: Skip the ice cream maker! This eggless recipe allows you to craft your own homemade Oreo ice cream with minimal fuss.
Advertisement
Ultimate Creamy Texture: The combination of heavy cream and sweetened condensed milk results in a rich, creamy base that beautifully complements the delicious crunch of Oreo cookie bits.
Perfect for Any Occasion: Whether it’s a hot summer day or a cozy night in, this ice cream is sure to impress family and friends. For other easy dessert ideas, check out my delicious Orange Creamsicle Mini or No-Bake Peppermint Oreo Truffles.
Versatile and Customizable: Feeling adventurous? Add your favorite mix-ins or toppings to make this treat uniquely yours!
Oreo Ice Cream Ingredients
For the Base
• Oreo Cookies – Although they’re the star of the show, feel free to use any chocolate sandwich cookie if you’re in a pinch.
• Sweetened Condensed Milk – This magical ingredient adds creaminess and sweetness; no need for substitutes unless absolutely necessary.
• Heavy Cream – Guaranteed to create that rich, smooth texture; always use cold cream for the best whipping results.
For the Topping
• Extra Crushed Oreo Cookies – Enhance the presentation and crunch by sprinkling some on top before serving.
Step‑by‑Step Instructions for Easy Homemade Oreo Ice Cream
Step 1: Prep the Cookies
Begin by crushing 14 Oreo cookies into small chunks using a rolling pin or food processor. Aim for a mix of fine crumbs and larger pieces to ensure a delightful texture in your Easy Homemade Oreo Ice Cream. Set the crushed Oreos aside for later incorporation into the creamy base.
Step 2: Whip the Cream
In a large mixing bowl, combine 2 cups of cold heavy cream. Using a hand mixer, whip the cream on high speed until stiff peaks form, which should take about 3-5 minutes. The cream should hold its shape well when lifted. This step is crucial for achieving the rich and airy texture of your Oreo Ice Cream, so ensure the cream is thoroughly chilled before you start.
Step 3: Combine Ingredients
Reduce the mixer speed to low, then gently blend in one 14-ounce can of sweetened condensed milk until just combined. Next, carefully fold in the previously crushed Oreo cookies using a spatula. Ensure that the Oreos are evenly distributed throughout the mixture, but do not overmix; you want to maintain the light and fluffy texture of the whipped cream.
Step 4: Transfer & Freeze
Pour the rich and creamy Oreo Ice Cream mixture into a freezer-safe container. Sprinkle the remaining crushed Oreo cookies on top for an extra crunch. Cover the container tightly with a lid or plastic wrap to prevent ice crystals from forming. Freeze the ice cream for at least 6 hours or until solid, ensuring a delightful consistency ideal for scooping.
Step 5: Serve & Savor
Once fully frozen, remove the container from the freezer and let it sit at room temperature for about 5 minutes to soften slightly. Scoop out generous portions of your homemade Oreo Ice Cream and serve it in bowls or cones. Treat yourself to a deliciously creamy dessert that showcases the irresistible cookies and cream flavor you love.
Tips for the Best Oreo Ice Cream
-
Chill Before Whipping: Ensure your heavy cream is completely cold. This is essential for achieving those perfect stiff peaks during whipping.
-
Don’t Overmix: When folding in the crushed Oreos, be gentle. Overmixing can deflate the airy texture, leaving you with less creamy Oreo Ice Cream.
-
Prevent Ice Crystals: Cover the container tightly and freeze your mixture straight away to avoid ice crystals, ensuring a smooth consistency.
-
Use Quality Ingredients: The quality of your ingredients will shine through. Use well-known brands for your sweetened condensed milk and Oreos to elevate the flavor.
-
Experiment with Mix-ins: Get creative! Feel free to add in your favorite mix-ins or toppings to personalize your Oreo Ice Cream experience.
Make Ahead Options
Why not save time and hassle by preparing this Easy Homemade Oreo Ice Cream ahead of time? You can make the mixture and have it ready to freeze up to 24 hours in advance, allowing for a stress-free treat at your next gathering. To do this, follow all the steps up to the freezing point; simply whip the cream, mix in the sweetened condensed milk and crushed Oreos, then transfer it to a freezer-safe container. Make sure to cover it tightly to maintain its creamy texture and prevent ice crystals. When you’re ready to serve, just scoop and enjoy this deliciously cool dessert!
What to Serve with Easy Homemade Oreo Ice Cream
When indulging in a scoop of velvety Oreo ice cream, elevate your dessert experience by pairing it with delightful accompaniments.
- Chocolate Syrup: Drizzle rich chocolate syrup over your scoop to enhance the sweetness and add a luscious, gooey texture. Each bite transforms into a heavenly delight.
- Wafer Cones: Serve the ice cream in crunchy wafer cones for an extra layer of texture. The contrast between creamy and crispy creates the ultimate dessert harmony.
- Fresh Berries: Plump raspberries or strawberries bring a refreshing burst of flavor that beautifully balances the richness of the Oreo ice cream. Their tangy notes complement each indulgent bite.
- Whipped Cream: Top your ice cream with a dollop of fluffy whipped cream for added airiness. It lends a light touch to the dessert, creating a dreamy combination of flavors.
- Peanut Butter Sauce: Swirl warm peanut butter sauce into the ice cream for a salty-sweet twist. The creamy nuttiness elevates the classic flavors, making every spoonful more exciting.
- Crushed Nuts: Sprinkle a mix of crushed almonds or pecans on top for a delightful crunch. They enhance the texture and add a nutty flavor that pairs wonderfully with the cookies.
- Ice Cream Sundae Toppings: Go all out by creating a festive sundae! Add cherry on top, sprinkles, and a layer of caramel sauce to take your dessert to the next level of fun.
- Chilled Coffee: For an adult twist, serve the ice cream alongside a cup of chilled coffee or an iced mocha. The coffee’s bitterness balances the sweetness for the perfect pairing.
- Homemade Brownies: Serve alongside warm fudgy brownies for an indulgent dessert duo. The rich chocolate and creamy ice cream create a wonderful play of flavors and textures.
- Mint Leaves: Garnish with fresh mint leaves for a refreshing contrast that adds a burst of color and a hint of herbal flavor, brightening up your decadent dessert.
Oreo Ice Cream Variations & Substitutions
Feel free to unleash your creativity and customize this recipe to suit your taste buds!
- Nutty Crunch: Add chopped almonds or walnuts for an extra layer of texture and flavor.
- Chocolate Swirl: Drizzle in some chocolate or caramel sauce before freezing for a decadent twist.
- Minty Fresh: Incorporate a few drops of peppermint extract to give your Oreo ice cream a refreshing minty flavor.
- Fruity Fusion: Mix in some crushed strawberries or raspberries for a delightful fruit-infused surprise with every bite.
- Vegan Delight: Replace heavy cream with coconut cream and use a plant-based sweetened condensed milk for a delicious dairy-free option. It creates a rich, tropical twist!
- Extra Cookie Crunch: Fold in additional crushed Oreos or even other fun cookies for a unique flavor explosion.
- Spicy Heat: Add a pinch of cayenne pepper or chili powder for a surprising kick that pairs with the sweetness of the ice cream.
- Dairy-Free Chocolate Lovers: Swap the regular Oreos with a dairy-free chocolate sandwich cookie and indulge in a chocolatey, eggless delight.
Don’t forget to try some of these variations with other desserts, like my scrumptious Pistachio Cream Stuffed treats or enjoy a delightful scoop alongside your favorite White Chicken Chili. Enjoy the culinary adventure!
How to Store and Freeze Oreo Ice Cream
Airtight Container: Store your Oreo ice cream in an airtight container to prevent freezer burn and maintain its creamy texture for up to 2 months.
Freezing Time: Ensure the ice cream is frozen solid for at least 6 hours or until firm, providing the perfect scoopable consistency.
Reheating Tip: If the ice cream is too hard when serving, let it sit at room temperature for about 5 minutes before scooping to achieve that luscious, creamy texture.
Avoiding Ice Crystals: To prevent ice crystals from forming, cover the surface of the ice cream with plastic wrap before sealing the container. This helps keep your homemade Oreo ice cream delightfully smooth and creamy!
Easy Homemade Oreo Ice Cream Recipe FAQs
How do I know if the Oreos are fresh?
Absolutely! To ensure your Oreos are fresh, check for a tight seal on the packaging, and be mindful of any dark spots or a crumbly texture inside the box. Fresh Oreos should feel soft and have a pleasant chocolate aroma.
What’s the best way to store leftover Oreo ice cream?
For optimal freshness, store your Oreo ice cream in an airtight container. This method can keep your delicious treat safe from freezer burn for up to 2 months! Just remember to scoop it out within that timeframe for the best flavor and texture.
Can I freeze the Oreo ice cream mixture before it’s fully mixed?
I suggest avoiding this! Freezing the mixture before it’s whipped and combined can create ice crystals and lead to a grainy texture once thawed. Instead, follow the step-by-step instructions to achieve that creamy consistency, and freeze it only after mixing all ingredients!
What should I do if my whipped cream doesn’t form stiff peaks?
Very! If your whipped cream doesn’t reach stiff peaks, your cream might not be cold enough, or you may have over-whipped it. To remedy this, start again with fresh cold cream and whip until just before stiff peaks form. If necessary, you can gently fold in a little more cream to lighten it and achieve the desired texture.
Can I make this Oreo ice cream dairy-free?
Absolutely! To create a dairy-free version, substitute the heavy cream with coconut cream and use a vegan sweetened condensed milk alternative. This way, you can enjoy a creamy and delightful ice cream while accommodating dietary preferences.
How can I customize my Oreo ice cream?
Get creative! You can personalize your Oreo ice cream by incorporating additional mix-ins such as chopped nuts, mini chocolate chips, or swirls of caramel or chocolate sauce. Simply fold them in gently after mixing your Oreo base to maintain that luscious creamy texture!
Delicious Oreo Ice Cream: 3-Ingredient Magic at Home
Ingredients
Equipment
Method
- Crush 14 Oreo cookies into small chunks.
- Whip 2 cups of cold heavy cream until stiff peaks form.
- Blend in 14 ounces of sweetened condensed milk and fold in crushed Oreo cookies.
- Transfer to a freezer-safe container, sprinkle with extra crushed Oreos, and freeze for at least 6 hours.
- Let ice cream sit at room temperature for 5 minutes before scooping and serving.