Advertisement
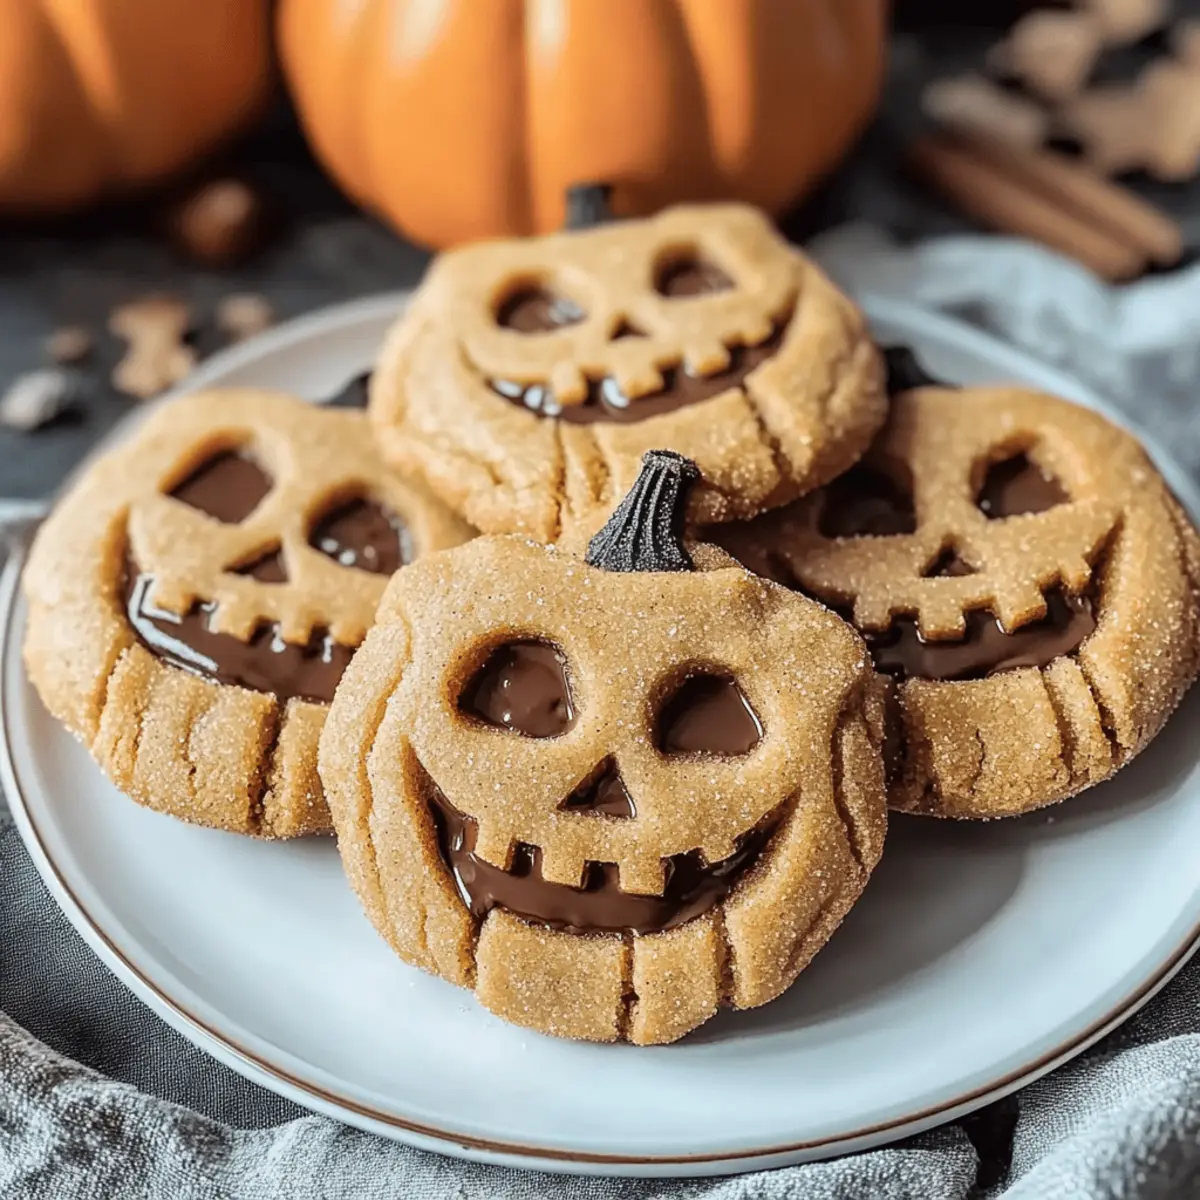
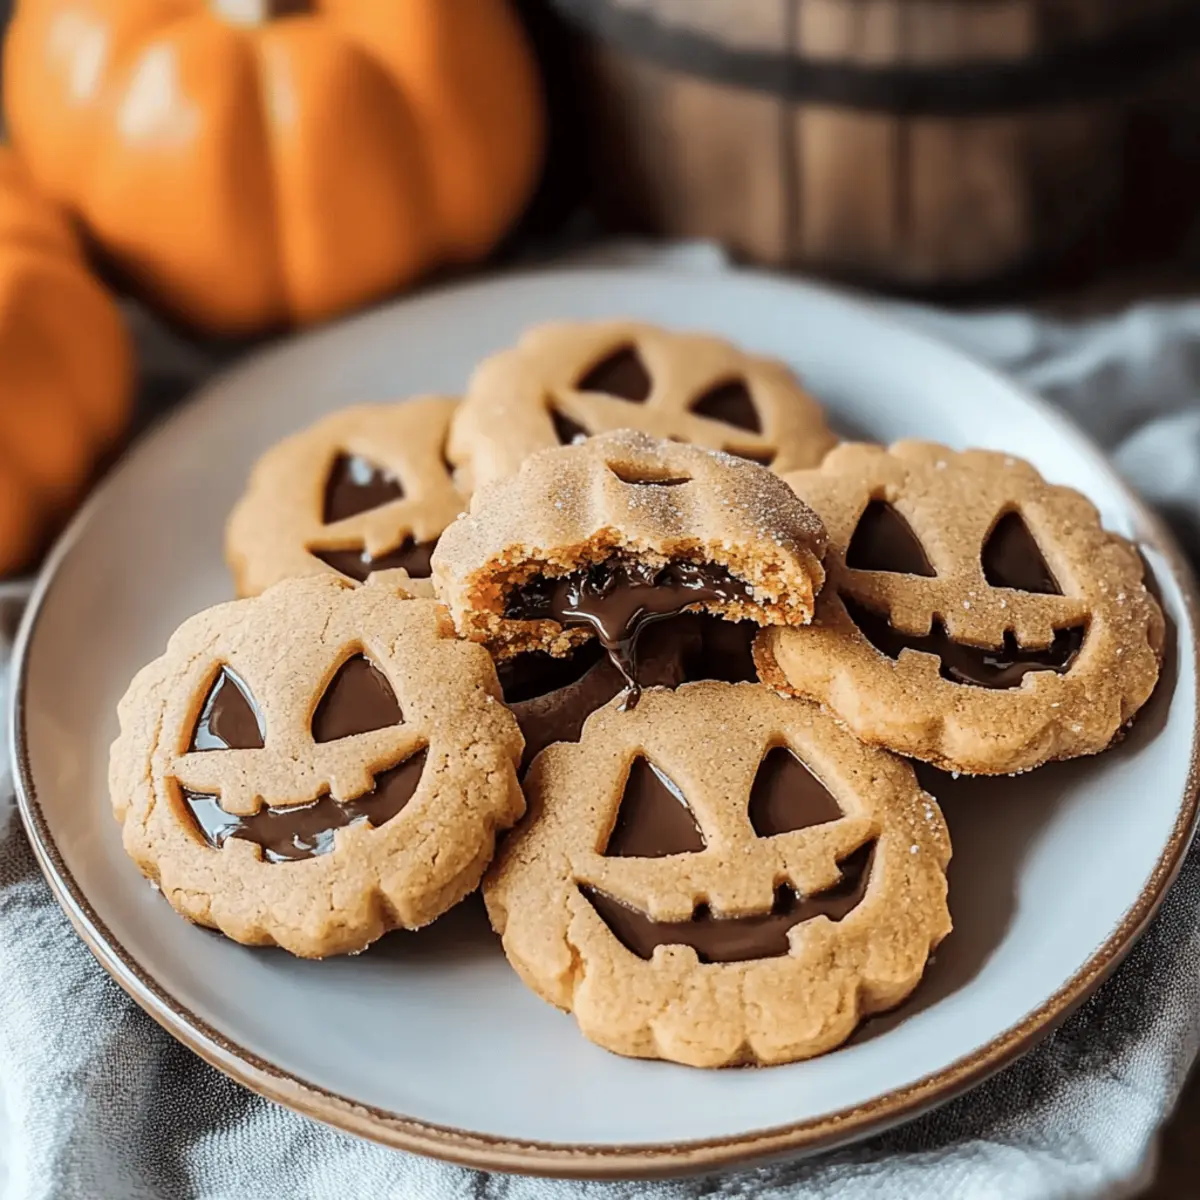
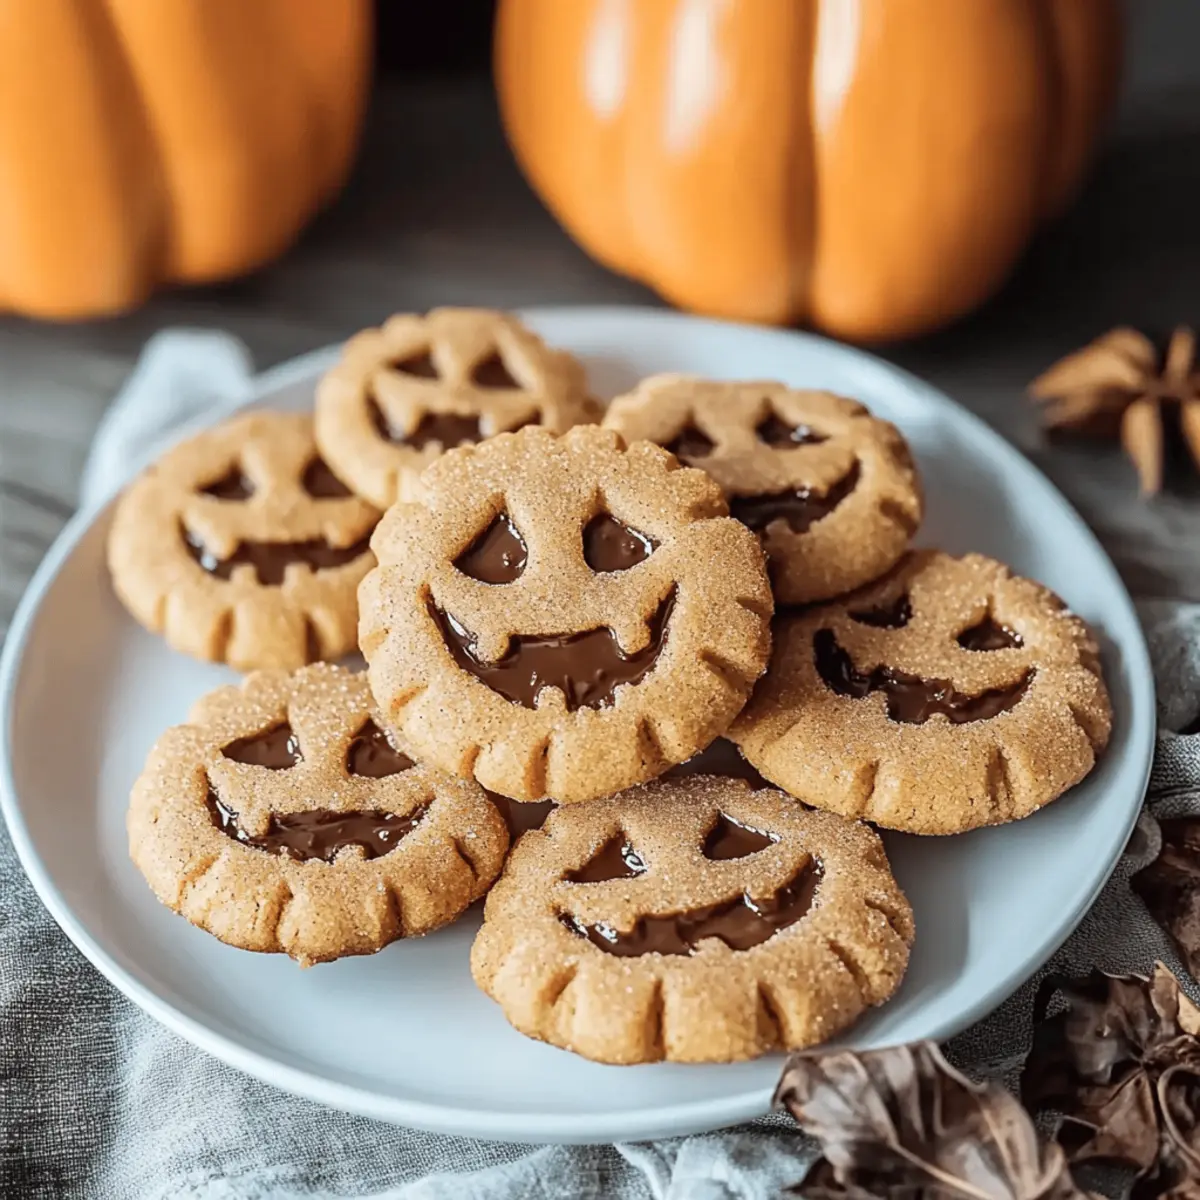
As the crisp autumn air begins to fill our neighborhoods, I can’t help but feel a little mischievous about baking something festive. Enter the Milk Chocolate Stuffed Jack-O’-Lantern Cookies—a delightful treat that captures the essence of Halloween and Thanksgiving in every bite. The combination of soft, spiced brown sugar cookies and gooey milk chocolate creates a snack that’s not only fun to make but also perfect for sharing with family and friends. What’s even better? These cookies are incredibly easy to whip up, making them a crowd-pleaser for all your seasonal gatherings. So, are you ready to bring a little magic to your kitchen with these spooky stuffed pumpkin cookies? Let’s get baking!
Why Choose Spooky Stuffed Pumpkin Cookies?
Delightful Simplicity: These cookies are super easy to make, perfect for bakers of all skill levels.
Festive Appeal: Shaped like jack-o’-lanterns, they’re visually stunning—a great addition to your Halloween table that will impress guests.
Advertisement
Irresistible Chocolate Center: Each bite reveals a warm, gooey milk chocolate stuffing that brings a comforting sweetness to the spiced cookie.
Versatile Recipe: Don’t hesitate to switch up the chocolate or use different cookie cutters for other holidays—think stars for Christmas!
Perfect Pairing: Serve them alongside a warm cup of hot chocolate or with a glass of milk to elevate your dessert experience.
Crowd-Pleaser: No one can resist these chewy, chocolate-filled delights; they’re destined to be a favorite at any gathering.
Spooky Stuffed Pumpkin Cookies Ingredients
• Get ready to bake some magic this Halloween!
For the Cookies
- Salted Butter – Adds richness and flavor; if you prefer unsalted, just add a pinch of salt to the mix.
- Light Brown Sugar – Provides moisture and that rich caramel undertone; no substitutions for the best taste!
- Pure Vanilla Extract – Enhances the overall flavor; imitation vanilla can work, but the natural flavor is unmatched.
- Eggs – Essential for structure and moisture; for an egg-free version, try a flax egg (1 tbsp ground flaxseed + 3 tbsp water).
- All-Purpose Flour – The backbone of our cookies; substitute with gluten-free flour if needed, but remember to add a binding agent like xanthan gum.
- Baking Soda – A must for helping your cookies rise; there’s no substitute for this little leavening gem.
- Cinnamon, Ginger, Nutmeg – Brings warmth and spice; adjust spices to your liking or leave them out for a simpler flavor.
- Salt – Balances all those sweet flavors; this one’s crucial—don’t skip it!
- Milk Chocolate – The star filling that makes these cookies irresistible; dark chocolate is a great alternative for a deeper flavor.
For the Top Decoration
- Additional Salted Butter – Brown it to drizzle over the cookies for an added depth of flavor.
- Cinnamon Sugar – A mixture of sugar and ground cinnamon to sprinkle on top, giving a warm, inviting touch.
With these delightful ingredients, you’re ready to make your spooky stuffed pumpkin cookies that will leave everyone craving more!
Step‑by‑Step Instructions for Spooky Stuffed Pumpkin Cookies
Step 1: Cream the Base
In a large mixing bowl, cream together 1 cup of softened salted butter and 1 cup of light brown sugar. Use an electric mixer on medium speed for about 3-5 minutes until the mixture is light and fluffy. Add in 1 teaspoon of pure vanilla extract, mixing just until combined. This creamy base is the heart of your spooky stuffed pumpkin cookies.
Step 2: Incorporate the Eggs
Add 2 large eggs to the creamed mixture, one at a time, mixing well after each addition. This ensures the eggs are fully incorporated, helping to develop the structure of your cookies. Continue mixing until the batter is smooth and well combined, showcasing the rich flavors stirring together for your Halloween treat.
Step 3: Mix the Dry Ingredients
In a separate bowl, whisk together 3 cups of all-purpose flour, 1 teaspoon of baking soda, 1 teaspoon of cinnamon, ½ teaspoon each of ginger and nutmeg, and ½ teaspoon of salt. Gradually add this dry mix to the wet ingredients, stirring gently until a soft dough begins to form. Aim for a slightly sticky texture; this is essential for your spooky stuffed pumpkin cookies to turn out perfectly.
Step 4: Roll and Cut the Dough
Take your dough and turn it out onto a lightly floured surface. Roll it out to about ¼ inch thick, using enough flour to prevent sticking. Then, using a pumpkin-shaped cookie cutter, cut out as many shapes as you can from the dough. This will yield delightful jack-o’-lanterns that will soon be filled with gooey chocolate!
Step 5: Freeze the Cookies
Once all shapes are cut out, place them on a parchment-lined baking sheet. Pop the baking sheet into the freezer for 15-20 minutes, allowing the cookies to firm up before baking. This step ensures that your spooky stuffed pumpkin cookies maintain their shape during the baking process, leading to perfectly defined pumpkin faces.
Step 6: Preheat and Bake
While the cookies are in the freezer, preheat your oven to 350°F (175°C). Once the cookies are firm, bake them in the preheated oven for 8-12 minutes. Keep an eye on them; you want the edges to be just golden while the centers remain soft for that chewy texture.
Step 7: Cooling Time
After baking, let the cookies cool on the baking sheet for about 5 minutes. This allows the cookies to set firm before transferring them to a wire rack. Cooling on the rack ensures that they cool completely and maintain the ideal chewy consistency before adding the delicious chocolate.
Step 8: Brown the Butter and Decorate
In a saucepan over medium heat, melt an additional ½ cup of salted butter for 2-3 minutes, stirring constantly until it turns a nice brown color. Remove from heat and let it cool slightly. Brush the tops of half of your cooled cookies with brown butter, then sprinkle with a mixture of ¼ cup sugar and 1 teaspoon cinnamon for added warmth and sweetness perfect for the season.
Step 9: Assemble the Cookies
On the bottom half of the remaining cookies, spread a generous layer of melted milk chocolate, allowing it to ooze slightly. Sandwich the decorated tops on top, pressing gently to create delightful, gooey layers. Your spooky stuffed pumpkin cookies are now beautifully assembled, ready to bring festive joy to your gatherings!
How to Store and Freeze Spooky Stuffed Pumpkin Cookies
Airtight Container: Keep your cookies in a well-sealed airtight container for up to 4 days at room temperature to maintain their delightful freshness and chewy texture.
Refrigeration: If you want to extend their life, store in the fridge for up to a week; just ensure they are airtight to avoid drying out.
Freezer-Friendly: For longer storage, freeze assembled spooky stuffed pumpkin cookies for up to 3 months. Place a layer of parchment between them to prevent sticking.
Reheating Tips: When ready to enjoy, thaw cookies in the fridge overnight, then warm in a preheated oven at 300°F (150°C) for a few minutes to revive that gooey chocolate center.
What to Serve with Milk Chocolate Stuffed Jack-O’-Lantern Cookies
These delightful cookies add a touch of festive magic to your table, perfect for cozy gatherings and sweet celebrations.
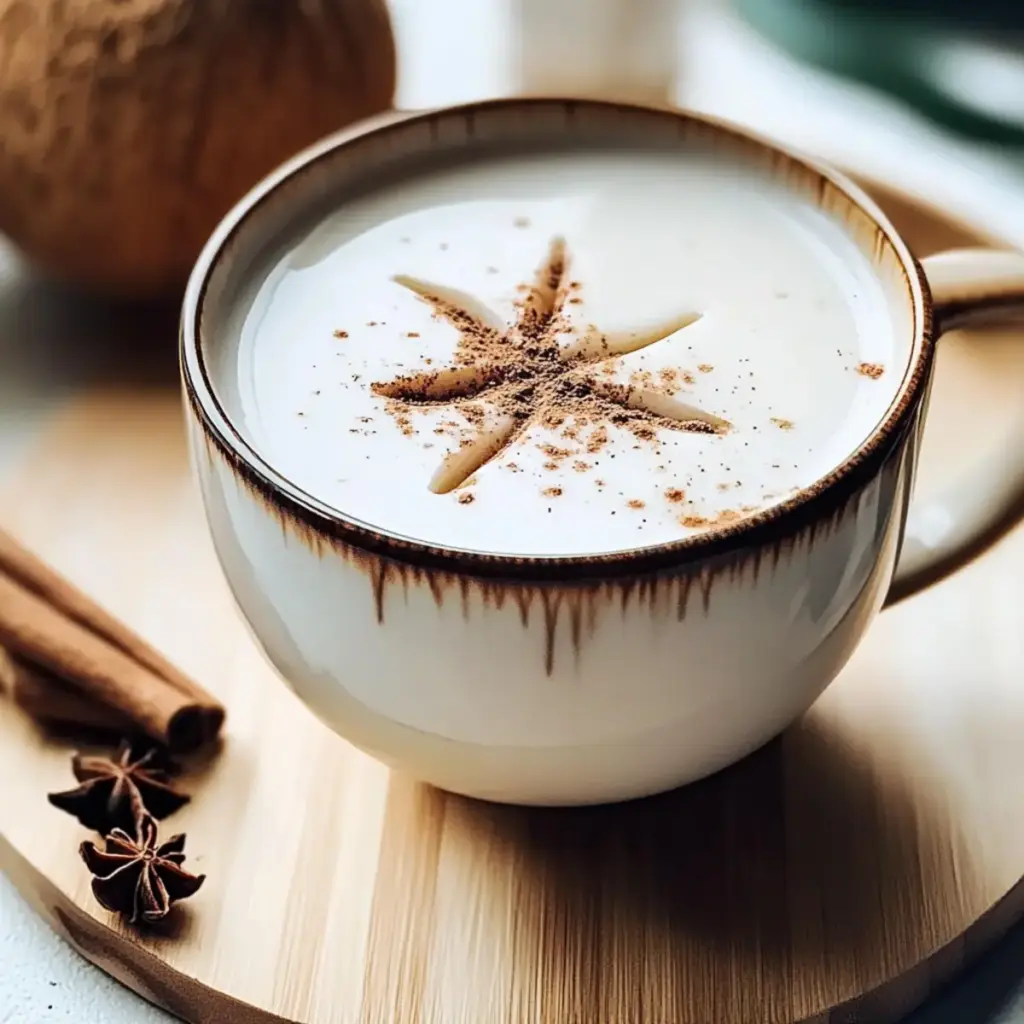
- Warm Spiced Apple Cider: The aromatic spices in this beverage complement the warm flavors of the cookies, enhancing that cozy autumn vibe.
- Creamy Pumpkin Soup: This savory dish balances the sweetness of the cookies while keeping with the pumpkin theme for an inviting meal.
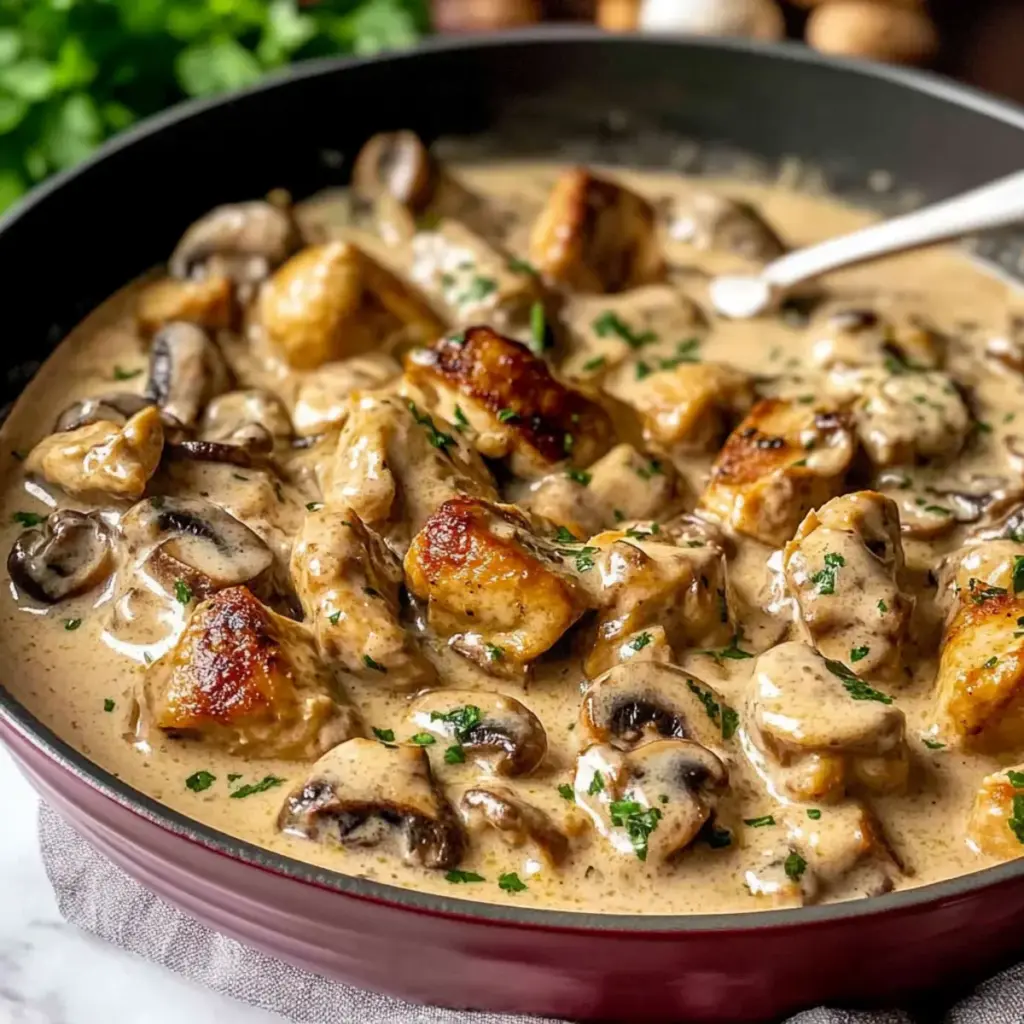
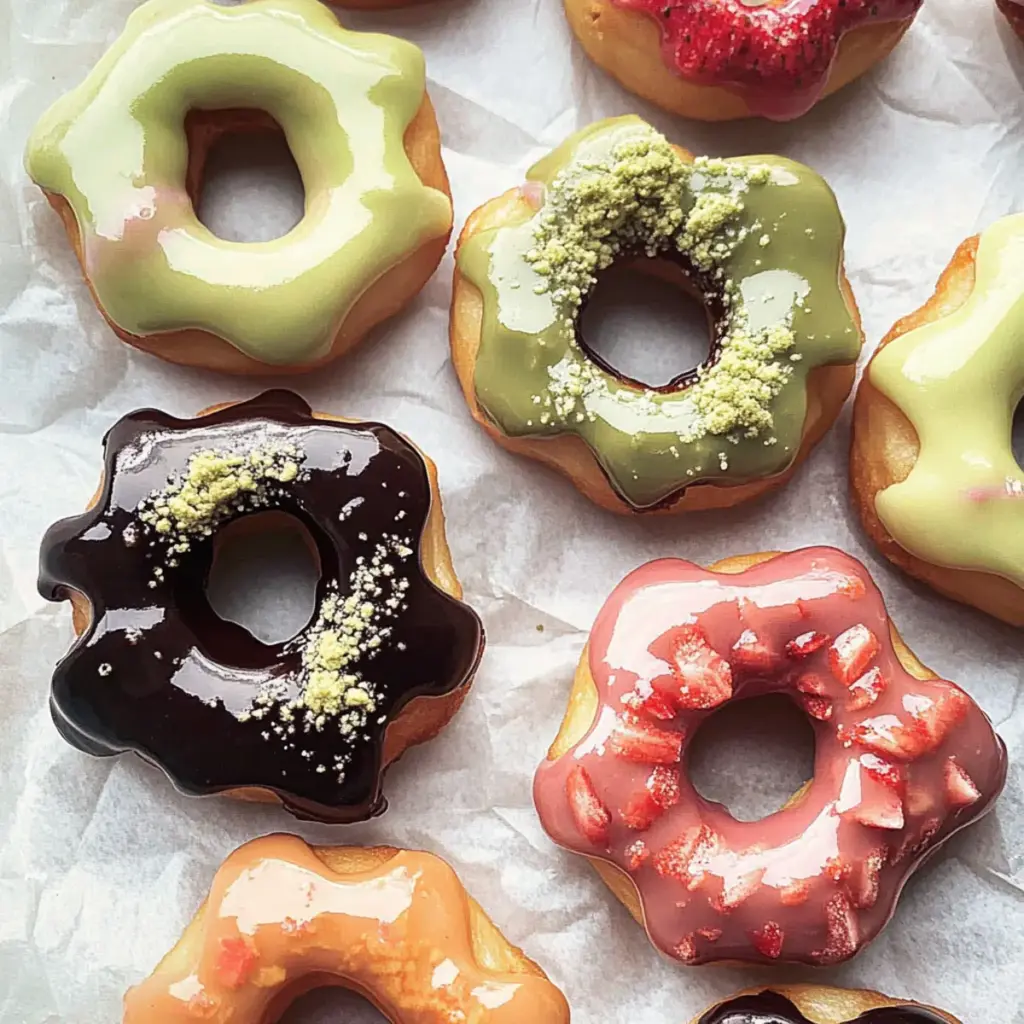
- Cinnamon Sugar Donuts: The texture and flavor of these donuts mirror the cookies, creating a delightful dessert duo that’s hard to resist.
- Vanilla Ice Cream: A scoop of creamy vanilla ice cream alongside the cookies creates a luscious contrast to the warm chocolate center.
- Caramel Sauce for Dipping: Drizzling or dipping these cookies in rich caramel sauce introduces a sweet, buttery flavor that elevates each bite.
Pair these delectable treats with good company and laughter for a memorable Halloween or Thanksgiving celebration!
Spooky Stuffed Pumpkin Cookies Variations
Feel free to get creative and put your own twist on these delightful cookies!
-
Dark Chocolate: Substitute milk chocolate with dark chocolate for a richer, more intense flavor that complements the spices beautifully.
-
Holiday Shapes: Use cookie cutters shaped like stars or Christmas trees for a festive twist that works for winter celebrations just as well.
-
Nutty Addition: Fold in some chopped walnuts or pecans for a delightful crunch that adds both texture and flavor to your cookies.
-
Fruit Twist: Incorporate dried cranberries or chopped dates into the dough for a sweet, chewy surprise that balances the richness of the chocolate.
-
Spice It Up: Increase the cinnamon or add a dash of cardamom for an extra kick of warmth and complexity, perfect for the fall season.
-
Caramel Drizzle: Add a drizzle of caramel sauce on top of the filled cookies for an indulgent treat that enhances the festive vibe.
-
Gluten-Free Option: Swap the all-purpose flour with a gluten-free blend, ensuring guests with dietary restrictions can enjoy these delicious cookies.
-
Sugar Coating: Roll the dough in coarse sugar before baking for a sparkling finish that adds a lovely crunch and sweetness to each bite.
These variations not only enhance the flavor but also make your spooky stuffed pumpkin cookies even more fun and festive! For more exciting cookie ideas, check out my Marshmallow Swirl Cookies and Pumpkin Spice Cake for inspiration!
Make Ahead Options
These Milk Chocolate Stuffed Jack-O’-Lantern Cookies are perfect for meal prep enthusiasts! You can prepare the cookie dough up to 24 hours in advance and refrigerate it, ensuring it remains fresh and easy to work with. Simply roll out and cut the cookies, then freeze the shaped dough for 15-20 minutes before baking. If you prefer to bake them later, the assembled cookies can be stored in an airtight container for up to 4 days. To enjoy them fresh, simply reheat the cookies briefly in the oven. This way, you can have soft, chewy treats ready with minimal effort, making your busy weeknights a little sweeter!
Expert Tips for Spooky Stuffed Pumpkin Cookies
-
Butter Softening: Make sure your butter is fully softened to room temperature for smooth and easy creaming. This will help your cookies achieve that fluffy texture.
-
Mind the Bake Time: Keep a close eye on your cookies while they bake. They should just start to brown on the edges—overbaking can lead to a dry cookie!
-
Prevent Dough Sticking: Use plenty of flour on your surface when rolling out the dough to avoid it sticking. A sticky dough can make shaping your spooky stuffed pumpkin cookies challenging.
-
Cool Completely: Let the cookies cool completely on a wire rack before decorating or storing them. This prevents any sogginess and maintains their delightful texture.
-
Chocolate Variations: Feel free to experiment with different chocolate types for the filling. For a richer flavor, dark chocolate can be a delightful alternative to milk chocolate in your spooky stuffed pumpkin cookies.

Spooky Stuffed Pumpkin Cookies Recipe FAQs
What type of pumpkin is best for making cookies?
Absolutely! When making cookies like these Spooky Stuffed Pumpkin Cookies, it’s best to use canned pumpkin puree rather than fresh pumpkin. Canned puree offers a smooth consistency and reliably sweet flavor. If you’re using fresh pumpkin, be sure to cook it thoroughly, remove the skin, and puree it until smooth to achieve a similar texture.
How should I store my Spooky Stuffed Pumpkin Cookies?
To maintain their delightful freshness, store your cookies in a well-sealed airtight container at room temperature for up to 4 days. If you’d like to keep them longer, you can refrigerate them for up to a week. For extended storage, consider freezing them; they can last up to 3 months. Just slide a layer of parchment paper between each cookie before freezing to avoid any accidental sticking.
Can I freeze Spooky Stuffed Pumpkin Cookies?
Absolutely! To freeze your assembled cookies, place them in an airtight container with parchment paper separating each layer. This way, they won’t stick together. They can be frozen for up to 3 months. When you’re ready to enjoy them, simply let them thaw in the fridge overnight. To revive the gooey chocolate filling, warm them in a preheated oven at 300°F (150°C) for a few minutes.
What should I do if my cookies spread too much while baking?
If your cookies spread too much, it may be due to the butter being too warm when mixed or not chilling the dough long enough. I recommend chilling the cut-out shapes in the freezer for at least 15-20 minutes before baking; this helps them hold their shape. If your dough feels too soft, you can add an extra tablespoon of flour to help with structure.
Are there any allergy considerations for these cookies?
Yes, there are a few allergy considerations with these Spooky Stuffed Pumpkin Cookies. They contain common allergens like gluten (from flour) and dairy (from butter and chocolate). If you need to make these cookies allergen-friendly, you can opt for gluten-free flour (and add a binding agent if needed) and use dairy-free chocolate and vegan butter alternatives.
How can I make these cookies healthier?
To make these cookies a bit healthier, consider replacing some of the all-purpose flour with whole wheat flour for added fiber. You can also reduce the sugar slightly or use a natural sweetener like honey or maple syrup in moderation. For a fun twist, you might incorporate oats or nut butter into the dough for additional nutrition without compromising on flavor!
Spooky Stuffed Pumpkin Cookies for a Chilling Halloween Treat
Ingredients
Equipment
Method
- Cream together the salted butter and brown sugar until light and fluffy, then mix in the vanilla extract.
- Incorporate the eggs one at a time, mixing until smooth.
- Mix the dry ingredients in a separate bowl, then gradually combine with the wet mixture.
- Roll out the dough to 1/4 inch thick and cut out pumpkin shapes with a cookie cutter.
- Freeze the cut cookies for 15-20 minutes to help them maintain their shape while baking.
- Preheat the oven to 350°F (175°C) and bake the cookies for 8-12 minutes until edges are golden.
- Let the cookies cool on the baking sheet for 5 minutes before transferring to a wire rack.
- Brown the additional butter in a saucepan, then brush it onto half of the cookies and sprinkle with cinnamon sugar.
- Spread melted milk chocolate on the bottom half of the remaining cookies, then sandwich them together.