Advertisement
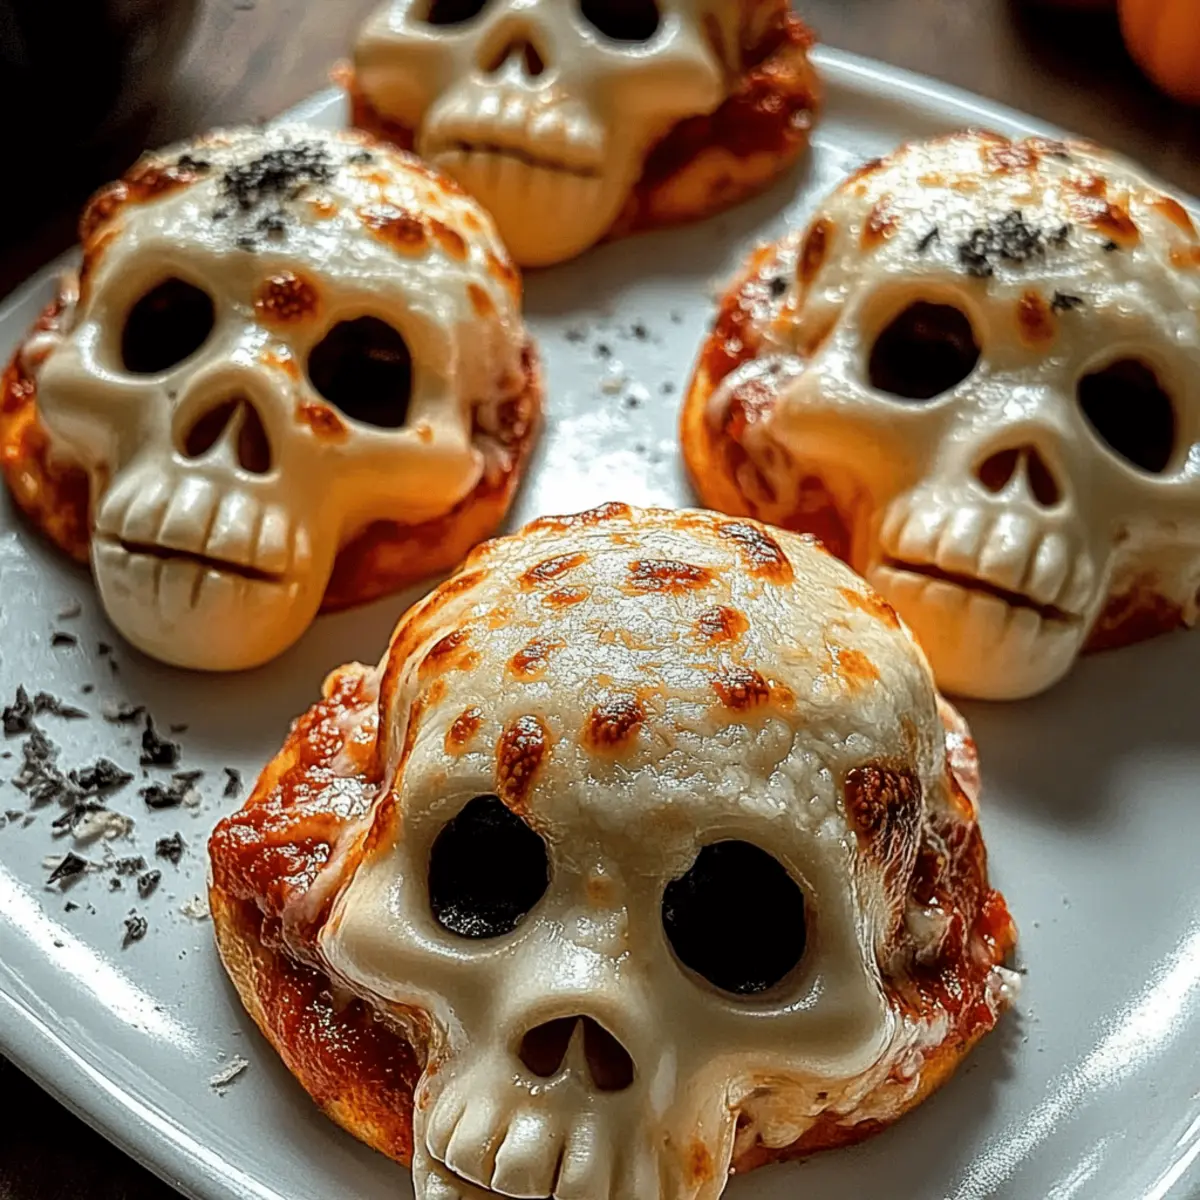
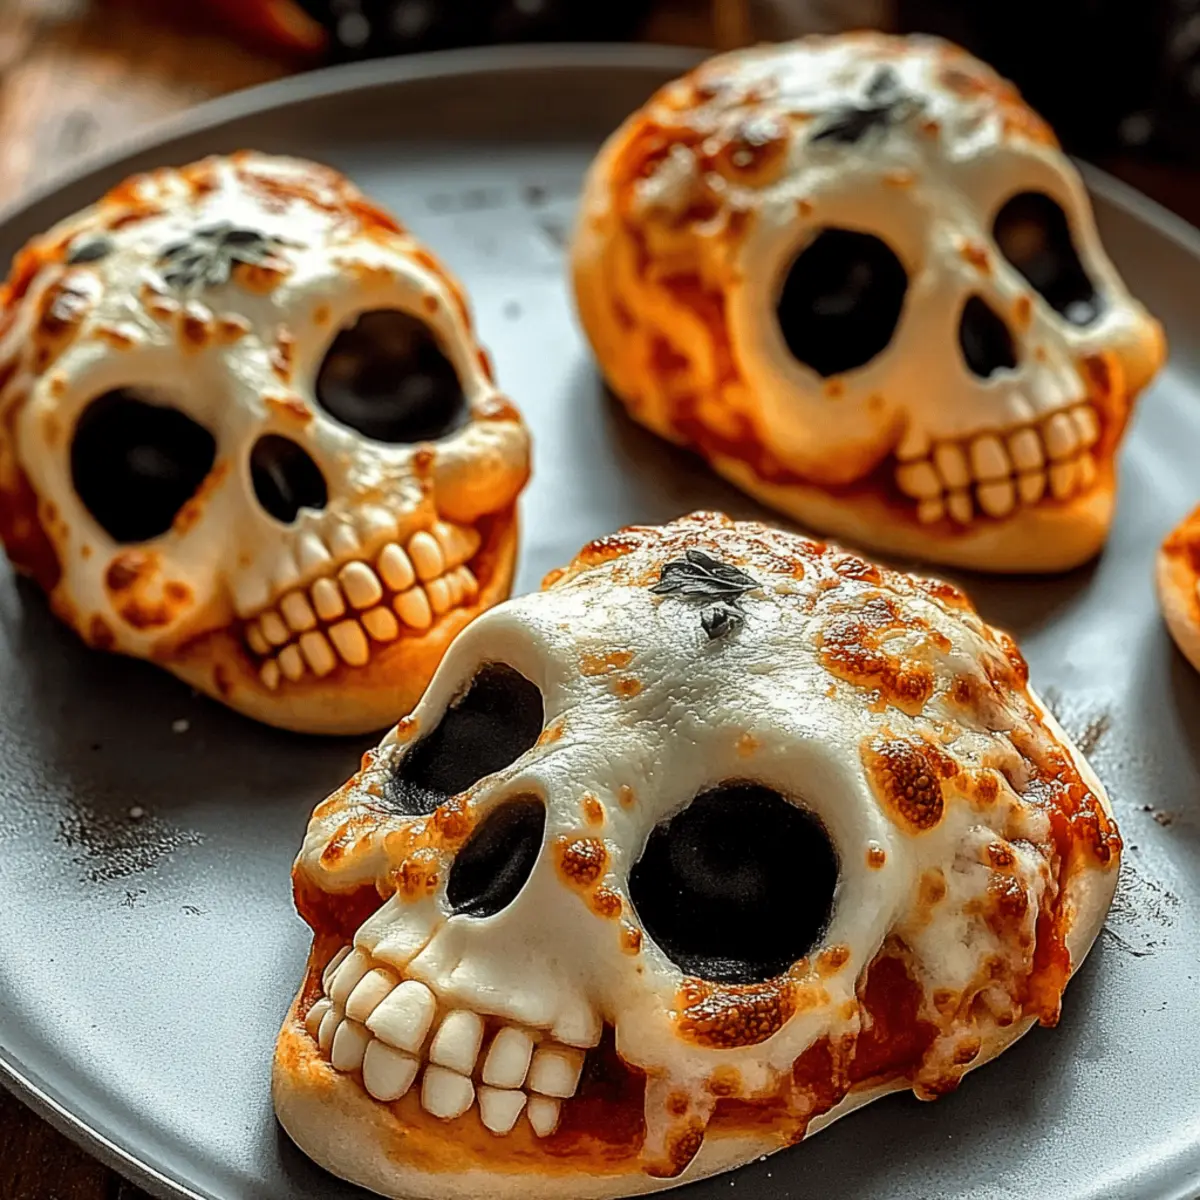
The kitchen was cloaked in the spirit of Halloween, the heady aroma of melting cheese wafting through the air as I prepped for a night of ghoulish fun. Nothing screams festive gatherings like these Easy Cheesy Halloween Pizza Skulls! Perfectly whimsical, these skull-shaped delights will become the highlight of your Halloween parties, family dinners, and cozy movie nights. The delightful combination of a crispy exterior and gooey cheesy interior caters wonderfully to both kids and adults alike. Plus, the customizable fillings make it easy to satisfy any picky eaters or dietary needs. Best of all, this quick and easy recipe is a breeze to whip up, letting you create a memorable treat that will impress every guest. Are you ready to join me in crafting these spooktacular snacks that will surely haunt your taste buds?
Why Are These Pizza Skulls a Must-Try?
Fun & Whimsical: These Cheesy Halloween Pizza Skulls bring excitement to any gathering, making your festivities truly memorable. Kids adore their playful shape, and adults will love the delicious flavors.
Endless Customization: With the option to personalize your fillings, you can easily cater to varying tastes—whether opting for classic pepperoni or fresh veggies, every bite is a treat!
Advertisement
Simple and Quick: Even if you’re a novice, this recipe is straightforward and fast, allowing you to whip up these delightful snacks in no time.
Perfect for Dipping: Serve these cheesy delights alongside marinara sauce for an irresistible dipping experience, reminiscent of childhood pizza parties.
Ideal for Leftovers: Any extras can be stored efficiently, making them perfect for easy snacks throughout the week. Try pairing them with our Cheesy Chicken Roll for your next meal!
Easy Cheesy Halloween Pizza Skulls Ingredients
For the Skulls
• Pizza Dough – Pre-made dough saves time; feel free to make your own from scratch for added freshness.
• Mozzarella Cheese – Melts beautifully for that gooey, cheesy feel; cheddar can be used as a tasty alternative.
• Parmesan Cheese – Offers a sharp flavor and a nice crispy top; optional but highly recommended for that extra crunch.
For the Filling
• Pizza Sauce – Adds moisture and flavor; go for homemade for a personal touch or use your favorite store-bought version.
• Desired Fillings – Customize with your favorites like pepperoni, olives, or veggies—get creative to suit everyone’s tastes and dietary needs!
These Easy Cheesy Halloween Pizza Skulls are sure to be a hit at your next party, offering fun flavors and the charm of homemade goodness!
Step‑by‑Step Instructions for Easy Cheesy Halloween Pizza Skulls
Step 1: Preheat the Oven
Begin by preheating your oven to 400°F (200°C). This ensures that the Easy Cheesy Halloween Pizza Skulls will bake evenly and develop a beautiful golden-brown exterior. Take a moment to gather your baking equipment, including a mini skull baking tin that will shape these spooky treats perfectly.
Step 2: Prepare the Baking Tin
While the oven heats up, generously spray the mini skull baking tin with cooking spray to prevent sticking. Ensuring a well-greased surface is crucial for easy removal of your pizza skulls later on. Set the prepared tin aside as you move on to the next step of rolling out your dough.
Step 3: Roll Out the Dough
On a lightly floured surface, roll out your pizza dough to about 1/4 inch thick. Use a rolling pin to achieve an even thickness, making it easier to shape your Easy Cheesy Halloween Pizza Skulls. Once rolled out, cut the dough into six rectangles—these pieces will fit snugly into the cavities of your skull baking tin.
Step 4: Shape the Skulls
Gently press each rectangle of dough into the skull cavities of the prepared tin, ensuring they mold into the shape of the skulls. The dough should cover the sides and bottom completely. This will create a delightful little pocket for all the cheesy goodness awaiting to be added.
Step 5: Fill the Cavities
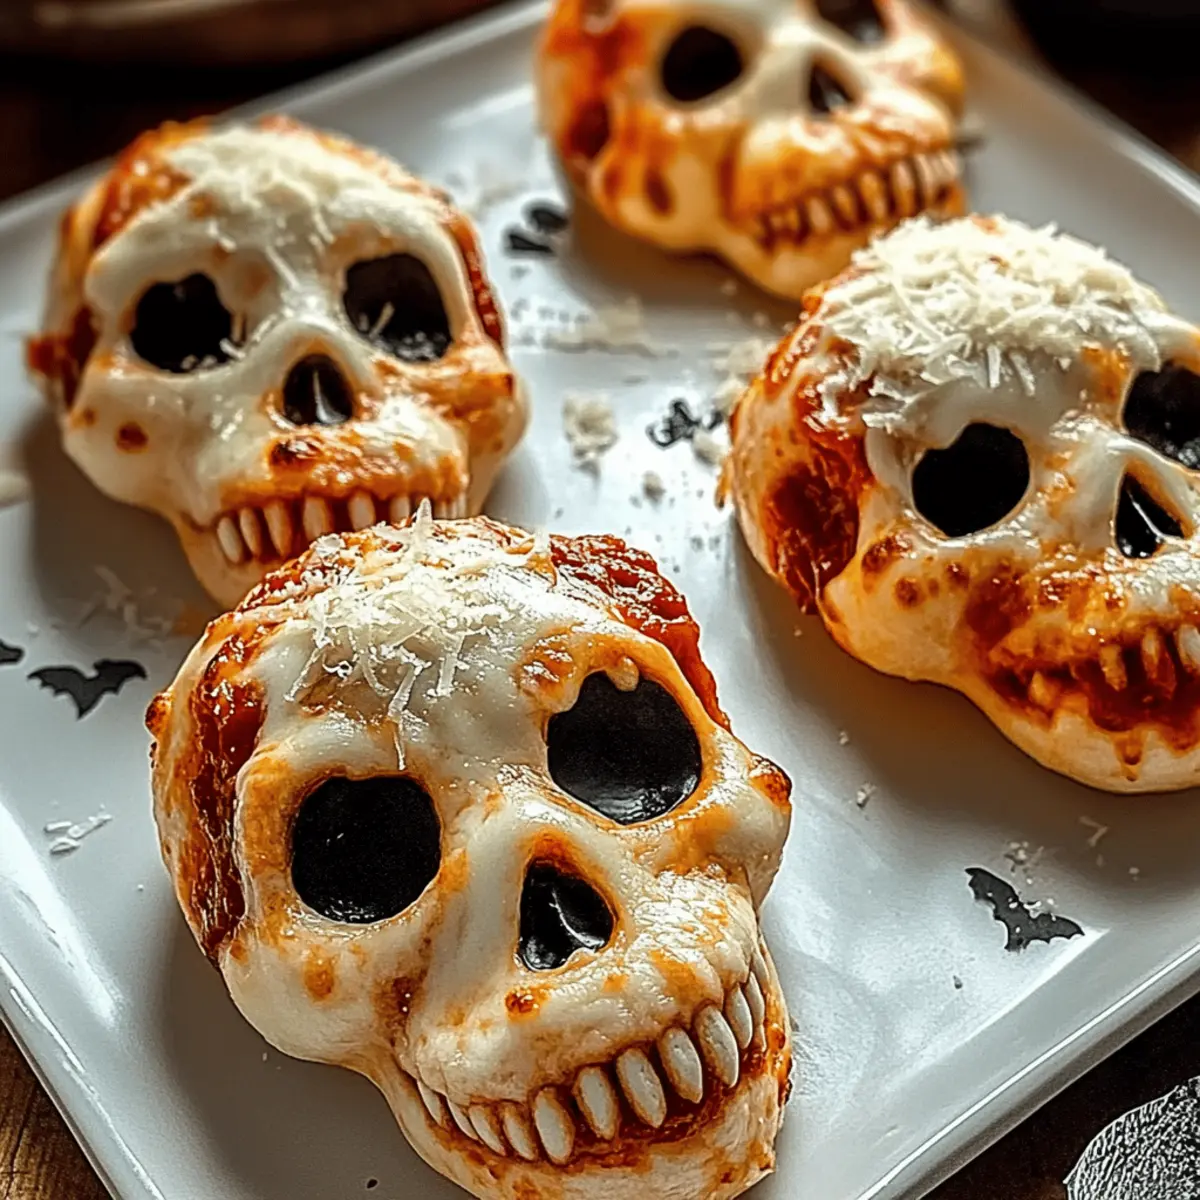
Spoon a layer of pizza sauce into each dough cavity, followed by a generous portion of mozzarella cheese. Sprinkle some Parmesan cheese on top for added flavor and texture. Customize each skull with your desired fillings, such as cooked meats or fresh vegetables, ensuring they are packed with tasty ingredients.
Step 6: Seal the Skulls
Add a tiny dot of pizza sauce on top of the fillings for good measure, creating a moist cavity before sealing. Carefully fold the dough over the fillings, pinching the edges firmly to close each skull. Make sure there are no gaps to prevent any filling from leaking during baking.
Step 7: Chill Before Baking
Once all the skulls are sealed, place the filled baking tray in the refrigerator to chill while the oven continues to heat. This quick chill helps maintain their shape and prevents the dough from losing its form when baked, setting the stage for perfectly crafted Easy Cheesy Halloween Pizza Skulls.
Step 8: Bake the Skulls
After approximately 10 minutes of chilling, place your filled skull tin in the preheated oven. Bake for 16-20 minutes, or until the skulls are golden brown and puffed up beautifully. Keep an eye on them, as baking times may vary depending on the dough used.
Step 9: Cool and Unmold
Once baked, remove the tin from the oven and let it cool for about 5 minutes. This cooling period helps the Easy Cheesy Halloween Pizza Skulls firm up a bit, making them easier to handle. Be cautious, as they’ll still be quite warm as you prepare to unmold them.
Step 10: Serve with Dipping Sauce
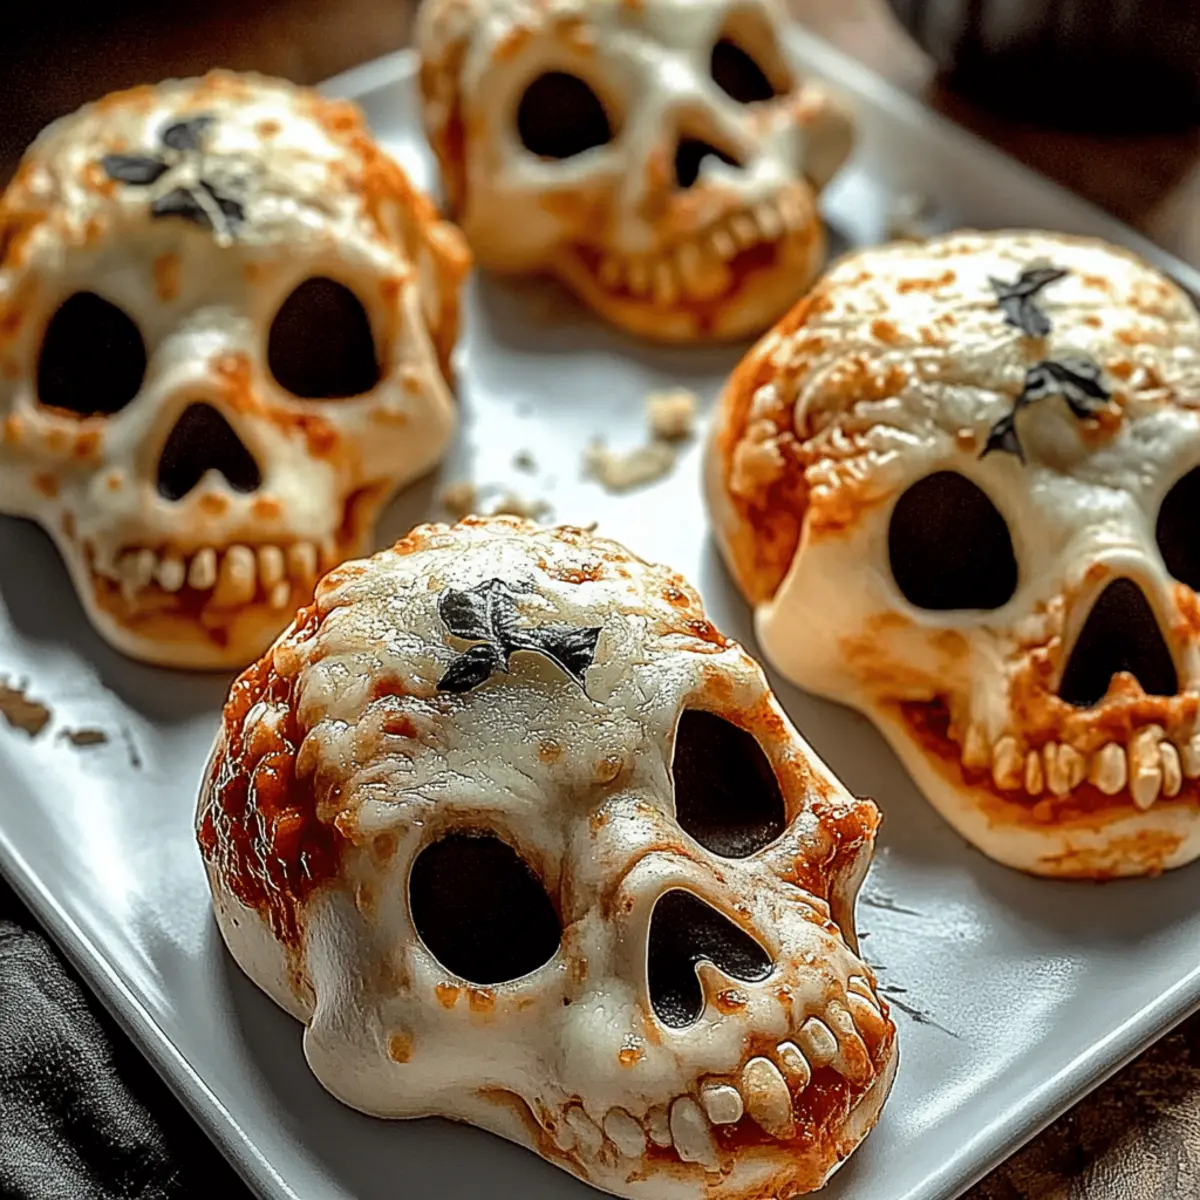
Carefully unmold the skulls, placing them on a serving platter. For a delicious dipping experience, pair these spooky treats with marinara sauce. Feel free to garnish with fresh herbs like parsley or basil for an extra touch of festivity. Enjoy the fun and flavors of your Easy Cheesy Halloween Pizza Skulls!
Expert Tips for Easy Cheesy Halloween Pizza Skulls
• Filling Balance: Ensure that you evenly distribute fillings to avoid overflowing during baking, which can create a mess and spoil the fun.
• Monitor Baking Time: Keep an eye on your Easy Cheesy Halloween Pizza Skulls as baking times may vary with different dough types and ovens—check for a golden brown hue.
• Chill for Success: Refrigerating the filled skulls before baking helps maintain their structural integrity, preventing them from puffing up too much and losing shape.
• Dough Resting: If using homemade dough, remember to let it rest before rolling out; this makes it easier to handle and shape, giving you beautiful pizza skulls.
• Experiment with Ingredients: Don’t be afraid to mix up your fillings! Try things like spicy sausage or colorful peppers to add flair and flavor to your creations.
Make Ahead Options
These Easy Cheesy Halloween Pizza Skulls are perfect for busy home cooks looking for time-saving solutions! You can prepare the skulls filled with your desired toppings and refrigerate them up to 24 hours in advance. To maintain their delightful shape and avoid dough shrinkage, simply cover the filled baking tray with plastic wrap to keep them fresh. When you’re ready to bake, just take them out of the fridge and preheat your oven; no need for extra prep! Bake as directed, and you’ll have freshly baked, warm pizza skulls that are just as delicious as if made the same day—ideal for festive gatherings or even a cozy movie night!
What to Serve with Easy Cheesy Halloween Pizza Skulls?
Elevate your Halloween feast with delightful pairings that harmonize perfectly with these playful, cheesy treats.
-
Marinara Sauce:
This classic dip brings a rich, tangy contrast to the cheesy skulls, enhancing every bite. It’s the perfect accompaniment for both kids and adults, invoking memories of pizza parties. -
Fresh Salad:
A crisp green salad adds a refreshing crunch, balancing the gooey richness of the pizzas. Toss it with seasonal veggies such as pumpkin or roasted beets for a festive touch. -
Stuffed Garlic Bread:
The buttery, garlicky flavors of stuffed garlic bread complement the cheesy goodness of the skulls beautifully. The extra indulgence is sure to delight your guests! -
Roasted Veggies:
Serve up a tray of colorful roasted vegetables for a healthful, nutrient-packed side. This earthy, warm addition perfectly contrasts the playful nature of the pizza skulls. -
Hot Apple Cider:
Embrace the spirit of the season with a warm cup of spiced apple cider. Its sweet and aromatic notes create a cozy atmosphere for your Halloween festivities. -
Pumpkin Pie Bites:
End on a sweet note with these bite-sized desserts. Their spiced, creamy filling circles back to the festivities, keeping the theme alive and well. Perfect with a scoop of vanilla ice cream!
Easy Cheesy Halloween Pizza Skulls Variations
Get ready to unleash your creativity in the kitchen! You can transform these delightful pizza skulls with a few simple twists that will tickle your taste buds and surprise your guests.
-
Lactose-Free: Use lactose-free mozzarella and Parmesan cheeses to ensure everyone can indulge without worry. It’s a delicious way to cater to dietary needs while keeping that cheesy goodness.
-
Vegan-Friendly: Swap the cheeses for your favorite plant-based alternatives and opt for a homemade vegan pizza sauce. Everyone will join in on the fun without missing out!
-
Spicy Surprise: Add sliced jalapeños or a sprinkle of crushed red pepper flakes to elevate your skulls’ heat levels. This twist adds an exciting kick that spice lovers will adore.
-
Sweet Treat: Create a dessert version by filling the skulls with a mix of chocolate chips, peanut butter, or fruit preserves. Serve alongside whipped cream for a spooky yet sweet treat.
-
Festive Fillings: Incorporate themes into your fillings—use black olives as spooky eyes or vibrant green bell peppers to resemble creeping vines for a Halloween vibe!
-
Meat Lovers: For protein-packed bites, throw in a mix of cooked sausage, bacon bits, and pepperoni. This mouthwatering combination is a surefire way to satisfy those hearty appetites.
-
Vegetarian Medley: Opt for a colorful assortment of veggies like spinach, mushrooms, and roasted peppers for a fresh and healthy version that everyone can appreciate.
-
Dough Variation: Experiment with different types of dough, such as whole wheat or gluten-free options, to cater to various dietary preferences without compromising taste.
By allowing for such varied and imaginative options, you’re sure to delight your family and friends. Want to keep the comfort going? Serve these alongside our Breakfast Egg Muffins for a festive feast that’ll keep everyone smiling!
How to Store and Freeze Easy Cheesy Halloween Pizza Skulls
Fridge: Store any leftovers in an airtight container for up to 3 days, ensuring they stay fresh and ready for quick snacks or meals.
Freezer: For longer storage, freeze the Easy Cheesy Halloween Pizza Skulls in a freezer-safe container or zip-top bag for up to 2 months, preserving their delicious flavors.
Reheating: When ready to enjoy, reheat your frozen skulls by baking them at 350°F for 10-15 minutes until heated through and crispy on the outside.
Make-Ahead: Prepare the skulls ahead of time and keep them refrigerated before baking for a stress-free cooking experience on party day.
Easy Cheesy Halloween Pizza Skulls Recipe FAQs
What type of pizza dough should I use?
You can use pre-made pizza dough for convenience, which saves time and effort. However, if you love the taste of homemade, feel free to whip up your own! Just make sure it’s rolled out to about 1/4 inch thick for the best results.
How should I store leftovers?
Absolutely! Store any leftover Easy Cheesy Halloween Pizza Skulls in an airtight container in the refrigerator for up to 3 days. This way, you can enjoy these delightful treats again without losing their cheesy goodness. Just reheat them in the oven for a crisp finish!
Can I freeze the pizza skulls?
Yes, you can freeze these delights! Place the skulls in a freezer-safe container or zip-top bag, and they will stay fresh for up to 2 months. When you’re ready to enjoy them, simply bake from frozen at 350°F for about 10-15 minutes until heated through and crispy.
What if I have dietary restrictions?
Very! You can customize the Easy Cheesy Halloween Pizza Skulls to suit dietary needs. For lactose intolerance, use lactose-free mozzarella or vegan cheese. Additionally, swap fillers like meats for plant-based options or simply load up on veggies for a flavorful, guilt-free treat.
What can I do if the skulls open while baking?
If you find your Easy Cheesy Halloween Pizza Skulls have opened up during baking, don’t worry! It could be due to overfilling or not sealing the edges tightly. For next time, try using less filling and make sure to pinch the dough thoroughly to create a proper seal. Also, chilling them before baking can help.
Easy Cheesy Halloween Pizza Skulls for Fun Family Nights
Ingredients
Equipment
Method
- Preheat your oven to 400°F (200°C).
- Spray the mini skull baking tin with cooking spray.
- Roll out the pizza dough to about 1/4 inch thick and cut into rectangles.
- Press each rectangle of dough into the skull cavities.
- Fill each cavity with pizza sauce, mozzarella, Parmesan, and desired fillings.
- Seal the skulls by folding the dough over the fillings and pinching edges.
- Chill the filled tray in the refrigerator while the oven heats.
- Bake the skulls for 16-20 minutes, or until golden brown.
- Let cool for 5 minutes before unmolding.
- Serve with marinara sauce for dipping.