Advertisement
As I stood by the kitchen counter, the enticing aroma of melted chocolate wrapped around me like a warm embrace. There’s something utterly mesmerizing about the classic duo of chocolate and peanut butter; it can whisk you away to your happiest memories. My No-Bake Chocolate Peanut Butter Bars embody this delicious melding of flavors, crafted effortlessly for a crowd-pleasing treat. With just a handful of wholesome ingredients, these delightful bars are not only incredibly easy to whip up but also gluten-free, making them an excellent choice for almost any dietary need. They’re perfect for quick snacks or sweetened moments after dinner, ideal for those tired of reaching for store-bought options. What’s your favorite way to indulge in chocolate?
Why are No-Bake Bars a Game Changer?
Simplicity makes these bars a breeze to prepare; no oven needed! Decadent flavors of chocolate and peanut butter come together for an indulgent treat. Versatile options allow you to mix in dried fruits or different nut butters to suit your taste. Healthy choice with natural ingredients offers a guilt-free dessert that’s gluten-free. Perfect for when cravings hit or as a crowd-pleasing snack, these No-Bake Chocolate Peanut Butter Bars will have everyone asking for seconds! Looking to elevate your dessert game? Try these alongside my Cranberry Turkey Grilled for a perfectly balanced meal.
No-Bake Chocolate Peanut Butter Bars Ingredients
For the Base
Advertisement
- Oats – Provide structure and a chewy texture; use gluten-free oats for a gluten-free version.
- Peanut Butter – Acts as the base flavor; choose creamy for smoothness or crunchy for added texture.
- Maple Syrup – Sweetens the bars while adding moisture; honey or agave syrup can be used as alternatives.
- Cocoa Powder – Gives the bars a rich chocolate flavor; unsweetened is best for controlling sweetness.
- Salt – Balances the flavors and enhances the sweetness in these delicious bars.
For the Topping
- Dark Chocolate Chips – Adds a sweet topping and enhances the chocolate flavor; semi-sweet or milk chocolate can be alternatives.
These No-Bake Chocolate Peanut Butter Bars are incredibly simple and sure to satisfy your sweet cravings!
Step‑by‑Step Instructions for No-Bake Chocolate Peanut Butter Bars
Step 1: Combine the Base Ingredients
In a large mixing bowl, add the oats, peanut butter, maple syrup, cocoa powder, and salt. Using a spatula or wooden spoon, mix until all ingredients are thoroughly combined, creating a sticky, cohesive dough. This process takes about 3–5 minutes, and the mixture should be dark brown with an even consistency, ready for the next step.
Step 2: Press into the Baking Dish
Line an 8×8-inch baking dish with parchment paper, allowing some overhang for easy removal later. Transfer the oat mixture into the dish, spreading it evenly with the back of your spoon or your hands. Firmly press the mixture down to create an even layer, ensuring it clings together well. This should take about 5 minutes, yielding a solid base for your no-bake chocolate peanut butter bars.
Step 3: Melt the Chocolate Topping
In a microwave-safe bowl, microwave the dark chocolate chips in 30-second intervals, stirring in between, until completely melted and smooth. This will typically take 1–2 minutes. Alternatively, you can melt the chocolate over a double boiler on the stovetop. The chocolate should be glossy and fluid, ready to pour over your pressed oat base.
Step 4: Spread the Melted Chocolate
Once your chocolate is melted, pour it evenly over the pressed oat mixture in the baking dish. Use a spatula to spread the chocolate over the entire surface, ensuring full coverage and a smooth finish. This process takes just a couple of minutes and will elevate your no-bake chocolate peanut butter bars with a satisfying, silky topping.
Step 5: Chill to Set
Place the baking dish in the refrigerator for at least 1-2 hours, or until the chocolate is set and firm to the touch. Be patient! This chilling time is crucial for allowing the bars to harden and hold their shape when sliced. You’ll know they’re ready when the chocolate feels solid and the bars are firm all the way through.
Step 6: Slice and Serve
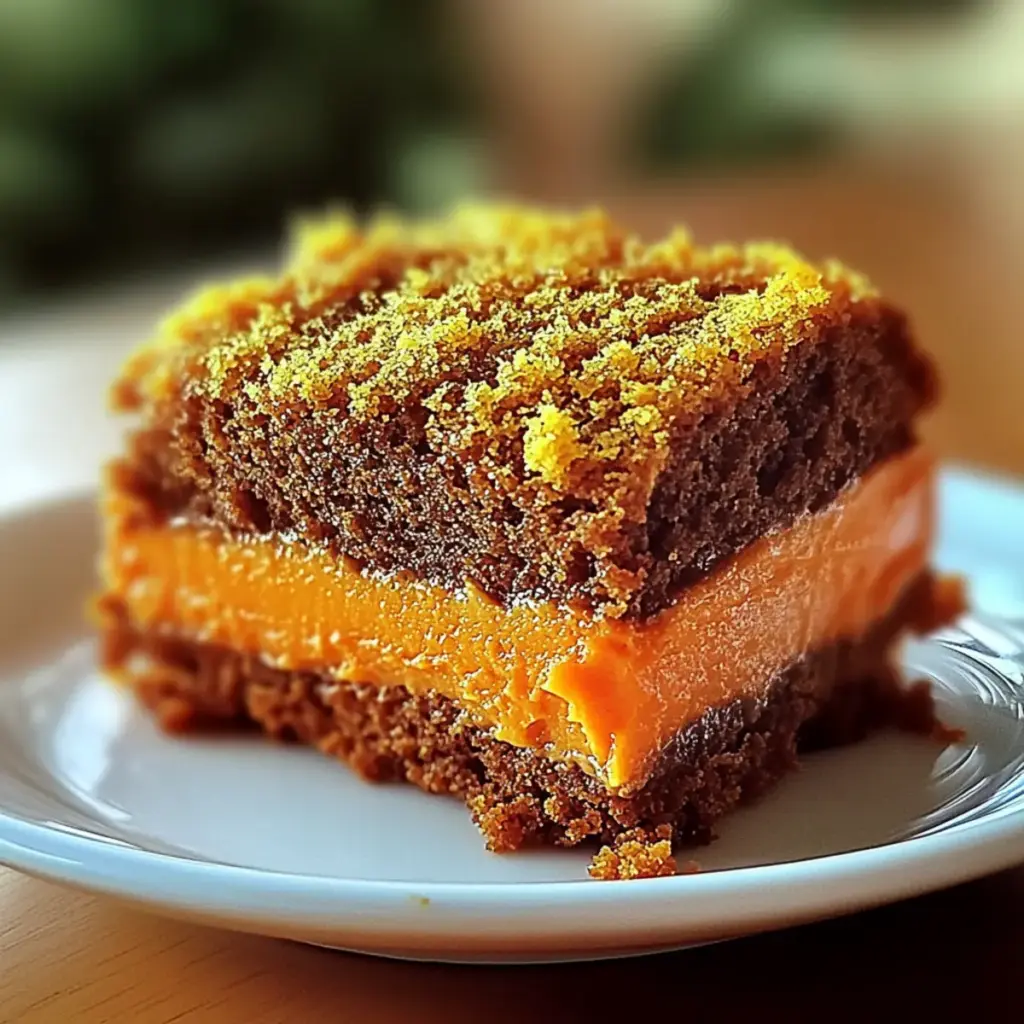
Once chilled, remove the bars from the baking dish using the parchment paper overhang. Place them on a cutting board and slice into squares or rectangles, depending on your preference. Each piece should reveal the creamy, chocolatey layers of your no-bake chocolate peanut butter bars, ready to be enjoyed as a delightful treat or dessert.
Make Ahead Options
These No-Bake Chocolate Peanut Butter Bars are a fantastic option for meal prep and can save you time during busy weeks! You can prepare the base mixture up to 24 hours in advance—just combine the oats, peanut butter, maple syrup, cocoa powder, and salt, then press it into the lined baking dish. Cover it tightly and refrigerate until you’re ready to finish the recipe. The chocolate topping can be melted on the day you plan to serve them; simply pour it over the chilled base, spread evenly, and then refrigerate for an additional 1-2 hours until set. This method keeps the bars just as delicious, allowing you to enjoy a homemade treat with minimal effort on your busy days!
Variations & Substitutions for No-Bake Chocolate Peanut Butter Bars
Get ready to unleash your creativity with delicious twists on this classic treat!
-
Nut Butter Swap: Use almond butter or cashew butter for a different nutty flavor. Each option brings a unique twist to the bars.
-
Sweetness Adjustment: For a less sweet bar, reduce the maple syrup slightly or switch to a sugar-free syrup, keeping a balanced flavor.
-
Cocoa Alternatives: Try carob powder for a caffeine-free version that adds a unique flavor profile.
-
Flavor Infusion: Add a splash of vanilla extract or a pinch of cinnamon to the mixture to elevate the aromatic experience of your bars.
-
Extra Crunch: Mix in chopped nuts like walnuts or pecans for an added crunch. The texture will elevate your no-bake bars to another level.
-
Fruit Addition: Toss in dried cranberries or raisins to bring a fruity burst of flavor, beautifully complementing the chocolate.
-
Toppings Galore: Drizzle melted white chocolate or a swirl of peanut butter over the top for a visually appealing and delicious finishing touch.
These variations not only enhance taste but also allow you to cater to dietary needs, ensuring there’s something for everyone. If you’re looking for more delicious ideas, you might enjoy making my Cranberry Pistachio Snowball Cookies or savoring the delightful Orange Creamsicle Mini Cheesecakes as delightful companions for your dessert spread!
Expert Tips for No-Bake Bars
-
Ingredient Mixing: Ensure all ingredients are well combined to avoid bars crumbling. A thorough mix creates the perfect texture for your no-bake chocolate peanut butter bars.
-
Firm Pressing: Press the mixture firmly in the baking dish for cohesive bars. This step is crucial for preventing them from breaking apart when sliced.
-
Chocolate Melting: Melt chocolate in short intervals to prevent burning. Stir frequently, achieving a smooth consistency that enhances the topping of your no-bake chocolate peanut butter bars.
-
Chill Time: Be patient during the chilling phase. The longer you refrigerate, the firmer the bars will be, ensuring easier slicing and a better bite.
-
Storage Solution: Store your bars in an airtight container in the fridge for optimal freshness. They last up to one week, perfect for satisfying sweet cravings!
What to Serve with No-Bake Chocolate Peanut Butter Bars
As you enjoy these creamy, rich treats, consider pairing them with delightful complements that will elevate your dessert game.
-
Fresh Berries: Juicy strawberries or raspberries add a tart contrast, balancing the sweetness of the bars with a refreshing burst of flavor. The vibrant colors will also make your dessert plate pop!
-
Vanilla Ice Cream: A scoop of silky vanilla ice cream brings a traditional dessert twist that perfectly contrasts the dense, chewy texture of the bars. The creaminess melts into the chocolate, making each bite irresistible.
-
Nutty Granola: Crunchy granola adds a delightful texture enhancement, giving your dessert a playful crunch. Mix in some dried cranberries for extra sweetness and a fruity flair that pairs nicely with the chocolate.
-
Peanut Butter Drizzle: For the ultimate indulgent moment, drizzle some extra peanut butter on top before serving. This added layer serves as a beautiful accent and complements the existing flavors in the bars.
-
Chocolate-Covered Pretzels: Sweet-and-salty chocolate-covered pretzels offer a fun, crunchy contrast that enhances the overall experience. Their crispy texture and salty kick create a delightful balance with the fudgy bars.
-
Almond Milkshake: Pairing with a thick almond milkshake not only satisfies your sweet tooth but also provides a creamy companion that makes for a dreamy dessert experience. The nuttiness complements the chocolate and peanut butter flavors beautifully.
-
Caramel Sauce: A drizzle of warm caramel sauce can elevate your no-bake bars to a gourmet level. The rich, buttery flavor adds a decadent touch that will make your dessert table shine.
-
Coffee or Espresso: A hot cup of coffee or espresso is the perfect drink to pair with these bars, balancing the sweetness with its rich, bold flavor. Enjoying the bars with coffee turns your indulgence into a wonderful afternoon treat.
How to Store and Freeze No-Bake Chocolate Peanut Butter Bars
Fridge: Keep your no-bake chocolate peanut butter bars in an airtight container, where they will stay fresh for up to 1 week.
Freezer: For longer storage, wrap individual bars in plastic wrap and place them in a freezer bag. They can be frozen for up to 3 months.
Room Temperature: While it’s best to keep them refrigerated, if serving at a gathering, these bars can sit out for about 2 hours before getting too soft.
Reheating: Enjoy chilled or allow them to sit at room temperature for a few minutes before serving for a softened, melt-in-your-mouth experience.
No-Bake Chocolate Peanut Butter Bars Recipe FAQs
What kind of oats should I use for no-bake chocolate peanut butter bars?
I recommend using rolled oats for a chewy texture, and if you require a gluten-free option, always opt for gluten-free rolled oats. Steel-cut oats won’t work as well here, as they require cooking. Look for oats that are certified gluten-free to avoid cross-contamination.
How should I store my no-bake bars, and how long do they last?
Store your bars in an airtight container in the fridge, where they will remain fresh for about 1 week. If you have extras, consider wrapping them individually in plastic wrap and placing them in a freezer bag for freezing. They can be stored in the freezer for up to 3 months; just thaw them in the fridge when you’re ready to indulge!
Can I freeze no-bake chocolate peanut butter bars?
Absolutely! To freeze, wrap each bar tightly in plastic wrap, and then place them in an airtight freezer bag. They can be frozen for up to 3 months. To enjoy, simply move them to the refrigerator to thaw overnight or let them sit at room temperature for 15-20 minutes before serving.
What should I do if my bars are falling apart?
If your no-bake chocolate peanut butter bars fall apart upon slicing, it might be due to insufficient mixing or not pressing the mixture down firmly enough in the baking dish. For best results, make sure all ingredients are thoroughly combined and press the mixture down firmly to create an even layer. If they’re still too crumbly, you can try adding a bit more peanut butter or a splash of maple syrup to help bind them better.
Are there any dietary considerations for these bars?
Great question! These no-bake chocolate peanut butter bars are gluten-free when made with gluten-free oats. For those with nut allergies, you can substitute the peanut butter with sunbutter or a seed-based spread as a safe alternative. It’s always best to check labels to ensure they meet your dietary needs!
Can I customize the toppings or add-ins for my no-bake bars?
Yes, you can! These bars are very versatile. Feel free to add chopped nuts, dried fruits, or even a drizzle of melted chocolate on top for extra flair. Just remember to keep the ratios balanced to maintain the texture of the bars—it’s all about finding that perfect mix!
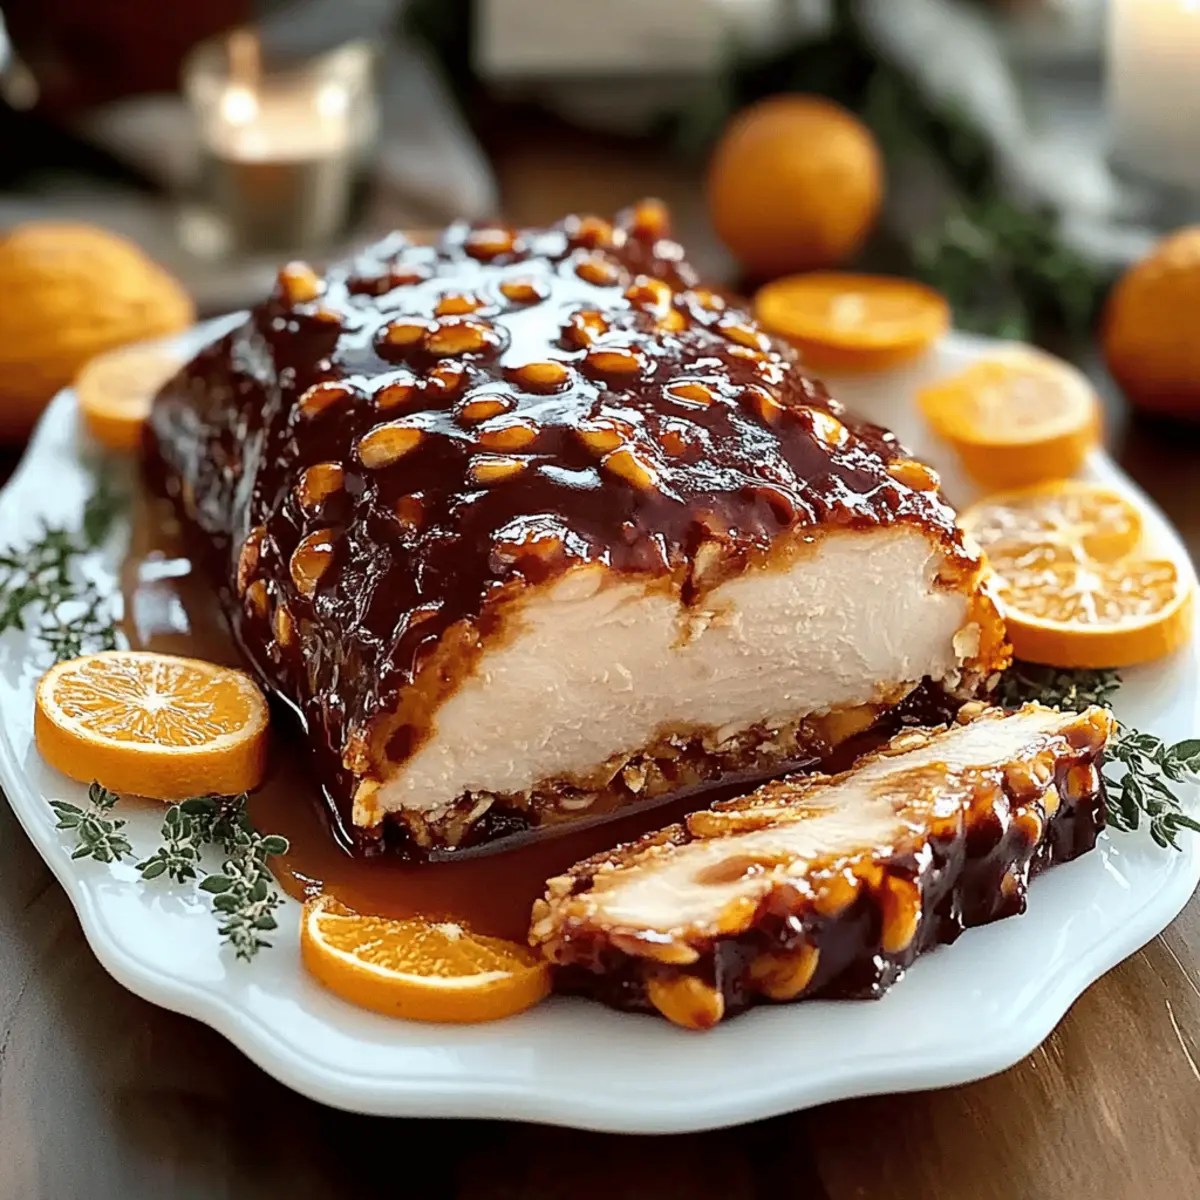
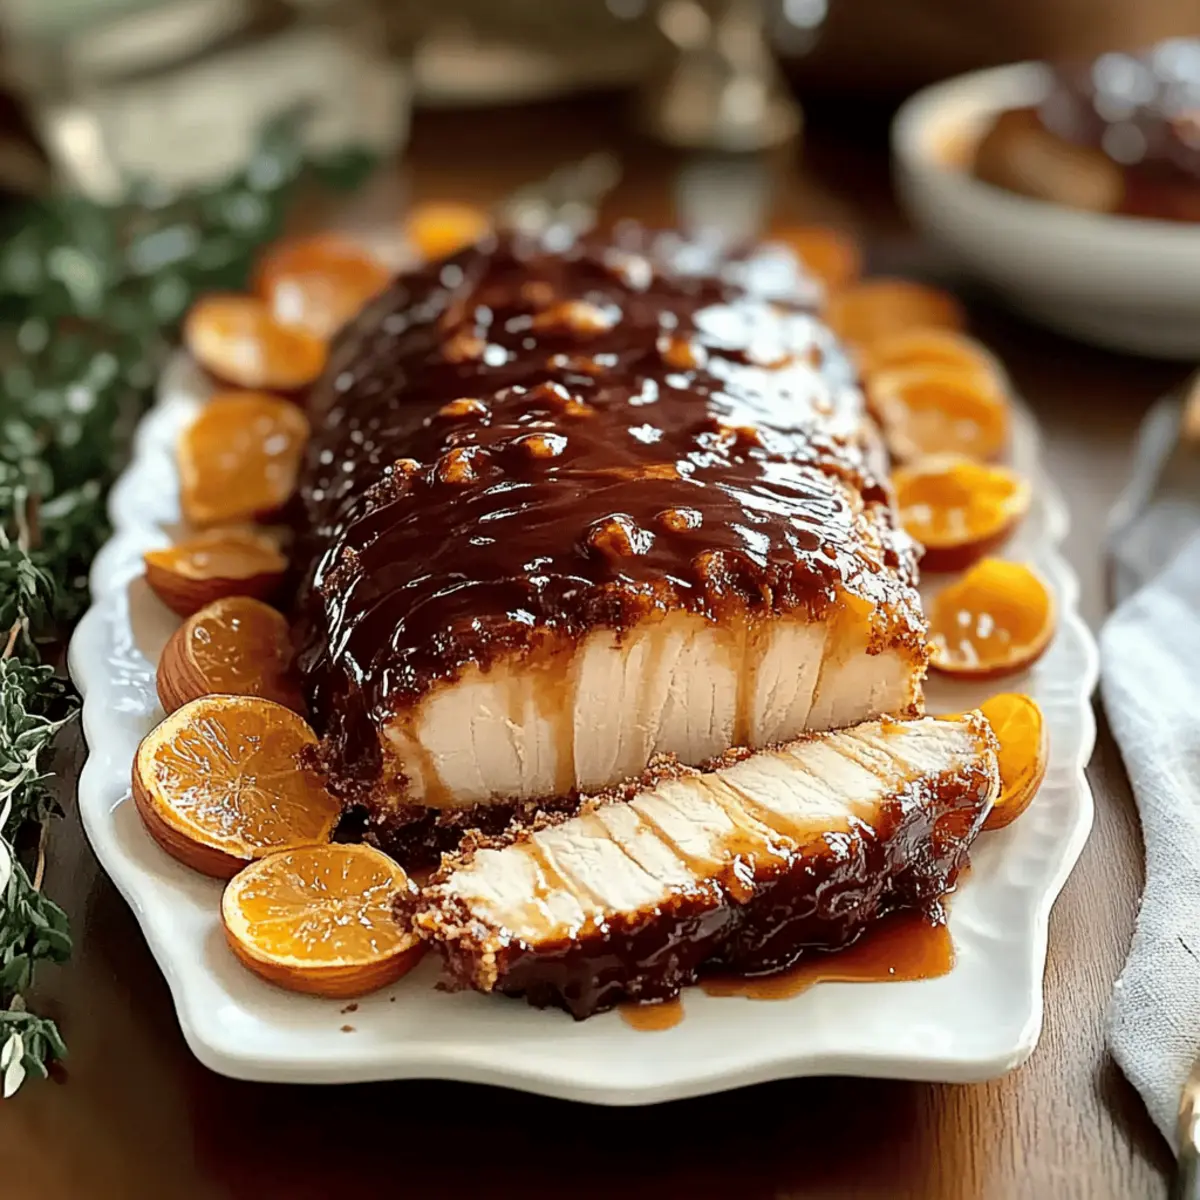
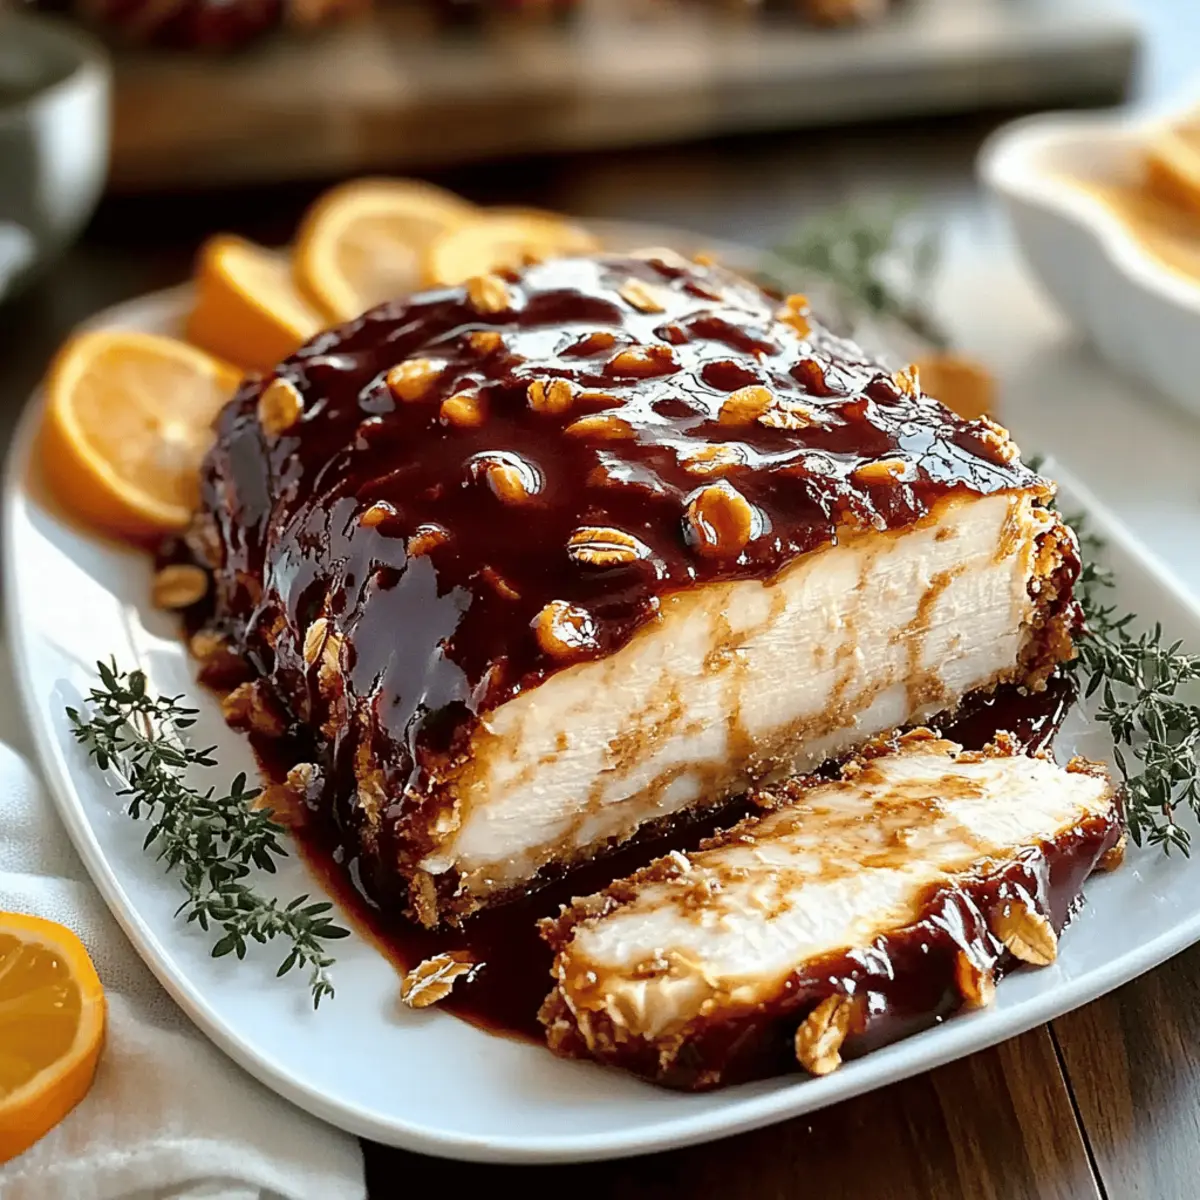
Cranberry Orange Glazed Turkey Breast for Memorable Meals
Ingredients
Equipment
Method
- Combine the Base Ingredients in a mixing bowl and mix until fully blended.
- Press the mixture into a lined baking dish evenly to form a base.
- Melt the dark chocolate chips in the microwave and stir until smooth.
- Spread the melted chocolate over the pressed oat mixture.
- Chill in the refrigerator for at least 2 hours to set.
- Once set, slice into squares and serve.