Advertisement
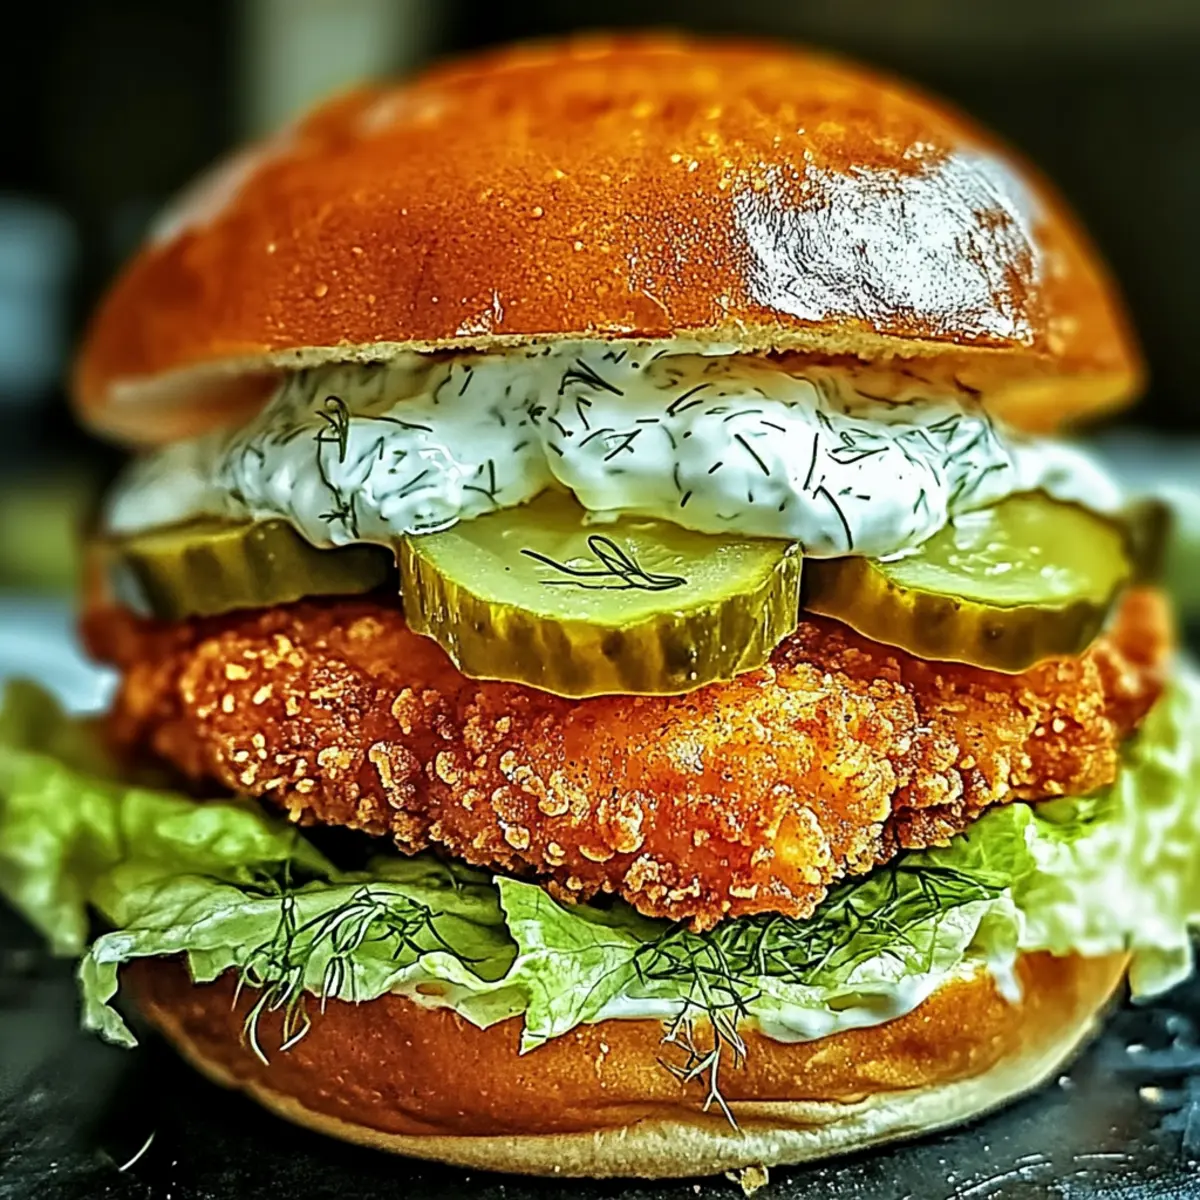
As I stood by the stove, the irresistible sound of sizzling chicken filled my kitchen with warmth and nostalgia. The Crispy Dill Chicken Sandwich is not just a meal; it’s an invitation to elevate your lunchtime experience. With juicy chicken encased in a crunchy panko crust and topped with a homemade dill mayo, this dish comes together in a snap, making it a fantastic choice for busy weekdays or family gatherings. Plus, its versatility allows for a range of mouthwatering variations, catering to different tastes and dietary preferences. Whether you’re feeding a crowd or just indulging in a satisfying lunch, this sandwich delivers all the crunch and flavor you crave. Ready to take your lunch game to the next level? Let’s dive into the recipe!
Why Is This Sandwich a Must-Try?
Quick and Easy: This Crispy Dill Chicken Sandwich comes together in a flash, making it a fantastic option for busy lunches. Customizable Options abound; from swapping chicken for crispy tofu to using Greek yogurt in your dill mayo, everyone can savor their ideal version. Flavor Explosion: The zesty homemade dill mayo paired with the crispy panko chicken creates a taste that’s second to none. Crowd-Pleaser: Whether you’re hosting friends or preparing a family meal, this sandwich is sure to impress and satisfy. Need more ideas? Check out our Oven Baked Chicken and Cheesy Chicken Roll for more deliciousness!
Crispy Dill Chicken Sandwich Ingredients
For the Chicken
• Chicken Breasts – Ideal for juiciness; boneless, skinless thighs can be used for a richer flavor.
• All-Purpose Flour – This coating base ensures a golden crust; swap for whole wheat flour for a healthier choice.
• Salt – Essential for enhancing flavor throughout the sandwich.
• Black Pepper – Adds a hint of mild heat that balances the dish.
• Garlic Powder – Infuses a mellow, aromatic garlic essence into the coating.
• Onion Powder – Contributes both sweetness and savory depth.
• Dried Dill – A must-have for that signature herby, citrusy note.
• Eggs – Binds the coating for moisture; consider egg alternatives for a lighter version.
• Milk – Adds silkiness to the egg wash, helping the coating adhere better.
• Panko Breadcrumbs – Key for that irresistible crispy exterior.
Advertisement
For the Frying
• Vegetable Oil – Essential for frying; its high smoke point prevents the coating from burning.
For the Buns and Toppings
• Brioche Buns – Soft and buttery; toasting them adds delightful texture.
• Mayonnaise – The base for your dill mayo; swap with Greek yogurt for a lighter alternative.
• Fresh Dill – Adds a bright and fresh flavor to the dill mayo.
• Lemon Juice – Introduces acidity to balance the richness of the mayo.
• Shredded Lettuce – Provides refreshing crunch for each bite.
• Dill Pickles – A tangy addition that adds both acidity and texture.
Experiment with these ingredients to create your perfect Crispy Dill Chicken Sandwich!
Step‑by‑Step Instructions for Crispy Dill Chicken Sandwich
Step 1: Prepare Chicken
Begin by slicing the chicken breasts in half horizontally to create cutlets. Use a meat mallet to pound them to a uniform ½ inch thickness, ensuring even cooking. This step not only tenderizes the chicken but also helps it fry evenly, resulting in that perfect juicy bite for your Crispy Dill Chicken Sandwich.
Step 2: Mix Coating
In a shallow dish, combine all-purpose flour, salt, black pepper, garlic powder, onion powder, and dried dill. Mix thoroughly with a fork to blend the spices evenly. This flavorful coating forms the base of your crispy exterior. Set aside, as you’ll need it to coat the chicken cutlets shortly.
Step 3: Prepare Egg Wash
In a separate bowl, whisk together the eggs and milk until the mixture is frothy and well combined. This egg wash will help the seasoning adhere to the chicken, ensuring each cutlet has an even, flavorful coating. It’s a crucial step for achieving that delightful crunch in your Crispy Dill Chicken Sandwich.
Step 4: Coat Chicken
Dredge each chicken cutlet first in the flour mixture, ensuring it’s fully coated, then dip it into the egg wash, letting any excess drip off. Finally, press the chicken into the panko breadcrumbs for that irresistibly crispy texture. Make sure each piece is generously coated, which will create an amazing crunch when fried.
Step 5: Heat Oil
In a large skillet, pour enough vegetable oil to cover the bottom, about ¼ inch deep. Heat the oil over medium-high heat until it reaches 350°F. You can test the temperature by dropping a small piece of bread into the oil; it should sizzle immediately. Proper oil temperature is essential for crispy and golden chicken.
Step 6: Fry Chicken
Carefully add the coated chicken cutlets to the hot oil, spacing them out to avoid overcrowding. Fry the chicken for about 4-5 minutes on each side, turning them once golden brown and cooked through. Look for a crispy, golden crust and ensure the chicken reaches an internal temperature of 165°F for safety.
Step 7: Make Dill Mayo
In a small bowl, mix mayonnaise, chopped fresh dill, and lemon juice until well blended. This zesty dill mayo will add a bright and creamy layer to your Crispy Dill Chicken Sandwich. Feel free to adjust the lemon juice to taste, enhancing the tanginess that complements the fried chicken perfectly.
Step 8: Toast Buns
While the chicken is frying, toast the brioche buns in a toaster or on a skillet until they are golden brown and slightly crispy. This step adds delightful texture and flavor, creating the perfect vessel for your sandwich. A warm, toasted bun will elevate the overall experience of your Crispy Dill Chicken Sandwich.
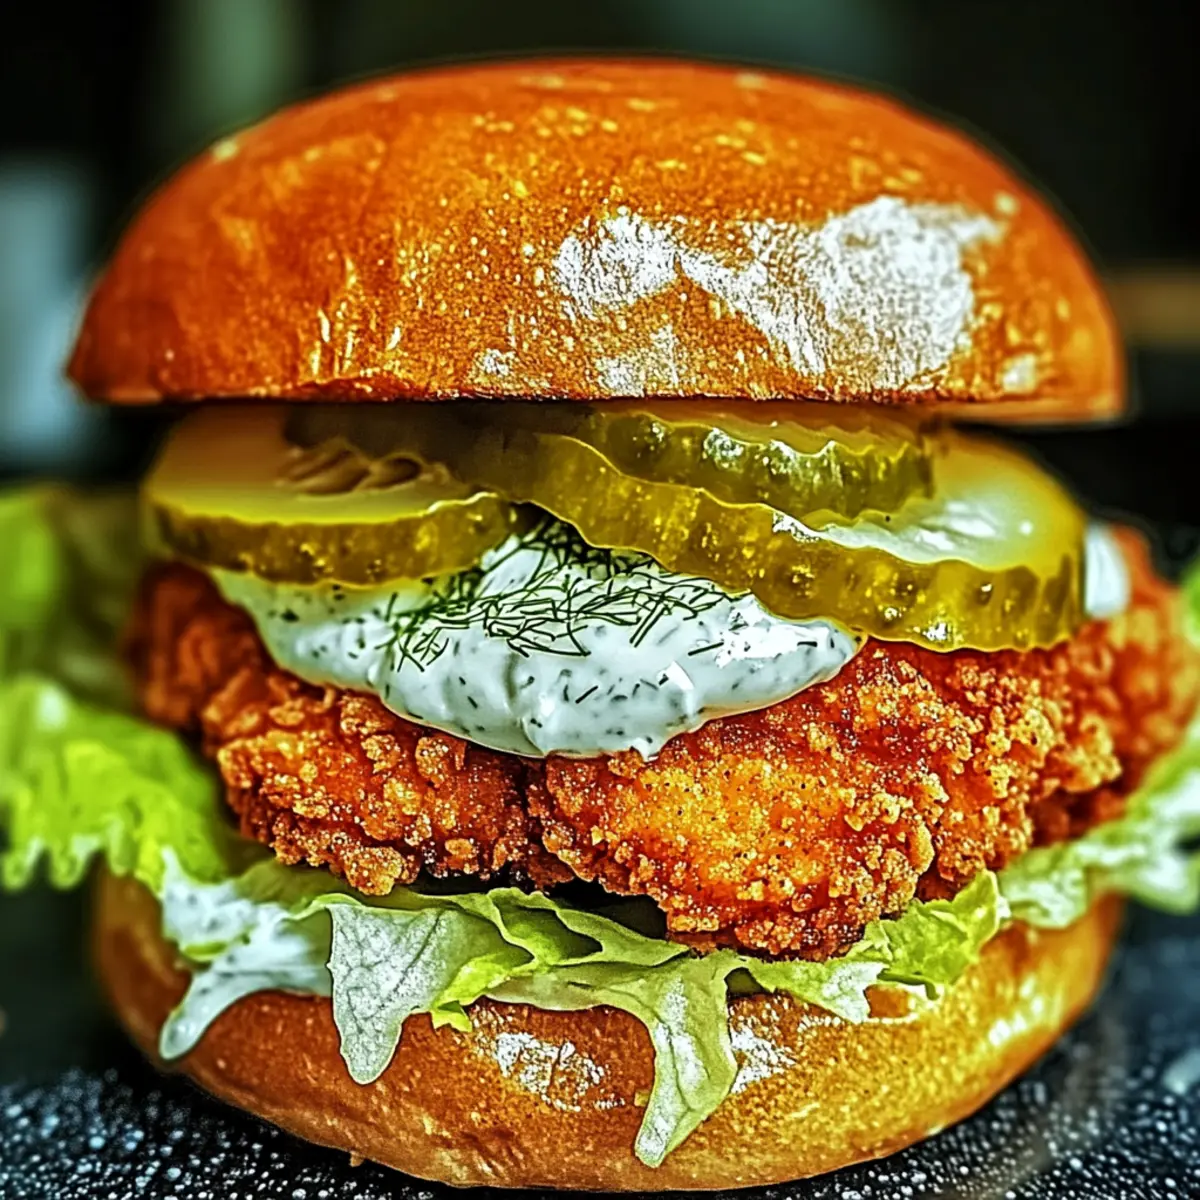
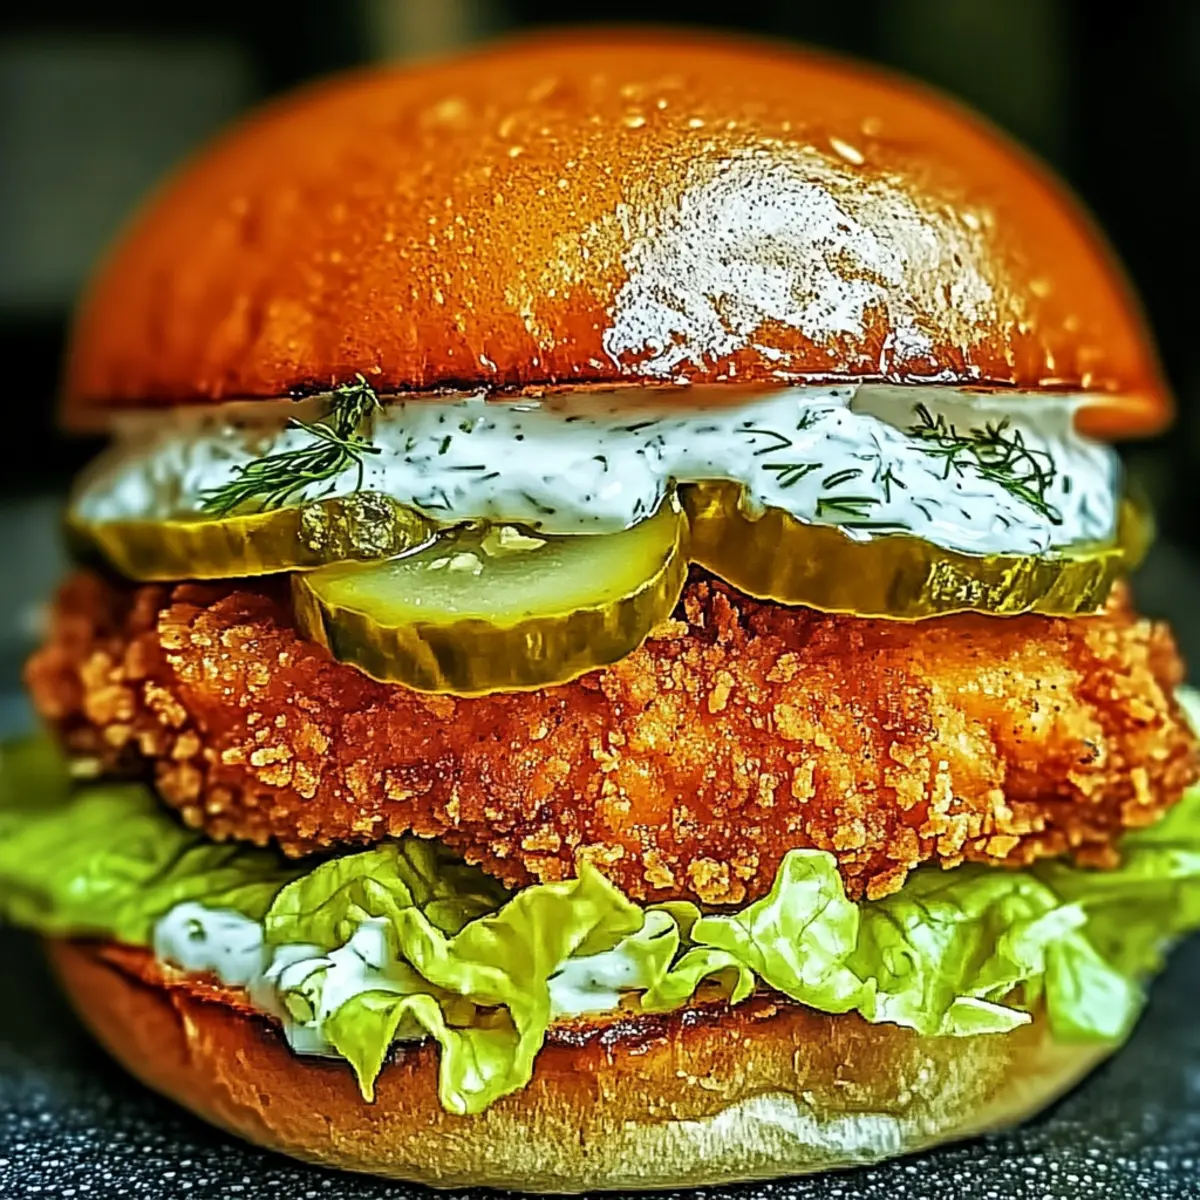
Step 9: Assemble Sandwiches
Spread a generous layer of dill mayo on the bottom half of each toasted bun. Layer the crispy chicken cutlets atop the mayo, then add a handful of shredded lettuce and a few slices of dill pickles for added crunch and zing. Finally, place the top bun on and get ready for a delicious homemade meal!
Make Ahead Options
These Crispy Dill Chicken Sandwiches are perfect for busy home cooks looking to save time! You can prepare the chicken cutlets, coating, and dill mayo up to 24 hours in advance, keeping everything stored separately in the refrigerator. To maintain quality, make sure the chicken is fully cooled before refrigerating and covered to prevent drying out. When you’re ready to enjoy your sandwich, simply fry the chicken until golden brown, toast the buns, and assemble with your fresh ingredients. This way, you’ll have a delicious homemade meal on the table with minimal effort, making your lunch experience both quick and satisfying!
What to Serve with Crispy Dill Chicken Sandwich
As you savor that first crunchy bite, consider these delightful accompaniments to elevate your meal experience.
- Crispy Sweet Potato Fries: These sweet and salty fries offer a delicious balance to the savory chicken and creamy mayo.
- Fresh Coleslaw: The crunchy veggies and tangy dressing provide a refreshing contrast, adding brightness to every bite of the sandwich.
- Garlic Butter Corn on the Cob: Juicy, tender corn with a hint of garlic butter pairs perfectly, enhancing the summer vibes of your meal.
- Creamy Potato Salad: Offering a rich, comforting texture, this side creates a cozy complement to your crispy dill chicken sandwich.
- Roasted Veggies: Seasonal vegetables tossed in olive oil and herbs add color and flavor, ensuring a wholesome, nutrient-packed plate.
- Pickle Chips: Serve alongside for an extra crunch and tang that echoes the dill notes in your sandwich, enhancing each mouthful.
- Light Beer or Lemonade: A refreshing beverage like light beer or a zesty lemonade perfectly complements the flavors, making each bite even more enjoyable.
- Chocolate Chip Cookies: For a sweet finish, classic cookies bring warmth and nostalgia to round off your meal with a delightful touch.
Expert Tips for the Best Crispy Dill Chicken Sandwich
• Oil Temperature: Keep the frying oil at 350°F to avoid soggy chicken; a thermometer helps ensure accuracy for your crispy dill chicken sandwich.
• Coating Technique: Shake off excess flour and egg wash before dipping in panko; this ensures a thicker, crunchier crust that locks in flavor.
• Meal Prep Friendly: Prepare your chicken, coating, and dill mayo ahead of time (up to 24 hours) and store separately in the fridge for quick assembly later.
• Customization Ideas: Experiment with different bread types and toppings; try adding avocado slices or a spicy aioli for unique flavors that fit any palate.
• Freezing Option: Freeze uncooked, coated chicken for up to 2 months; just fry straight from the freezer for a quick, delicious meal without prep time.
How to Store and Freeze Crispy Dill Chicken Sandwich
Fridge: Store any leftover crispy chicken in an airtight container for up to 3 days to maintain crunchiness and flavor.
Dill Mayo: Keep the homemade dill mayo in a sealed container in the fridge and consume it within 1-2 days for the best taste and freshness.
Freezer: For longer storage, freeze uncooked, coated chicken cutlets for up to 2 months. When ready to eat, fry them straight from the freezer for a quick and delicious crispy dill chicken sandwich.
Reheating: To reheat leftover sandwiches, place them in a toaster oven at 350°F for about 10 minutes, ensuring the chicken remains crispy while warming through.
Variations: Crispy Dill Chicken Sandwich
Feel free to get creative with this sandwich and make it your own with these delightful twists!
- Thigh Upgrade: Substitute chicken breasts with boneless, skinless thighs for a richer, juicier flavor that elevates every bite.
- Whole Wheat Flour: Swap out all-purpose flour for whole wheat flour to add a nutty flavor and a healthful boost to your crispy coating.
- Yogurt Dressing: Replace mayonnaise with Greek yogurt in the dill mayo for a lighter, protein-packed alternative that maintains creaminess.
- Avocado Delight: Add slices of ripe avocado for a creamy, buttery texture that compliments the crunch of the chicken beautifully.
- Vegan Option: Use crispy tofu in place of chicken and plant-based mayo for a totally vegan take that still packs a punch in flavor.
- Spicy Kick: Incorporate a dash of cayenne pepper or hot sauce into the flour mixture for those who love an extra little zing with their lunch.
- Pickle Varieties: Experiment with different pickle options like spicy or bread-and-butter pickles to change up the flavor profile and keep things exciting.
- Fresh Herbs: Toss in some fresh parsley or cilantro into the dill mayo to brighten up the flavor and add a fresh twist to the traditional recipe.
Ready to make it your own? If you love chicken sandwiches, consider pairing this with our delicious Healthy Southwest Chicken Wraps or our Crispy Baked Hot Honey Chicken for more delightful meal ideas!
Crispy Dill Chicken Sandwich Recipe FAQs
What type of chicken should I use for this sandwich?
I recommend using boneless, skinless chicken breasts for a juicy and tender result. However, you can also opt for boneless, skinless chicken thighs for a richer flavor.
How should I store leftover crispy chicken?
Store any leftover crispy chicken in an airtight container in the fridge for up to 3 days. This ensures it maintains its crunchiness and flavor. For best results, reheat in a toaster oven at 350°F for about 10 minutes.
Can I freeze the crispy chicken?
Absolutely! You can freeze uncooked, coated chicken cutlets for up to 2 months. Simply place them in a single layer on a baking sheet to freeze first, then transfer to an airtight container. When you’re ready to enjoy, fry them directly from the freezer for a quick and crispy meal.
What about dietary considerations, like allergies?
If you’re looking to accommodate dietary restrictions, consider substituting the mayonnaise in the dill mayo with Greek yogurt for a lighter option. For a gluten-free alternative, replace the all-purpose flour with gluten-free flour and use gluten-free panko breadcrumbs. Always check labels for any potential allergens based on individual dietary needs.
What’s the best way to keep the coating crispy after frying?
To keep that lovely crunch intact, it’s best to store fried chicken cutlets separately from the buns and mayo. This way, the moisture from the condiments and bread won’t make the crispy coating soggy. Assemble your sandwich just before serving for maximum crunch!
How can I tell if the oil is hot enough for frying?
To ensure your oil is at the perfect frying temperature of 350°F, you can use a thermometer or just drop a small piece of bread into the oil. If it sizzles immediately, you’re ready to add your chicken for that delicious crispy crust!

Crispy Dill Chicken Sandwich: Your New Favorite Lunch Delight
Ingredients
Equipment
Method
- Prepare the chicken by slicing the breasts in half horizontally and pound to ½ inch thickness.
- Mix the coating with flour, salt, black pepper, garlic powder, onion powder, and dried dill in a shallow dish.
- Prepare the egg wash by whisking eggs and milk until frothy in a separate bowl.
- Coat each chicken cutlet first in the flour mixture, then dip in egg wash, and finally press into panko breadcrumbs.
- Heat vegetable oil in a skillet over medium-high heat until it reaches 350°F.
- Fry the chicken cutlets for about 4-5 minutes on each side until golden brown.
- Make dill mayo by mixing mayonnaise, fresh dill, and lemon juice in a bowl until blended.
- Toast the brioche buns until golden brown in a toaster or skillet.
- Assemble the sandwiches with dill mayo, crispy chicken, lettuce, and pickles on toasted buns.