
Advertisement
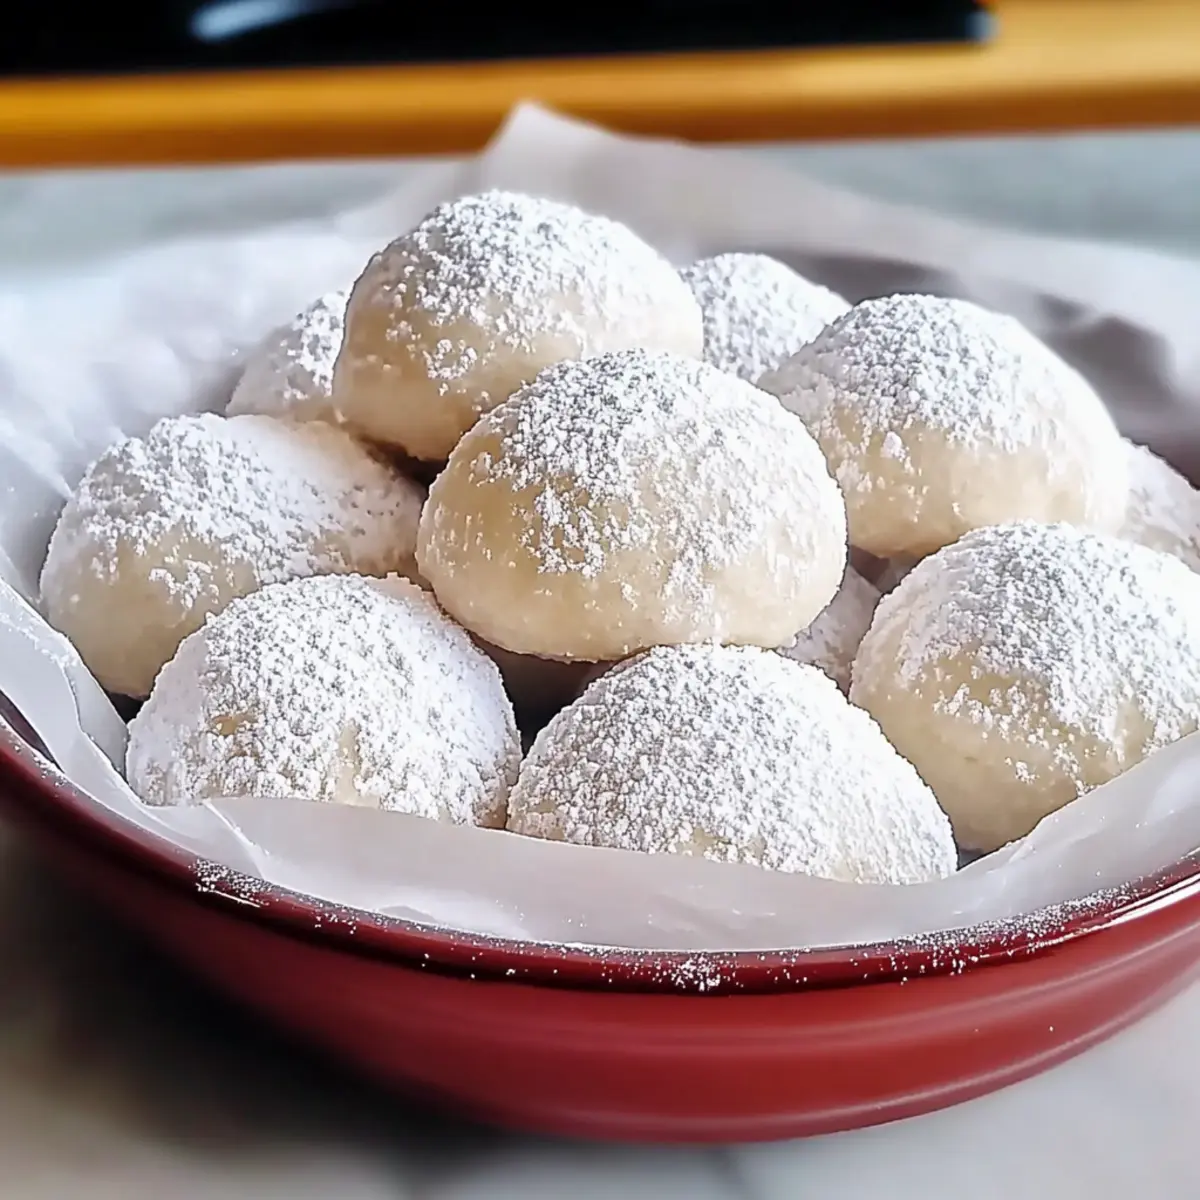
As I unwrapped the soft, buttery cookies from their festive tin, the air filled with the sweet scent of nostalgia. These Traditional Snowball Cookies, boasting just four simple ingredients, are not only a breeze to make but also melt like magic in your mouth. Whether you’re gearing up for delightful holiday gatherings or simply want to indulge in a sweet moment at home, these cookies are sure to impress. They can easily accommodate gluten-free or vegan diets, ensuring that everyone can join in on the joy. Trusting this recipe will not only elevate your cookie game but also bring smiles to those you love. Are you ready to roll up your sleeves and make these heavenly treats?
Why Are These Cookies So Special?
Simplicity at Its Finest: With just four ingredients, these Traditional Snowball Cookies are super easy to whip up, making them perfect for busy bakers.
Melt-in-Your-Mouth Goodness: Each bite offers a delightful softness that literally melts in your mouth; it’s pure bliss!
Advertisement
Customizable Delights: Whether you prefer vegan or gluten-free, this recipe has options for everyone to enjoy without compromise.
Crowd-Pleasing Treats: These cookies are a surefire hit at holiday gatherings or cozy evenings at home, quickly disappearing from the table!
Make-Ahead Magic: Prep the dough ahead of time or freeze unbaked cookie balls for effortless baking exactly when you need them.
Don’t forget to check out my recipes for Filled Snowball Cookies and Pistachio Snowball Cookies for even more snowy cookie variations that will impress your loved ones!
Traditional Snowball Cookie Ingredients
For the Dough
- All-purpose flour or gluten-free flour – Provides structure; use certified gluten-free flour for a gluten-free version.
- Unsalted butter – Adds richness and moisture; substitute with softened coconut oil for a vegan option.
- Powdered sugar – Imparts sweetness and creates a delicate texture; remember to save some for that lovely snowy coating!
- Chopped nuts (optional, walnuts, almonds, pecans) – Introduces flavor and texture; omit for nut-free cookies, or use seeds instead.
These Traditional Snowball Cookies are a delightful balance of effortless preparation and heavenly taste—perfect for everyone at the holiday table!
Step‑by‑Step Instructions for Traditional Snowball Cookies
Step 1: Preheat the Oven
Begin by preheating your oven to 325°F (163°C). While it warms up, line your baking sheets with parchment paper to ensure easy cleanup and prevent sticking. This step will prepare a perfect canvas for your Traditional Snowball Cookies and make the baking process smoother.
Step 2: Cream the Butter and Sugar
In a medium-sized mixing bowl, cream together ½ cup of softened unsalted butter and ½ cup of powdered sugar. Use an electric mixer on medium speed for about 2-3 minutes until the mixture is light and fluffy. This process incorporates air, leading to a delightful texture that contributes to the melt-in-your-mouth quality of your cookies.
Step 3: Combine Dry Ingredients
In a separate bowl, sift together 1 ¾ cups of all-purpose flour (or gluten-free flour) and ½ cup of chopped nuts, if desired. Gradually add the dry mixture to the creamed butter and sugar, mixing on low speed until a cohesive dough forms. The dough should feel slightly crumbly but hold together when pressed.
Step 4: Shape the Cookies
With clean hands or a cookie scoop, take small portions of the dough, about 1 inch in diameter, and roll them into balls. Place the dough balls on the prepared baking sheet, leaving about 2 inches of space between them. This allows for even baking and avoids cookies merging together.
Step 5: Bake to Perfection
Slide the baking sheet into your preheated oven and bake the cookies for 20-25 minutes. Keep an eye on them, as they should turn a light golden color at the edges but remain soft to the touch. They will firm up as they cool, achieving that perfect melt-in-your-mouth texture.
Step 6: Roll in Sugar
Once the cookies are lightly golden, remove them from the oven and let them cool on the baking sheet for about 5 minutes. While still warm, carefully roll each cookie in a bowl filled with powdered sugar. This gives them that beautiful snowy coating and adds delightful sweetness, making your Traditional Snowball Cookies irresistible.
Step 7: Cool Completely
After rolling in powdered sugar, transfer the cookies to a wire rack to cool completely. Allowing them to cool will ensure their structure becomes firm while retaining their soft interior. These snowy treats are best served fresh but can be stored for later enjoyment!
Storage Tips for Traditional Snowball Cookies
Room Temperature: Store cookies in an airtight container for up to 3-5 days. This keeps them fresh and maintains their delightful melt-in-your-mouth texture.
Fridge: If you want to extend their crispness and flavor, refrigerate cookies for up to one week. Be sure to use a container that prevents moisture.
Freezer: For longer storage, freeze the cookies for up to 3 months. Place them in a single layer on a baking sheet to freeze first, then transfer to an airtight container to avoid sticking.
Reheating: To enjoy the cookies warm, reheat in a 350°F (175°C) oven for about 5-7 minutes. This is perfect for restoring their soft texture before serving.
Expert Tips for Traditional Snowball Cookies
-
Chill the Dough: Place the dough in the refrigerator for 30 minutes to make rolling easier and prevent spreading during baking.
-
Use Room Temperature Ingredients: Make sure butter is softened to room temperature for a smooth blend and fluffier cookies.
-
Double Dusting: Roll cookies in powdered sugar right after baking and again after they cool for a more pronounced sugary coating that enhances the visual appeal.
-
Check Dough Consistency: If your dough seems too dry, incrementally add softened butter or coconut oil until it reaches the right consistency—smooth and pliable.
-
Watch the Baking Time: Keep an eye on your cookies; bake until edges are lightly golden while they remain soft in the center for that melt-in-your-mouth experience with Traditional Snowball Cookies.
What to Serve with Melt-in-Your-Mouth Traditional Snowball Cookies
Pairing these delightful cookies with complementary flavors can elevate your holiday gatherings to new heights.
-
Rich Hot Cocoa: A warm cup of decadent hot cocoa balances the cookie’s sweetness while enhancing cozy moments together.
-
Espresso or Coffee: The bold, rich notes of coffee or espresso harmonize beautifully with the buttery cookies, adding warmth to any gathering.
-
Sweet Vanilla Ice Cream: A scoop of creamy vanilla ice cream creates a delightful contrast to the cookie’s texture, turning dessert into a blissful experience.
-
Festive Fruit Salad: Bright, refreshing fruit adds a burst of flavor and color to the table, perfectly complementing the richness of each cookie.
-
Nutty Granola: A sprinkle of nutty granola can add a crunchy texture that complements the soft snowball cookies, providing a delightful contrast on your plate.
-
Ginger Tea: This spiced drink offers a warming, aromatic pairing that brings a hint of brightness to your cookie platter, especially during cold winter days.
-
Chocolate Chip Muffins: For a sweet breakfast option, these muffins provide a delicious counterbalance to the delicate sweetness of the cookies, encouraging leisurely brunches.
-
Spiced Apple Cider: The comforting aroma and warm spices in apple cider perfectly complement the snowy cookies, creating a festive atmosphere.
-
Coconut Macaroons: Another cookie option, the chewy texture and subtly sweet flavor harmonize splendidly alongside the melt-in-your-mouth snowballs, inviting delightful combinations.
Make Ahead Options
These Traditional Snowball Cookies are ideal for meal prep, making your holiday baking a breeze! You can prepare the dough up to 24 hours in advance by shaping it into balls and refrigerating them. For longer storage, flash freeze the unbaked cookie balls on a baking sheet for about 1 hour, then transfer them to an airtight container and freeze for up to 3 months. To maintain their melt-in-your-mouth quality, ensure they are well-wrapped and stored in a cool place. When you’re ready to bake, simply place the frozen cookie balls on a baking sheet and add an extra minute or two to the baking time. Enjoy the delightful ease of freshly baked cookies with minimal effort!
Variations & Substitutions for Traditional Snowball Cookies
Feel free to let your creativity shine and customize these delightful cookies to suit your taste preferences!
-
Vegan: Substitute softened coconut oil in place of unsalted butter for a dairy-free treat that’s equally delicious!
This swap maintains the rich, buttery flavor, ensuring everyone can join in the enjoyment. -
Gluten-Free: Use certified gluten-free all-purpose flour for a safe alternative that everyone can savor.
It’s a simple adjustment that maintains the cookies’ soft texture, making them a hit at any gathering. -
Nut-Free: Skip the nuts entirely or replace them with sunflower or pumpkin seeds for an equally tasty crunch.
This allows those with nut allergies to dive into the snowy goodness without worry! -
Choco-Lovers: Add ¼ cup of cocoa powder or mini chocolate chips to the dough for a delightful chocolate twist.
These cookies will bring a whole new level of indulgence that chocolate lovers won’t want to miss! -
Festive Flavors: Mix in crushed peppermint or freeze-dried berries for an extra holiday flair and burst of flavor.
These additions not only make your cookies festive but also bring a fun surprise with each bite.
For more inspiration, try my recipe for Chocolate Snowball Cookies or explore the delightful world of Chocolate Chip Snowball Cookies for your next baking adventure!
-
Savory Touch: Experiment by adding a pinch of sea salt or a sprinkle of cinnamon to the dough for a delightful savory contrast.
This unexpected twist will elevate the flavor and create a wonderfully balanced treat that surprises the palate! -
Citrus Zest: Incorporate the zest of an orange or lemon for a refreshing citrus undertone that brightens up these cookies.
This addition adds a vibrant layer of flavor, making your snowball cookies unforgettable!
Traditional Snowball Cookies Recipe FAQs
What type of flour can I use for Traditional Snowball Cookies?
You can use all-purpose flour for a classic version or substitute it with certified gluten-free flour to make them gluten-free. If using gluten-free flour, ensure it’s a 1:1 blend for optimal texture and consistency.
How should I store Traditional Snowball Cookies?
Store cookies in an airtight container at room temperature for 3-5 days. If you want to keep them longer, refrigerate for up to a week, but make sure to use a moisture-proof container to maintain freshness.
Can I freeze Traditional Snowball Cookies?
Absolutely! Freeze the cookies for up to 3 months. Begin by placing them in a single layer on a baking sheet until frozen solid. Afterward, transfer them to an airtight container or freezer bag to prevent sticking. To enjoy them warm later, reheat in a 350°F (175°C) oven for about 5-7 minutes.
What if my dough is too dry when making Traditional Snowball Cookies?
If the dough feels crumbly and not cohesive, gradually add softened butter or coconut oil, one tablespoon at a time, until it reaches the right consistency. Continue mixing until the dough holds together when pressed.
Are Traditional Snowball Cookies safe for those with nut allergies?
You can easily make these cookies nut-free by omitting the chopped nuts altogether or replacing them with seeds like sunflower or pumpkin seeds. Always double-check labels for potential cross-contamination in packaged products.
Can I make these cookies vegan?
Yes! To make Traditional Snowball Cookies vegan, simply replace the unsalted butter with softened coconut oil. It will maintain the same delightful melt-in-your-mouth texture while accommodating a vegan diet.
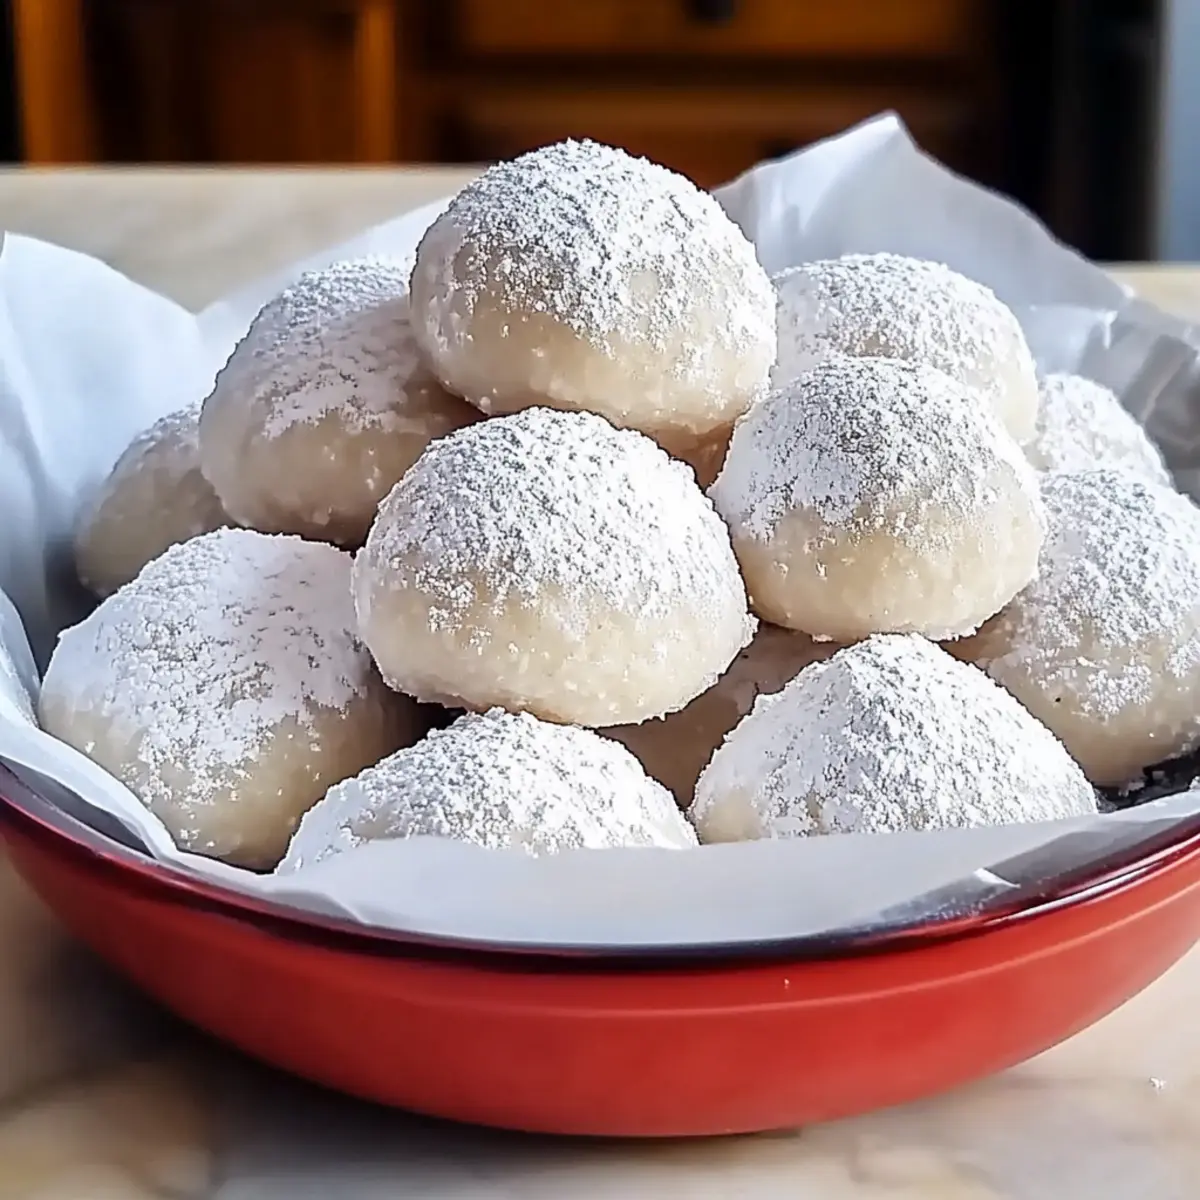
Melt-in-Your-Mouth Traditional Snowball Cookies for Everyone
Ingredients
Equipment
Method
- Preheat the oven to 325°F (163°C) and line baking sheets with parchment paper.
- Cream together ½ cup of softened unsalted butter and ½ cup of powdered sugar for about 2-3 minutes.
- Sift together 1 ¾ cups of flour and ½ cup of chopped nuts in a separate bowl, then mix into the creamed mixture until a dough forms.
- Roll the dough into 1-inch balls and place them on the baking sheet with 2 inches apart.
- Bake for 20-25 minutes until lightly golden at the edges.
- Let cookies cool for 5 minutes, then roll in powdered sugar.
- Transfer to a wire rack to cool completely.


