
Advertisement
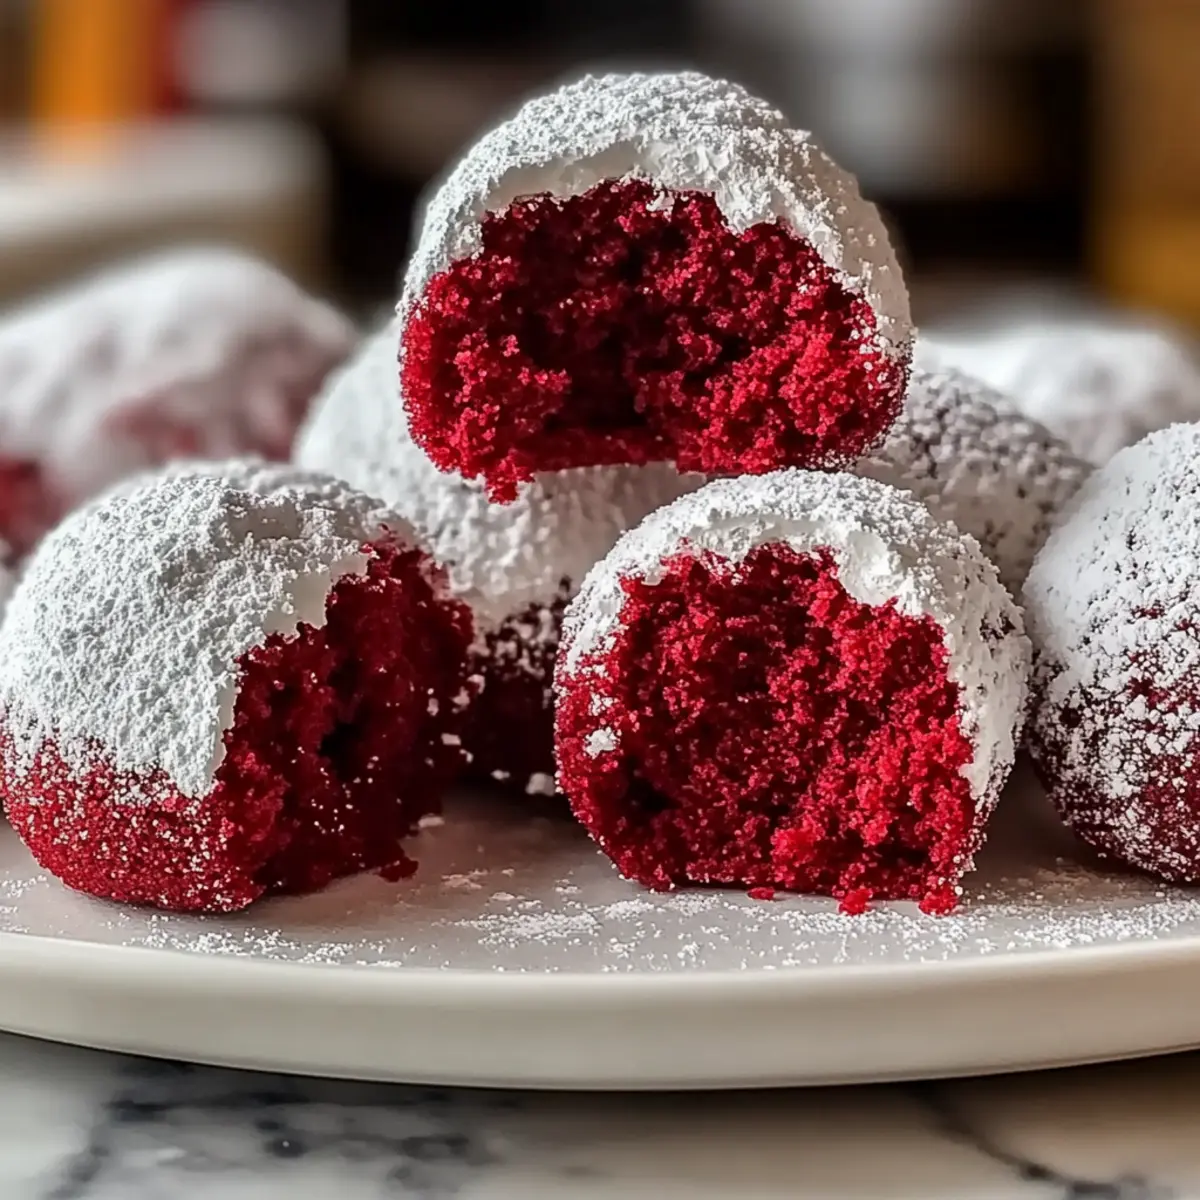
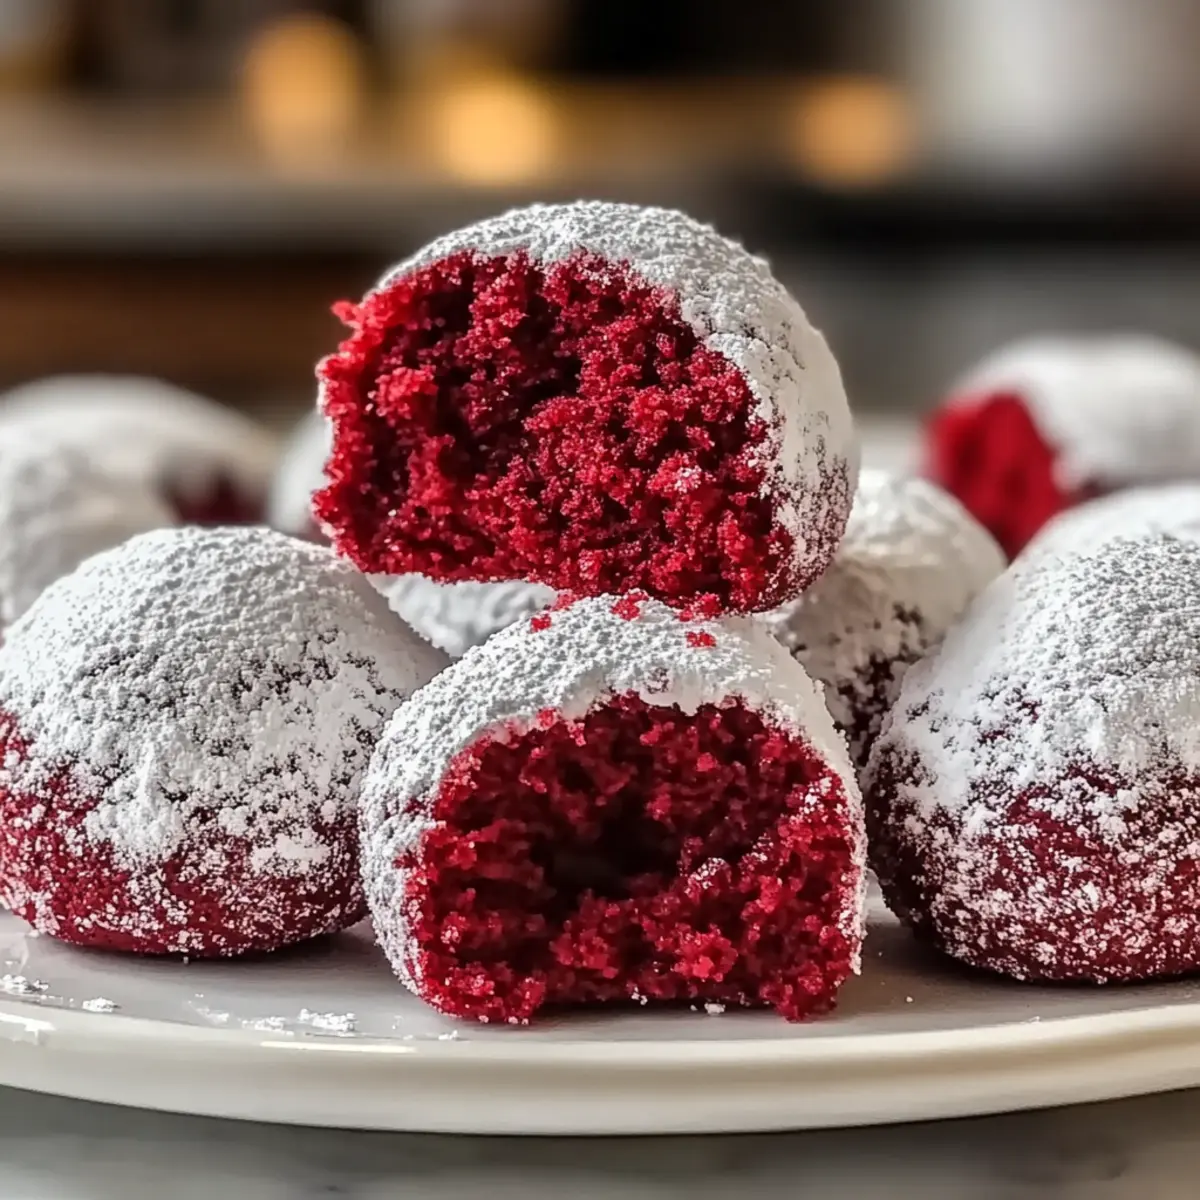
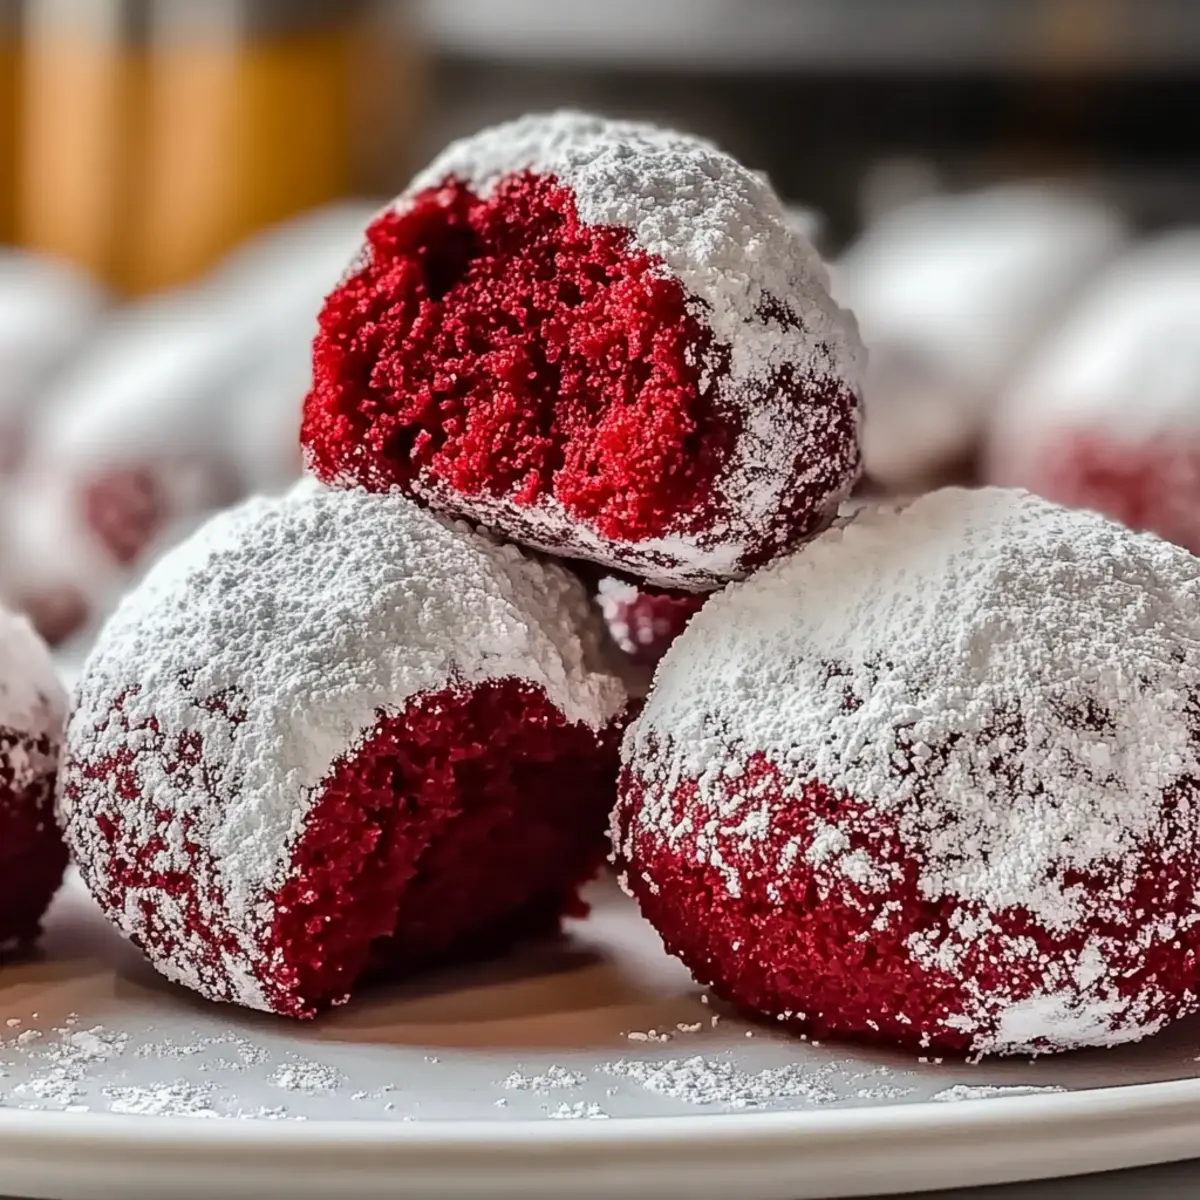
As I stood in my kitchen, the warm aroma of baking cookies wafted through the air, instantly lifting my spirits. Enter the whimsical world of Cozy Red Velvet Snowballs! These charming, ruby-hued treats are not just incredibly easy to whip up; they also melt in your mouth, making them a delightful addition to any occasion. Perfect for both experienced bakers and those just starting their culinary journey, this recipe is a wonderful way to ditch fast food and embrace homemade goodness. Plus, with options for gluten-free and dairy-free variations, everyone can enjoy these festive delights. So, are you ready to sprinkle a little cheer in your kitchen?

Why Will You Love These Snowballs?
Simplicity at its Best: The recipe is straightforward, making it perfect for both novice and seasoned bakers.
Melt-in-Your-Mouth Goodness: These red velvet snowballs deliver a delightful soft and chewy texture that truly pleases the palate.
Advertisement
Colorful and Festive: Their vibrant hue and snowy powdered sugar coating add a whimsical charm, making them an ideal treat for any gathering.
Versatile Options: Easily adapt this recipe with gluten-free or dairy-free substitutions, ensuring everyone can enjoy these treats! For more sweet variations, check out these Nutty Caramel Treats for a delightful spin.
Quick and Easy: With minimal prep time and simple ingredients, this treat is perfect for last-minute baking or cozy afternoons at home.
Cozy Red Velvet Snowballs Ingredients
• Discover the magic behind these festive treats!
For the Dough
- All-Purpose Flour – Provides the structure; substitute with a gluten-free flour blend for a gluten-free version.
- Cocoa Powder – Adds a rich chocolate flavor; Dutch-processed cocoa deepens the taste, but regular will work too.
- Baking Powder – Essential for leavening; it’s crucial to ensure optimal rise.
- Salt – Enhances the overall flavor; no substitutes needed.
- Unsalted Butter – Contributes moisture and richness; use dairy-free butter or coconut oil for a dairy-free option.
- Granulated Sugar – A key ingredient for sweetness, balancing the flavors perfectly.
- Large Egg – Binds the ingredients together and adds moisture; opt for a flax egg or applesauce for a vegan alternative.
- Vanilla Extract – Boosts flavor; essential for that homemade goodness.
- Red Food Coloring – Provides the signature vibrant color; adjust to your desired intensity.
For the Topping
- Powdered Sugar – Coats the cookies for a snowy finish; rolling them while warm helps it stick better.
These Cozy Red Velvet Snowballs are sure to melt in your mouth and bring a smile to your face. Enjoy baking!
Step‑by‑Step Instructions for Cozy Red Velvet Snowballs Treat
Step 1: Preheat the Oven
Begin your journey by preheating your oven to 350°F (175°C). While the oven is warming up, take a baking sheet and line it with parchment paper to prevent the cookies from sticking. This preparation creates a foundation for your Cozy Red Velvet Snowballs, ensuring they bake evenly and come out beautiful.
Step 2: Combine Dry Ingredients
In a mixing bowl, whisk together the all-purpose flour, cocoa powder, baking powder, and salt until well combined. This step is crucial for distributing the leavening agent and flavor evenly throughout the dough. The mixture should appear uniform, with no lumps, setting up a lovely base for the delightful red velvet cookies.
Step 3: Cream Butter and Sugar
In another bowl, use a hand mixer or stand mixer to cream the softened unsalted butter and granulated sugar together for about 3-4 minutes. This process will make the mixture light and fluffy, with a pale yellow color, allowing the sugar to dissolve fully. This crucial step adds air to your Cozy Red Velvet Snowballs, giving them a soft texture.
Step 4: Add Eggs and Flavor
Next, mix in one large egg, vanilla extract, and your desired amount of red food coloring into the butter and sugar mixture. Blend until the ingredients are well incorporated and the mixture is smooth and vibrant in color. This is where the signature hue of your Cozy Red Velvet Snowballs begins to take shape!
Step 5: Incorporate Dry Ingredients
Gradually fold in the dry ingredient mixture into the wet ingredients, using a spatula or wooden spoon. Mix until just combined to avoid overworking the dough. The dough should be cohesive and slightly sticky, indicating that your Cozy Red Velvet Snowballs are coming together beautifully in texture and flavor.
Step 6: Shape the Cookies
Using your hands, roll the dough into 1-inch balls and place them spaced apart on the prepared baking sheet. Aim for even spacing to allow for slight spreading during baking. At this stage, your kitchen will start to smell delightful as you shape these charming snowballs, ready for the oven!
Step 7: Bake to Perfection
Bake the cookies in your preheated oven for 10-12 minutes, keeping a close eye to ensure they do not brown. The cookies should be slightly firm to the touch when done, maintaining their soft and chewy nature inside. This brief baking time is essential to achieve the perfect texture for your Cozy Red Velvet Snowballs.
Step 8: Cool and Dust with Sugar
Once baked, remove the Cozy Red Velvet Snowballs from the oven and allow them to cool on the baking sheet for about 5 minutes. While they’re still warm, roll each cookie in powdered sugar to create a snowy, festive coating. This final touch enhances the whimsical charm of your treat and adds a delightful sweetness!
What to Serve with Cozy Red Velvet Snowballs Treat
Imagine a cozy gathering where sweet delights and warm sips bring everyone together—let’s elevate your delightful cookies!
-
Hot Chocolate: The creamy richness of hot chocolate perfectly balances the soft, chewy texture of the snowballs, making each bite feel like a warm embrace.
-
Vanilla Ice Cream: The cool creaminess of vanilla ice cream contrasts beautifully with the warmth of freshly baked cookies, creating a delightful melt-in-your-mouth experience.
-
Fresh Berries: A bright medley of raspberries or strawberries adds a tart freshness that cuts through the sweetness, enhancing the festive colors on your dessert table.
-
Cheese Platter: A selection of milder cheeses, like brie or camembert, offers a sophisticated balance with the sweetness of the snowballs—perfect for a classy gathering.
-
Cinnamon-Spiced Tea: Serve alongside a fragrant cup of cinnamon-spiced tea, which adds warmth and depth, elevating the snuggly ambiance of your gathering.
-
Minty Lemonade: For a refreshing twist, pair with minty lemonade. Its zesty brightness complements the richness of the cookies and adds a delightful contrast.
-
Chocolate Fondue: Create a fun dessert experience by serving with a side of chocolate fondue for dipping. The gooey chocolate enhances the festive charm of your red velvet snowballs.
-
Gingerbread Cookies: Introduce another texture with gingerbread cookies; their spicy warmth creates a harmonious contrast that invites everyone back for more.
-
Holiday Punch: A fruity holiday punch, perhaps with cranberry and orange, provides a refreshing and festive beverage that enhances the cozy feeling of your sweet treats.
Make Ahead Options
These Cozy Red Velvet Snowballs are a fantastic choice for meal prep, allowing you to enjoy their delightful flavors with less fuss on busy days! You can prepare the dough up to 24 hours in advance by shaping it into balls and refrigerating them in an airtight container. This not only saves time but helps the flavors meld beautifully. If you want to make them even earlier, freeze the dough balls for up to 3 months—just ensure to wrap them tightly to prevent freezer burn. When you’re ready to enjoy, simply bake the frozen or refrigerated dough for an extra minute or two and roll in powdered sugar while warm for that perfect snowy finish. Enjoy these treats just as delicious as the day you baked them!
Expert Tips for Cozy Red Velvet Snowballs Treat
-
Butter Temperature Matters: Ensure your unsalted butter is softened to room temperature. This makes it easier to cream together with sugar, creating that essential fluffy texture.
-
Avoid Overmixing: When combining the dry and wet ingredients, mix until just combined. Overmixing can lead to tougher cookies, whereas gentle mixing keeps your Cozy Red Velvet Snowballs soft and chewy.
-
Roll Warm: As these cookies cool, roll them in powdered sugar while they’re still warm. This helps the sugar stick better, giving them a beautiful snowy finish that enhances their festive appeal.
-
Check Baking Time: Keep an eye on your cookies as they bake. They’ll be done when they’re slightly firm but not browned. This ensures they stay soft and melt in your mouth!
-
Customize with Flavors: Feel free to add a twist! Incorporate nuts, spices, or even swap cocoa powder for dark cocoa for a unique flavor profile of your Cozy Red Velvet Snowballs.
How to Store and Freeze Cozy Red Velvet Snowballs
Room Temperature: Store cookies in an airtight container at room temperature for up to 1 week to maintain their soft texture.
Fridge: If you prefer chilled cookies, keep them in an airtight container in the fridge for up to 2 weeks; they will taste wonderful slightly cold!
Freezer: For longer storage, freeze the Cozy Red Velvet Snowballs in a single layer on a baking sheet, then transfer to an airtight container for up to 3 months. Thaw at room temperature before serving.
Reheating: If you like them warm, pop the cookies in a preheated oven at 300°F (150°C) for about 5 minutes to regain their delightful softness.
Cozy Red Velvet Snowballs Treat Variations & Substitutions
Feel encouraged to elevate your baking experience by personalizing these delightful treats!
- Gluten-Free: Substitute all-purpose flour with a gluten-free flour blend to ensure everyone enjoys these crunchy delights.
- Nutty Delight: Incorporate finely chopped walnuts or pecans into the dough for a delightful crunch and rich flavor that pairs beautifully with the cookies.
- Cocoa Boost: Swap standard cocoa powder for dark cocoa powder for an intense chocolate flavor that enhances the cookie’s rich taste.
- Frosted Version: Instead of rolling in powdered sugar, top them with a cream cheese frosting for a decadent twist—think of it as a mini cake in cookie form!
- Spiced Cookies: For a warm, cozy feel, mix in a teaspoon of cinnamon or nutmeg. These spices will add depth and aroma to your sweet snowballs.
- Minty Flavor: Adding a few drops of peppermint extract can transform these cookies into a refreshing holiday treat that delights the senses.
- Chocolate Drizzle: Top them with a drizzle of melted white chocolate for an elegant touch; it adds a striking contrast against the red and white colors.
- Fruit Addition: Toss in some dried cranberries or cherries to brighten up the flavor profile with a fruity surprise; it complements the sweetness with a tart twist.
These variations allow you to explore and enjoy your Cozy Red Velvet Snowballs in new ways, making every batch a special occasion. For more delightful ideas, check out the delectable Zesty Sweet Treats for a refreshing spin on sweet baking!
Cozy Red Velvet Snowballs Recipe FAQs
Can I use gluten-free flour for this recipe?
Absolutely! To make your Cozy Red Velvet Snowballs gluten-free, simply swap the all-purpose flour with a gluten-free flour blend. I recommend using a blend that contains xanthan gum for better texture, as it helps to mimic the structure of regular flour.
How should I store my Red Velvet Snowballs?
Store your Cozy Red Velvet Snowballs in an airtight container at room temperature for up to 1 week. If you want them to last longer, you can refrigerate them for up to 2 weeks.
Can I freeze these cookies?
Yes, you can freeze your Cozy Red Velvet Snowballs! First, arrange them in a single layer on a baking sheet and freeze them for about an hour. Once they’ve hardened, transfer them to an airtight container or freezer bag. They’ll keep well for up to 3 months. When you’re ready to enjoy them, simply thaw at room temperature before serving.
Why are my cookies spreading too much during baking?
If your Cozy Red Velvet Snowballs are spreading too much, it could be due to the butter being too warm or not enough flour in the mix. Make sure to use softened butter (not melted) and measure your flour accurately. If you find the dough is too sticky, you can add a little extra flour, a tablespoon at a time, until the texture is just right.
Are there any dietary considerations I should be aware of?
If you’re concerned about allergies, be mindful that the recipe contains eggs, dairy, and gluten unless you use specific substitutes like a flax egg or dairy-free butter for your Cozy Red Velvet Snowballs. Always check labels for allergen information based on the brands you choose.
What other variations can I try?
The versatility of your Cozy Red Velvet Snowballs means you can have fun experimenting! Try adding chopped nuts for a nutty crunch, swapping regular cocoa powder for dark cocoa for an intense chocolate flavor, or incorporating spices like cinnamon for a warming touch.
Cozy Red Velvet Snowballs Treat That Melt in Your Mouth
Ingredients
Equipment
Method
- Preheat the oven to 350°F (175°C) and line a baking sheet with parchment paper.
- Combine the flour, cocoa powder, baking powder, and salt in a mixing bowl and whisk until well mixed.
- Cream the softened butter and sugar together for about 3-4 minutes until light and fluffy.
- Mix in the egg, vanilla extract, and red food coloring until well combined.
- Gradually fold the dry ingredients into the wet ingredients until just combined.
- Roll the dough into 1-inch balls and place on the prepared baking sheet.
- Bake for 10-12 minutes, until slightly firm to the touch.
- Allow to cool for 5 minutes before rolling in powdered sugar.


