Advertisement
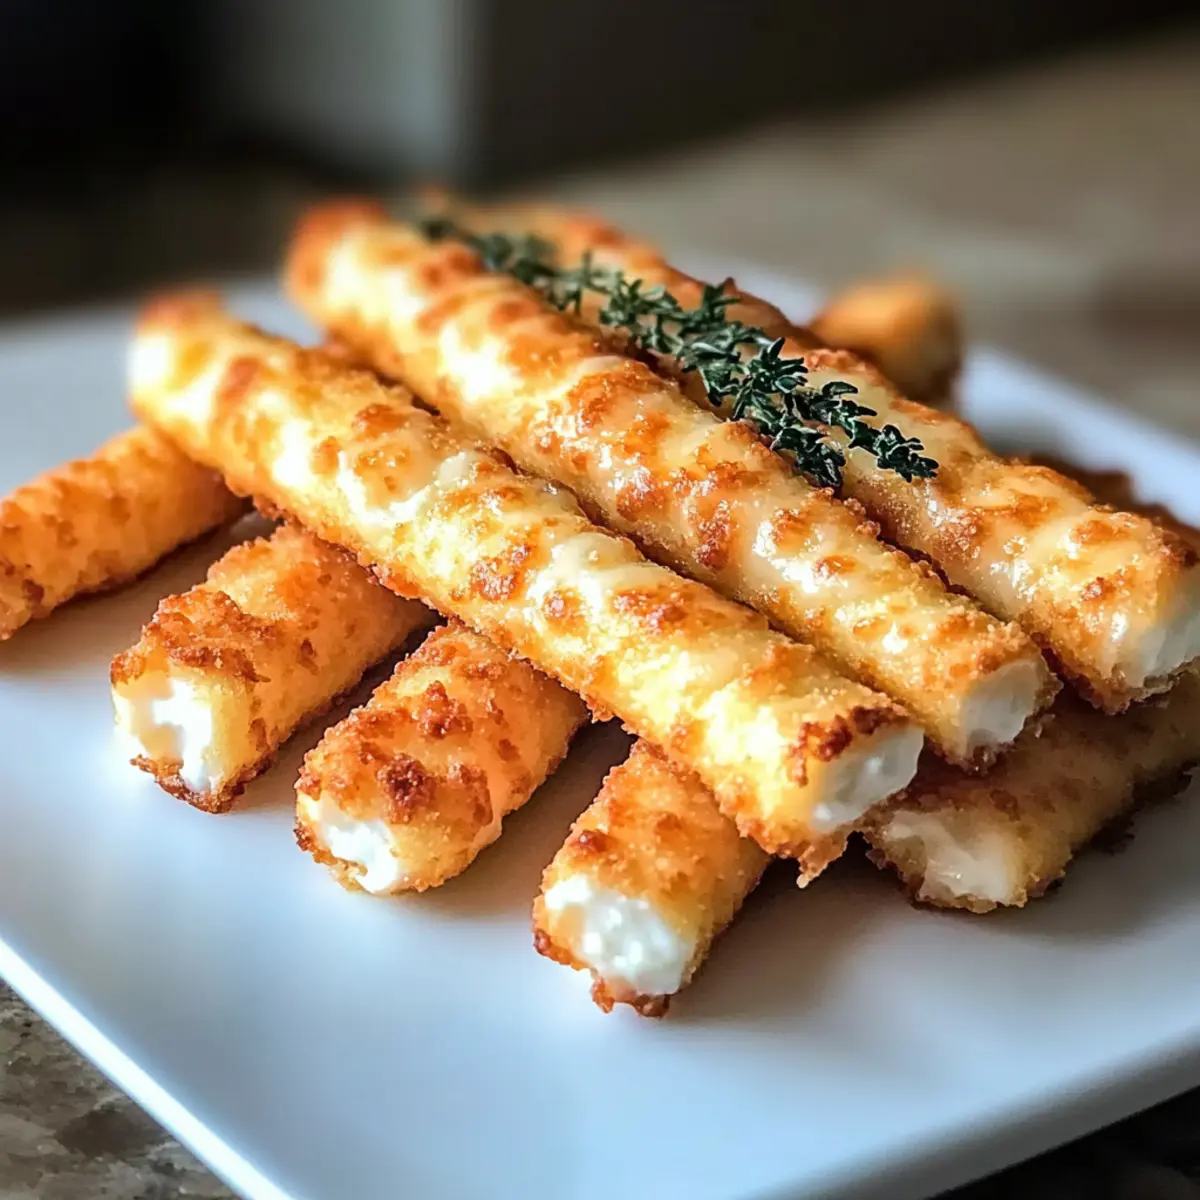
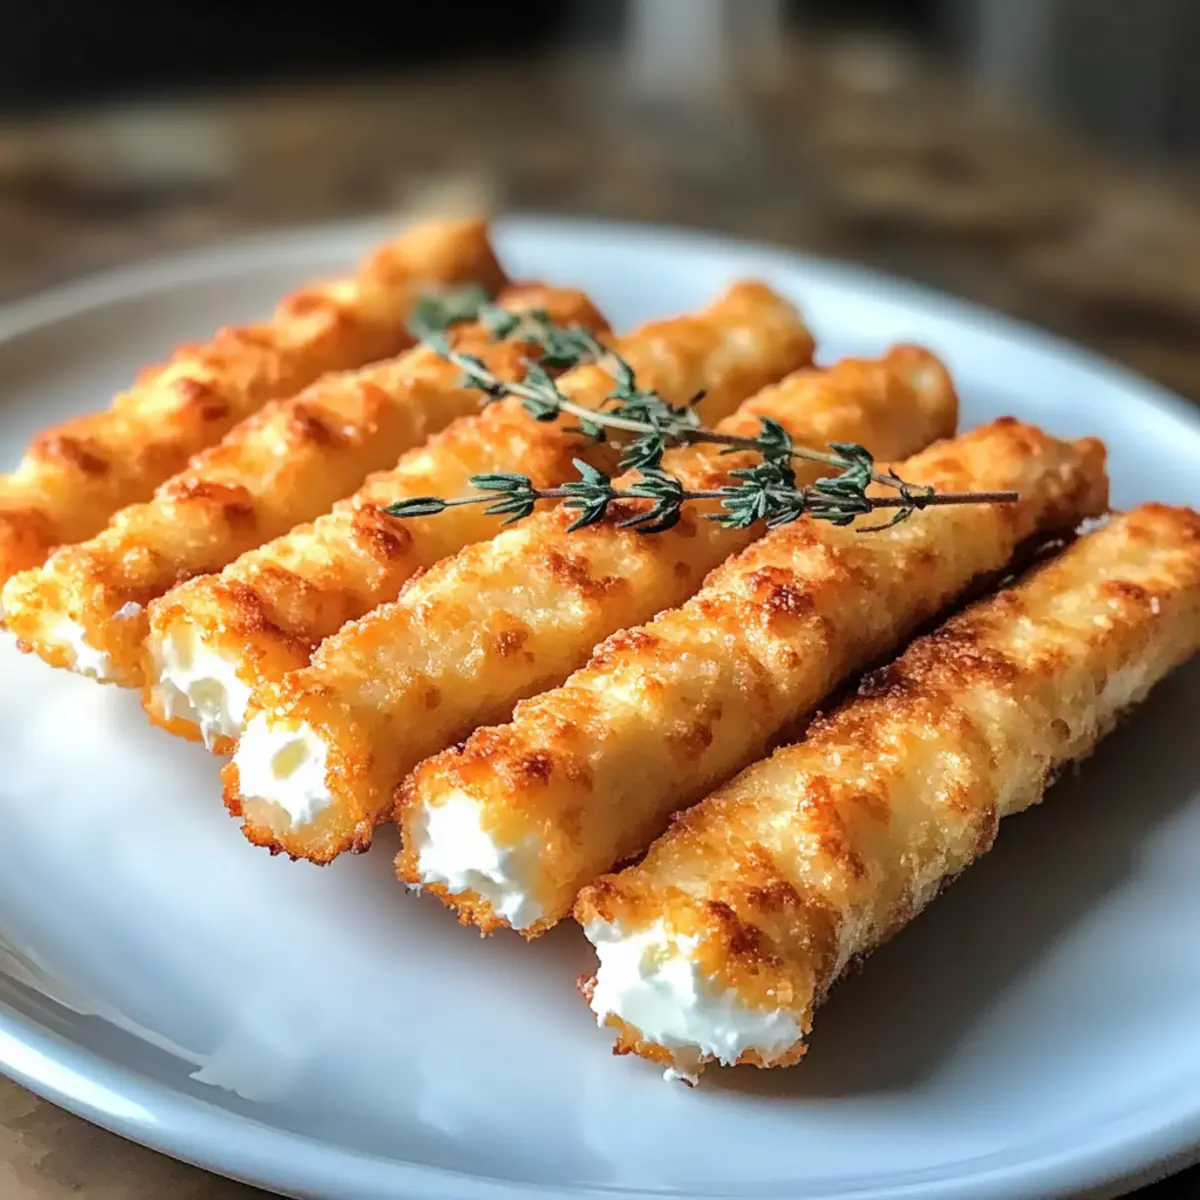
As I rummaged through my fridge last week, I stumbled upon a container of cottage cheese, just waiting to be transformed into something delectable. That’s when the idea for Cottage Cheese Cheese Sticks struck me! This quick recipe is not only a delightful snack but a clever way to incorporate healthy ingredients in a fun format, perfect for both kids and adults alike. In just 30 minutes, you’ll whip up golden-brown sticks that boast a crispy exterior while the cheesy center remains irresistibly gooey. These tasty bites are great for busy weeknights or when unexpected guests drop by. Curious about how to make them even more exciting? Let’s dive into the details!
Why Try These Cottage Cheese Sticks?
Healthier Alternative: Instead of greasy fried options, these sticks pack protein and flavor using cottage cheese.
Quick Prep: Ready in just 30 minutes, perfect for busy families or last-minute gatherings.
Advertisement
Customization Fun: Easily switch up the cheese or spices to suit your taste. Try adding some pepper jack for a spicy kick!
Kid-Friendly: Kids will love the cheesy goodness, making them an excellent after-school snack or party treat.
Versatile Serving: Pair with fresh veggies or a dipping sauce like marinara to elevate your appetizer game. If you love these, you might also want to check out my delicious Turkey Grilled Cheese recipe for another cheesy delight!
Cottage Cheese Cheese Sticks Ingredients
For the Sticks
• Cottage Cheese – A creamy base packed with protein; ricotta can be used for a similar texture.
• Shredded Mozzarella – Adds that classic cheesy flavor and gooey stretch; consider provolone for a twist.
• Breadcrumbs – Creates a wonderfully crispy coating; opt for gluten-free breadcrumbs if needed.
• Grated Parmesan – Enhances the flavor with depth; substitute with pecorino Romano for a sharper bite.
• Egg – Serves as a binder for all ingredients; a flax egg makes a great vegan alternative.
• Garlic Powder – Infuses the sticks with savory goodness; fresh minced garlic can boost the flavor even more.
• Onion Powder – Adds depth to the overall taste; finely chopped onions can provide a similar profile.
• Salt and Pepper – Essential seasonings to taste; adjust based on your personal preference.
For Serving
• Dipping Sauce – Pair with marinara or ranch to enhance the snacking experience; it complements the Cottage Cheese Cheese Sticks beautifully!
Step‑by‑Step Instructions for Cottage Cheese Cheese Sticks
Step 1: Preheat the Oven
Begin by preheating your oven to 375°F (190°C). This ensures that your Cottage Cheese Cheese Sticks bake evenly and reach that perfect golden brown color. While the oven warms up, gather all your ingredients and equipment, including a mixing bowl, a baking sheet, and parchment paper.
Step 2: Mix the Ingredients
In a large mixing bowl, combine the cottage cheese, shredded mozzarella, breadcrumbs, grated Parmesan, egg, garlic powder, onion powder, and a pinch of salt and pepper. Stir thoroughly until all ingredients are well incorporated, creating a cohesive mixture that will form the delicious sticks. The blend should feel sticky and hold together nicely.
Step 3: Shape the Sticks
With clean hands, take a portion of the mixture and mold it into sticks roughly 4 inches long and 1 inch wide. Aim for even sizing to ensure uniform baking. Place the formed Cottage Cheese Cheese Sticks on a plate and continue shaping the rest of the mixture, making sure not to overcrowd them.
Step 4: Prepare the Baking Sheet
Line a baking sheet with parchment paper to prevent sticking and make cleanup easier. Arrange your shaped cheese sticks on the parchment, leaving some space between each stick for air circulation. This spacing will help them crisp up nicely during baking.
Step 5: Bake the Cheese Sticks
Lightly spray the sticks with cooking spray or drizzle with olive oil for extra crispiness. Carefully place the baking sheet in the preheated oven and bake for 15 minutes. Keep an eye on them until they are golden brown and starting to sizzle, indicating that they are perfectly cooked.
Step 6: Cool and Serve
Once baked to perfection, remove the Cottage Cheese Cheese Sticks from the oven and let them cool for a few minutes. This cooling period will help them firm up slightly. Serve warm with your choice of dipping sauce, such as marinara or ranch, to elevate your snacking experience!
Cottage Cheese Cheese Sticks Customization
Invite your creativity into the kitchen with these delightful Cottage Cheese Cheese Sticks, perfect for making your own unique twist!
-
Cheese Swap: Use cheddar or gouda for a different flavor profile that brings a delicious twist to the original recipe. A sharp cheddar adds a nice bite, while gouda gives a smoked essence.
-
Spice it Up: Sprinkle in cayenne pepper or jalapeños for a fiery kick! Perfect for spice lovers, adding just the right amount of heat elevates these sticks to a whole new level.
-
Herb Infusion: Incorporate fresh herbs like basil or parsley for brightness. A handful of chopped greens not only enhances texture but also adds a colorful touch to your sticks.
-
Gluten-Free Delight: Replace traditional breadcrumbs with panko or gluten-free breadcrumbs to cater to gluten-sensitive diets. Panko creates an extra crunchy coating that everyone will enjoy.
-
Vegan Style: Use a flax egg (1 tablespoon flaxseed mixed with 2.5 tablespoons of water) in place of the egg for a plant-based option. This keeps the texture while keeping it completely vegan-friendly.
-
Flavorful Dipping Sauces: Serve with spicy ranch or a homemade herb-infused marinara to complement the cheesy goodness. These duo pairings not only enhance flavor, but also make for a fun tasting experience.
-
Mini Cheese Sticks: Form the mixture into smaller bites, making cheese balls instead of sticks. These bite-sized goodies are ideal for parties and can be skewered for easy serving.
If you’re keen on more scrumptious cheesy recipes, don’t forget to explore my mouthwatering Dulce Leche Cheesecake or the delightful Sugar Cookie Cheesecake for your next gathering!
What to Serve with Cottage Cheese Cheese Sticks?
Transform your snack time into a delightful feast with these easy-to-pair options that complement the cheesy goodness of your Cottage Cheese Cheese Sticks!
- Fresh Veggies: Crunchy carrots and bell peppers offer a refreshing contrast to the warm, cheesy sticks.
- Creamy Dipping Sauce: Marinara or ranch dressing enhances the flavors, making each bite a dip-worthy experience.
- Fruit Salsa: A vibrant mango or pineapple salsa adds a delightful sweetness, balancing the savory notes of the cheese.
- Garlic Bread: Crispy, buttery garlic bread pairs perfectly, creating a satisfying plate that feels indulgent yet light.
- Mixed Greens Salad: A light salad with a tangy vinaigrette will brighten your meal, adding a refreshing crunch.
- Wine Pairing: A crisp white wine, such as Pinot Grigio, complements the dish’s creamy texture and enhances your snacking experience.
- Chips and Guacamole: For an extra crunch, serve with tortilla chips and creamy guacamole for a fun and flavorful combination.
- Savory Quinoa Bowl: Add a scoop of quinoa and roasted vegetables for a hearty meal that brings texture and nutrition to the table.
- Chocolate Treat: For dessert, think mini chocolate bites or brownies to satisfy that sweet tooth in a delightful finish!
Make Ahead Options
These Cottage Cheese Cheese Sticks are an absolute gem for meal prep enthusiasts! You can prepare the mixture and shape the sticks up to 24 hours in advance, simply covering them and refrigerating (this helps prevent browning and keeps them fresh). Additionally, you can freeze unbaked cheese sticks for up to 3 months; just place them on a parchment-lined baking sheet until frozen solid, then transfer to an airtight container. When you’re ready to enjoy, take the frozen sticks directly from the freezer and bake for an extra few minutes until golden and crispy. With these make ahead options, you can serve delicious, healthy snacks on-demand, making busy weeknights feel effortless!
Expert Tips for Cottage Cheese Cheese Sticks
Mix Well: Ensure all ingredients are thoroughly combined for a uniform flavor and consistent texture throughout your Cottage Cheese Cheese Sticks.
Space Out: Avoid overcrowding the baking sheet. Proper spacing allows for better air circulation, resulting in an extra crispy finish.
Freeze for Later: You can freeze unbaked cheese sticks for future use. Bake them straight from frozen, but remember to extend the cooking time by a few minutes.
Watch the Baking Time: Keep a close eye on them during baking. Every oven is different; pull them out once they are golden brown and sizzling!
Explore Cheese Variations: Don’t hesitate to try different cheeses like gouda or pepper jack for a unique twist on your Cottage Cheese Cheese Sticks.
How to Store and Freeze Cottage Cheese Cheese Sticks
Fridge: Store baked Cottage Cheese Cheese Sticks in an airtight container for up to 3 days. They’ll maintain their flavor and texture, ready to enjoy at a moment’s notice.
Freezer: For longer storage, freeze unbaked sticks on a parchment-lined baking sheet until solid. Then transfer to a freezer bag for up to 3 months. Bake directly from frozen when ready to eat.
Reheating: To reheat, place sticks in a preheated oven at 375°F (190°C) for about 10-15 minutes. This keeps them crispy on the outside and gooey inside, just like when they were freshly made.
Cottage Cheese Cheese Sticks Recipe FAQs
What type of cottage cheese should I use for the best flavor?
Absolutely! I recommend using full-fat cottage cheese for a creamier texture and richer flavor. However, low-fat works well too. Just avoid those with added preservatives or flavors for the best result.
How should I store leftover Cottage Cheese Cheese Sticks?
Store your baked Cottage Cheese Cheese Sticks in an airtight container in the refrigerator for up to 3 days. They’re fantastic for a quick snack or appetizer later in the week!
Can I freeze Cottage Cheese Cheese Sticks?
Very! To freeze, arrange shaped but unbaked cheese sticks on a parchment-lined baking sheet and place them in the freezer until firm. Once solid, transfer them to a freezer bag, where they can be stored for up to 3 months. When you’re ready to enjoy them, bake directly from frozen, adding a few extra minutes to your cooking time.
How can I ensure my cheese sticks turn out crispy?
To achieve that delightful crunch, make sure not to overcrowd your baking sheet. Leaving space between the sticks allows air to circulate, resulting in a crispier exterior. Additionally, lightly spraying them with cooking spray or drizzling with olive oil before baking enhances their crunchiness.
Are there any dietary considerations for Cottage Cheese Cheese Sticks?
If you’re catering to dietary restrictions, you can easily make the sticks gluten-free by using gluten-free breadcrumbs. For a vegan option, replace the egg with a flax egg (1 tablespoon flaxseed mixed with 2.5 tablespoons water). Just ensure all ingredients meet the needs of your guests!
What if my cheese sticks didn’t hold their shape while baking?
If your Cottage Cheese Cheese Sticks ooze or flatten, it may be due to insufficient binding. Ensure you’ve mixed the ingredients thoroughly and shaped them well before baking. You can also refrigerate the shaped sticks for a quick chill for 15-20 minutes before baking, which can help them hold their shape better.
Cottage Cheese Cheese Sticks: Crispy, Guilt-Free Goodness
Ingredients
Equipment
Method
- Preheat your oven to 375°F (190°C).
- In a large mixing bowl, combine the cottage cheese, shredded mozzarella, breadcrumbs, grated Parmesan, egg, garlic powder, onion powder, and a pinch of salt and pepper. Stir thoroughly until all ingredients are well incorporated.
- With clean hands, take a portion of the mixture and mold it into sticks roughly 4 inches long and 1 inch wide.
- Line a baking sheet with parchment paper and arrange your shaped cheese sticks on the parchment, ensuring space between each stick.
- Lightly spray the sticks with cooking spray or drizzle with olive oil. Bake in the preheated oven for 15 minutes until golden brown.
- Remove from the oven and let them cool for a few minutes. Serve warm with a dipping sauce.