
Advertisement
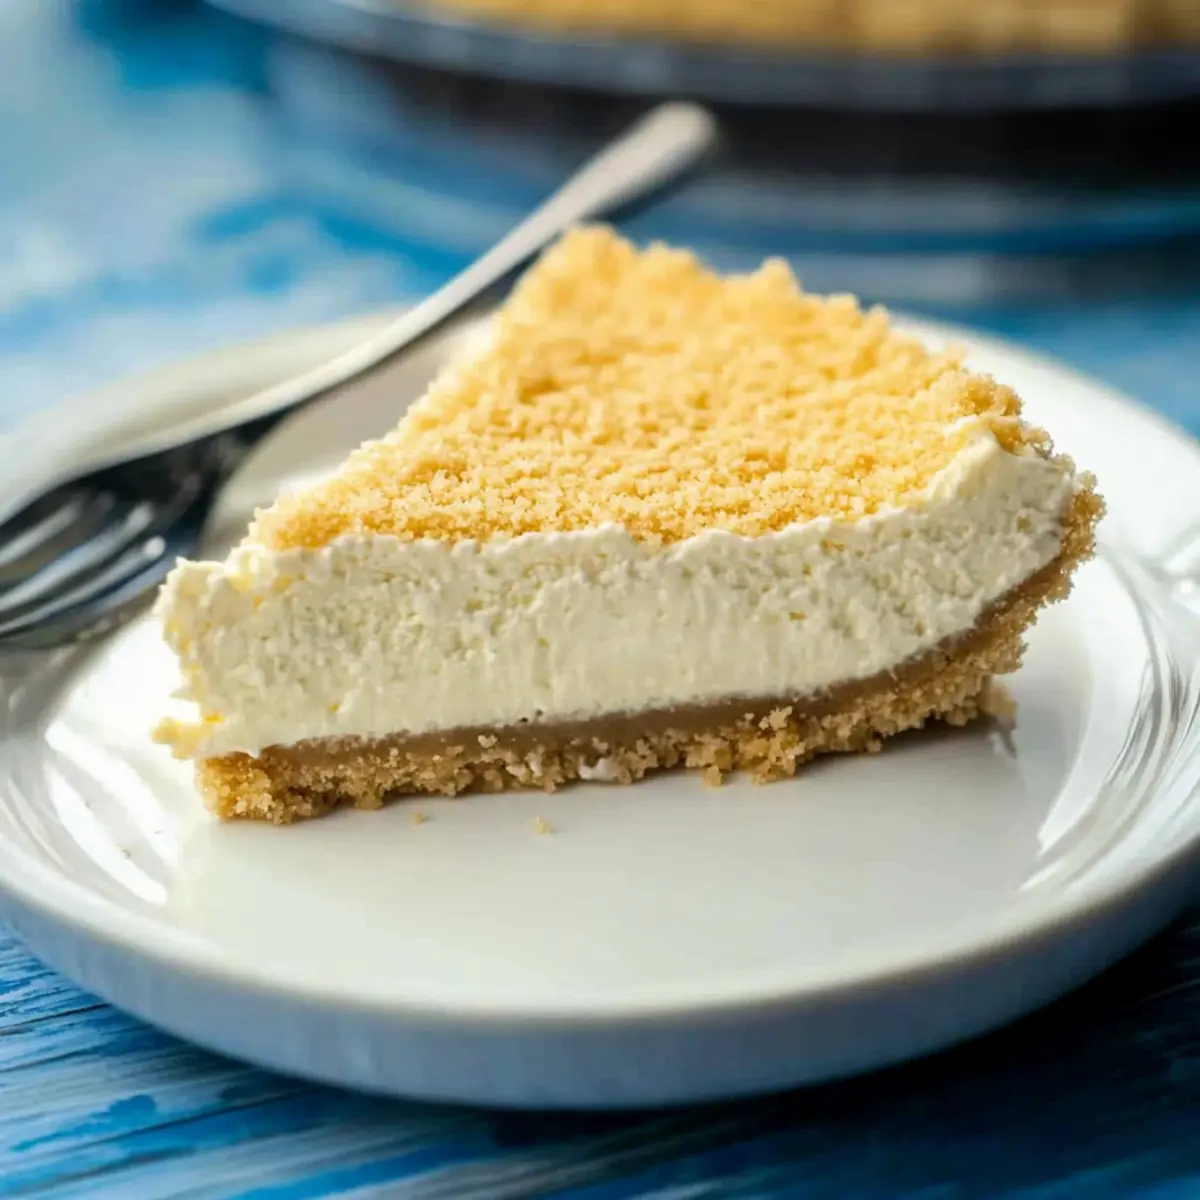
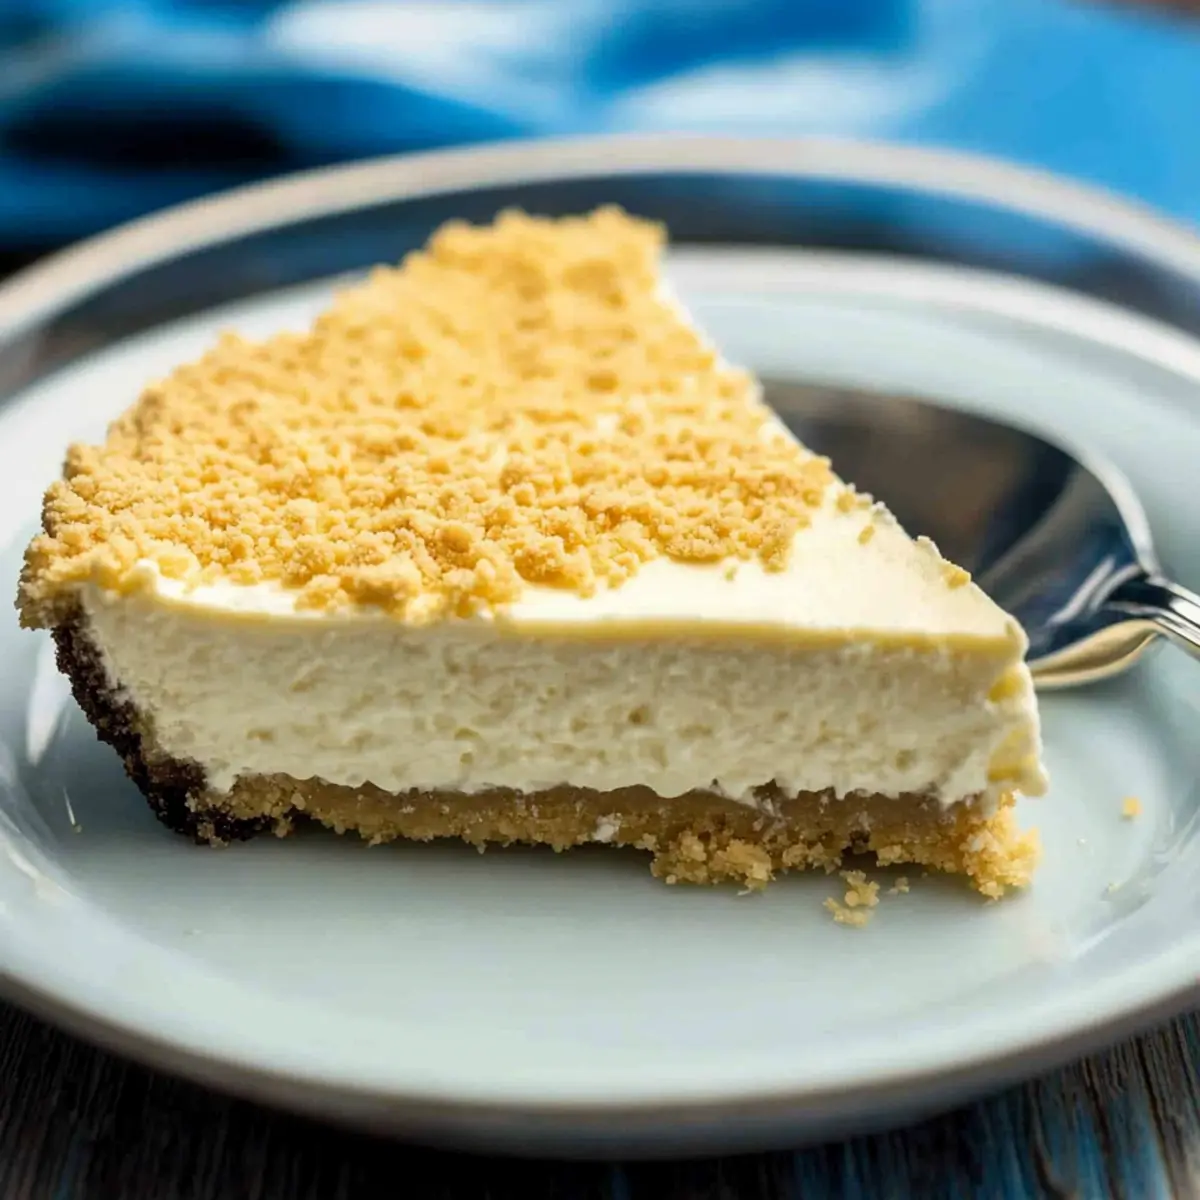
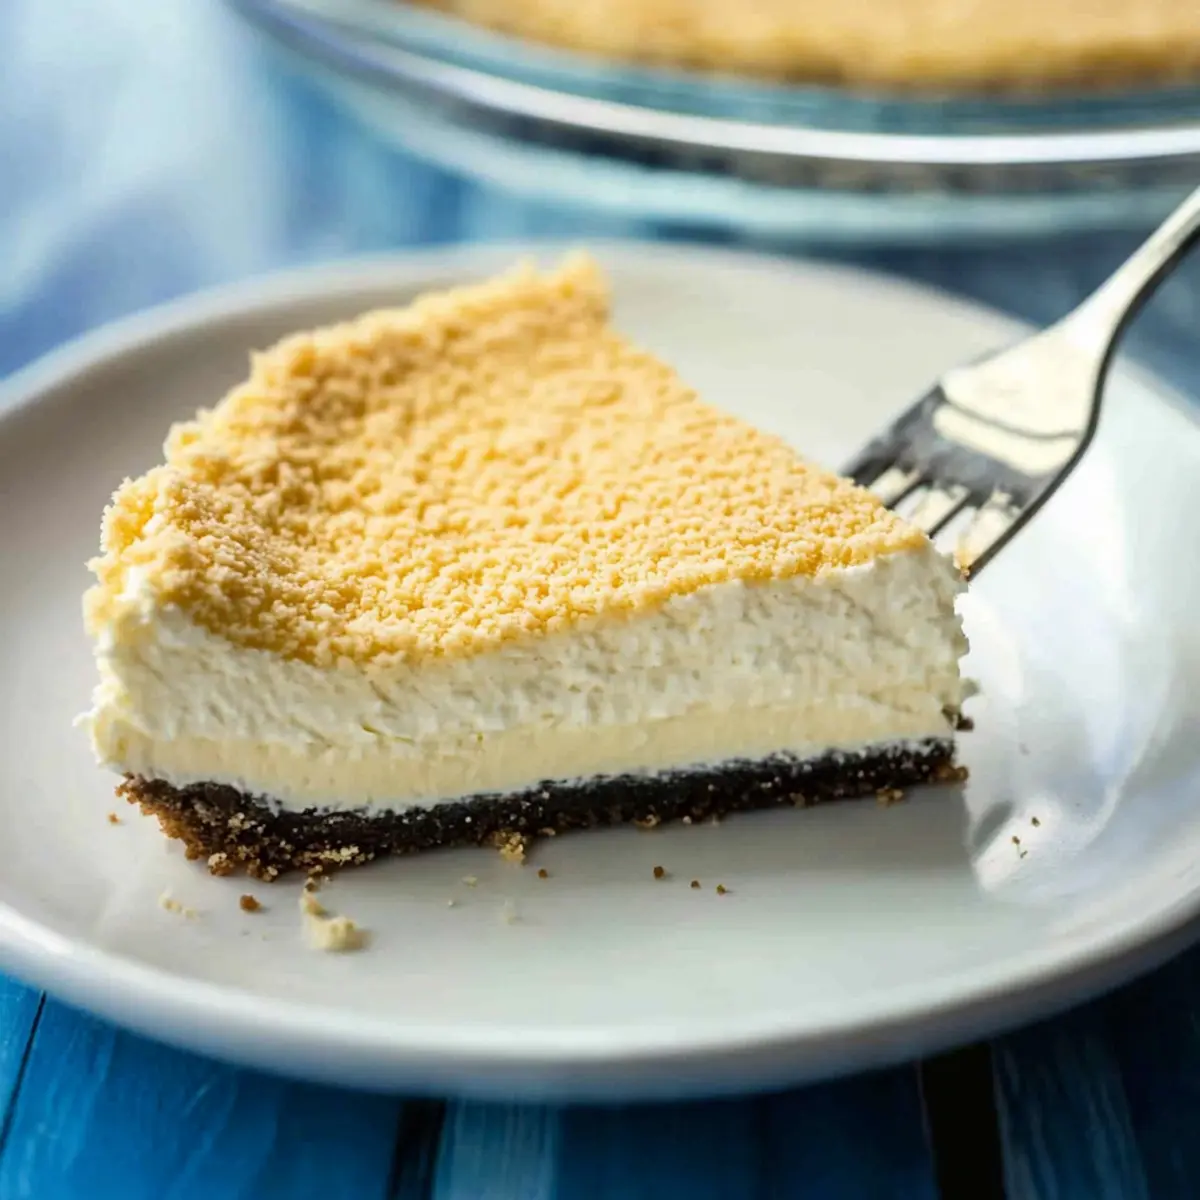
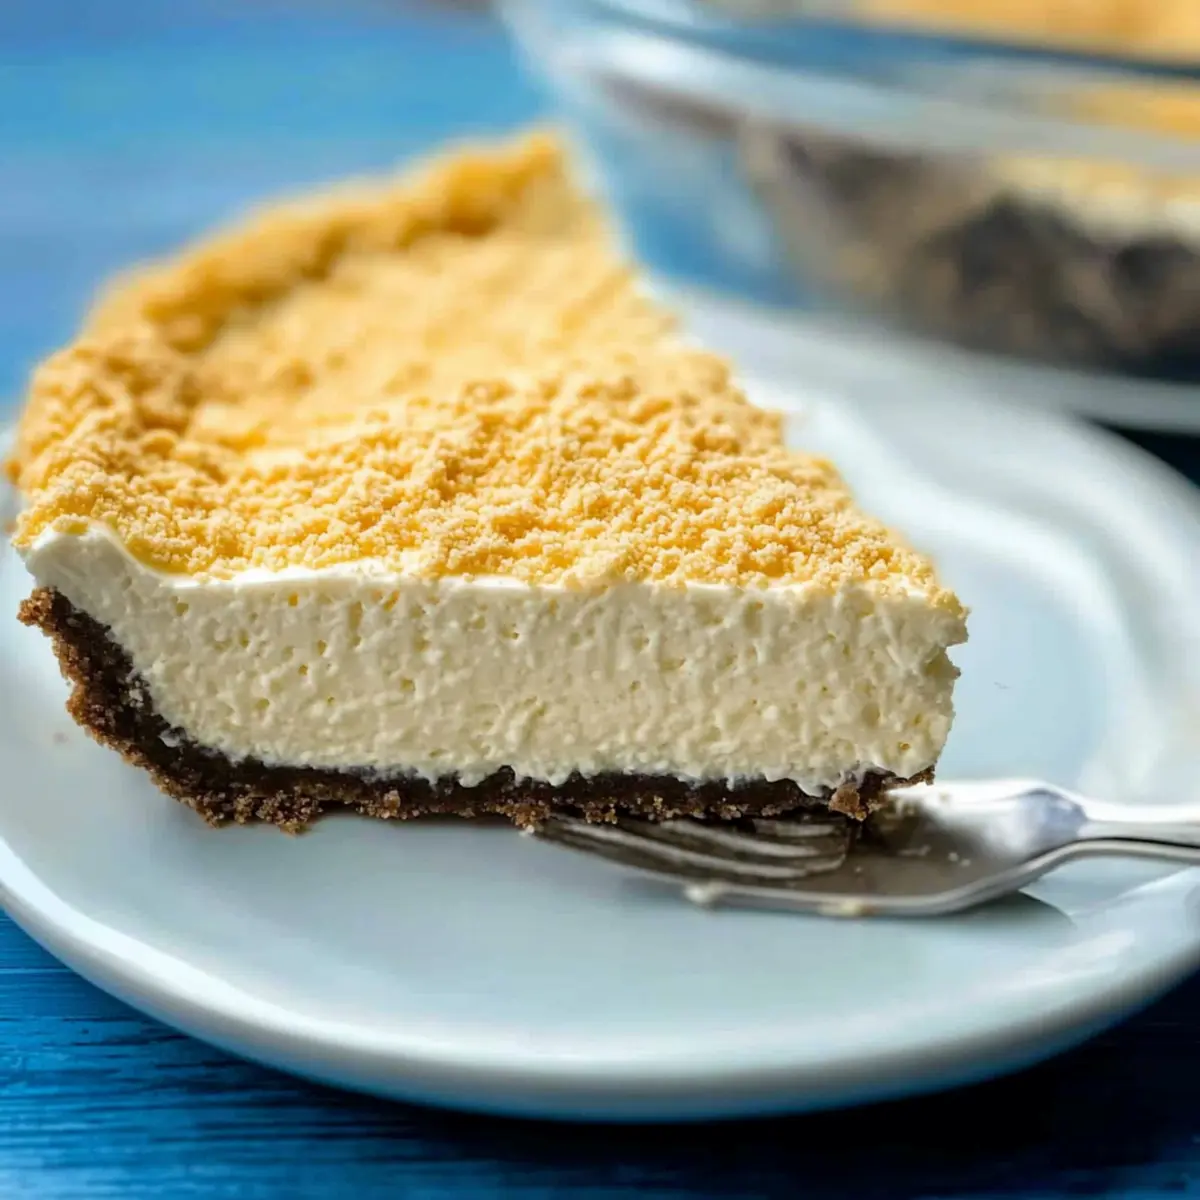
As I rummaged through my pantry, searching for a way to satisfy my sweet tooth without a fuss, I stumbled upon the perfect solution: a luscious 3-ingredient Greek Yogurt Cheesecake. What if I told you that this no-bake delight combines the silky richness of Greek yogurt with a crunchy Golden Oreo crust? It’s a quick and easy dessert that manages to impress without requiring any advanced baking skills. Whether you’re a passionate home-chef or just looking for a simple, vegetarian-friendly treat to brighten up your day, this cheesecake will surely hit the spot. Plus, it’s a fantastic way to cater to unexpected guests or simply pamper yourself after a long week. Curious how this creamy creation comes together? Let’s dive into the recipe!
Why is This Cheesecake a Must-Try?
Simplicity reigns with only three ingredients, making it perfect for even the busiest of home cooks who crave a sweet treat without fuss. Decadent flavor shines through the creamy Greek yogurt and rich sweetened condensed milk, offering a taste that rivals traditional cheesecakes. No baking needed means you can whip this up in no time, allowing you to focus on other delicious options like Strawberry Cheesecake Crunch instead! Versatile variations keep things interesting; try a zesty lemon twist or a dessert topped with fresh fruits. This cheesecake is sure to impress your family and friends, turning any occasion into a celebration!
Greek Yogurt Cheesecake Ingredients
• Get ready to create a creamy delight with just three simple ingredients!
Advertisement
For the Crust
- Golden Oreo Cookies – Crushed to perfection for a sweet, crunchy base that holds up beautifully.
For the Filling
- Greek Yogurt – 4 cups of full-fat, plain variety gives that luxurious, creamy texture, making this Greek yogurt cheesecake taste decadent without the dairy overload.
- Sweetened Condensed Milk – 14 ounces, canned, to add sweetness and a luscious creaminess that binds all the flavors together perfectly.
Step‑by‑Step Instructions for Greek Yogurt Cheesecake
Step 1: Prepare the Crust
Start by crushing the Golden Oreo cookies in a food processor until they turn into fine crumbs, about 1–2 minutes. Then, pour the crumbs into a 9-inch round pie dish, pressing them firmly into the bottom and up the sides to form a sturdy crust. Visualize a smooth and evenly packed layer, ensuring it’s dry without any butter.
Step 2: Mix the Filling
In a microwave-safe bowl, combine 4 cups of Greek yogurt and a 14-ounce can of sweetened condensed milk. Stir these two ingredients together thoroughly until they are well-blended, creating a smooth and creamy mixture. The filling should appear uniform in texture, resembling a thick batter, before moving on to the next step.
Step 3: Microwave Cooking
Microwave the filling mixture for 3 minutes on high, then remove it and stir it well to combine. Return it to the microwave for another 3 minutes, keeping an eye on it to prevent overflowing. The filling will bubble slightly, and when fully combined, it should be hot and smooth, ensuring a rich texture for your Greek yogurt cheesecake.
Step 4: Combine
Carefully pour the heated filling over the prepared cookie crust in the pie dish. Use a spoon to gently spread and smooth the topping evenly across the crust, making sure to fill the edges nicely. This step is crucial for achieving that delightful combination of crust and filling, creating a beautiful surface for your cheesecake.
Step 5: Chill
Once the filling is evenly spread, cover the pie dish with plastic wrap and place it in the refrigerator. Allow the Greek yogurt cheesecake to chill for at least 6 hours, or preferably overnight. This chilling time is essential, as it helps the cheesecake set completely, making it easier to slice and serve later.
Step 6: Decorate and Serve
When you’re ready to serve, remove the cheesecake from the refrigerator and uncover it. Optionally, sprinkle some crushed Golden Oreo cookies on top for added texture and visual appeal. Slice the cheesecake into wedges, and enjoy the creamy goodness of this delightful Greek yogurt cheesecake!
Storage Tips for Greek Yogurt Cheesecake
Fridge: Store leftovers in the refrigerator, covered with plastic wrap or aluminum foil, for up to 5 days. This helps maintain its creamy texture and flavors.
Freezer: For longer storage, wrap the cheesecake tightly in plastic wrap and then in foil, ensuring it’s sealed to prevent freezer burn. It will last up to 3 months in the freezer.
Thawing: When ready to enjoy, thaw the Greek yogurt cheesecake in the refrigerator for several hours or overnight. Avoid thawing at room temperature to maintain its texture.
Reheating: This cheesecake is best enjoyed chilled, so there’s no need to reheat! Simply slice and serve right from the fridge.
Greek Yogurt Cheesecake Variations
Feel free to get creative with your cheesecake and make it your own!
-
Lemon Twist: Add a tablespoon of lemon juice or lemon zest to the filling for a refreshing zing. The citrus will elevate the flavor and brighten each bite, making it a perfect summer treat.
-
Chocolate Flavor: Mix in two tablespoons of cocoa powder for a rich, chocolate-infused variation. Switch up the crust with chocolate wafer cookies to take it to the next level!
-
Fruit Topping: Top with fresh berries or fruit preserves like strawberry or blueberry for a burst of flavor and color. This not only adds a delicious fruity element but also elevates the cheesecake’s visual appeal.
-
Nutty Crunch: Incorporate finely chopped nuts like almonds or walnuts into your crust for an added layer of texture and flavor. This twist brings in a lovely crunch and contrasts beautifully with the creamy filling.
-
Caramel Drizzle: Swirl in some caramel sauce into the filling or drizzle it on top before serving for a luscious sweet touch. The combination of caramel and the cheesecake’s flavors is simply irresistible!
-
Spiced Autumn Delight: Add a teaspoon of pumpkin spice or cinnamon to the filling to create a cozy, fall-inspired cheesecake. Perfect for gatherings during the holiday season!
-
Make it Vegan: Substitute Greek yogurt with a plant-based yogurt and condensed milk with coconut cream for a dairy-free version. It’s a marvelous way to cater to various dietary needs without sacrificing taste.
And if you love variations, try crafting a warm dessert like my Chocolate Chip Cheesecake Cookies or dive into a rich treat like my Dulce Leche Cheesecake for even more inspirations!
What to Serve with 3-Ingredient Greek Yogurt Cheesecake
Treat your taste buds to a delightful experience that goes beyond just cheesecake; create a memorable dining moment.
-
Fresh Berries: The burst of juicy berries brings a refreshing contrast, brightening the creamy cheesecake’s richness for a balanced bite.
-
Whipped Cream: Adding a generous dollop of whipped cream enhances the cheesecake’s silky texture, making each slice feel extra decadent and indulgent.
-
Chocolate Drizzle: A warm drizzle of chocolate sauce adds a splash of sweetness and a rich visual appeal, seamlessly complimenting the Oreo crust.
-
Citrus Salad: A zesty citrus salad featuring orange and grapefruit segments provides a vibrant, tangy complement, cutting through the cheesecake’s creaminess.
Delight your guests with this pairing that offers a dazzling contrast of flavors.
-
Mint Tea: An herbal mint tea offers a light, soothing sip, refreshing the palate after the cheesecake’s creamy decadence and nodding to the dish’s Greek roots.
-
Lemon Sorbet: This icy treat provides a wonderfully tangy, frozen contrast, perfect for cleansing the palate between bites of rich cheesecake.
-
Espresso: A shot of rich espresso serves as a bold counterpart to the cheesecake, its bitterness balancing the sweetness perfectly while adding a touch of warmth.
Expert Tips for Greek Yogurt Cheesecake
-
Crust Consistency: Ensure your pressed crust is dry and compact; avoiding butter keeps it from getting soggy, maintaining ideal texture.
-
Filling Fusion: Mix your Greek yogurt and sweetened condensed milk until completely smooth before microwaving to avoid lumps or separation.
-
Microwave Caution: Watch the filling closely as it cooks in the microwave; stopping to stir prevents it from bubbling over and ensures a creamy blend.
-
Chill Time: Patience is key—allow the cheesecake to chill overnight for the best set. Rushing this step can lead to a runny filling.
-
Presentation Perfection: For a beautiful finish, top your cheesecake with a sprinkle of crushed Golden Oreos right before serving to enhance flavor and presentation.
Make Ahead Options
These 3-ingredient Greek Yogurt Cheesecakes are fantastic for meal prep, allowing you to impress your guests without any last-minute stress! You can prepare the crust and filling up to 24 hours in advance. Simply crush the Golden Oreo cookies and press them into the pie dish, then mix the Greek yogurt and sweetened condensed milk, storing it in the fridge until you’re ready to assemble. When it’s time to serve, pour the filling over the crust, chill for at least 6 hours (or overnight), and decorate with extra crushed cookies. This way, you’ll have delicious, creamy cheesecake ready to enjoy with minimal effort, just as delightful as if made fresh!
Greek Yogurt Cheesecake Recipe FAQs
What type of Greek yogurt should I use?
Absolutely! I recommend using full-fat, plain Greek yogurt for this recipe, as it provides a rich and creamy texture that mimics traditional cheesecake. Low-fat or non-fat versions may result in a less satisfying consistency and flavor, so stick to the good stuff!
How long can I store the cheesecake in the fridge?
You can store your delicious Greek yogurt cheesecake in the refrigerator for up to 5 days. Just make sure it’s covered tightly with plastic wrap or aluminum foil to keep that creamy texture intact. If you notice any unwanted textures or smells, it’s best to toss it.
Can I freeze Greek yogurt cheesecake?
Yes, indeed! To freeze, wrap the cheesecake tightly in plastic wrap first, then cover it with aluminum foil. This double layer prevents freezer burn. Your cheesecake can be safely frozen for up to 3 months. When you’re ready to enjoy it, simply thaw it in the fridge overnight for the best results.
What if my cheesecake doesn’t set properly?
Very commonly, that happens if the cheesecake didn’t chill for long enough. It’s crucial to let it sit in the refrigerator overnight to develop that perfect set. If you find your filling is too runny, try heating it in the microwave for an additional minute, stirring until smooth, then refreezing it briefly to achieve the desired consistency.
Is Greek yogurt cheesecake safe for my dog?
It’s best to avoid sharing this dessert with your furry friend. While plain Greek yogurt is generally safe for dogs in small quantities, sweetened condensed milk contains added sugars that aren’t suitable for them. Always check with your vet before introducing new foods to your pet’s diet!
Can I substitute any ingredients in this recipe?
No substitutions are recommended for the sweetened condensed milk as it’s essential for that smooth texture and rich flavor. However, if you’d like to sweeten your cheesecake less, you could consider using a sugar substitute specifically made for baking, just be mindful of how it alters the cheesecake’s consistency!
Creamy Greek Yogurt Cheesecake: Easy 3-Ingredient Delight
Ingredients
Equipment
Method
- Crush the Golden Oreo cookies in a food processor until they are fine crumbs. Pour the crumbs into a pie dish and press them firmly into the bottom and up the sides to form a crust.
- In a microwave-safe bowl, combine the Greek yogurt and sweetened condensed milk. Stir them together thoroughly until well-blended.
- Microwave the filling mixture for 3 minutes on high, then stir well. Microwave for another 3 minutes, watching to prevent overflowing.
- Pour the heated filling over the crust in the pie dish and spread it evenly with a spoon.
- Cover with plastic wrap and refrigerate for at least 6 hours or overnight to chill.
- Before serving, remove from the refrigerator and optionally sprinkle with crushed Golden Oreos.


