Advertisement
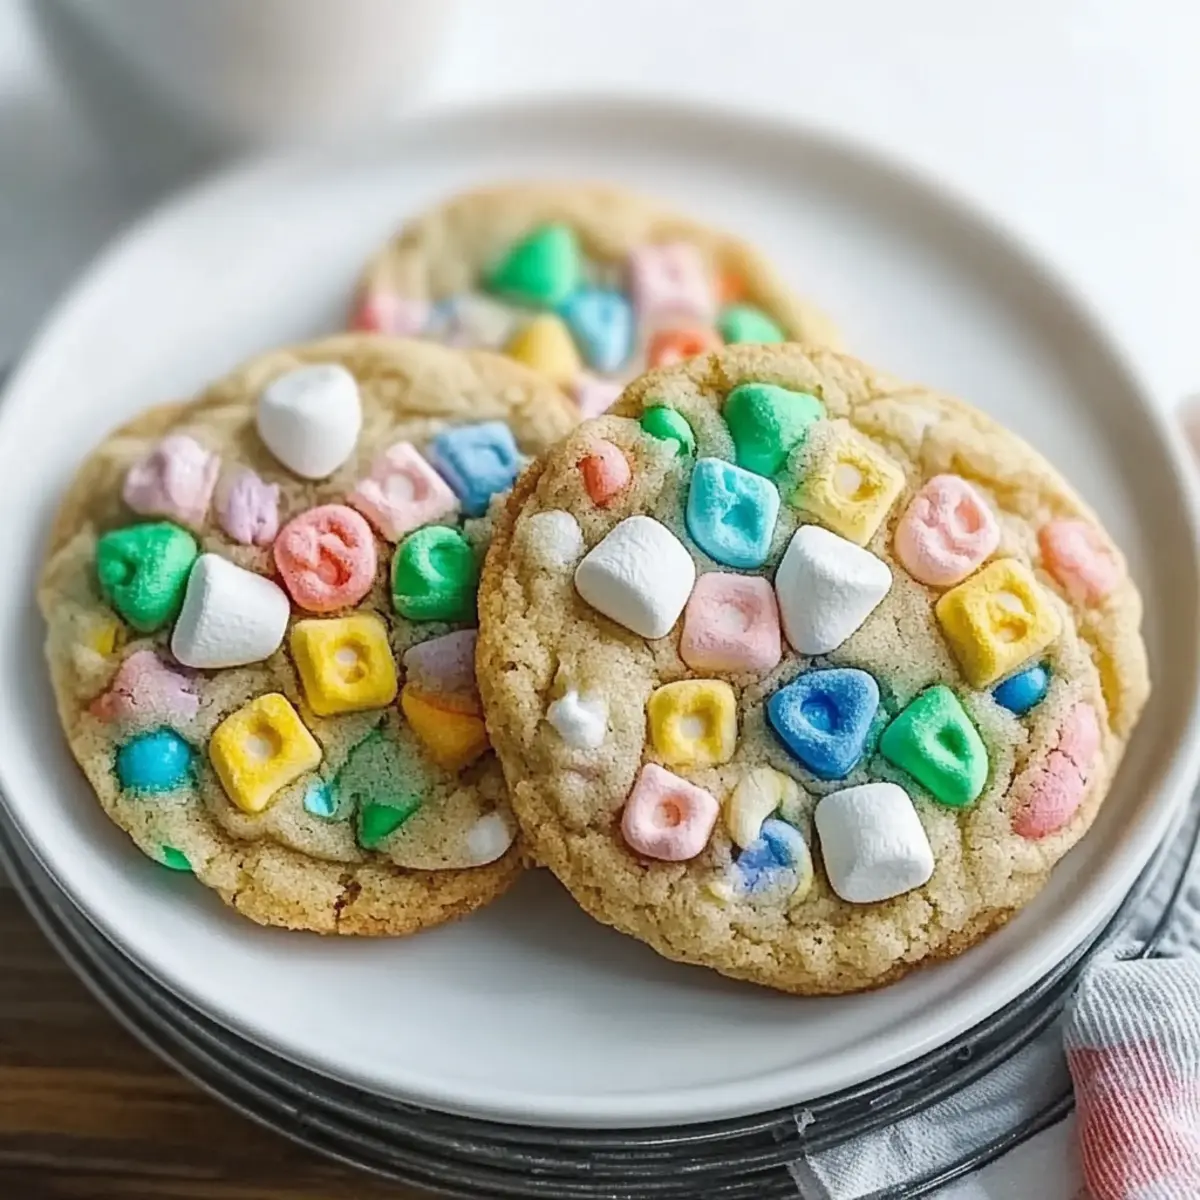
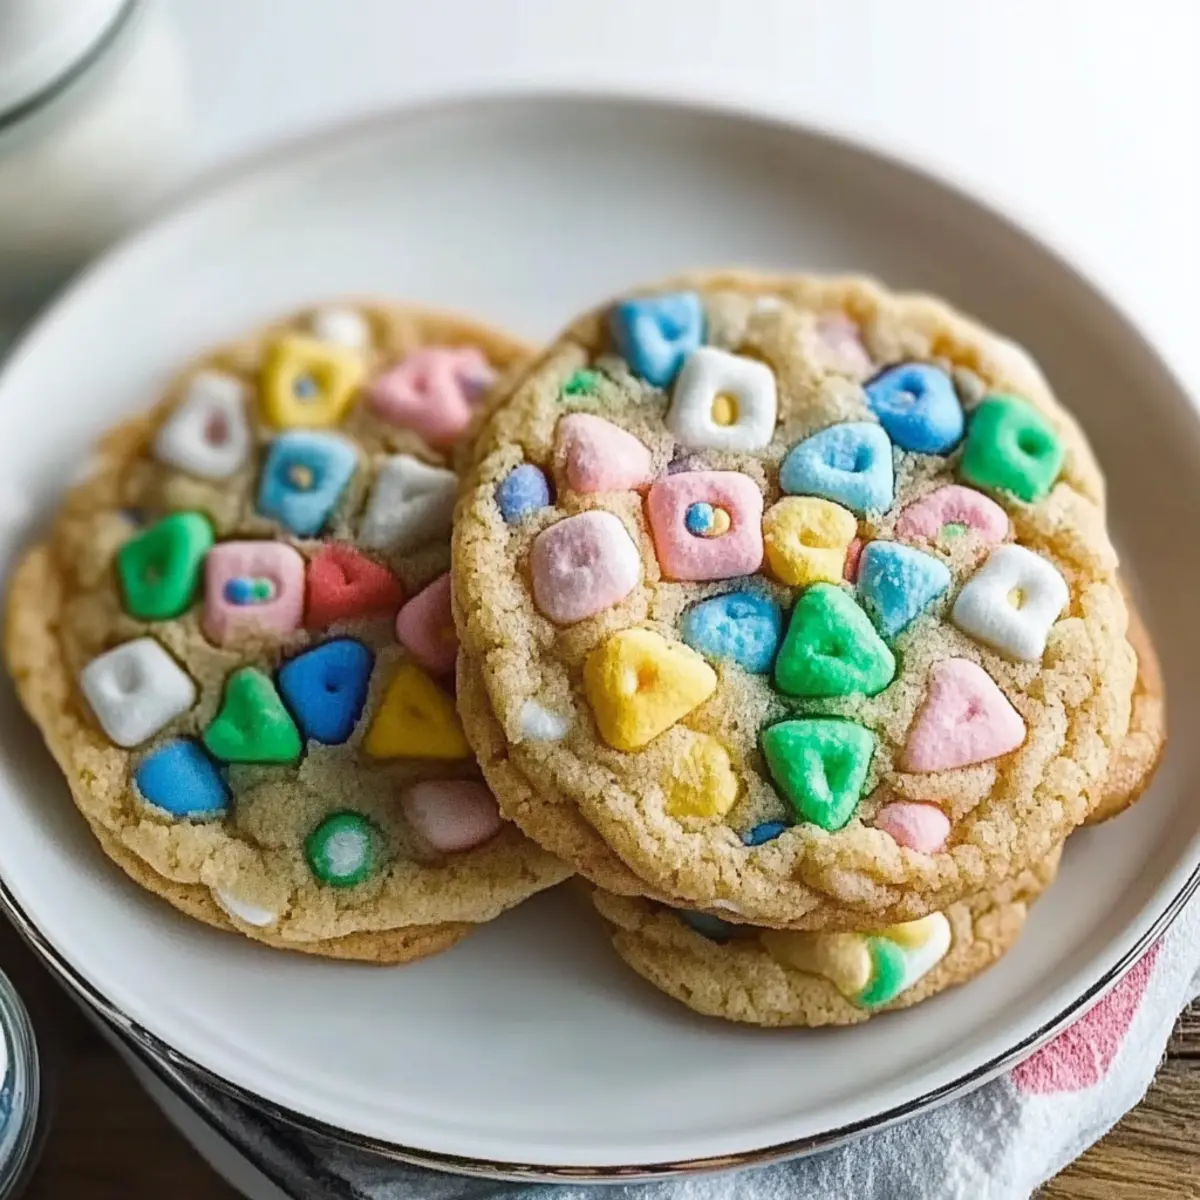
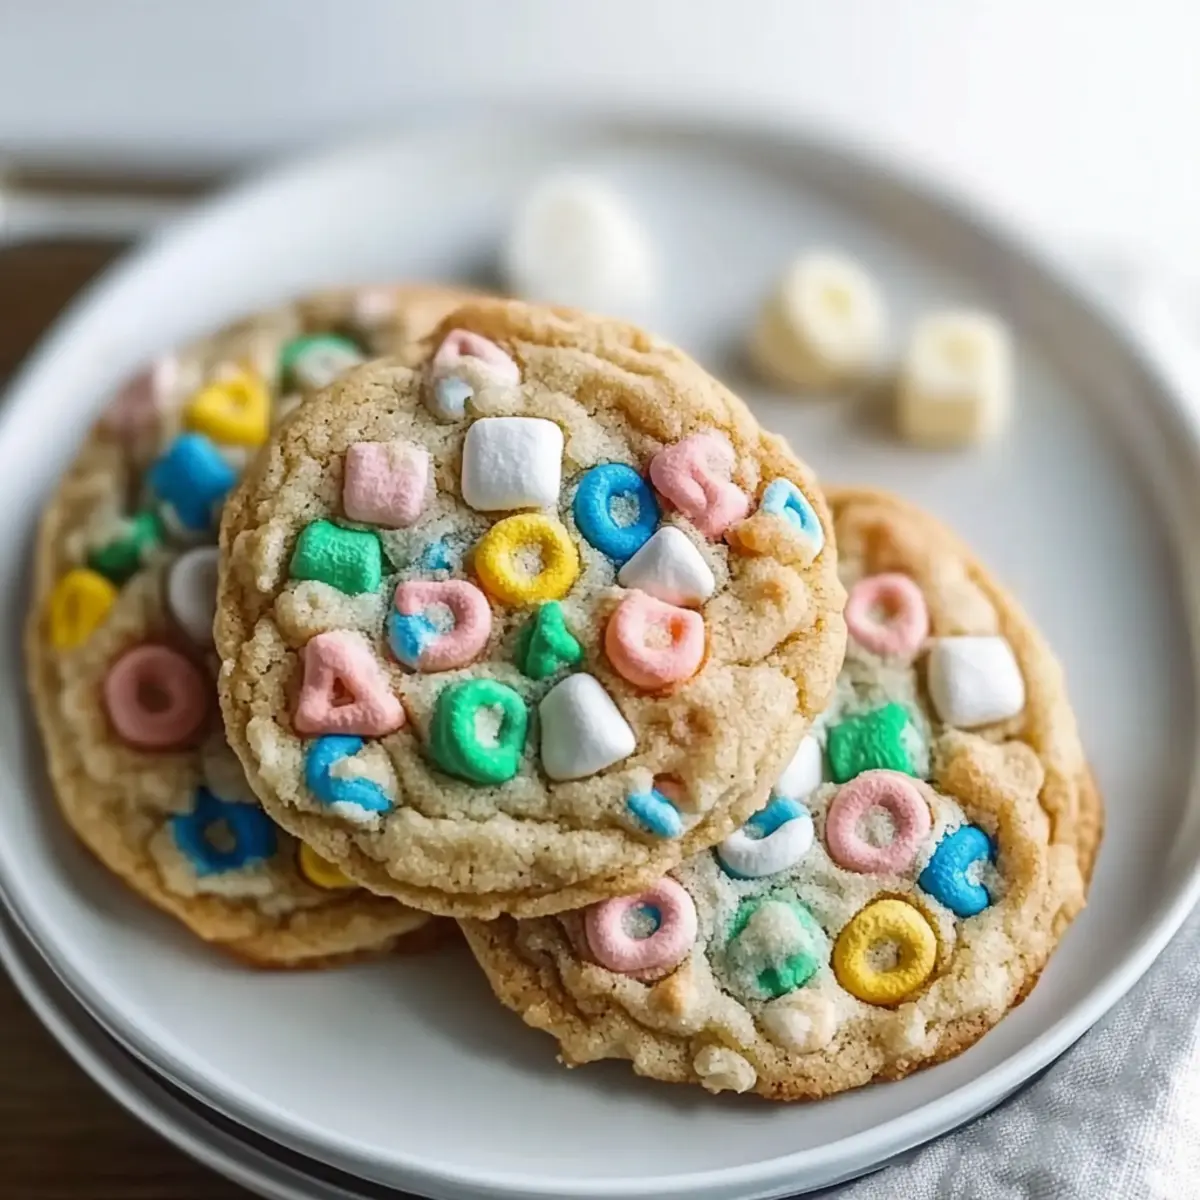
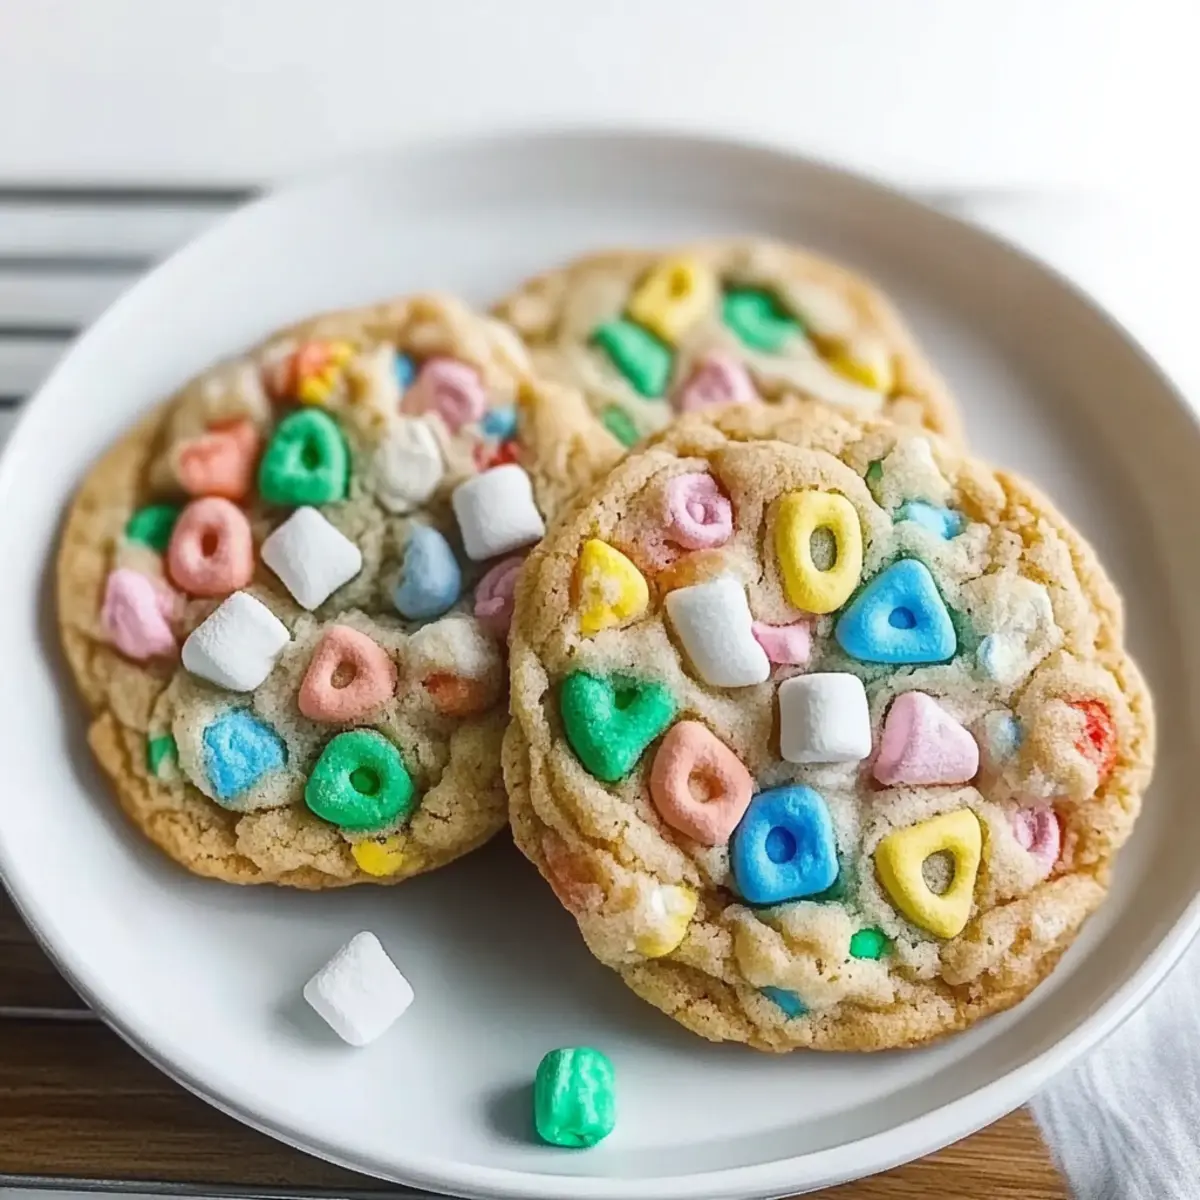
As I sifted flour into a mixing bowl, the aroma of sweet nostalgia filled the air, pulling me back to carefree childhood mornings and colorful cereal boxes. These Lucky Charms Cookies are not just any treats; they’re delightful, soft-centered creations that marry the whimsy of childhood with the warmth of home baking. The best part? They come together in a snap, thanks to the no-chill dough that promises quick satisfaction without the wait. Perfect for bustling families or festive gatherings, these cookies can be easily customized for any occasion—from a touch of holiday cheer to a simple afternoon baking adventure. Curious to add a sprinkle of magic to your dessert table? Let’s dive into this playful recipe that elevates classic comfort with a twist!
Why are Lucky Charms Cookies a must-try?
Nostalgic Charm: These cookies capture the essence of childhood with their colorful marshmallows, evoking happy memories with every bite.
Quick and Easy: Thanks to the no-chill dough, you can whip these up in no time—perfect for busy families or last-minute baking!
Advertisement
Customizable Delights: They’re not just for St. Patrick’s Day; swap in seasonal cereals or different chocolates to suit any holiday or occasion, just like you would with Cosmic Brownie Cookies.
Gluten-Free and Vegan Options: Make them inclusive with easy substitutions ensuring everyone can enjoy these treats, whether they prefer vegan or gluten-free goodies.
Crowd-Pleasing Appeal: With their soft, chewy center and crisp edges, these cookies are sure to please both kids and adults alike, making them the perfect addition to any gathering!
Lucky Charms Cookies Ingredients
For the Cookie Base
• 1/2 cup softened butter – Adds richness and moisture; substitute with vegan butter for a dairy-free option.
• 1/2 cup granulated sugar (100 g) – Provides sweetness and contributes to texture; can swap some for brown sugar for a deeper flavor.
• 1/2 cup packed brown sugar (106 g) – Enhances chewiness and adds caramel flavor.
• 1 large egg – Binds ingredients for structure; replace with a flax egg for a vegan version.
• 1 teaspoon vanilla extract – Adds delightful flavor to the cookies.
• 1/4 cup vegetable oil – Contributes to the moisture of the cookie dough.
For the Dry Ingredients
• 2 cups all-purpose flour (240 g) – Forms the cookie structure; use a 1:1 gluten-free flour blend for gluten-free cookies.
• 1/2 teaspoon baking soda – Leavens the cookies for a light texture.
• 1/2 teaspoon baking powder – Assists in achieving a fluffy texture.
For the Fun Add-ins
• 1 cup Lucky Charms marshmallows – Offers sweetness and a crunchy texture; only use marshmallows, as oat pieces can become hard when baked.
• 1/2 cup white chocolate chips – Adds sweetness and a creamy texture to the cookies.
• 2 tablespoons rainbow or gold sprinkles (optional) – Enhances visual appeal and brings a festive touch.
Step‑by‑Step Instructions for Lucky Charms Cookies
Step 1: Preheat the Oven
Begin by preheating your oven to 350°F (175°C). While it’s heating, line your baking sheets with parchment paper, making sure to cover them entirely. This preparation ensures the Lucky Charms Cookies won’t stick during baking and helps with easy cleanup later.
Step 2: Cream Butter and Sugars
In a large mixing bowl, use an electric mixer to beat together the softened butter and granulated sugar until the mixture becomes light and creamy, about 1-2 minutes. Make sure to pause occasionally to scrape down the sides of the bowl, ensuring all ingredients are well combined for that perfect cookie texture.
Step 3: Incorporate the Egg and Vanilla
Next, add in one large egg and the teaspoon of vanilla extract to the butter-sugar mixture. Mix on medium speed until the ingredients are fluffy and fully combined, approximately 30-60 seconds. This step adds moisture and flavor to your Lucky Charms Cookies.
Step 4: Combine Wet Ingredients
Now, gently mix in the packed brown sugar and vegetable oil, continuing until everything is just combined. The combination of these ingredients will enhance the chewy texture of the cookies while keeping them wonderfully moist for that delightful bite.
Step 5: Mix the Dry Ingredients
In a separate bowl, whisk together the all-purpose flour, baking soda, and baking powder. Gradually add this dry mixture to your wet ingredients, mixing on low speed until everything is just combined. Be careful not to overmix; a few flour streaks are perfectly fine as you prepare your Lucky Charms Cookies.
Step 6: Fold in the Fun Add-ins
Gently fold in the Lucky Charms marshmallows and white chocolate chips using a spatula. Set aside a handful of marshmallows for topping later. This step adds the whimsical touch and sweetness that make the cookies truly special and nostalgic.
Step 7: Scoop the Dough
Using a cookie scoop or a tablespoon, form the dough into balls about 2 tablespoons each. Place them on the prepared baking sheets, ensuring they’re spaced about 2 inches apart. This spacing allows the cookies to spread without merging during baking for perfectly shaped Lucky Charms Cookies.
Step 8: Bake the Cookies
Slide the trays into your preheated oven and bake for 9-11 minutes. You’ll know they’re ready when the edges are set, and the centers are no longer glossy. These visual cues indicate that your Lucky Charms Cookies are achieving that perfect soft and chewy texture.
Step 9: Cool the Cookies
Once baked, remove the cookies from the oven and let them cool on the baking sheets for 3-5 minutes. This brief resting time allows them to firm up slightly before transferring them to wire racks for complete cooling. This step is crucial for maintaining their soft centers and enhancing flavor.
Lucky Charms Cookies Variations & Substitutions
Feel free to let your creativity shine by putting your unique twist on these delightful cookies!
-
Vegan-Friendly: Substitute egg with a flax egg (1 tbsp ground flaxseed + 2.5 tbsp water) for a vegan version.
-
Gluten-Free Delight: Use a 1:1 gluten-free flour blend instead of regular flour to enjoy these cookies gluten-free without sacrificing flavor or texture.
-
Chocolate Switch: Replace white chocolate chips with dark or semi-sweet chocolate for a richer flavor profile that complements the marshmallows wonderfully.
-
Seasonal Swaps: Adapt the cookies for special occasions by using seasonal cereals, like pumpkin spice for fall or hearts for Valentine’s Day.
-
Extra Crunchy: Consider adding a handful of chopped nuts or toffee bits for an added crunch that contrasts beautifully with the soft marshmallows.
-
Flavored Fun: Experiment with flavored extracts, such as almond or coconut, in place of vanilla for a surprising twist in taste that will tantalize your taste buds.
-
Sprinkle Switch: Swap rainbow sprinkles for candy-coated chocolate pieces to give your cookies a pop of color and a bit of extra sweetness.
-
Freeze and Bake: Prepare a batch and freeze the dough; then, whenever a sweet craving strikes, simply bake fresh cookies in about 10 minutes for warm, gooey goodness!
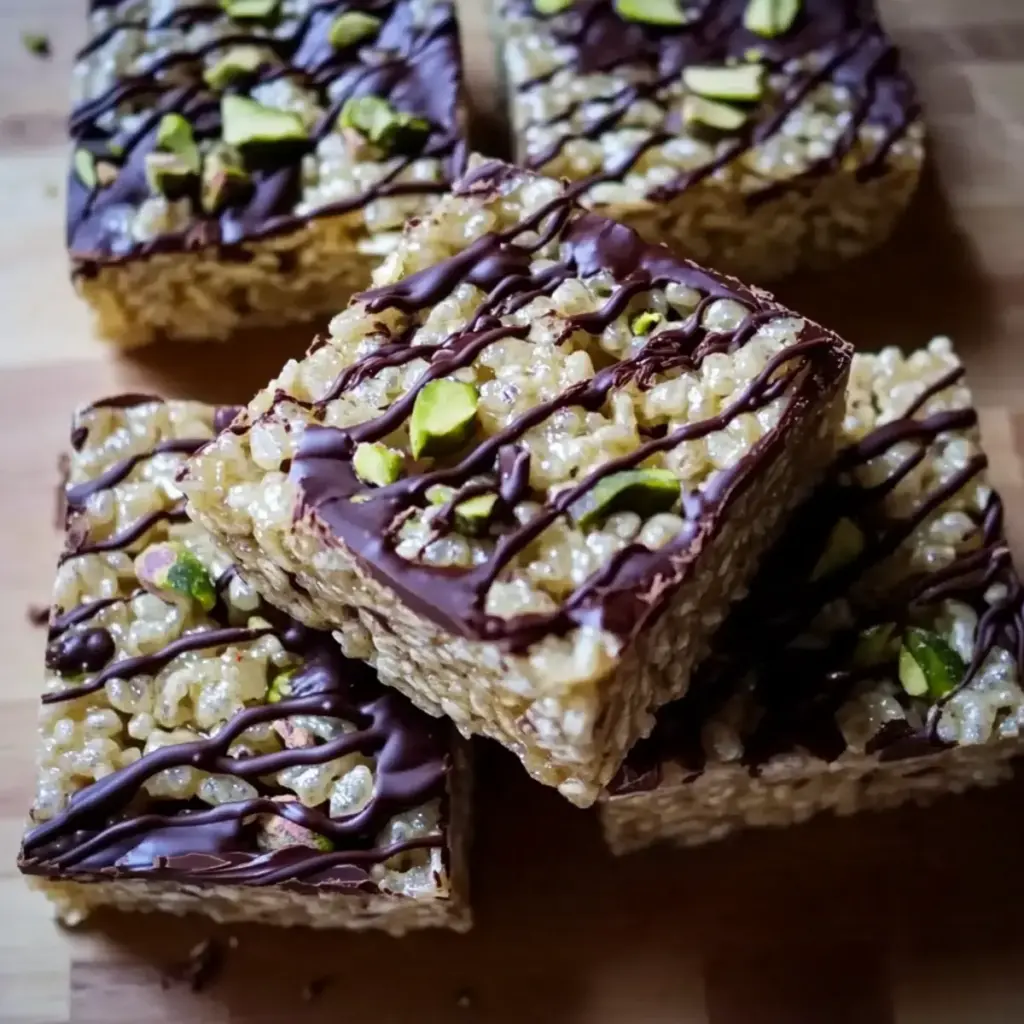
Transform your baking adventures by trying these variations, and don’t forget to check out other delightful recipes like Pistachio Shortbread Cookies and Filled Snowball Cookies for more fun and festive treats!
Expert Tips for Lucky Charms Cookies
-
Perfect Cookie Shape: Use the “Scoot Technique” by gently rounding hot cookies with a glass to achieve a uniform shape without fuss during cooling.
-
Manage Dough Consistency: If the dough feels oily in a warm kitchen, chill the dough balls for 10 minutes before baking; this will help them hold their shape.
-
Marshmallow Maintenance: Press additional marshmallows onto the cookies immediately after baking to keep their shapes intact and enhance their gooeyness.
-
Storage Secrets: Store cookies in an airtight container with a slice of bread to ensure they stay soft and delightful longer.
-
Gluten-Free Option: When aiming for gluten-free Lucky Charms Cookies, opt for a 1:1 gluten-free flour blend to maintain the right texture while accommodating dietary needs.
-
Batch Baking Tip: Freeze unbaked dough balls for up to 3 months, allowing you to bake fresh cookies anytime with minimal effort—perfect for spontaneous sweet cravings!
What to Serve with Lucky Charms Cookies?
When you whip up a batch of these colorful delights, it’s time to create a memorable experience that complements their whimsical charm.
- Cold Glass of Milk: The classic pairing for cookies, a glass of cold milk balances the sweetness and enhances the nostalgic flavors.
- Ice Cream: Use the cookies to create scrumptious ice cream sandwiches, taking your treat to new frosty heights.
- Fruit Salad: Fresh fruits, such as strawberries and bananas, bring a refreshing contrast to the sugary cookies while adding vibrant color to your dessert table.
- Coffee or Espresso: The rich, bold flavors of coffee perfectly contrast the sweetness of the cookies, making for an elevated afternoon pick-me-up.
- Chocolate Sauce Drizzle: A warm drizzle of chocolate sauce takes these cookies to the next level, creating a decadent and indulgent treat.
- Rainbow Sprinkles: Whip up a simple whipped cream topping with rainbow sprinkles for a festival of colors and textures, echoing the whimsical spirit of the cookies.
- Homemade Hot Chocolate: Cozy up with a mug of rich hot chocolate; its comforting warmth pairs perfectly with the soft, chewy texture of the cookies.
- Gummy Bears: For a playful touch, serve gummy bears alongside your cookies to add a fun mix of chewy, fruity flavors—perfect for kids!
- Cheesecake Dip: A creamy cheesecake dip pairs marvelously, adding a luscious texture that complements the crunchy marshmallows in the cookies.
- Sparkling Water: If you’re seeking something refreshing without the sweetness, serve sparkling water with a hint of lime for a zesty cleanse between bites!
Make Ahead Options
These Lucky Charms Cookies are perfect for busy home cooks looking to save time! You can prepare the cookie dough up to 3 days in advance. To do this, scoop the dough into balls and arrange them on a baking sheet lined with parchment paper; then, freeze until solid. Once frozen, transfer the dough balls into an airtight container or freezer bag—this keeps their quality intact. When you’re ready to bake, simply place them directly on the baking sheet and add a couple of minutes to the baking time. With these make-ahead tips, you’ll enjoy warm, fresh Lucky Charms Cookies with minimal effort and maximum nostalgia!
How to Store and Freeze Lucky Charms Cookies
Airtight Container: Store your baked Lucky Charms Cookies in an airtight container at room temperature for up to 1 week to maintain their delightful softness and freshness.
Freezing Baked Cookies: For longer storage, you can freeze baked cookies for up to 3 months. Keep them in a freezer-safe container or bag, layered with parchment paper to prevent sticking.
Unbaked Dough Freezing: You can freeze unbaked dough balls for up to 3 months as well! Simply scoop them onto a baking sheet lined with parchment paper, freeze until solid, then transfer them to a zip-top bag.
Reheating: To enjoy your frozen cookies, thaw them in the fridge overnight and reheat at 350°F (175°C) for about 5 minutes, or until warmed through for that just-baked taste.
Lucky Charms Cookies Recipe FAQs
What is the best way to select ripe ingredients for my Lucky Charms Cookies?
Absolutely! For the best Lucky Charms Cookies, select fresh ingredients. Look for butter that’s slightly softened but not melted—this gives you the perfect creamy texture when mixed. Eggs should be fresh, and using high-quality vanilla extract enhances the overall flavor of your cookies. If you opt for brown sugar, ensure it’s packed firmly in the measuring cup for the desired chewiness.
How should I store Lucky Charms Cookies, and how long do they last?
To keep your Lucky Charms Cookies deliciously soft and fresh, store them in an airtight container at room temperature for up to 1 week. For longer-lasting cookies, consider placing a slice of bread in the container; it absorbs moisture and keeps the cookies extra soft—something I often do to maintain that delightful texture!
Can I freeze Lucky Charms Cookies, and what’s the best method?
Yes, you can freeze these whimsical treats! To freeze baked Lucky Charms Cookies, place them in a freezer-safe container or bag—layered with parchment paper to prevent sticking—for up to 3 months. For unbaked dough balls, scoop them onto a parchment-lined sheet, freeze until solid, then transfer to a zip-top bag. They can also be stored for up to 3 months. When you’re ready to enjoy, simply bake from frozen, adding a minute or two to the baking time!
How can I troubleshoot my Lucky Charms Cookies if they don’t turn out right?
Very! If your cookies spread too much while baking, here are a couple of steps you can take: ensure your butter is softened but not overly melted (this can cause excessive spreading). If your dough feels too greasy, chill it for about 10 minutes before scooping. Conversely, if they turn out too flat, adding a bit more flour can help achieve a better shape. And always remember, appearances can vary, but they all taste fantastic!
Are there any dietary considerations for making Lucky Charms Cookies, like allergies?
Definitely! If you have dietary restrictions, you can make these cookies gluten-free by using a 1:1 gluten-free flour blend in place of all-purpose flour. For a vegan option, replace the egg with a flax egg—simply mix 1 tablespoon of ground flaxseed with 2.5 tablespoons of water and let it sit for about 5 minutes to thicken. Just remember to double-check all packaged ingredients (especially vegan butter and chocolate) for allergens related to your needs!
Decadent Lucky Charms Cookies that Spark Childhood Joy
Ingredients
Equipment
Method
- Preheat your oven to 350°F (175°C) and line baking sheets with parchment paper.
- In a large mixing bowl, beat together softened butter and granulated sugar until light and creamy for about 1-2 minutes.
- Add one large egg and vanilla extract, mixing on medium speed until fluffy and well combined (30-60 seconds).
- Mix in packed brown sugar and vegetable oil until just combined.
- In a separate bowl, whisk together all-purpose flour, baking soda, and baking powder; gradually add to wet ingredients on low speed.
- Fold in Lucky Charms marshmallows and white chocolate chips, setting aside some marshmallows for topping.
- Form dough into balls about 2 tablespoons each and place on baking sheets 2 inches apart.
- Bake for 9-11 minutes until edges are set and centers are not glossy.
- Let cookies cool on the baking sheets for 3-5 minutes before transferring to wire racks.