Advertisement
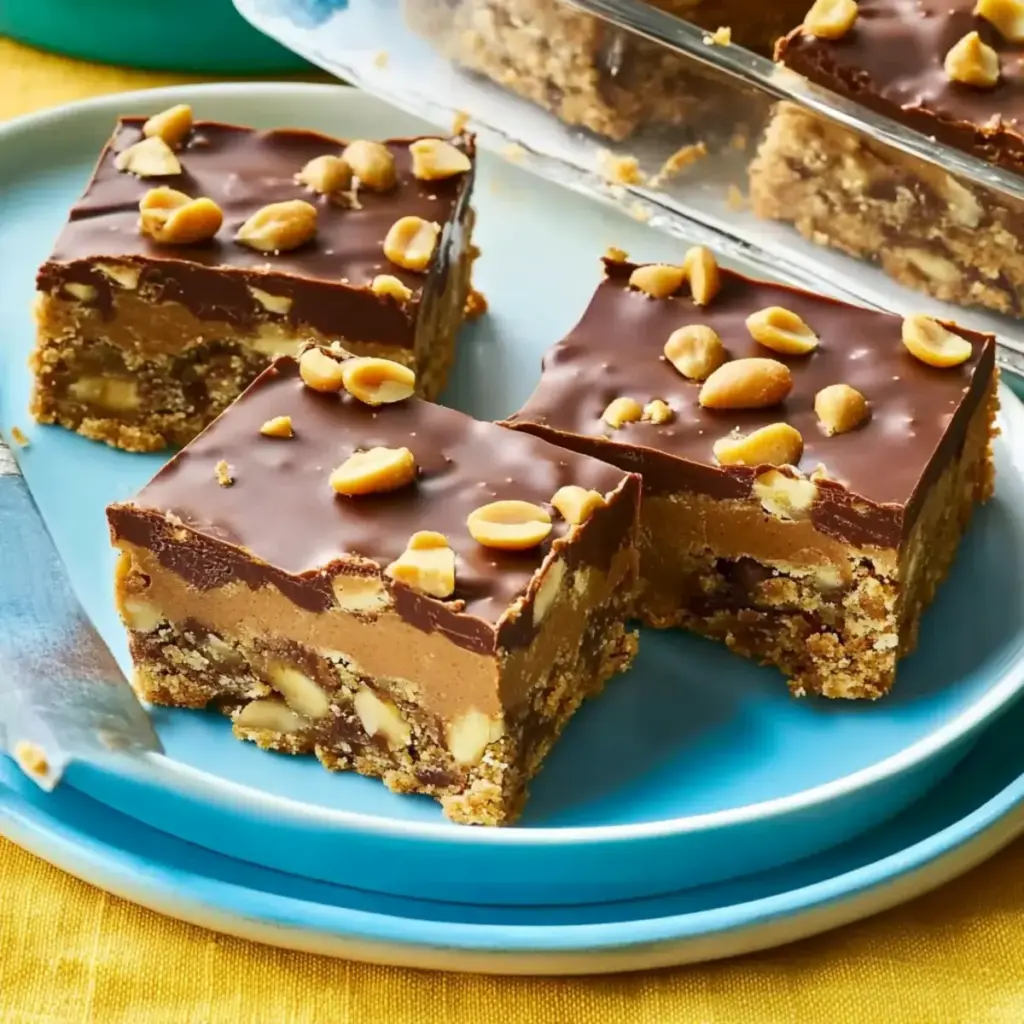
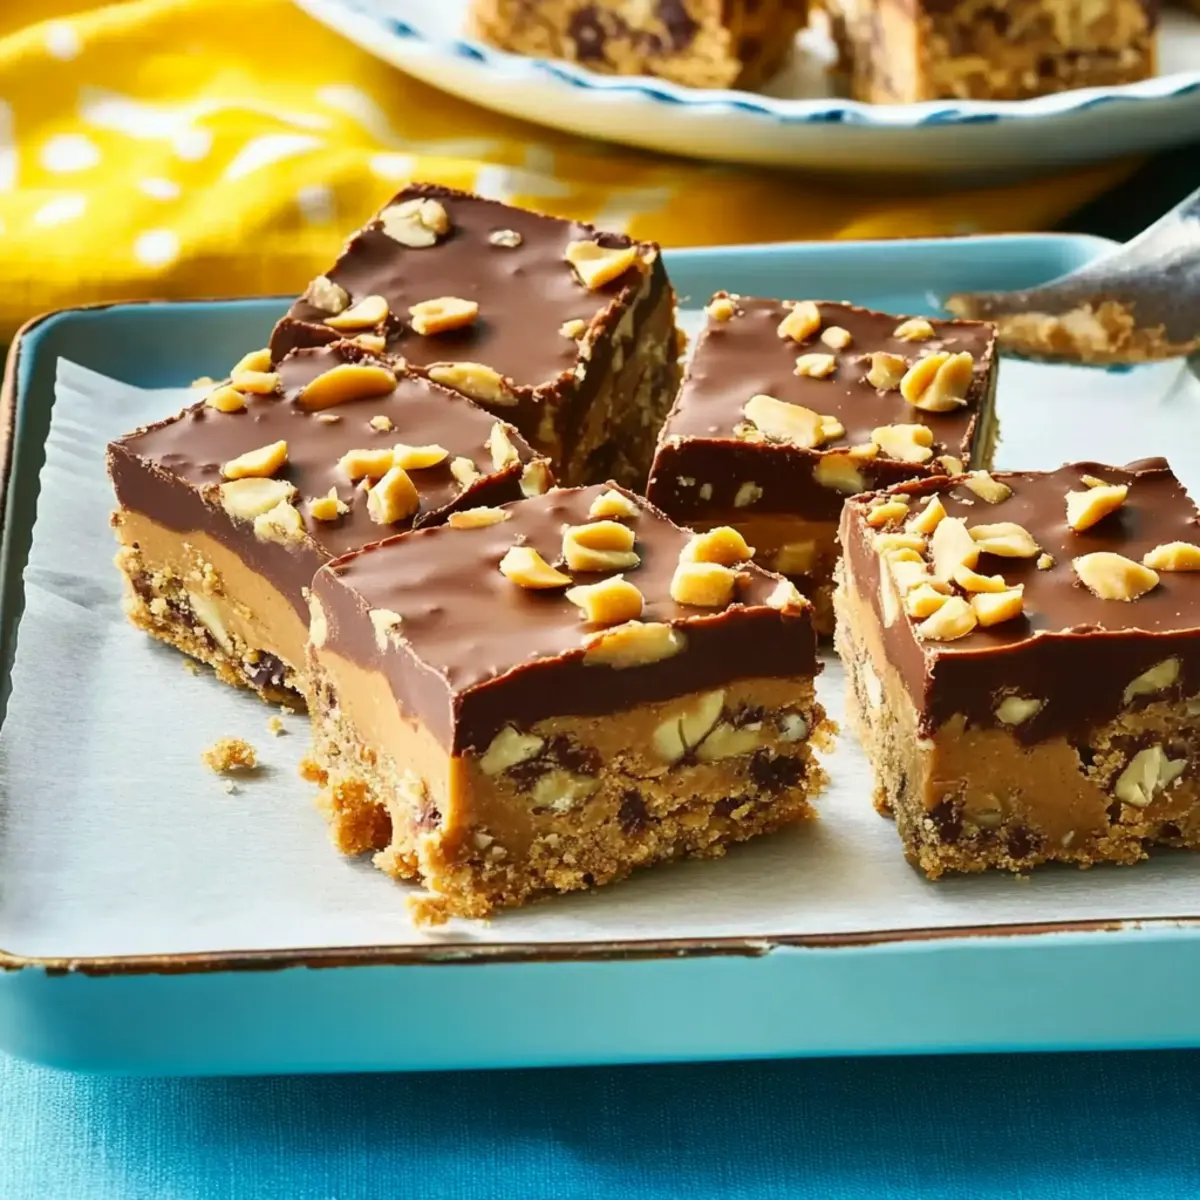
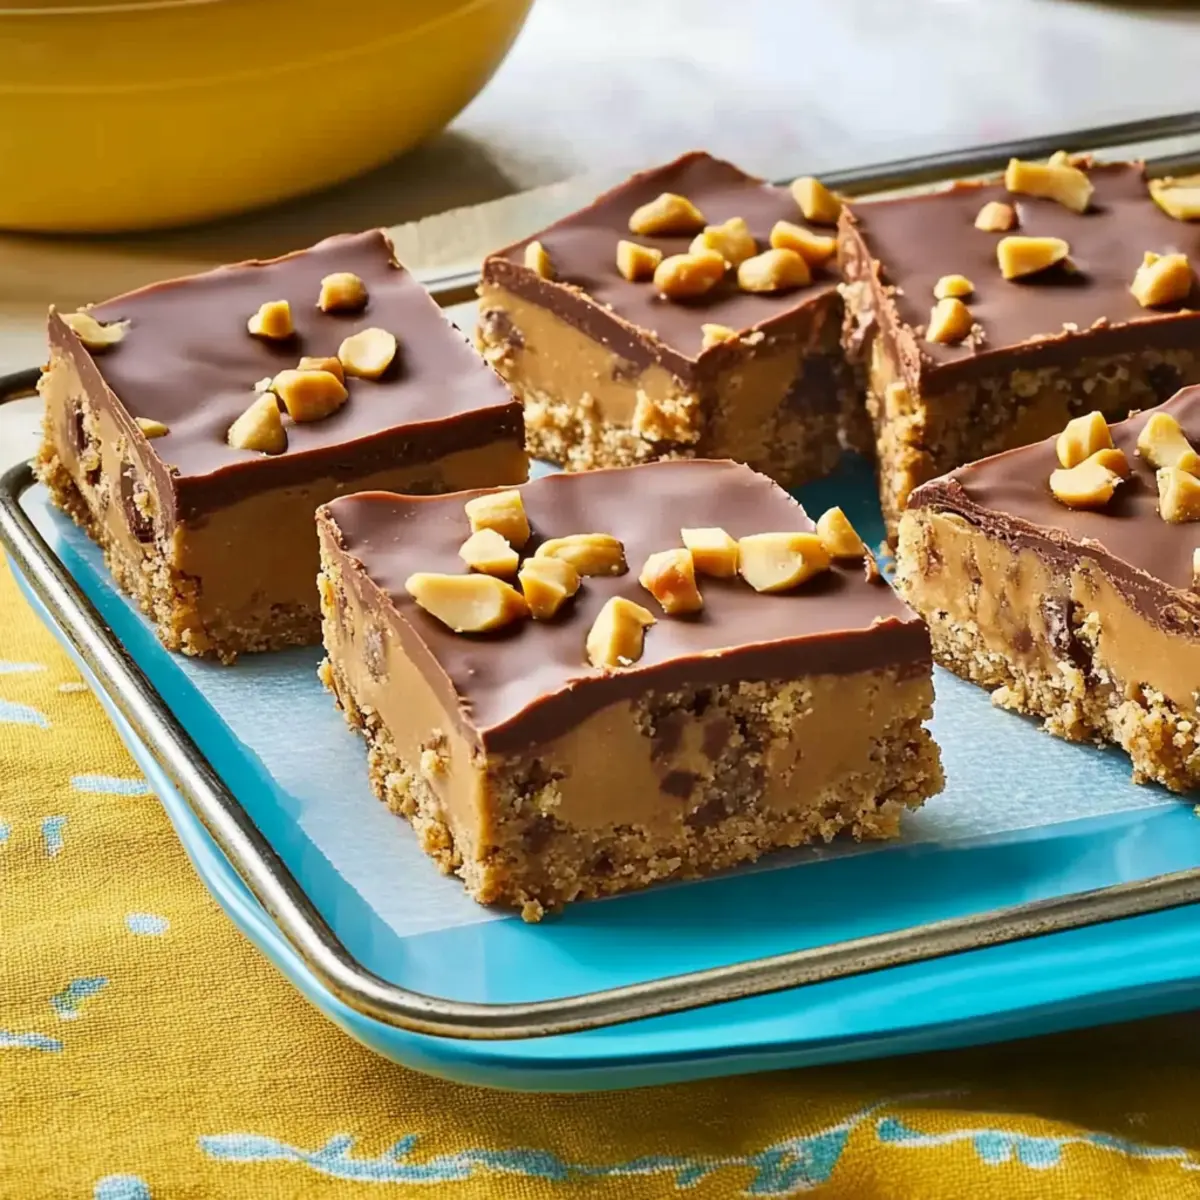
As I rummaged through my pantry on a lazy afternoon, I stumbled upon an assembly of simple ingredients just waiting to transform into something delightful. That’s when it hit me: it was time to whip up some Easy No-Bake Peanut Butter Bars! These treats not only embody the perfect harmony of smooth peanut butter and rich chocolate, but they also require no oven—ideal for those of us who crave a quick and satisfying snack without the fuss. With their chewy texture and satisfying sweetness, these bars are not just a delicious indulgence, but also a versatile treat. You can customize them with different types of chocolate or fun toppings like crushed pretzels for a salty twist! Ready to dive into this no-bake adventure? Let’s uncover the delicious magic together!
Why Are These Peanut Butter Bars Irresistible?
Easy to Make: You won’t believe how simple these bars are! No baking required—just mix, chill, and enjoy.
Rich, Decadent Flavor: The combination of creamy peanut butter and luscious chocolate creates a taste explosion that will leave you craving more.
Advertisement
Customizable: Feel free to tailor your bars with different toppings, whether it’s crunchy peanuts or pretzels for that perfect salty-sweet balance.
Perfect for Sharing: These bars are ideal for parties or family gatherings, guaranteed to impress your guests alongside other favorites like Christmas Cookie Bars.
Quick Energy Boost: Packed with goodness, they serve as an ideal snack that will recharge your batteries any time of day.
Dive into this delicious no-bake adventure and create something unforgettable!
Peanut Butter Bars Ingredients
For the Base
- Vanilla Wafers – creates a deliciously sweet and crunchy base; can be swapped with graham crackers for a different flavor.
- Chunky Peanut Butter – adds a delightful texture; substitute with creamy peanut butter if you prefer a smooth base.
- Creamy Peanut Butter – gives the bars their rich flavor; avoid natural varieties that might make the mixture too oily.
- Butter – acts as a binding agent; ensure it’s softened for easy mixing.
For the Topping
- Semi-Sweet Chocolate Chips – offers a rich and chocolatey finish; use milk chocolate for a sweeter option.
- Mini Chocolate Chips – enhances the chocolate flavor throughout the bars; can be replaced with other chocolate types or omitted.
To Sweeten
- Powdered Sugar – sweetens and stabilizes the mixture; adjust the amount for your preferred sweetness level.
For Garnishing
- Chopped Peanuts – adds a crunchy topping; you can use crushed pretzels for an exciting salty twist!
These no-bake Peanut Butter Bars are not just a treat but a versatile creation that invites you to customize and share!
Step‑by‑Step Instructions for Easy No-Bake Peanut Butter Bars
Step 1: Prepare Chocolate Topping
In a microwave-safe bowl, combine 1 cup of semi-sweet chocolate chips and ½ cup of creamy peanut butter. Microwave on high for 30 seconds, then stir until smooth. If needed, return to the microwave in 15-second intervals until everything is melted and well combined, creating a luscious chocolate mixture that will crown your peanut butter bars.
Step 2: Make Base Mixture
In a mixing bowl, cream together ½ cup softened butter and ½ cup chunky peanut butter using an electric mixer on medium speed for about 2-3 minutes until fluffy. Gradually add in 2 cups powdered sugar, mixing on low until well incorporated. The mixture should be thick and creamy, perfect for forming the base of your no-bake peanut butter bars.
Step 3: Combine
Gently fold in the crushed vanilla wafers (12 oz) and 1 cup mini chocolate chips into the creamy peanut butter mixture using a spatula. Mix just until combined to maintain some texture, ensuring the mini chocolate chips are evenly distributed throughout the base. This amalgamation will create a deliciously crunchy yet smooth foundation for your Easy No-Bake Peanut Butter Bars.
Step 4: Form Bars
Prepare a 9×13-inch baking dish by greasing it lightly with butter to prevent sticking. Transfer the peanut butter mixture into the dish, spreading it out evenly with a spatula. Press down firmly to create a dense, even layer for your bars, ensuring the base holds together firmly for a satisfying bite once chilled.
Step 5: Top with Chocolate
Once the base is firmly in place, pour the melted chocolate-peanut butter mixture over the top. Use a spatula to gently spread it into an even layer, covering the entire surface of the bars. The shiny chocolate topping will add a decadent finish, blending beautifully with the rich flavors of the peanut butter layers beneath it.
Step 6: Garnish and Chill
Sprinkle ½ cup chopped peanuts or crushed pretzels evenly over the chocolate topping, adding a delightful crunch. Place the baking dish in the refrigerator and chill for 1-2 hours, or until the chocolate topping has set and the bars are firm to the touch. This chilling step is crucial for achieving the perfect texture in your easy no-bake peanut butter bars.
Step 7: Serve
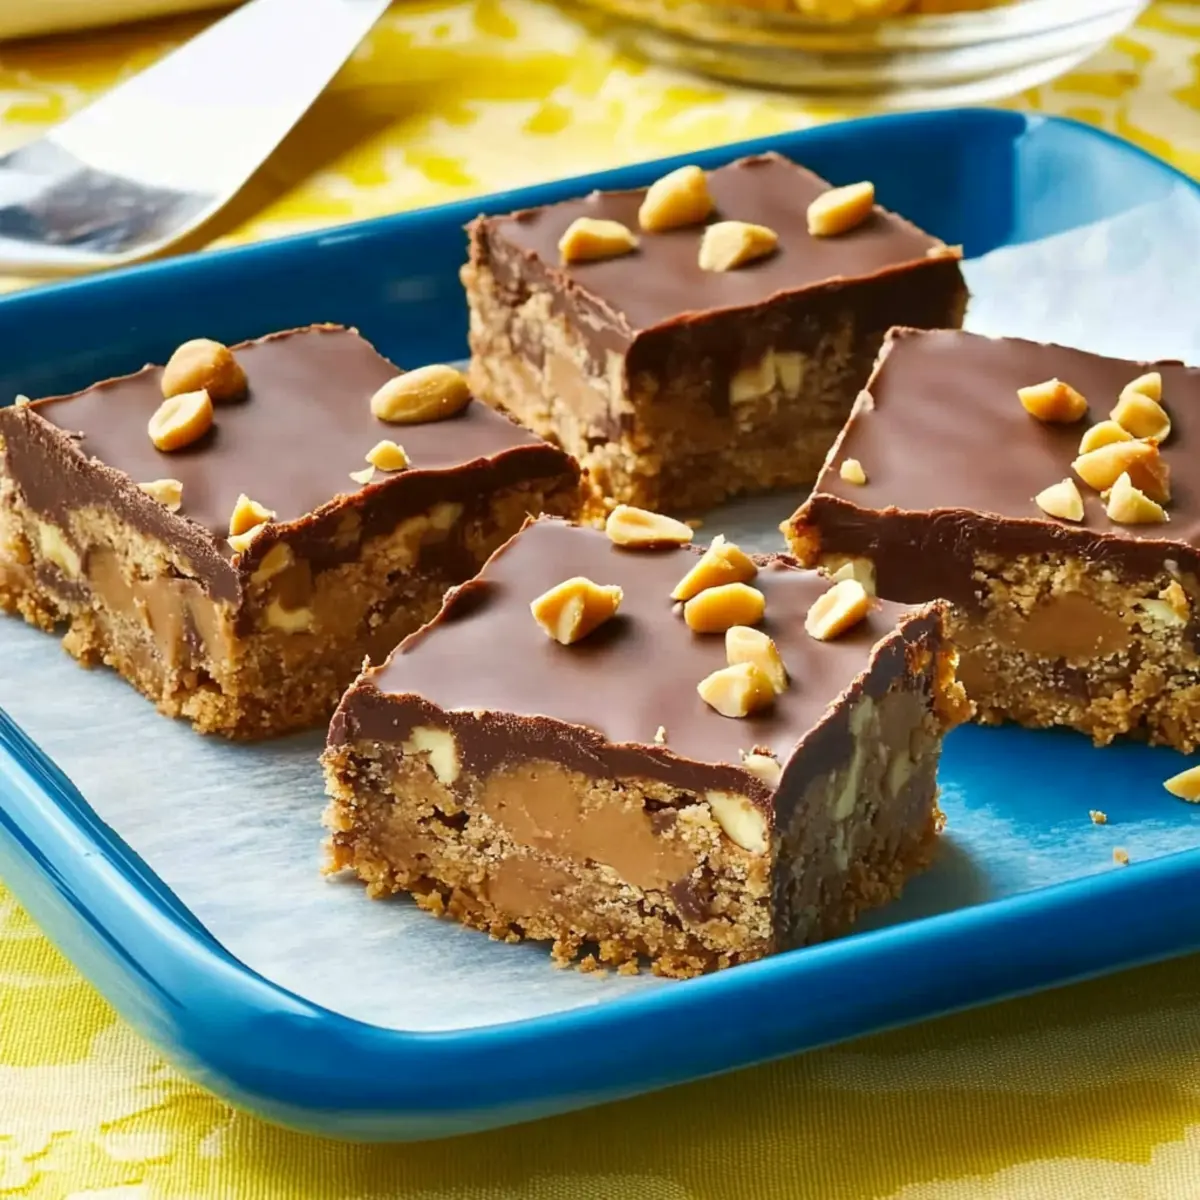
Once the bars are chilled and firm, remove them from the refrigerator. Use a sharp knife to cut into squares or bars, creating pieces that are just the right size for snacking. Serve these delicious peanut butter bars at gatherings, as a midday treat, or enjoy them any time you need a quick energy boost!
How to Store and Freeze Peanut Butter Bars
Fridge: Store your peanut butter bars in an airtight container in the refrigerator for up to a week. This keeps them fresh and maintains their delightful texture.
Freezer: For longer storage, wrap individual bars in plastic wrap and place them in a freezer-safe bag. They can be frozen for up to 3 months, making them perfect for meal prep!
Reheating: To enjoy frozen bars, thaw them in the fridge overnight or at room temperature for about an hour. Enjoy cold or let them sit out for a few minutes to soften before devouring.
Room Temperature: Peanut butter bars are best enjoyed within a few hours if left out, but they should not be exposed to heat or sunlight, which can cause the chocolate topping to melt.
What to Serve with Easy No-Bake Peanut Butter Bars
As you prepare to delight in these rich, chewy bars, imagine the perfect complements that will elevate your dessert experience.
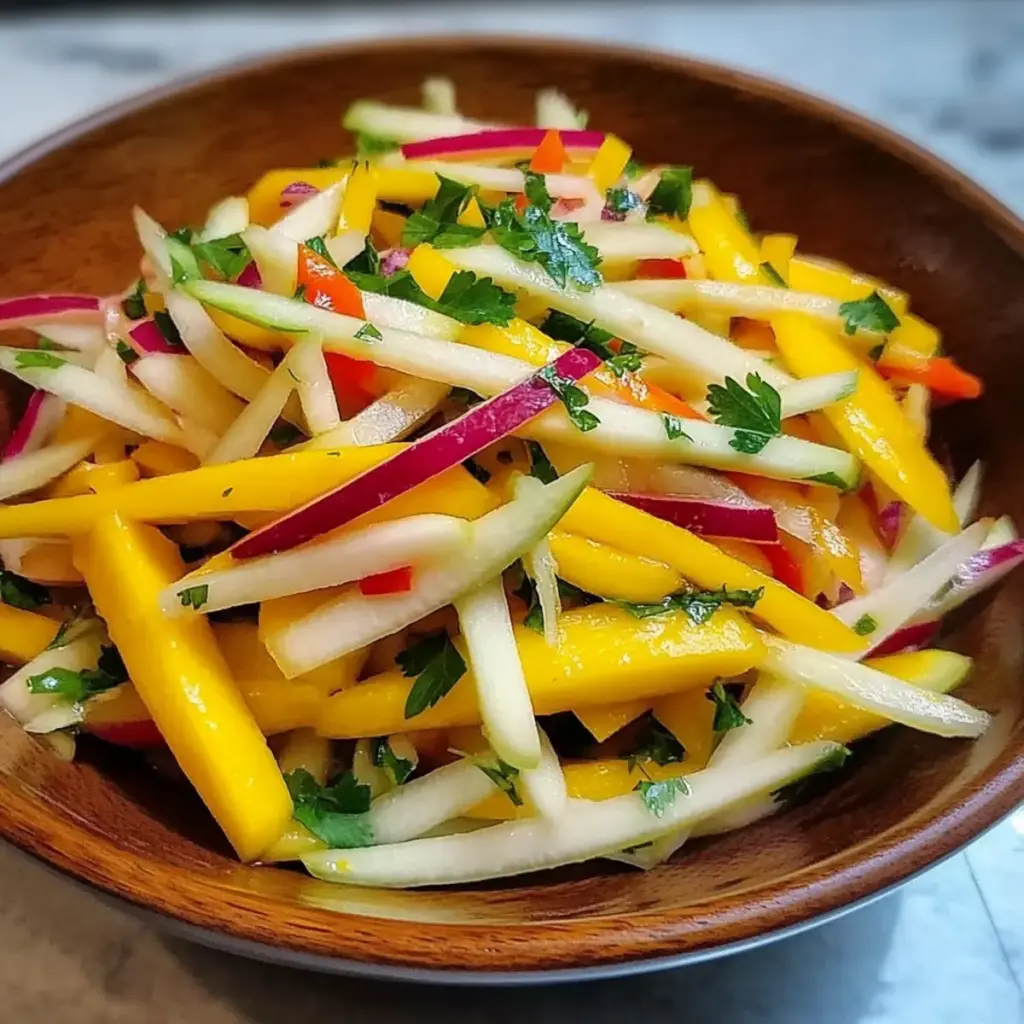
- Fresh Fruit Salad: A refreshing mix of seasonal fruits balances the sweetness, adding a vibrant splash of color and natural flavor.
- Creamy Vanilla Ice Cream: The smooth texture and cool temperature of vanilla ice cream provides a delightful contrast to the rich, chewy bars.
- Chocolate Milkshake: A thick, chocolatey milkshake feels indulgent and pairs perfectly with the peanut butter bars for a nostalgic twist.
- Hot Fudge Sauce: Drizzling warm fudge over your peanut butter bars takes them to the next level of decadence, enhancing their chocolatey allure.
- Coffee or Espresso: The robust flavors of coffee are an ideal pairing, cutting through the sweetness and accentuating the creamy peanut butter.
- Choco-Peanut Butter Smoothie: Blend banana, chocolate, and a sprinkle of peanut butter for a smoothie that echoes the bars’ flavors in a healthy way.
- Salted Caramel Sauce: The sweet and salty combination amplifies the flavor profile, making each bite an irresistible experience.
- Nutty Granola: Crunchy granola adds texture and a wholesome element, perfect for those who enjoy extra crunch with their creamy bars.
- Mint Tea: A soothing cup of mint tea can cleanse the palate, leaving a fresh taste that complements the richness of the dessert.
Each of these suggestions brings unique textures and flavors to the table, ensuring a delightful treat for any occasion.
Peanut Butter Bars Variations & Substitutions
Feel free to have some fun with these sweet treats—your taste buds will thank you!
-
Dairy-Free: Substitute butter with coconut oil for a vegan option while still maintaining a rich texture.
-
Allergy-Friendly: Use sun butter instead of peanut butter to create a nut-free version that still satisfies.
-
Flavor Boost: Add a pinch of sea salt to the chocolate topping for a delightful contrast with the sweetness.
-
Texture Twist: Incorporate shredded coconut into the base for a chewy surprise that pairs wonderfully with the chocolate.
-
Fruit Flavor: Mix in dried cranberries or raisins for a burst of fruity goodness that elevates each delightful bite.
-
Spicy Kick: Stir in a dash of cayenne pepper to the chocolate topping for an unexpected yet exciting heat.
-
Granola Crunch: Replace the vanilla wafers with granola for a crunchy exterior and an extra bit of goodness.
-
Chocolate Variety: Try white chocolate chips for the topping to create a sweeter, creamier experience—perfect for chocolate lovers!
No matter which variation you choose, you’ll be treating yourself to something special. And don’t forget to pair these Peanut Butter Bars with other scrumptious treats like Sugar Cookie Cheesecake Bars for a delightful dessert spread! Enjoy!
Make Ahead Options
These Easy No-Bake Peanut Butter Bars are a fantastic choice for meal prep, allowing you to save time without sacrificing flavor! You can prepare the base mixture and press it into your dish up to 24 hours in advance; simply cover and refrigerate it. Additionally, you can melt the chocolate topping, let it cool slightly, and store it in an airtight container overnight. When ready to serve, pour the chocolate over the set base, sprinkle with your choice of chopped peanuts or pretzels, and refrigerate again for 1-2 hours until firm. This method ensures that your peanut butter bars remain just as delicious while streamlining your kitchen routine for busy weeknights!
Helpful Tricks for Peanut Butter Bars
-
Use Softened Butter: Make sure your butter is at room temperature to ensure a smooth and creamy mixture, enhancing the final texture of your peanut butter bars.
-
Don’t Rush the Chilling: Refrigerating the bars is essential for setting the chocolate and achieving the right consistency. Be patient and let them chill for at least 1-2 hours.
-
Mixing Tip: When combining ingredients, fold gently to keep some texture in the base. This creates a delightful crunch that complements the creamy chocolate topping.
-
Customize Wisely: While variations are fun, be cautious with substitutions—using natural peanut butter can make the bars oily. Stick to creamy or chunky as recommended for the best results.
-
Serving Size Matters: Cut the bars into bite-sized pieces for easy sharing and snacking. This also helps control portion sizes, making them a guilt-free indulgence.
Peanut Butter Bars Recipe FAQs
What type of peanut butter should I use for the best results?
For the best texture and flavor, I recommend using creamy peanut butter. Avoid natural varieties, as they can be too oily and affect the consistency of the bars. If you prefer a bit of crunch, feel free to substitute some of the creamy peanut butter with chunky peanut butter.
How should I store my peanut butter bars?
Store your peanut butter bars in an airtight container in the refrigerator for up to a week. This keeps them fresh and ensures they maintain their delicious chewy texture. If you’re planning to keep them longer, freezing is a great option!
Can I freeze peanut butter bars? How do I do it?
Absolutely! To freeze the bars, wrap each piece individually in plastic wrap and place them in a freezer-safe bag. They will maintain their quality for up to 3 months. When you’re ready to enjoy them, just thaw in the fridge overnight or set them at room temperature for about an hour.
What should I do if my bars are too crumbly?
If the bars are too crumbly, there might not be enough binding from the peanut butter or butter mixture. Ensure that both are at room temperature for easier mixing. If needed, you can add a tablespoon or two of melted butter to the mixture before pressing it into the pan to help the bars hold together better.
Are there any dietary considerations I should keep in mind when making these bars?
Yes! If you or anyone you are serving has nut allergies, these peanut butter bars are a no-go. You can, however, make a similar recipe using sun butter or another nut-free spread as a substitute for peanut butter. Just be mindful of any other potential allergens in the ingredients you choose!
How can I customize my peanut butter bars for different tastes?
The more the merrier! You can easily customize these bars by mixing in different types of chocolate chips, such as dark or white chocolate, or adding a variety of toppings like crushed pretzels or different nuts. Just make sure that the overall proportions of the primary ingredients remain similar for the best results.

Decadent Peanut Butter Bars That No One Can Resist
Ingredients
Equipment
Method
- In a microwave-safe bowl, combine 1 cup of semi-sweet chocolate chips and ½ cup of creamy peanut butter. Microwave on high for 30 seconds, then stir until smooth. Return to microwave if needed, creating a chocolate mixture.
- In a mixing bowl, cream together ½ cup softened butter and ½ cup chunky peanut butter for 2-3 minutes. Gradually add in 2 cups powdered sugar until thick and creamy.
- Fold in the crushed vanilla wafers and 1 cup mini chocolate chips until just combined to maintain texture.
- Prepare a 9x13-inch baking dish by greasing it. Transfer the mixture, spreading out evenly and pressing down firmly.
- Pour the melted chocolate-peanut mixture over the top and spread it evenly.
- Sprinkle ½ cup chopped peanuts or crushed pretzels over the chocolate topping. Chill for 1-2 hours until set.
- Remove from fridge and cut into squares or bars, then serve.