Advertisement
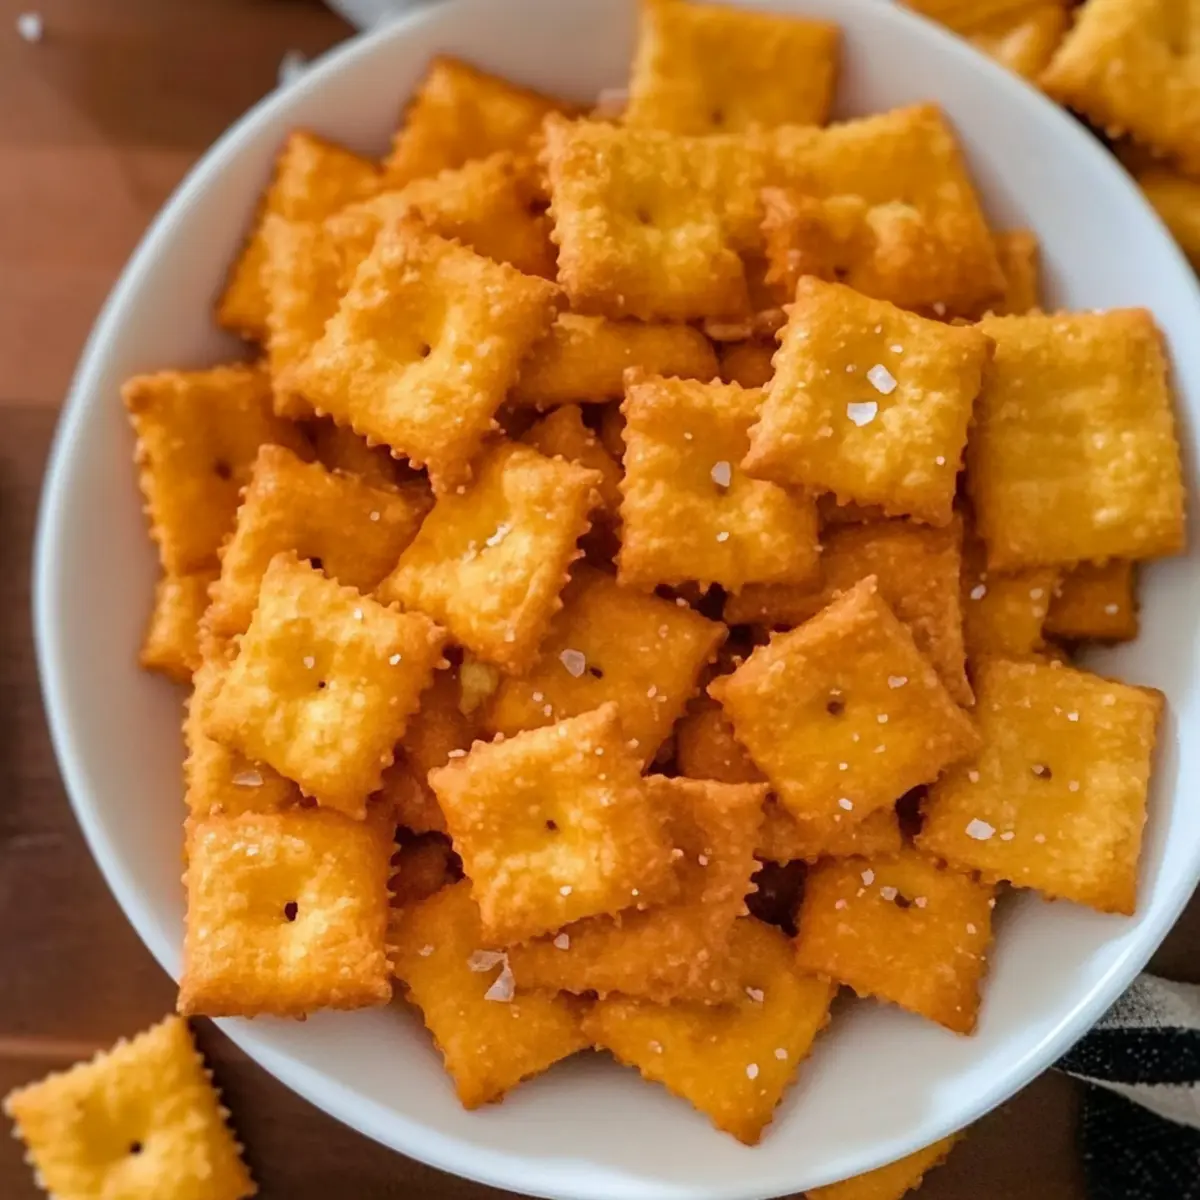
As I rummaged through my pantry, a wave of nostalgia hit me like a cheesy aroma wafting from a favorite snack aisle. Homemade Cheez-Its, with their uniquely crispy texture and salty, cheesy flavor, felt like the perfect remedy for my craving. This savory snack is not only a delightful treat for kids but also a quick recipe that’s sure to win over your friends and family. With just five simple ingredients, you can whip up these golden gems in no time, making them ideal for a fun family cooking session or a last-minute party addition. Trust me, there’s something about creating these crunchy bites from scratch that elevates them beyond the store-bought version. Are you ready to dive into the world of homemade snacking?
Why make homemade Cheez-Its?
Irresistible Crunch: Each bite delivers a satisfying crisp that you won’t find in store-bought alternatives.
Easy Peasy: With just five ingredients and quick prep, this recipe is perfect for busy schedules.
Advertisement
Kid-Friendly Fun: Involve the little ones in the kitchen for a bonding experience that turns cooking into an exciting adventure.
Flavor Your Way: Experiment with different cheeses or spices to customize your Cheez-Its. Imagine the savory potential!
Perfect for Sharing: These homemade delights are sure to impress at gatherings, making them a crowd-pleaser. Serve them alongside a creamy dip or your favorite soup for a complete snacking experience, just like with the Homemade Caramel Apple treat!
Homemade Cheez-It Ingredients
For the Cracker Dough
- Sharp Cheddar Cheese – This rich cheese provides the integral flavor; avoid pre-shredded versions for the best results.
- All-Purpose Flour – Serves as the foundation for the crackers, offering both structure and crunch; whole wheat is a great fiber-rich alternative.
- Salt – Enhances the flavors beautifully; sprinkle a bit extra on top for that gourmet touch.
- Unsalted Butter – Adds richness and a tender texture; vegetable shortening can be a dairy-free substitute.
- Cold Water & Milk – Essential for binding the dough; add only as needed to achieve the right consistency.
With these simple ingredients, you’ll be well on your way to crafting your very own homemade Cheez-Its that are sure to capture the hearts (and taste buds) of your family!
Step‑by‑Step Instructions for Homemade Cheez-Its
Step 1: Preheat the Oven
Begin by preheating your oven to 350°F (175°C). This is a crucial step to ensure your homemade Cheez-Its bake evenly and achieve that perfect crispiness. As your oven heats up, gather your ingredients and prepare your workspace, making sure everything is within reach for an efficient cooking process.
Step 2: Blend the Ingredients
In a food processor, combine the shredded sharp cheddar cheese, all-purpose flour, salt, and unsalted butter. Pulse the mixture until it resembles a crumbly texture, about 15-20 seconds. Keep an eye on the mixture, ensuring the cheese is well incorporated and the butter is evenly distributed, which forms the base of your flavorful dough.
Step 3: Form the Dough
Gradually add cold water and a splash of milk to the crumbly cheese mixture in the processor. Pulse until a smooth dough forms, taking about 30 seconds. The dough should be cohesive and slightly sticky, but not too wet. If it feels crumbly, add a tiny bit more liquid, being careful not to overdo it.
Step 4: Roll out the Dough
Transfer your smooth dough onto a floured surface. Use a rolling pin to roll the dough out to a thickness of about 1/8 inch. Aim for a smooth and even layer to ensure your homemade Cheez-Its bake uniformly. This thickness will give your crackers the delightful crunch that you crave.
Step 5: Cut the Crackers
Using a sharp knife or a pizza cutter, cut the rolled-out dough into 1-inch squares. For a fun touch, use a fork to poke holes in the center of each square. This step is not just decorative; it helps the crackers bake evenly and prevents them from puffing up too much during baking.
Step 6: Prepare for Baking
Sprinkle the tops of your cut squares with a pinch of salt for that extra burst of flavor. Carefully place the squares onto a baking sheet lined with parchment paper, ensuring they are spaced apart to allow for even cooking. This arrangement will give your homemade Cheez-Its the room to crisp up beautifully in the oven.
Step 7: Bake the Crackers
Slide your baking sheet into the preheated oven and bake for 12-15 minutes. Keep a close eye on them, as baking times may vary based on your oven. Look for a golden brown color and a nice crispy texture—this is the perfect stage where your homemade Cheez-Its will shine.
Step 8: Cool and Serve
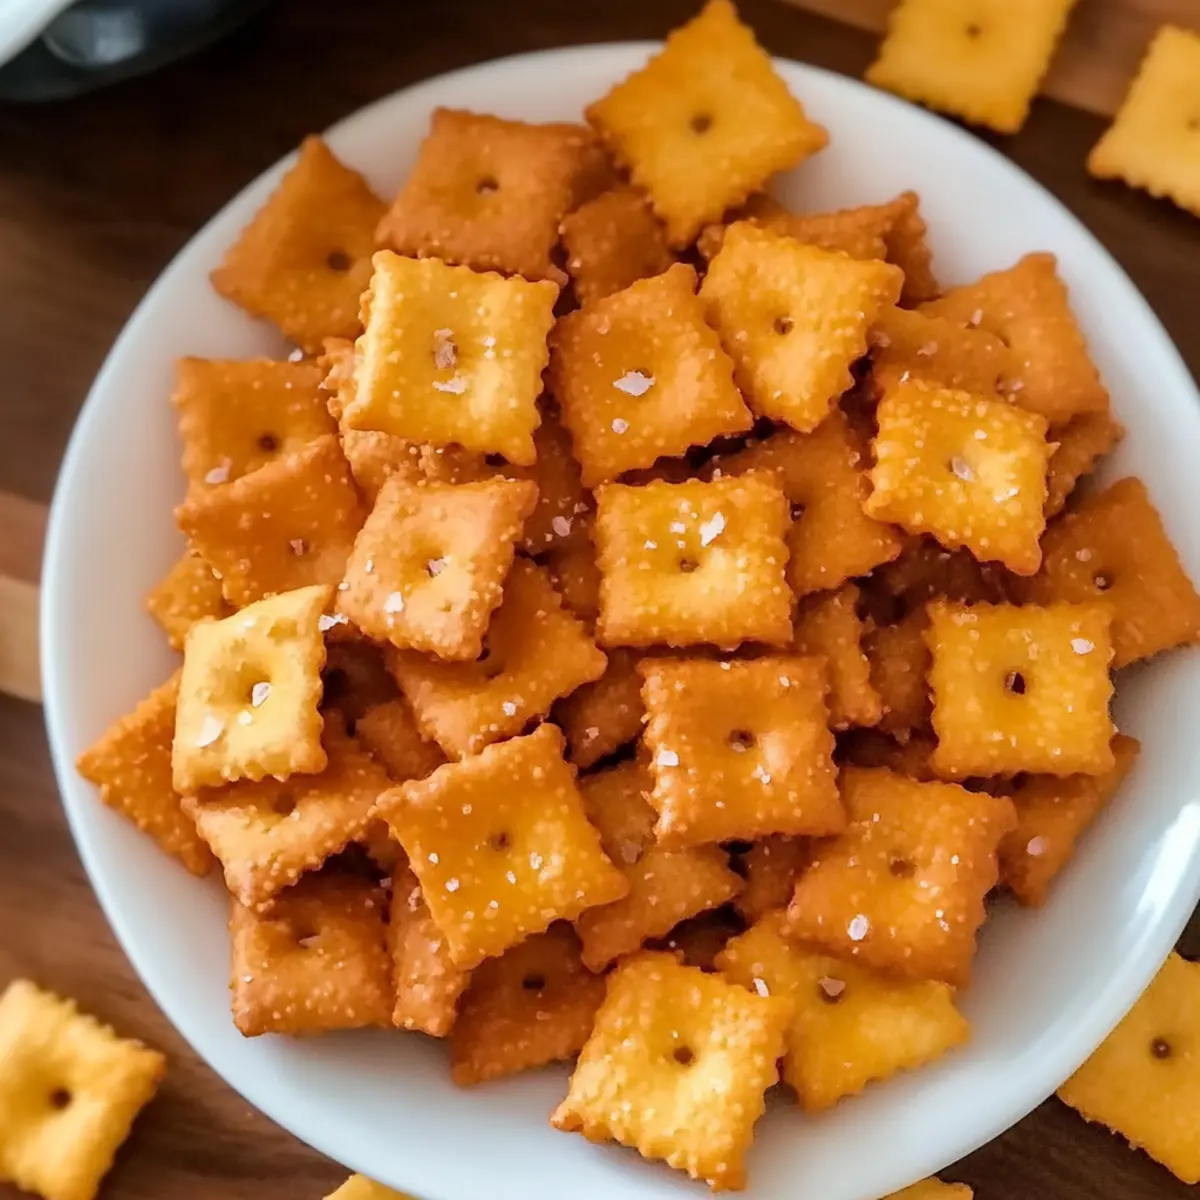
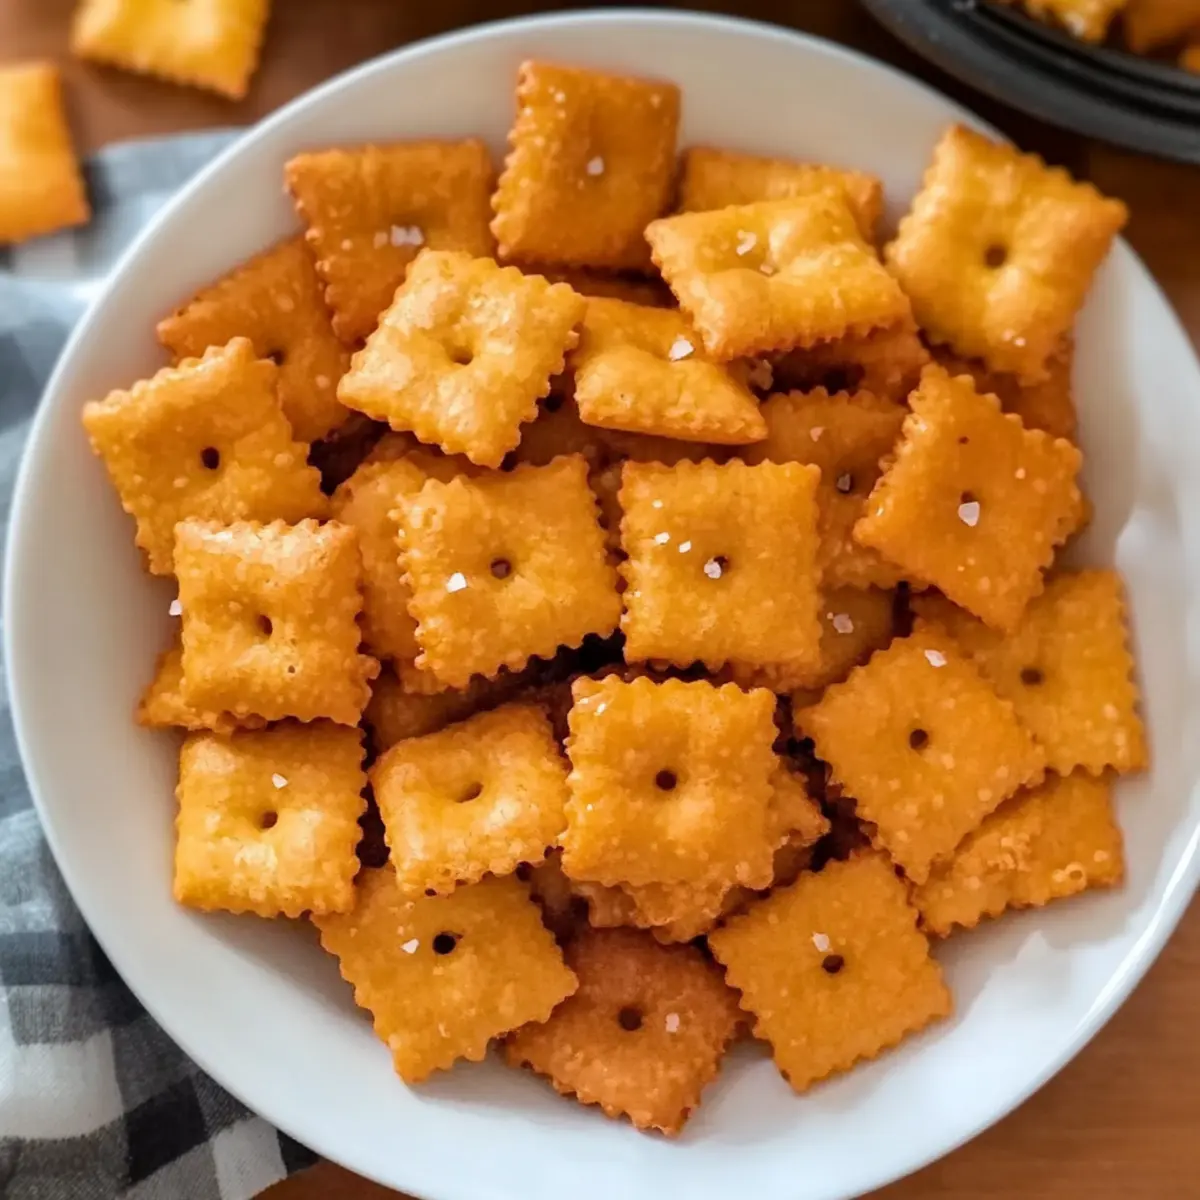
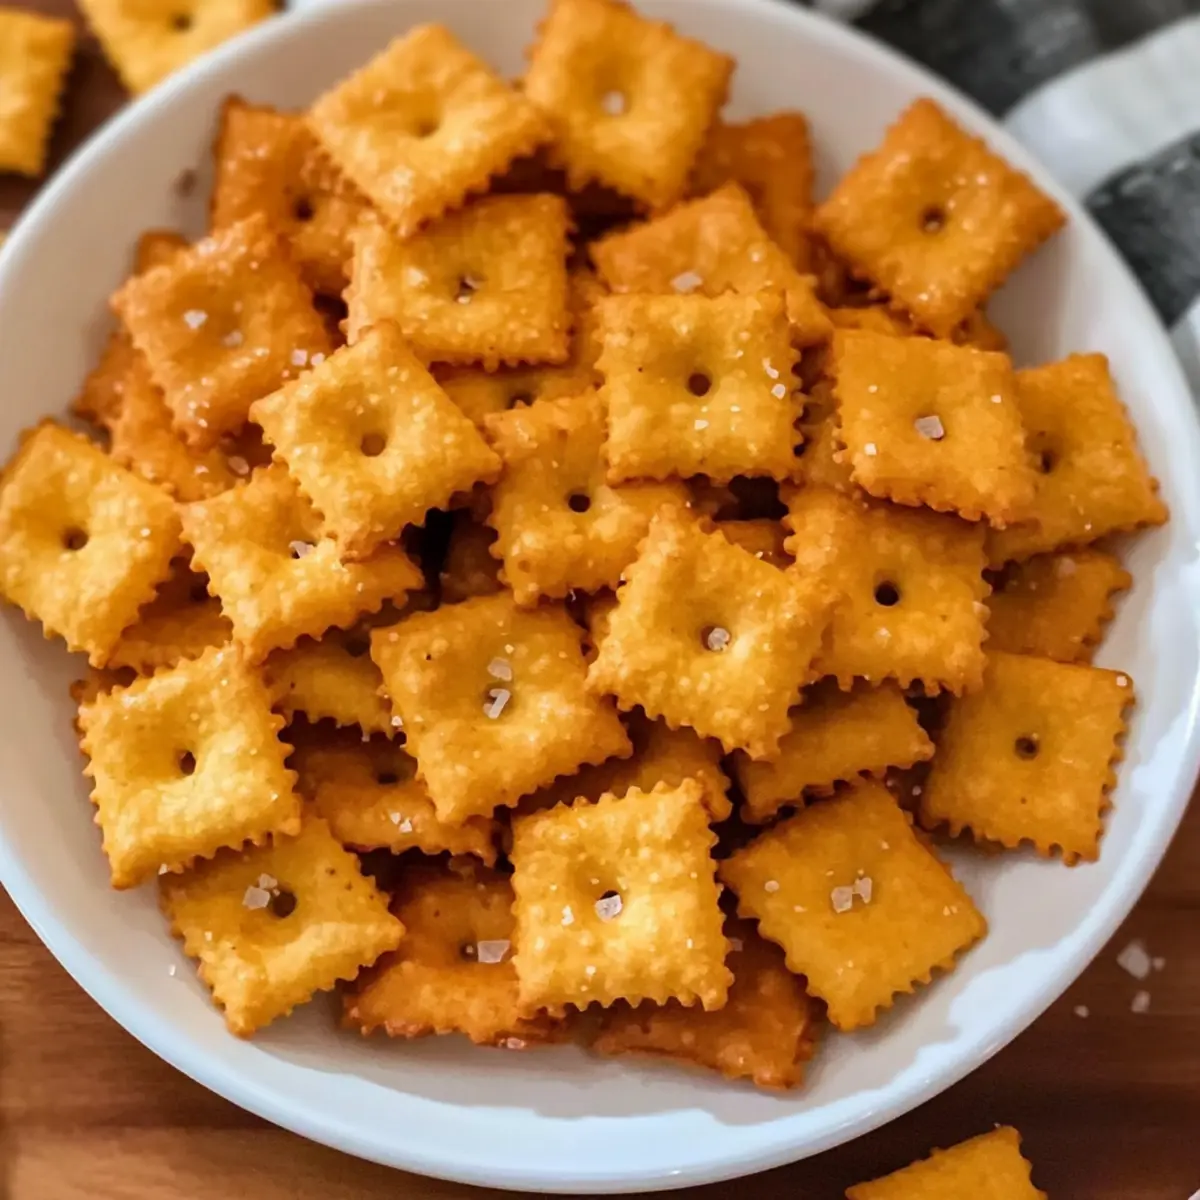
Once baked, remove the crackers from the oven and let them cool on the baking sheet for a few minutes. This cooling period allows them to firm up further and makes them easier to handle. Once cooled, transfer the homemade Cheez-Its to a serving dish; they are now ready to be enjoyed as a delightful snack!
Expert Tips for Homemade Cheez-Its
-
Fresh Cheese Matters: Use freshly shredded cheese for unbeatable flavor and texture; pre-shredded options can contain additives that affect quality.
-
Don’t Overmix: Avoid over-processing the dough once you add the liquid; this keeps your crackers light and crispy.
-
Even Thickness: Roll out the dough evenly to about 1/8 inch thick to ensure consistent baking and prevent chewy crackers.
-
Watch Closely: Keep an eye on your homemade Cheez-Its while they bake. They can turn from golden to burnt quickly, so check at the 12-minute mark.
-
Experiment with Flavors: Spice up your Cheez-Its by adding herbs or spices like garlic powder or smoked paprika to the dough for a unique twist.
Homemade Cheez-Its Variations & Substitutions
Feel free to make these homemade Cheez-Its your own with these scrumptious twists and swaps for the ultimate snack experience!
- Dairy-Free: Substitute the cheese with a plant-based cheese alternative and use coconut oil instead of butter for a delightful vegan option.
- Whole Grain: Swap all-purpose flour for whole wheat flour to add more fiber and a nuttier flavor, making them just a little healthier.
- Herbed Delight: Toss in some dried herbs like rosemary or thyme into the dough for an aromatic twist that brings a fresh garden vibe to each bite.
- Spicy Kick: Add a pinch of cayenne pepper or crushed red pepper flakes to the mix for a spicy Cheez-It that heats things up!
- Gourmet Touch: For a luxurious flavor, use aged cheddar or smoked Gouda in place of the sharp cheddar—you won’t believe the difference!
- Cheesy Mix-Up: Combine different cheeses like Pepper Jack for heat or Gruyère for a nutty flavor; feel free to experiment with your favorites.
- Sweet and Savory: For a unique flavor experience, drizzle a little honey or maple syrup on top before baking for a sweet twist that pairs wonderfully with the saltiness.
Want to explore more delightful homemade treats? Check out our Homemade Chocolate Chip cookies recipe, or indulge in our Homemade Black Forest cake for a sweet finish!
Make Ahead Options
These Homemade Cheez-Its are a fantastic option for meal prep enthusiasts! You can prepare the dough up to 24 hours in advance. Simply complete steps 1 through 3, then wrap the formed dough tightly in plastic wrap and refrigerate. When you’re ready to bake, take the dough out, roll it out, and cut it into squares as directed. To maintain that delightful crisp texture, ensure the dough stays sealed tightly in the fridge, preventing it from drying out. After baking, these crunchy snacks can last for up to 3 days in an airtight container at room temperature, allowing you to enjoy the freshness of homemade Cheez-Its with minimal effort throughout the week!
How to Store and Freeze Homemade Cheez-Its
Room Temperature: Store your Homemade Cheez-Its in an airtight container at room temperature for up to 3 days to maintain their crispiness.
Fridge: If you prefer longer storage, place them in the fridge in an airtight container for up to 1 week, but note that they may lose some crunchiness.
Freezer: For extended preservation, freeze the Cheez-Its in a freezer-safe bag or container for up to 3 months. Thaw them at room temperature for optimal texture.
Reheating: To revive their crispness, reheat the frozen Homemade Cheez-Its in a preheated oven at 350°F (175°C) for about 5-10 minutes. Enjoy these delightful snacks again!
What to Serve with Crispy Homemade Cheez-Its?
Enjoy the crunchy goodness of homemade Cheez-Its with delightful pairings that elevate your snacking experience!
- Creamy Spinach Dip: Perfectly balances the crunch with rich, herbaceous flavors that enhance every bite of Cheez-Its.
- Classic Tomato Soup: A warm, comforting option that pairs beautifully with the cheesy crackers—ideal for dipping and savoring.
- Guacamole Delight: The creamy, fresh avocado dip adds a zesty flair, making for an irresistible flavor combination.
- Herbed Cheese Spread: Complement the savory crunch of Cheez-Its with a spreadable cheese infused with herbs—great for entertaining!
- Chilled White Wine: A crisp Sauvignon Blanc or Chardonnay refreshes the palate, enhancing the Cheez-Its’ delicious flavors.
- Fresh Veggie Platter: Crunchy, colorful veggies give a refreshing contrast to the cheesy snacks, bringing vibrant textures to your table.
- Fruit Salad Medley: Sweet and juicy fruits provide a delightful contrast to the savory Cheez-Its, creating a perfect balance of flavors.
- Beer Pairing: A light lager or pale ale offers a crisp finish, perfect for enjoying with homemade Cheez-Its during game day.
- Chocolate Dessert: A small piece of dark chocolate after your cheesy snack contrasts beautifully, satisfying both salty and sweet cravings.
Homemade Cheez-Its Recipe FAQs
What type of cheese is best for homemade Cheez-Its?
Absolutely! For the richest flavor, I highly recommend using fresh sharp cheddar cheese. Avoid pre-shredded versions, as they contain anti-caking agents that can affect the texture and taste of your crackers. If you’re feeling adventurous, cheeses like Gouda or Pepper Jack can add a unique twist to your Cheez-Its!
How should I store my homemade Cheez-Its?
To maintain your Cheez-Its’ delightful crunch, store them in an airtight container at room temperature for up to 3 days. If you want to keep them fresh longer, you can refrigerate them in an airtight container for about a week, though they may lose some of their crispiness over time.
Can I freeze homemade Cheez-Its?
Definitely! To freeze your homemade Cheez-Its, ensure they are completely cooled, then place them in a freezer-safe bag or airtight container. They can be frozen for up to 3 months. When you’re ready to enjoy them, simply thaw them at room temperature. To regain their crispiness, pop them in a preheated oven at 350°F (175°C) for about 5-10 minutes.
What should I do if my Cheez-Its turn out chewy?
If you find that your homemade Cheez-Its are coming out chewy instead of crispy, it’s likely due to uneven rolling of the dough. Make sure to roll your dough to a consistent thickness of 1/8 inch before cutting. Additionally, keep an eye on them as they bake; overbaking can lead to dryness, while underbaking can result in chewiness. Aim for a beautiful golden color for the best textural result.
Can I make these Cheez-Its gluten-free or dairy-free?
Absolutely! For a gluten-free version, substitute the all-purpose flour with a gluten-free flour blend. If you want to make them dairy-free, you can use vegetable shortening instead of butter, and opt for a dairy-free cheese alternative. Play with different substitutions to find the perfect combo that suits your dietary needs!
What if I don’t have a food processor?
No worries! If you don’t have a food processor, you can use a pastry cutter or even your hands to mix the ingredients. Just make sure to thoroughly blend the cheese, flour, and butter until the mixture resembles a crumbly texture before adding the liquids. You can also use a mixing bowl along with a sturdy fork to help combine everything. It might take a little more time, but the results will be just as rewarding!
Crispy Homemade Cheez-Its: Your New Favorite Snack Delight
Ingredients
Equipment
Method
- Preheat your oven to 350°F (175°C).
- In a food processor, combine the shredded sharp cheddar cheese, all-purpose flour, salt, and unsalted butter. Pulse until crumbly.
- Gradually add cold water and a splash of milk until a smooth dough forms.
- Transfer the dough to a floured surface and roll it to 1/8 inch thick.
- Cut the rolled-out dough into 1-inch squares and poke holes in each square.
- Sprinkle with salt and place squares on a parchment-lined baking sheet.
- Bake for 12-15 minutes until golden brown and crispy.
- Let the crackers cool before transferring to a serving dish.