Advertisement
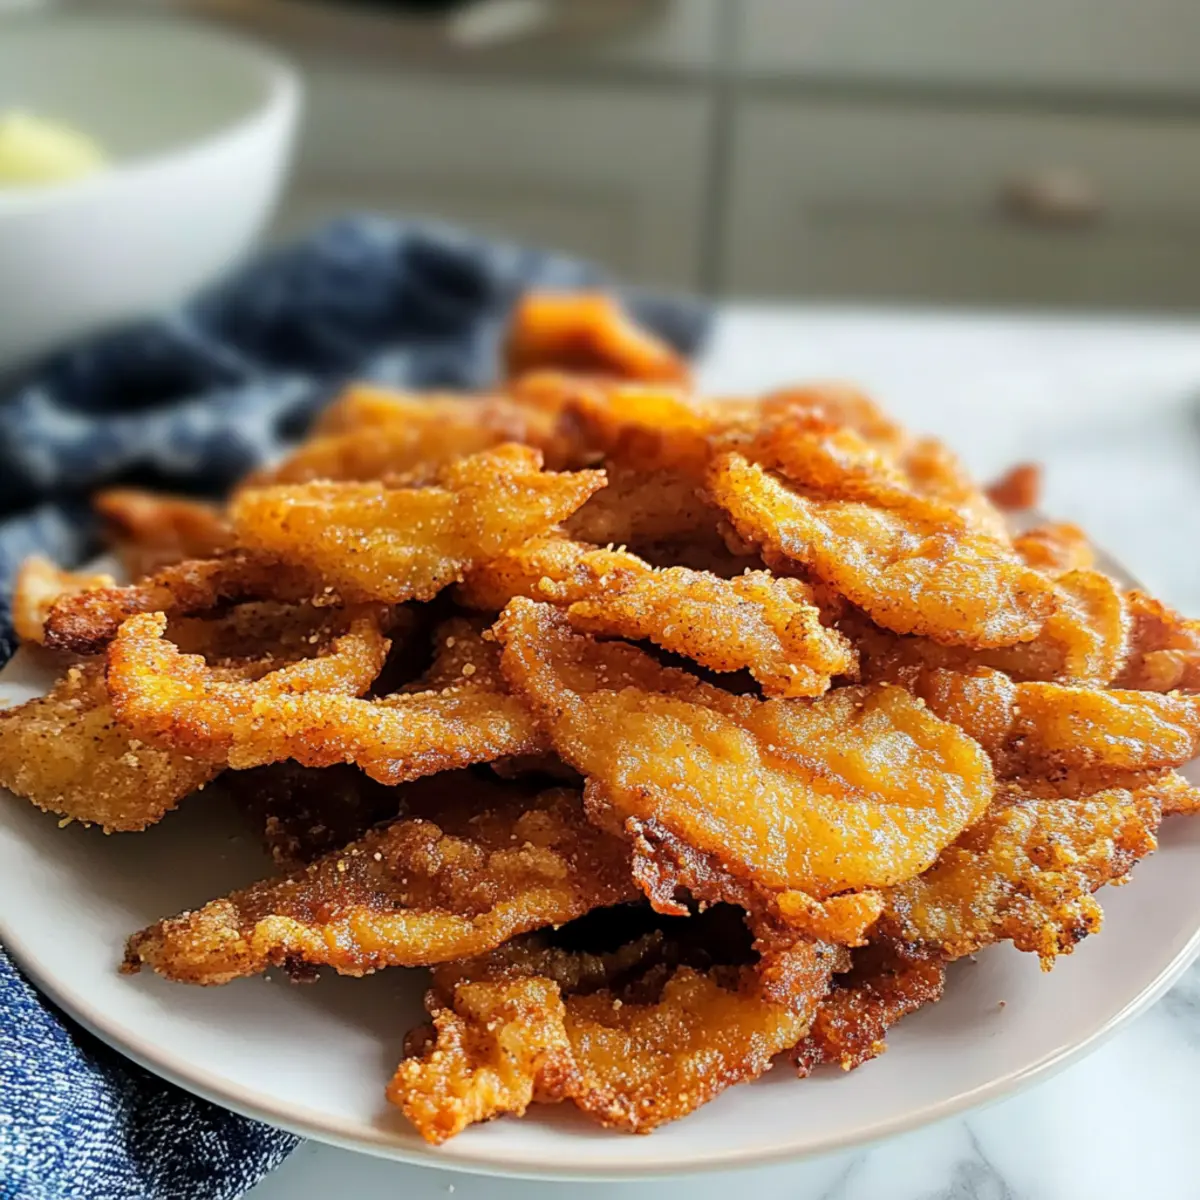
Craving something crunchy that doesn’t come from a bag? Let me share my secret weapon: Chicken Skin Chips. These delectable bites transform humble chicken skins into a savory snack that rivals any commercial chip—trust me, once you try them, you won’t look back! Perfectly crispy and satisfying, these chips not only fit beautifully into gluten-free and keto diets but also offer a quick and fun way to elevate your snacking game. They’re addictive on their own, but when paired with your favorite dips, they become a crowd-pleasing delight. Are you ready to enjoy a guilt-free indulgence that’s simple to whip up at home? Let’s dive into this delicious recipe and turn your kitchen into a snack haven!
Why Are Chicken Skin Chips Irresistible?
Crunchy Delight: These Chicken Skin Chips offer an incredible crunch that will satisfy your snacking cravings like no other.
Simplicity to Enjoy: With just a few ingredients and straightforward steps, you’ll whip up a tasty batch without hassle, perfect for busy nights!
Advertisement
Flavor Explosion: The combination of spices—like garlic powder and smoked paprika—creates a savory flavor profile that tantalizes your taste buds, elevating your snack game.
Versatile Pairings: Serve these chips solo or pair them with creamy dips like ranch or a spicy sriracha mayo for an ultimate flavor experience!
Keto-Friendly: Not only are they gluten-free, but they also fit perfectly into low-carb diets, making them a guilt-free treat anyone can enjoy.
Crowd Pleaser: Whether hosting a game night or relaxing at home, these chips are guaranteed to impress your guests—everyone will be asking for more!
Chicken Skin Chips Ingredients
• Excited to make your own Chicken Skin Chips? Let’s gather what you’ll need!
For the Chips
- Chicken Skins – The star ingredient! Choose skins from thighs or breasts, trimmed of extra fat for optimal crisping.
- Extra Virgin Olive Oil – Adds richness and helps achieve that perfect golden color; avocado oil works as a great substitute.
- Salt – Essential for enhancing flavor; feel free to adjust according to your taste.
- Garlic Powder – Brings a depth of savory notes to each bite.
- Smoked Paprika – Adds a subtle smokiness and vibrant color; swap with sweet paprika if you prefer a milder taste.
- Onion Powder – Complements the garlic, adding a lovely savory complexity.
- Black Pepper – Delivers a mild heat; using freshly ground is highly recommended for best results.
- Cayenne Pepper – Optional for those who enjoy a bit of heat; it will give your chips an extra kick!
Enjoy making these Chicken Skin Chips, a crispy snack experience you won’t forget!
Step‑by‑Step Instructions for CHICKEN SKIN CHIPS
Step 1: Preheat the Oven
Begin by preheating your oven to 375°F (190°C). While it warms up, take a baking sheet and line it with parchment paper or aluminum foil for easy cleanup. Then, place a wire rack on top of the sheet; this will allow your chicken skin chips to become perfectly crispy by promoting even air circulation as they bake.
Step 2: Prepare the Chicken Skins
Pat the chicken skins dry thoroughly with paper towels to remove excess moisture, which is key to achieving a crunchy texture. Spread the skins out on a clean surface or cutting board, ensuring there are no wrinkles or folds, as this will help them crisp uniformly in the oven.
Step 3: Mix the Spices
In a medium-sized mixing bowl, combine salt, garlic powder, smoked paprika, onion powder, black pepper, and cayenne pepper if you’re feeling adventurous. Stir these spices together until they’re well blended. This aromatic mix will infuse your chicken skin chips with a delicious flavor, elevating this simple snack into something truly enjoyable.
Step 4: Coat the Chicken Skins
Drizzle extra virgin olive oil over the chicken skins in the bowl, then add your spice blend. Using your hands or a spatula, toss everything gently but thoroughly until each piece of chicken skin is evenly coated with oil and spices. This step ensures that every bite of your chicken skin chips is bursting with flavor.
Step 5: Arrange the Skins on the Rack
Carefully place the seasoned chicken skins on the wire rack in a single layer, leaving enough space between each piece to avoid any overlapping. This spacing is crucial for achieving the desired crispness, so make sure they aren’t crowded together.
Step 6: Bake to Perfection
Slide your baking sheet into the preheated oven, and bake for 25-30 minutes. Keep an eye on your chips, especially towards the end, as they should turn a beautiful golden-brown color and be crispy to the touch. If not using a wire rack, consider flipping the skins halfway through to ensure even cooking.
Step 7: Drain and Cool
Once your chicken skin chips are golden and crispy, carefully remove the baking sheet from the oven. Transfer the chips onto a plate lined with paper towels to drain any excess fat. Allow them to cool for a few minutes; this will help them become even crunchier as they sit.
Step 8: Serve and Enjoy
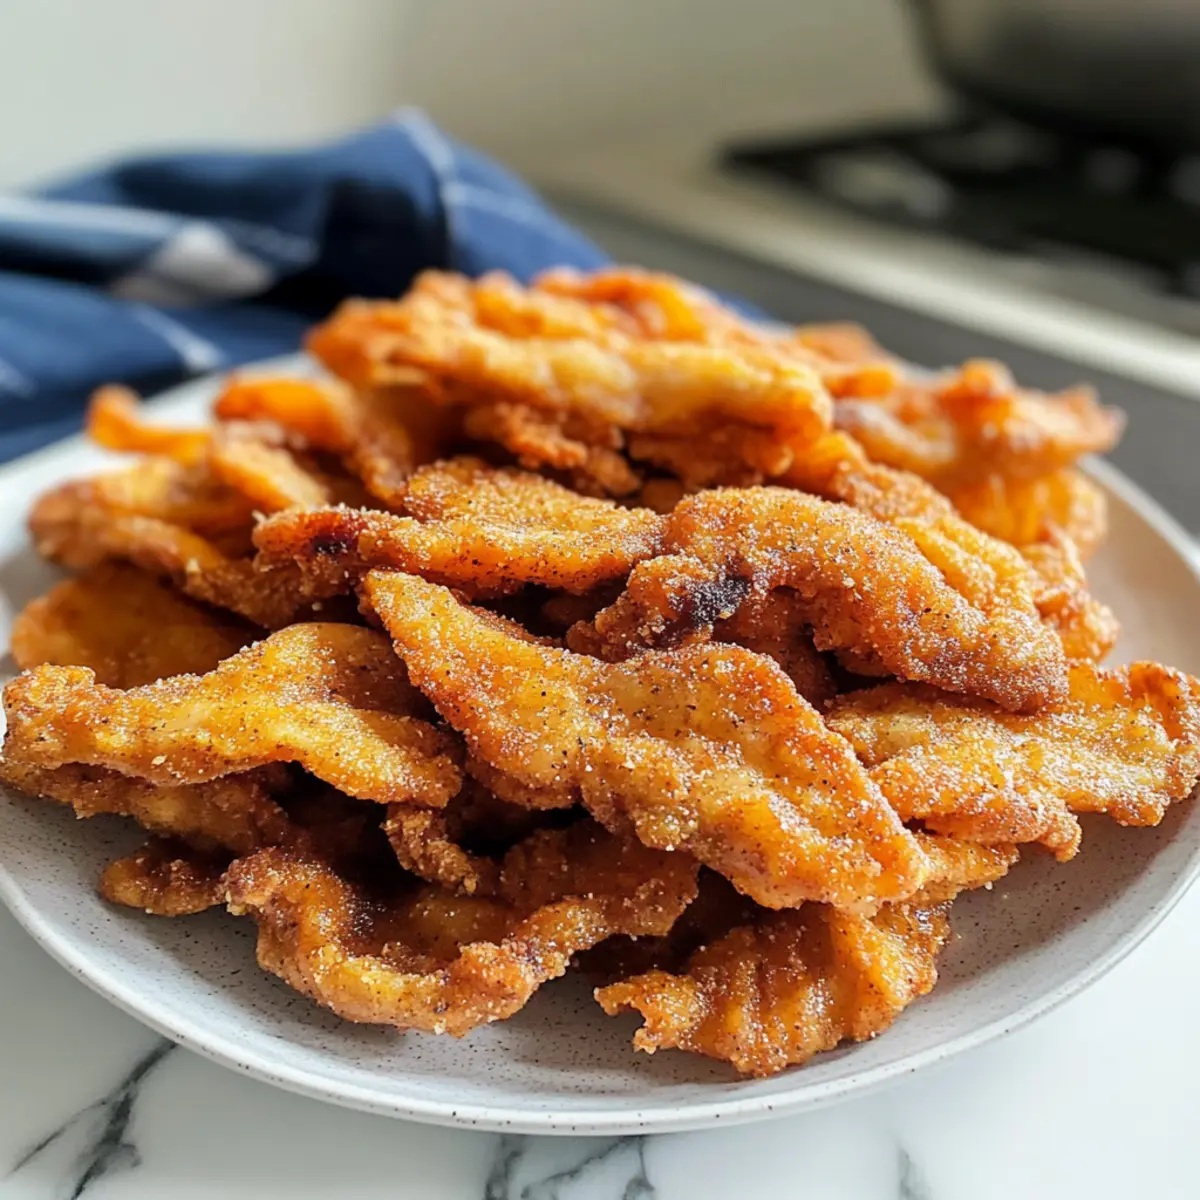
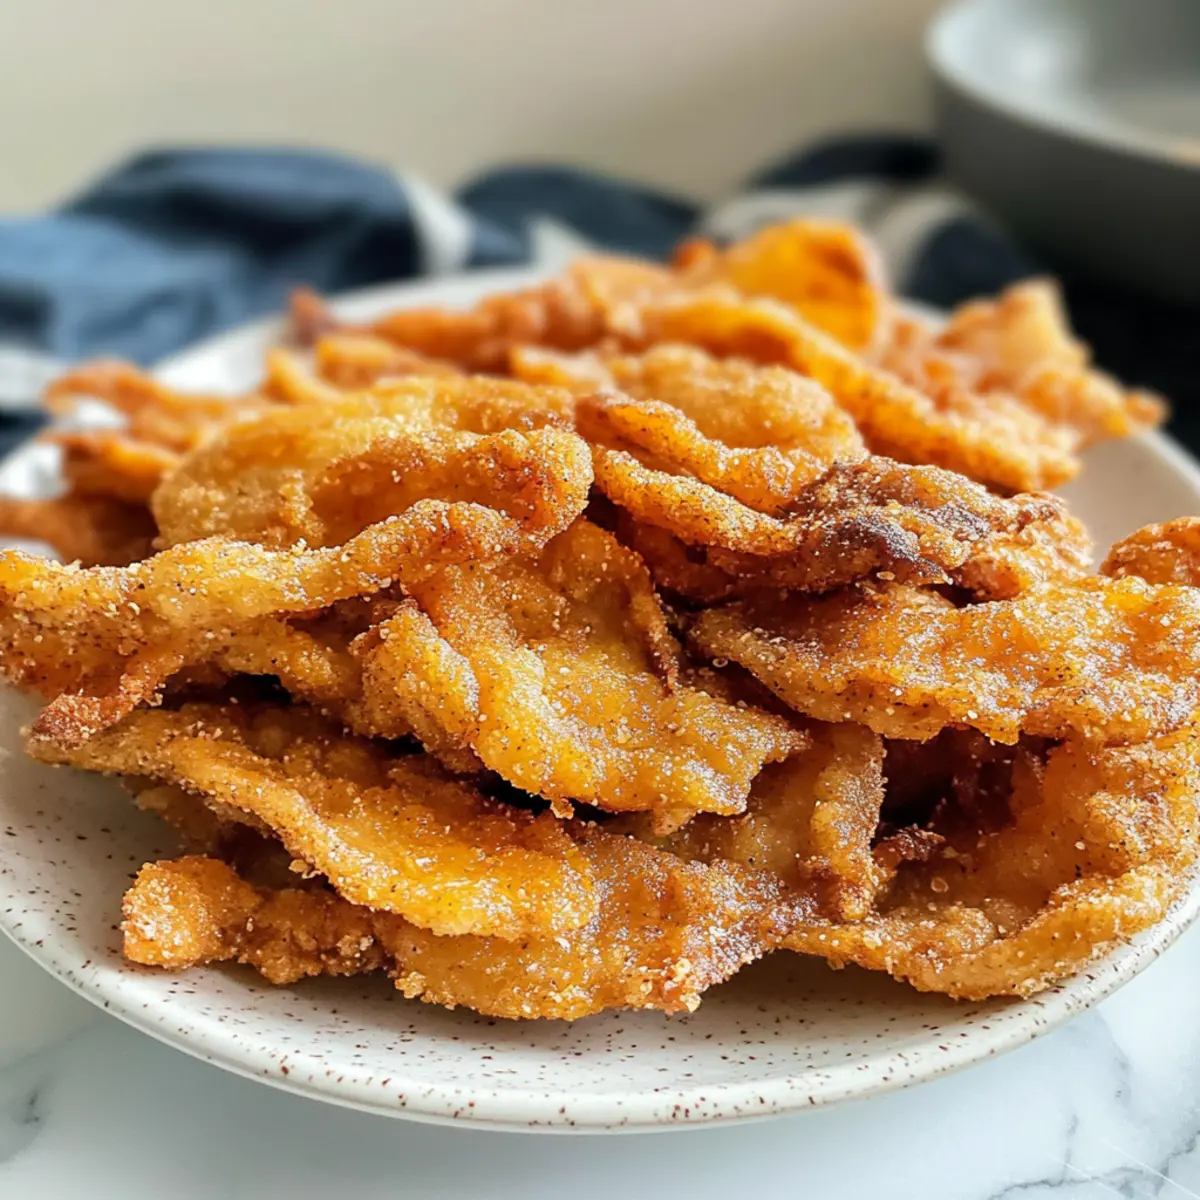
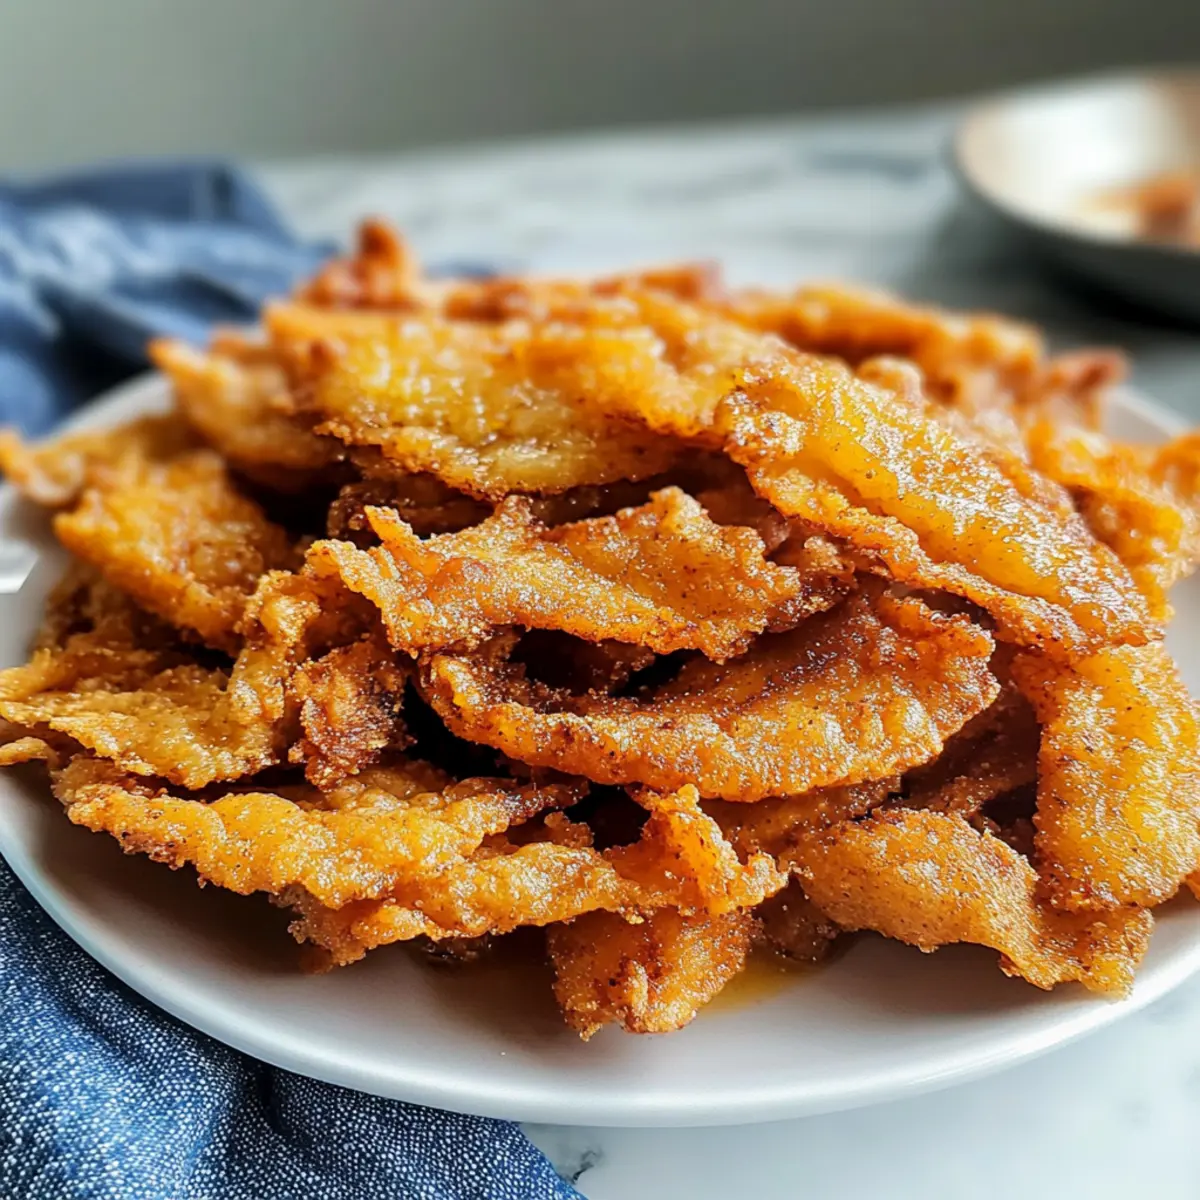
These delectable chicken skin chips can be enjoyed on their own or paired with your favorite dips for an indulgent snack experience. Whether you’re serving them at a gathering or enjoying them on a cozy night in, these crispy chicken skin chips are sure to impress!
Expert Tips for Chicken Skin Chips
Dry Well: Make sure to pat the chicken skins thoroughly dry with paper towels, as excess moisture can prevent them from achieving that delightful crunch.
Watch the Time: Keep a close eye on your chips during the final minutes of baking; they can quickly shift from perfectly golden to overdone, which is a common mistake.
Cooling Matters: Don’t rush to eat your chicken skin chips right out of the oven! Letting them cool on a paper towel-lined plate helps enhance their crispiness.
Single Layer: Spread the chicken skins in a single layer on the wire rack without overlapping to avoid steaming. Steamed skins will turn chewy, not crispy.
Spice It Up: Feel free to experiment with different spices or herbs; adding chili powder or Italian seasoning can transform your chicken skin chips into a new flavor experience.
What to Serve with Chicken Skin Chips?
Get ready to create a satisfying spread that complements your crunchy Chicken Skin Chips beautifully!
-
Creamy Ranch Dip: With its cool, herbaceous flavor, this classic dip balances the saltiness of the chips for a delightful pairing. Each bite offers a perfect contrast that enhances snack time.
-
Spicy Sriracha Mayo: The kick of heat from the sriracha mingles beautifully with the rich texture of the chips, turning your snack into a daring flavor adventure. This easy mixture is both zesty and addictive!
-
Guacamole: Creamy and fresh, guacamole adds a smooth texture to the crunch of the chips. The buttery avocado enhances every bite, making it a loved addition for many.
-
Tzatziki Sauce: This yogurt-based dip introduces a cool, tangy flavor that refreshes your palate while enjoying the savory chips. Perfect for those who enjoy bright, Mediterranean notes.
-
Caprese Salad: A simple salad of fresh tomatoes, basil, and mozzarella offers a burst of freshness that complements the chips perfectly, making for a well-rounded meal.
-
Olive Tapenade: The complexity of olives and capers provides a delightfully briny contrast to the chicken chips. This spread brings a sophisticated touch to your snacking experience.
-
Ice-Cold Beer: A crisp lager or pale ale beautifully balances the rich flavors of the chips, providing a satisfying refreshment. The bubbles enhance every crunchy bite!
-
Dark Chocolate Bark: For a unique sweet contrast, the slight bitterness of dark chocolate works wonders with the salty chicken skin chips. It’s an unexpected treat that will impress your taste buds!
Storage Tips for Chicken Skin Chips
Room Temperature: Store your chicken skin chips in an airtight container at room temperature for up to 2 days for optimal freshness and crunch.
Fridge: If you have leftovers, keep them in an airtight container in the fridge for up to 3-4 days. Reheat in the oven or air fryer to restore their delicious crispiness.
Freezer: For longer storage, freeze the chips in a single layer on a baking sheet, then transfer to a freezer-safe bag or container. They can last up to 2 months; reheat directly from frozen.
Reheating: To revitalize the crispy texture, reheat your chicken skin chips in a preheated oven at 375°F (190°C) for about 5-7 minutes, checking frequently until they’re hot and crispy again.
CHICKEN SKIN CHIPS Variations
Customize your Chicken Skin Chips for a delightful twist that will awaken your taste buds and keep snack time exciting!
-
Spicy Kick: Add more cayenne or a dash of your favorite hot sauce before baking for a fiery version that packs a punch. Enjoy the warming heat from the first bite!
-
Herb-Infused: Toss in dried herbs like rosemary or thyme to the spice mixture for an aromatic, earthy flavor that beautifully complements the savory skins. It’s a Mediterranean spin you won’t regret!
-
Cheesy Delight: Sprinkle grated Parmesan cheese over the chips during the last few minutes of baking for a rich, cheesy flavor that elevates these chips to a whole new level. Imagine those melty morsels enhancing each crunch!
-
Sweet & Savory: Try adding a touch of brown sugar or honey to the spice mix for a sweet twist that balances the saltiness, creating a deliciously addictive contrast. Trust me, this combo will surprise you!
-
Smoky BBQ: Substitute smoked paprika with a BBQ seasoning blend for a smokier flavor profile that makes these chips reminiscent of backyard barbeques. They’re perfect for summer vibes anytime!
-
Asian Flair: Mix in sesame oil and a sprinkle of five-spice powder to the skins before baking for an Asian-inspired flavor that’s uniquely delicious. Pair with a soy dipping sauce for a flavorful twist!
-
Nutty Crunch: Add coarsely chopped nuts, like walnuts or pecans, to the seasoning mix for extra texture and a nutty flavor that will make your chips even more irresistible. This adds a delightful crunch with every bite!
-
Zesty Lemon: Brighten up your chips by adding lemon zest to the spice blend for a refreshing citrusy flavor. It’s a perfect surprise after the crispy crunch!
For more delicious chicken ideas, don’t forget to check out my recipe for Cheesy Chicken Roll or get inspired by the comforting taste of Oven Baked Chicken. Enjoy the endless possibilities!
Make Ahead Options
These Chicken Skin Chips are a fantastic option for meal prep! You can season and prepare the chicken skins up to 24 hours in advance by following the first three steps of the recipe. After patting the skins dry and mixing them with olive oil and spices, simply cover the bowl with plastic wrap and refrigerate. This allows the flavors to meld while keeping the skins fresh. When you’re ready to enjoy your crispy snack, just spread the seasoned skins on a wire rack and bake according to the instructions. By preparing ahead, you not only save time but also ensure that your chicken skin chips are just as delicious as if made fresh!
Chicken Skin Chips Recipe FAQs
How do I choose the best chicken skins for my chips?
Absolutely! When selecting chicken skins, opt for skins from thighs or breasts as they tend to have a better texture for crisping. Make sure they’re cleaned of excess fat, which can cause them to become chewy instead of crispy. Look for skins that are pale and fresh, avoiding any that exhibit dark spots or a funky smell.
How should I store my Chicken Skin Chips after making them?
To maintain their crunch, store your chicken skin chips in an airtight container at room temperature for up to 2 days. If you’d like them to last longer, you can refrigerate them for up to 3-4 days. Just remember, they lose their crunch over time, so enjoy them fresh whenever possible!
Can I freeze Chicken Skin Chips for later use?
Yes! If you want to freeze your chicken skin chips, first arrange them in a single layer on a baking sheet and place them in the freezer until they’re solid. Once frozen, transfer them to a freezer-safe bag or container, and they can last up to 2 months. When you’re ready to enjoy them again, simply reheat them directly from the freezer in the oven at 375°F (190°C) for about 5-7 minutes, checking often until they’re hot and crispy!
What should I do if my Chicken Skin Chips aren’t crispy?
Very! If your chips didn’t turn out crispy, it’s likely due to excess moisture. Make sure to pat the chicken skins dry thoroughly before baking. Additionally, avoid overcrowding on the baking tray, which can trap steam. If you baked them but they still lack crunch, consider baking them for a few more minutes or checking the oven’s temperature to ensure it’s accurate.
Are Chicken Skin Chips suitable for my dietary restrictions?
Yes, chicken skin chips are a wonderful snack for gluten-free and keto diets, as they contain no carbohydrates. However, it’s always smart to check the labels on your spices and ingredients for any hidden gluten or additives if you’re extremely sensitive. Additionally, if you have dietary restrictions due to allergies, ensure that none of the spices you’re using cause issues for you.
Can I use different flavors for my Chicken Skin Chips?
Absolutely! These chicken skin chips are very versatile. You can experiment with various spices such as chili powder for heat, or even Italian herbs for a Mediterranean twist. Each variation can bring a delightful new flavor to your chips, so feel free to get creative while seasoning!
Crispy Chicken Skin Chips: Your New Favorite Keto Snack
Ingredients
Equipment
Method
- Preheat your oven to 375°F (190°C). Line a baking sheet with parchment paper or aluminum foil and place a wire rack on top.
- Pat the chicken skins dry with paper towels to remove excess moisture. Spread them on a clean surface without wrinkles.
- In a mixing bowl, combine salt, garlic powder, smoked paprika, onion powder, black pepper, and cayenne pepper. Mix well.
- Drizzle olive oil over the chicken skins and add the spice blend. Toss until well coated.
- Arrange the seasoned chicken skins in a single layer on the wire rack.
- Bake for 25-30 minutes until golden brown and crispy. Watch closely to avoid burning.
- Remove from the oven and transfer to a paper towel-lined plate to drain excess fat. Cool for a few minutes.
- Serve the chicken skin chips on their own or with your favorite dips.