Advertisement
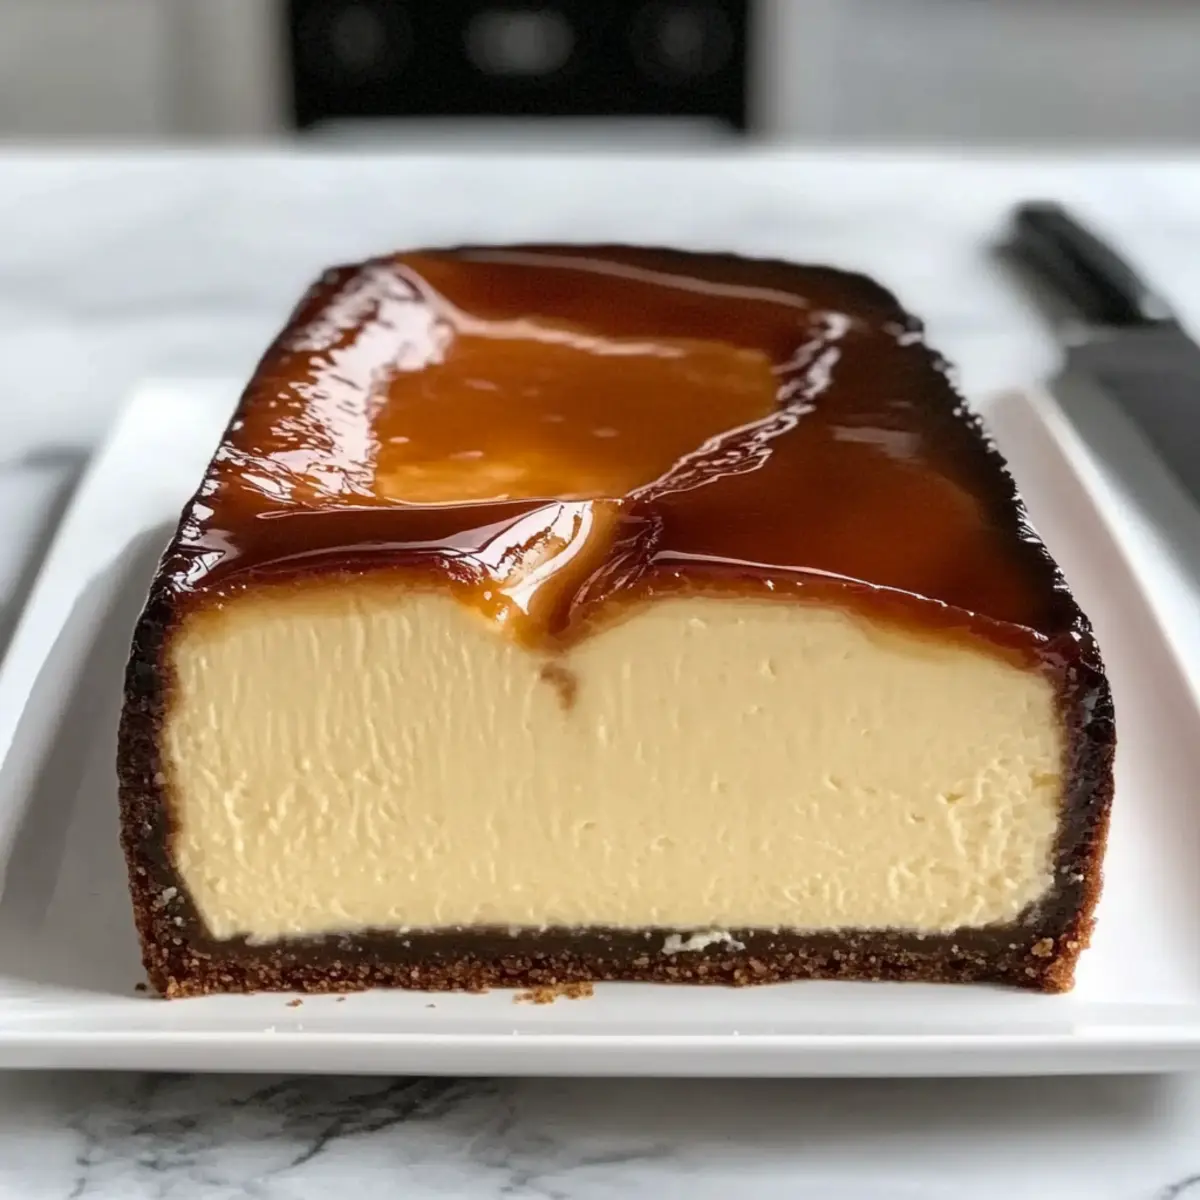
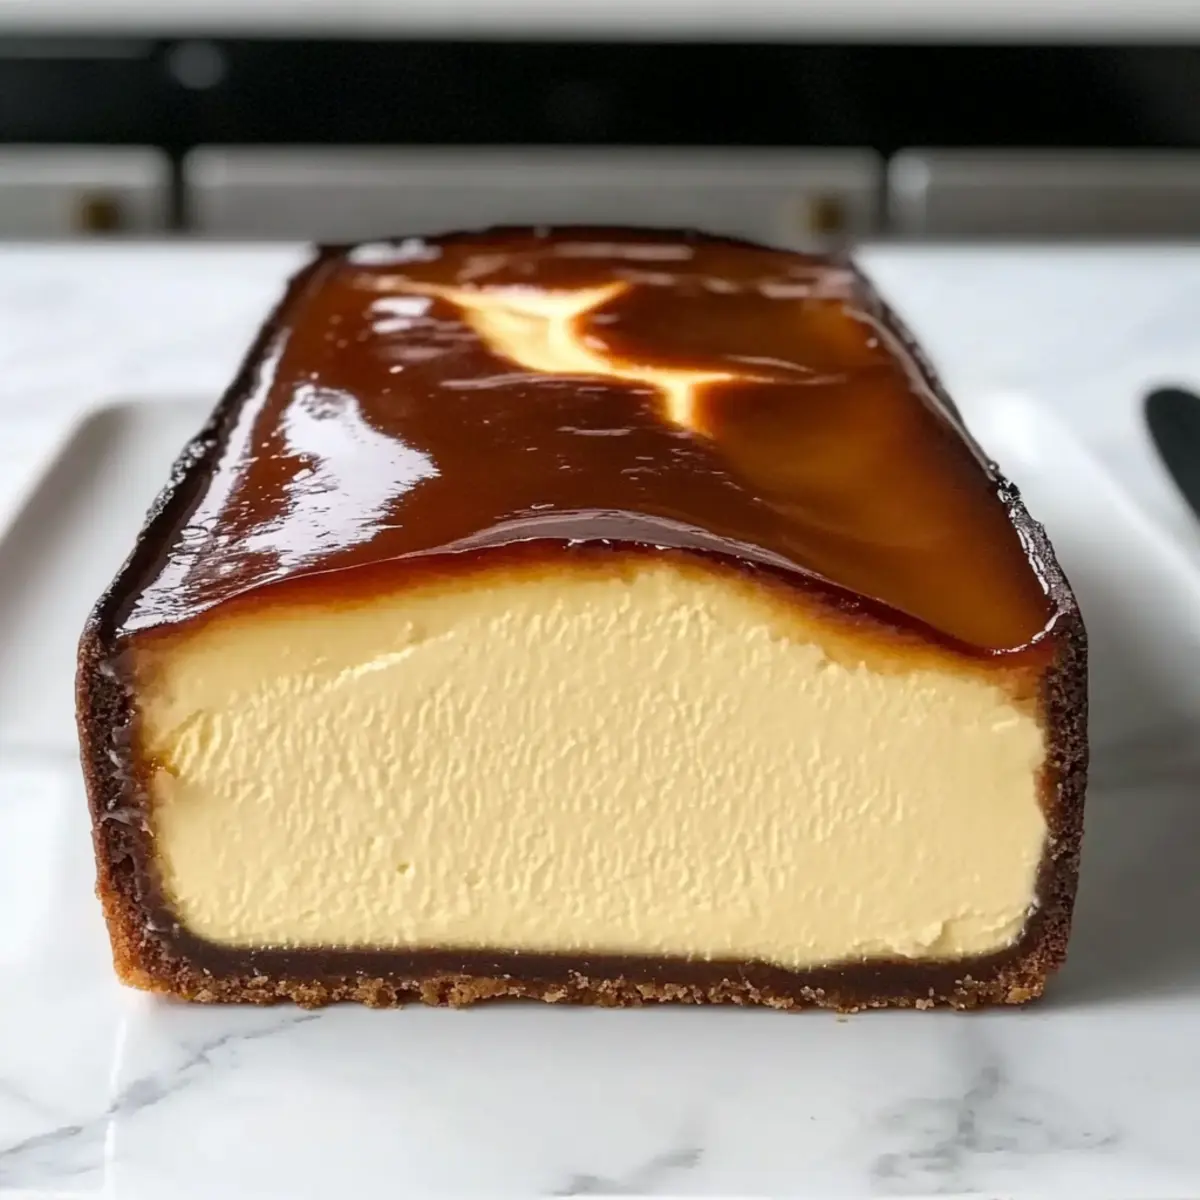
The moment the oven door opens, a warm, caramelized aroma wraps around you like a cozy blanket, signaling the arrival of my beloved Burnt Basque Cheesecake. This isn’t just any cheesecake; it boasts a beautifully charred top that hides a luxuriously creamy, custard-like center, perfect for impressing guests or simply treating yourself. What I adore about this recipe is its effortless preparation—ideal for busy weeknights or casual gatherings, it delivers a stunning dessert with minimal effort. Plus, it’s gluten-free friendly with simple substitutions, making it accessible to everyone at the table. Whether enjoyed at room temperature or chilled, each slice promises a delightful contrast between the velvety filling and the slightly crispy outer layer. Are you ready to ditch the store-bought desserts and whip up a showstopper that’s as satisfying to make as it is to eat?
Why is this cheesecake so special?
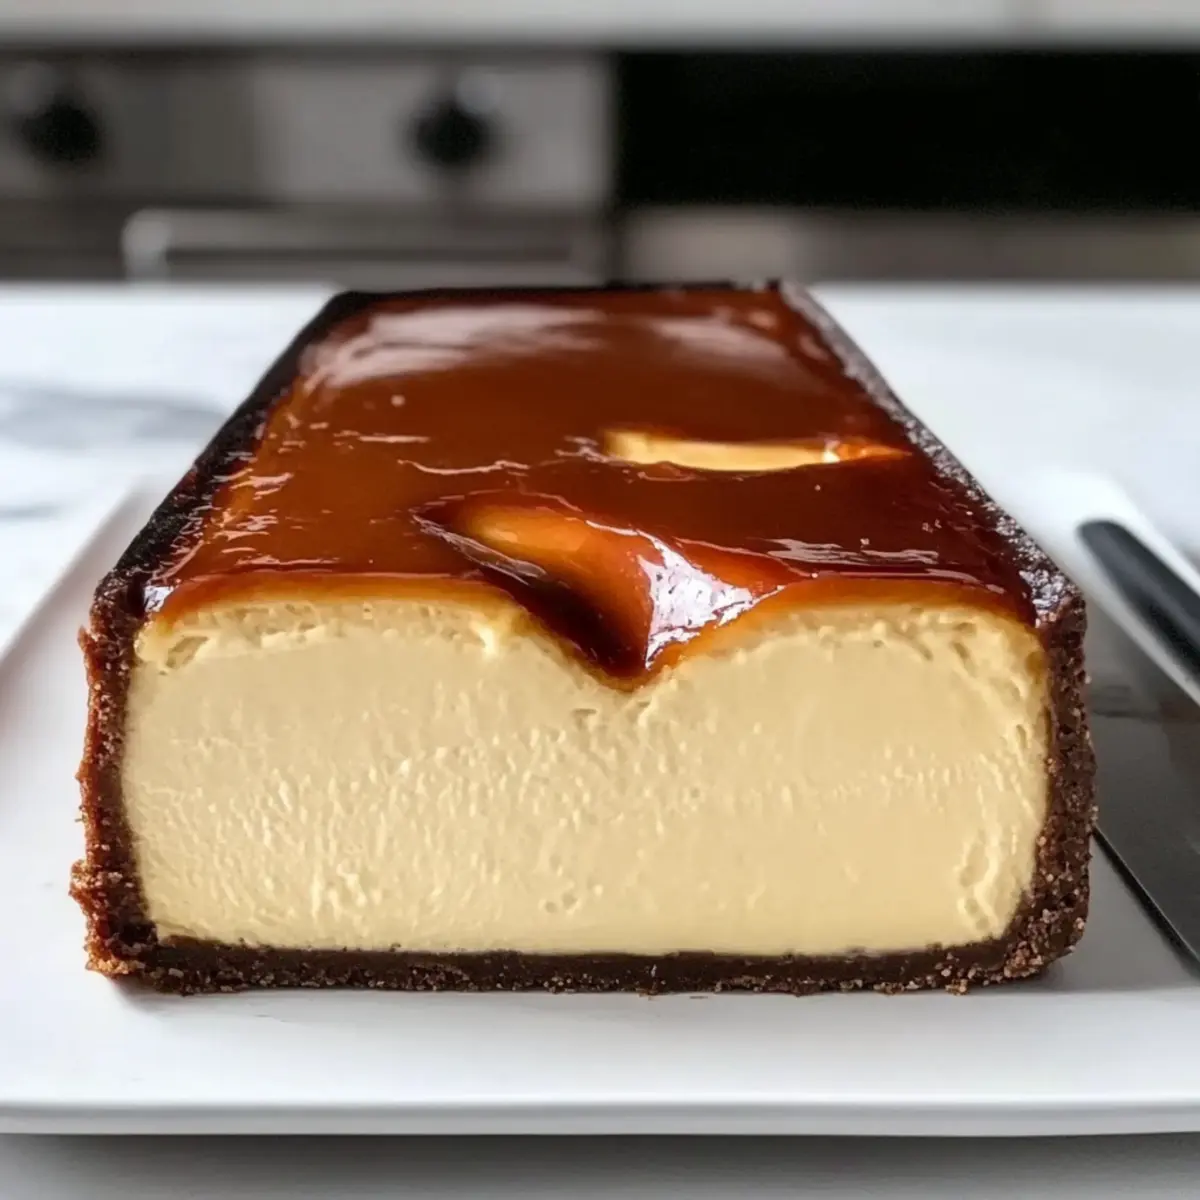
Unforgettable Flavor: The Burnt Basque Cheesecake offers a unique blend of a caramelized, crunchy top and a pillowy creamy center that tempts your taste buds.
Effortless Preparation: You’ll be amazed at how easy it is to whip up this dessert with minimal ingredients and equipment—perfect for the busy home cook!
Advertisement
Versatile Serving: Whether you prefer it chilled or at room temperature, this cheesecake is delightful in any setting. Each slice pairs wonderfully with fresh berries, creating a luxurious dessert experience.
Diet-Friendly Options: With simple substitutions, you can easily make this a gluten-free delight without sacrificing texture or taste!
Crowd-Pleaser: Impress your family and friends—this cheesecake will steal the show at your next gathering, just like my Chocolate Chip Cheesecake always does.
Burnt Basque Cheesecake Ingredients
• For the Cheesecake
- Full-Fat Cream Cheese – This ingredient is essential for achieving that rich and creamy texture. Avoid low-fat options unless necessary, as they can compromise smoothness.
- Granulated Sugar – Sweetens the cheesecake while helping to create a delightful caramelized top that contrasts beautifully with the creamy filling.
- Large Eggs (3) – Provide structure and a velvety richness; ensure they are well beaten for a smooth mixture.
- All-Purpose Flour (1/4 cup) – Adds a bit of structure to your cheesecake; you can easily swap this for a gluten-free flour blend if needed.
- Salt (1 pinch) – This tiny amount enhances the overall flavor profile.
- Vanilla Extract (1 teaspoon) – Infuses the cheesecake with warmth and aromatic flavor.
Feel free to gather these ingredients and prepare yourself for a delightful baking adventure as you create the irresistible Burnt Basque Cheesecake!
Step‑by‑Step Instructions for Burnt Basque Cheesecake
Step 1: Prep Loaf Pan
Preheat your oven to 400°F (200°C). While the oven heats, lightly butter a 9×5 inch loaf pan to ensure easy removal later. Next, line the pan with parchment paper, leaving some overhang to assist with lifting the cheesecake out once it’s baked.
Step 2: Mix Cream Cheese and Sugar
In a mixing bowl, beat the full-fat cream cheese using an electric mixer until it becomes smooth and creamy. Gradually mix in granulated sugar until it is fully incorporated and the mixture is fluffy, resembling a silky cloud. This will be the base of your rich Burnt Basque Cheesecake.
Step 3: Add Eggs
Crack the large eggs into the mixing bowl, one at a time. Make sure to mix well after each addition, ensuring each egg is fully incorporated before adding the next. This step is crucial for achieving the cheesecake’s luxurious, custard-like texture.
Step 4: Fold in Dry Ingredients
Gently sift the all-purpose flour, salt, and vanilla extract into the creamy mixture. Using a spatula, carefully fold these dry ingredients into the batter until just combined, allowing for a slightly lumpy texture. Avoid over-mixing to keep the cheesecake light and fluffy.
Step 5: Bake
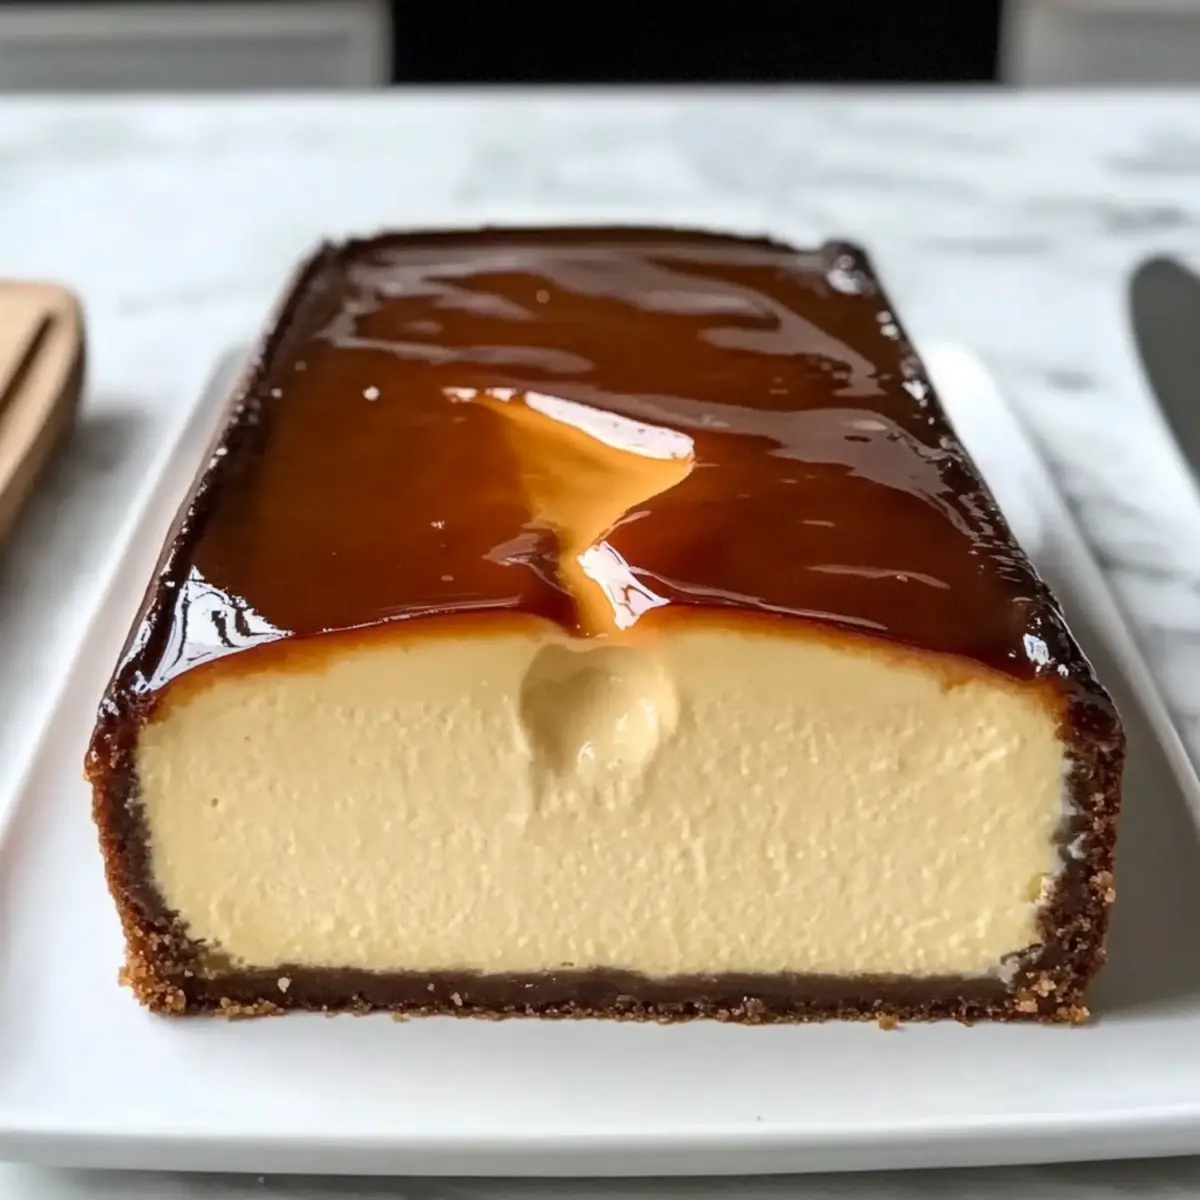
Pour the creamy batter into your prepared loaf pan, smoothing out the top with a spatula. Place it in the preheated oven and bake for approximately 45 minutes, or until the top is deeply golden and the center jiggles slightly. This contrasting texture is what makes the Burnt Basque Cheesecake so special.
Step 6: Cool and Chill
Once baked, remove the cheesecake from the oven and allow it to cool at room temperature for about 30 minutes. After cooling, transfer it to the refrigerator, covering loosely, for at least 4 hours, ideally overnight. This chilling step enhances the flavor and allows the cheesecake to firm up properly.
Step 7: Serve
To serve your delightful Burnt Basque Cheesecake, carefully lift it out of the loaf pan using the parchment paper overhang. Slice into wedges and plate your servings, enjoying them chilled or at room temperature. Pairing with fresh berries or a drizzle of caramel will elevate your dessert experience even further.
What to Serve with Creamy Burnt Basque Cheesecake
Elevate your dessert experience with delightful pairings that enhance the creamy richness and caramelized layers of this stunning cheesecake.
-
Fresh Berries: Their tartness beautifully contrasts the sweet, creamy cheesecake, adding a vibrant touch with each bite.
-
Whipped Cream: Light and airy, a dollop of freshly whipped cream adds a luxurious texture, perfect for balancing the rich flavors.
-
Caramel Sauce: A drizzle of warm caramel enhances the cheesecake’s delightful layers, providing a decadent sweetness that’s simply irresistible.
-
Dark Chocolate Shavings: The slight bitterness of dark chocolate complements the cheesecake’s flavors, adding a gourmet touch to each slice.
Pair these with a glass of Prosecco: Bubbles cleanse the palate, enhancing the creamy richness of the cheesecake and elevating your dining experience.
- Espresso: A strong, rich espresso balances the sweetness, making each bite of the cheesecake even more satisfying.
For a unique twist, try serving with toasted nuts: Their crunch adds a textural contrast, bringing a delightful nutty flavor to every forkful.
Indulge in these options for an unforgettable dessert experience that transforms your Burnt Basque Cheesecake into a show-stopping finale.
Make Ahead Options
These delicious Burnt Basque Cheesecake bites are perfect for meal prep enthusiasts! You can prepare the batter up to 24 hours in advance, storing it in an airtight container in the refrigerator to maintain its creamy texture. Alternatively, you can bake the cheesecake and refrigerate it for up to 3 days, which allows the flavors to develop even further. Just ensure that it is wrapped tightly to prevent drying out. When ready to serve, simply slice the chilled cheesecake and enjoy, or let it sit at room temperature for about 30 minutes for a softer texture. With these make-ahead tips, you’ll have a stunning dessert ready with minimal fuss, making weeknight entertaining a breeze!
Burnt Basque Cheesecake Variations
Feel free to explore your creativity with these delightful twists on my beloved Burnt Basque Cheesecake, making it even more satisfying!
-
Gluten-Free: Substitute all-purpose flour with a gluten-free blend for a smooth, inclusive treat everyone will enjoy.
-
Chocolate Swirl: Melt dark chocolate and swirl it into the cheesecake batter for a rich and decadent variation that chocolate lovers will adore.
-
Citrus Zest: Add zest from oranges or lemons to the batter for a bright, refreshing enhancement that elevates the cheesecake’s flavors.
-
Savory Twist: Incorporate a pinch of sea salt and a sprinkle of crushed pistachios on top for a unique sweet-and-salty experience that surprises the palate.
-
Mini Cheesecakes: Use a muffin tin instead of a loaf pan for single-serving mini cheesecakes—perfect for gatherings and easier portion control.
-
Decadent Toppings: Top with homemade caramel sauce and crispy bacon bits for a sweet-salty combination that takes this dessert to a whole new level.
-
Fruit Compote: Serve with a fresh berry compote made from blueberries, strawberries, or raspberries for a slightly tangy contrast to the creamy cheesecake.
-
Spiced Versions: Sprinkle in a teaspoon of cinnamon or a dash of nutmeg to warm up the flavors, especially delightful for cozy fall gatherings.
Consider pairing your creation with my delicious Strawberry Cheesecake Crunch or the rich White Chocolate Cheesecake for an irresistible dessert spread!
How to Store and Freeze Burnt Basque Cheesecake
Fridge: Store your Burnt Basque Cheesecake in an airtight container for up to 5 days. This keeps it fresh while maintaining its delightful creamy texture.
Freezer: If you want to save it for later, wrap slices tightly in plastic wrap, then place them in a freezer-safe container. It can be frozen for up to 2 months without losing flavor.
Thawing: When ready to enjoy, thaw the cheesecake in the fridge overnight for the best results. Reheat slightly in a warm oven if desired to bring back its creamy texture.
Serving Temperature: You can serve it chilled straight from the fridge or at room temperature, depending on your preference. Enjoy the rich layers with no compromise!
Expert Tips for Burnt Basque Cheesecake
-
Cool Gradually: Allow the cheesecake to cool slowly in the oven to prevent sinking and cracking on top—this step is crucial for achieving that beautiful presentation.
-
Perfect Jiggle: A jiggle in the center when you remove it from the oven is perfectly fine; it will set beautifully while chilling, ensuring a creamy texture.
-
Chill Overnight: For the richest flavor and best texture, refrigerate your cheesecake overnight. This will allow the flavors to develop and the cheesecake to firm up nicely.
-
Store Wisely: Keep leftovers in an airtight container in the fridge for up to 5 days, or freeze tightly wrapped for up to 2 months.
-
Gluten-Free Option: Use a gluten-free flour blend as a substitute for the all-purpose flour to make this a delightful gluten-free Burnt Basque Cheesecake for everyone to enjoy!
Burnt Basque Cheesecake Recipe FAQs
What type of cream cheese should I use for the cheesecake?
Absolutely! For the creamiest and richest flavor, I recommend using full-fat cream cheese. Low-fat versions may compromise the smooth texture and taste, making your Burnt Basque Cheesecake less indulgent.
How should I store my leftover Burnt Basque Cheesecake?
To keep your cheesecake fresh, store it in an airtight container in the fridge for up to 5 days. If you find you’ve made more than you can eat, you can also freeze it; just wrap it tightly in plastic wrap and place it in a freezer-safe container for up to 2 months.
Can I freeze Burnt Basque Cheesecake, and if so, how?
Yes, you can definitely freeze it! Here’s how you do it:
- After it has cooled completely, slice the cheesecake into wedges.
- Wrap each slice tightly in plastic wrap to prevent freezer burn.
- Place the wrapped slices in a freezer-safe container.
- Label with the date to keep track of freshness.
When ready to enjoy, simply remove a slice and let it thaw in the fridge overnight.
Why does my cheesecake have a jiggle in the middle when it comes out of the oven?
Very! A slight jiggle in the center is perfectly normal and indicates that your cheesecake is light and creamy. It will firm up as it chills in the fridge. To get that perfect top without cracks, allow it to cool gradually in the oven after baking.
Is this cheesecake suitable for gluten-free diets?
Absolutely! Simply substitute the all-purpose flour with a gluten-free flour blend, and you can enjoy this gorgeous Burnt Basque Cheesecake without compromising on taste or texture. Perfect for accommodating different dietary needs at your gatherings!
Indulge in Creamy Burnt Basque Cheesecake: Easy & Irresistible
Ingredients
Equipment
Method
- Preheat your oven to 400°F (200°C) and butter a 9x5 inch loaf pan, lining it with parchment paper.
- Beat the full-fat cream cheese until smooth, then gradually mix in the granulated sugar until fluffy.
- Add the large eggs one at a time, mixing well after each addition.
- Gently fold in the all-purpose flour, salt, and vanilla extract until just combined.
- Pour the batter into the prepared loaf pan and smooth the top. Bake for 45 minutes until golden and slightly jiggly in the center.
- Cool at room temperature for 30 minutes, then refrigerate for at least 4 hours or overnight.
- Remove from the pan using parchment overhang, slice, and serve with fresh berries if desired.