Advertisement
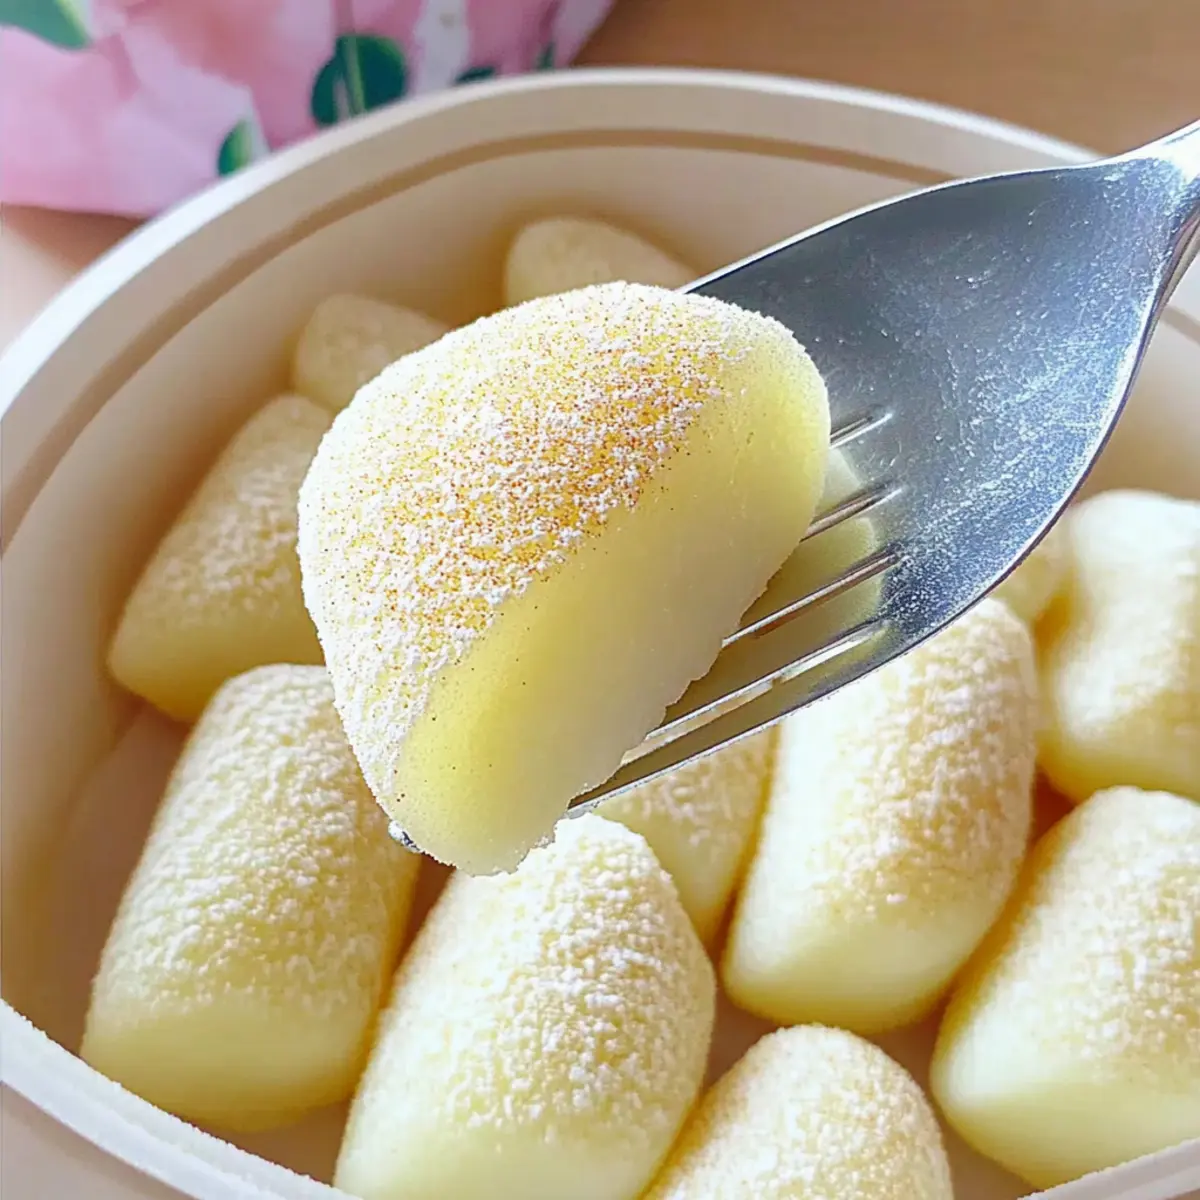
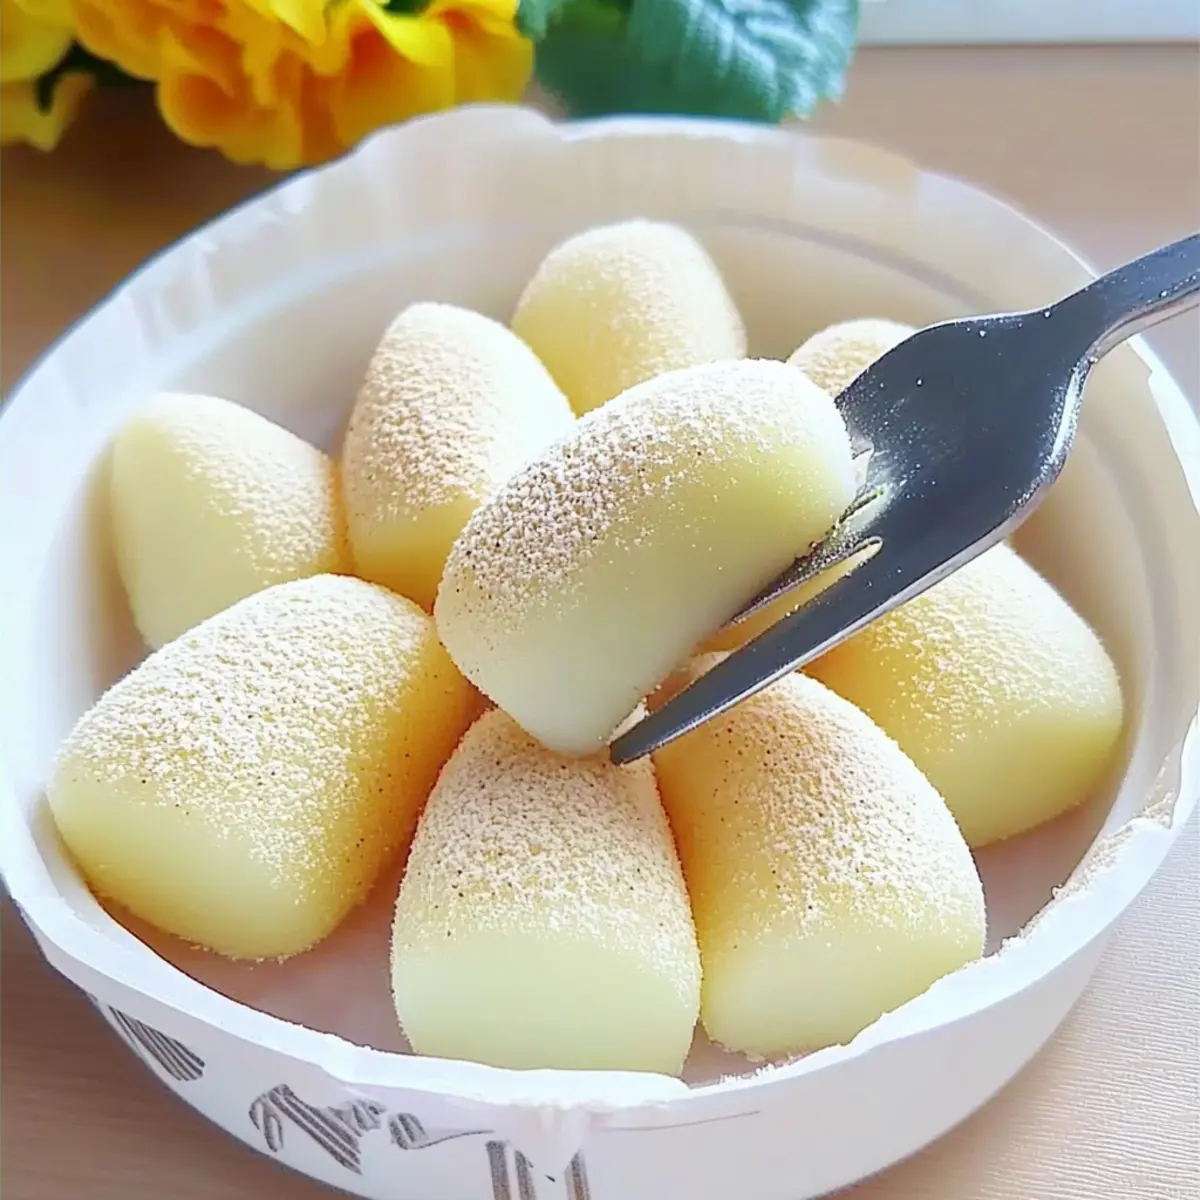
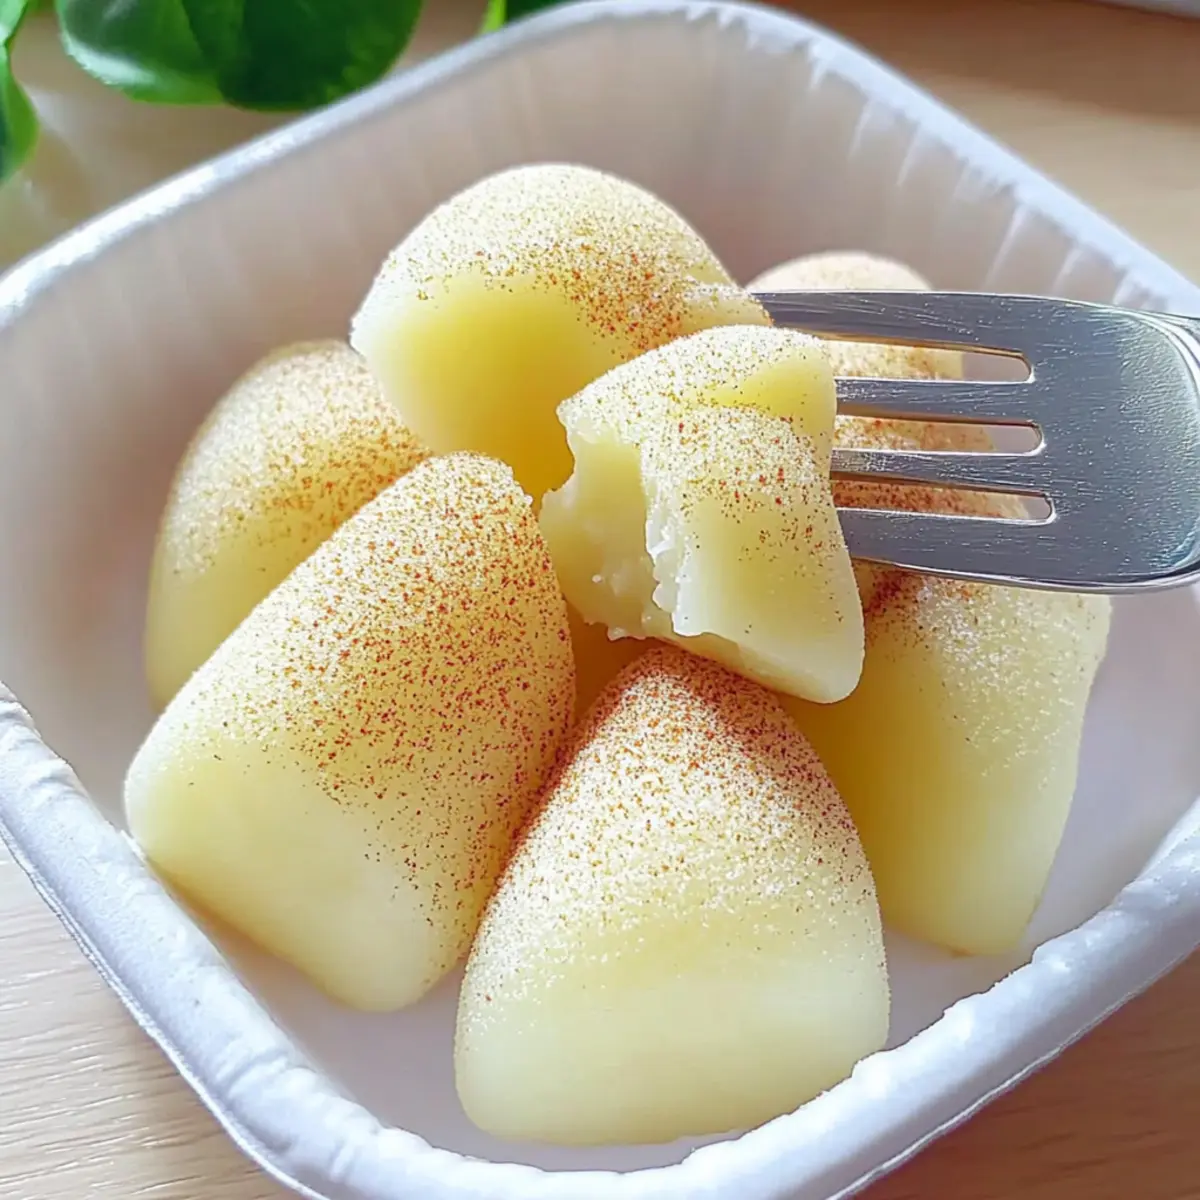
As the warm aroma of cooking fills my kitchen, I can’t help but feel a rush of excitement for today’s creation: Pan-Fried Fresh Milk Mochi. This delightful treat, with its tender chewiness and creamy flavor, offers a mesmerizing “mochi pull” that is simply impossible to resist. Best of all, this beginner-friendly recipe requires no oven or elaborate gadgets, allowing anyone to whip it up with ease. Whether you’re seeking a comforting snack or an enchanting dessert to impress friends, this mochi brings both joy and nostalgia to the table. Curious about how to create this soft, chewy delight in your own home? Let’s dive into the recipe!
Why is Homemade Mochi So Special?
Soft, Chewy Texture: The magic of Pan-Fried Fresh Milk Mochi lies in its incredibly soft and chewy consistency, offering a delightful experience with every bite.
Beginner-Friendly: This recipe is perfect for those cooking novices eager to try something new, requiring just a few simple ingredients and minimal equipment—no oven needed!
Advertisement
Irresistible Flavor: The creamy richness from the fresh milk creates a luscious taste that transforms a basic treat into something truly exceptional.
Versatile Delight: Whether enjoyed plain or dressed up with fillings like fruit puree or sweet bean paste, this mochi can be customized to suit any palate. Pair it with a cup of Vanilla Cinnamon Milk for a truly cozy experience!
Perfect for Sharing: Serve these chewy bites at gatherings or cozy nights in—they’re a nostalgic favorite that everyone will adore. You might even want to make a batch of Buttermilk Pancakes to round out your meal!
Pan-Fried Fresh Milk Mochi Ingredients
To create your own homemade mochi magic, here’s what you will need.
For the Mochi Dough
- Glutinous Rice Flour – This key ingredient provides the essential chewy texture and cannot be substituted with regular flour.
- Sugar – Adds just the right amount of sweetness; feel free to reduce or omit if you’re preparing it for kids.
- Cornstarch – Contributes to the dough’s elasticity; it’s crucial for that perfect bite.
- Cooking Oil – Ensures the batter is smooth and prevents sticking; any neutral oil works wonders.
- Milk – The star ingredient that adds richness; whole milk is preferred, but plant-based milk can be used for a dairy-free option.
For Coating
- Roasted Soybean Powder – This adds a delightful flavor and texture; adjust the amount based on your personal taste!
Now that you have your ingredients ready, let’s move on to making this delightful treat!
Step‑by‑Step Instructions for Pan-Fried Fresh Milk Mochi
Step 1: Mix the Dry Ingredients
In a large mixing bowl, combine 1 cup of glutinous rice flour, 1/4 cup of sugar, and 1/4 cup of cornstarch. Use a whisk to blend these dry ingredients thoroughly until uniform, making sure there are no lumps. This mixture lays the foundation for your Pan-Fried Fresh Milk Mochi, ensuring a smooth texture once cooked.
Step 2: Prepare the Batter
Add 1 tablespoon of cooking oil and 1 cup of whole milk to the dry ingredients. Mix vigorously with a whisk until the batter is completely smooth and lump-free. The consistency should resemble a thick pancake batter. This step is crucial, as a well-mixed batter leads to the perfect chewy texture of the mochi.
Step 3: Cook the Batter
Transfer the batter into a non-stick frying pan and turn the heat to low. Stir continuously with a silicone spatula for about 10 minutes, preventing any sticking. Watch as the batter slowly thickens; it will begin to bubble and become translucent, signaling that your Pan-Fried Fresh Milk Mochi is coming together beautifully.
Step 4: Form the Dough
Continue to stir until the mixture becomes a thick, elastic dough that no longer sticks to the pan or spatula—this should take an additional 5 minutes. The dough should be smooth and glistening. Once the consistency is right, remove the pan from the heat and prepare to shape your mochi.
Step 5: Enhance Elasticity
Allow the dough to cool slightly for about 5 minutes, then use your hands to gently stretch the dough a few times. This step increases its elasticity, making your Pan-Fried Fresh Milk Mochi delightfully chewy. Be cautious; the dough might still be warm, so use caution while handling.
Step 6: Shape the Mochi
Once the dough is cool enough to handle, roll it into a log about 1 inch in diameter. Using a sharp knife, cut the log into bite-sized pieces, around 1 inch thick. Your freshly made Pan-Fried Fresh Milk Mochi is almost ready to be enjoyed, highlighting its soft and chewy texture.
Step 7: Coat and Serve
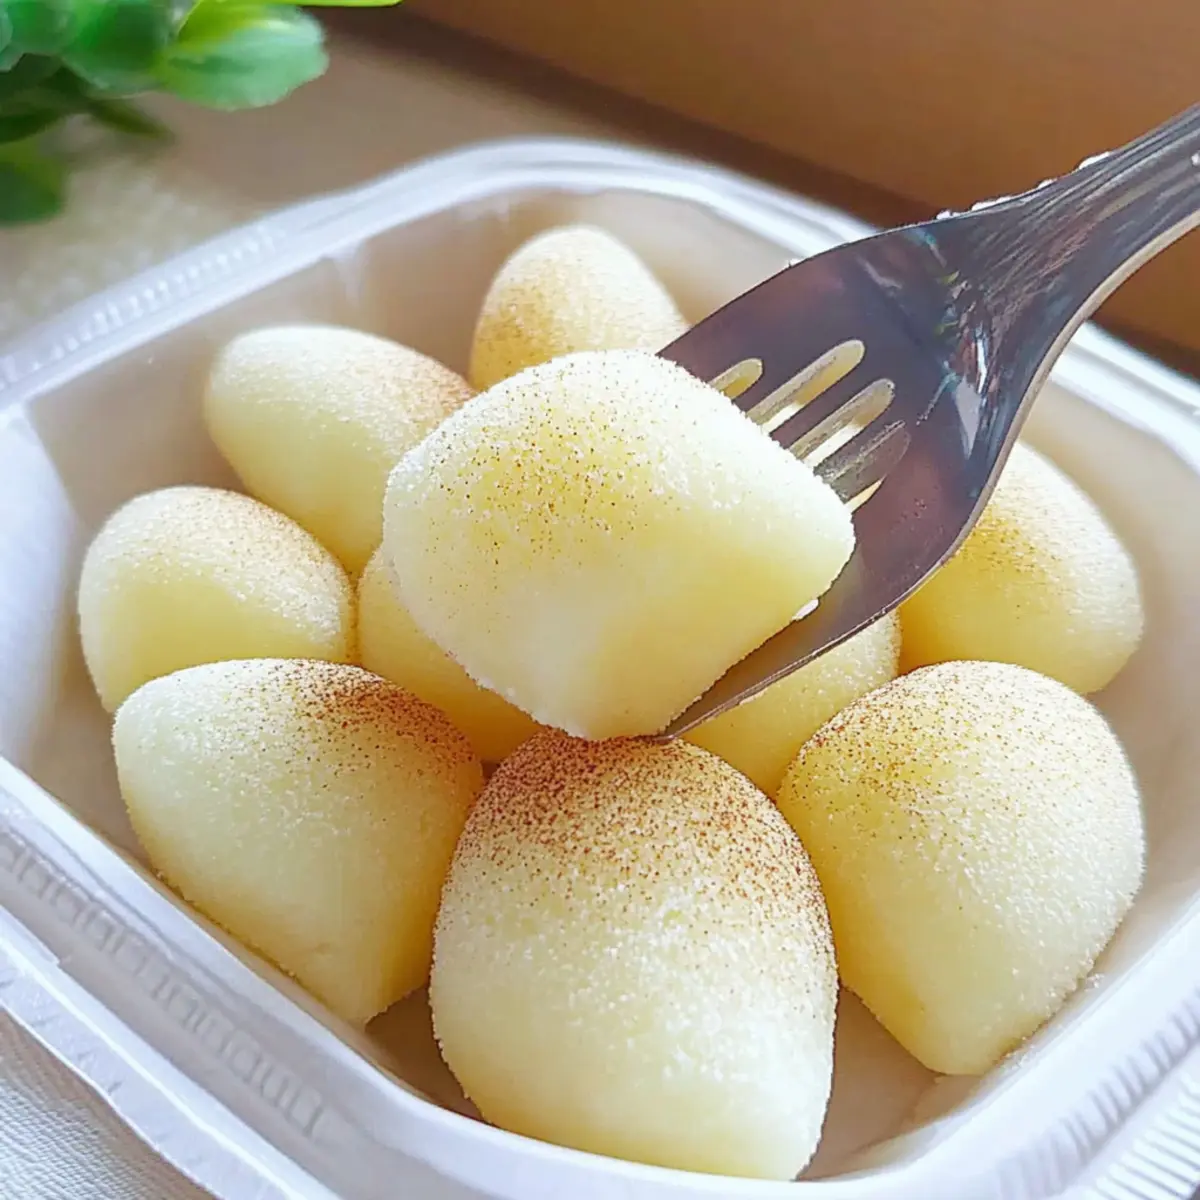
Coat each piece of mochi in roasted soybean powder, ensuring they’re completely covered for a nutty flavor enhancement. Place the coated mochi onto a serving plate. Serve immediately for the best texture and taste, as the delightful “mochi pull” is best enjoyed fresh!
How to Store and Freeze Pan-Fried Fresh Milk Mochi
Room Temperature: Store any leftover mochi in an airtight container at room temperature for up to 2 days; this helps maintain its delightful texture.
Fridge: If you prefer to keep it longer, refrigerate mochi in an airtight container for up to 5 days. Note that it may become slightly firmer over time.
Freezer: To freeze, wrap each piece individually in plastic wrap and place them in a freezer-safe bag. They can be stored for up to 2 months; just remember to thaw them in the fridge before enjoying.
Reheating: To restore softness, microwave the mochi for about 10-15 seconds or steam them for a few minutes before serving; this reintroduces that delightful “mochi pull.”
Expert Tips for Perfect Pan-Fried Fresh Milk Mochi
-
Keep It Low and Slow: Maintain low heat throughout cooking to prevent the dough from becoming rubbery; high heat is a common mistake that can ruin the texture.
-
Stir Constantly: Continuously stir to achieve the desired elasticity; under-stirring can lead to a mochi that doesn’t pull as it should.
-
Cool Before Shaping: Allow the dough to cool slightly before handling to prevent burns and ensure easier shaping of your Pan-Fried Fresh Milk Mochi.
-
Coat Generously: Don’t skimp on the roasted soybean powder; it enhances flavor and texture, so coat each piece thoroughly for the best experience.
-
Store for Freshness: If you have leftovers, keep them in an airtight container at room temperature and reheat briefly before serving to restore softness.
What to Serve with Pan-Fried Fresh Milk Mochi
As you savor the tender, stretchy goodness of your homemade mochi, consider these delightful pairings to create a full meal experience that captivates your senses.
-
Warm Green Tea: This fragrant beverage complements the mochi’s sweetness and enhances the overall experience. The earthy notes of green tea create a perfect contrast to the creamy texture.
-
Fruity Matcha Latte: The vibrant flavors of matcha and its creamy foam bring a refreshing balance, making each bite of mochi even more indulgent.
-
Coconut Milk Drizzle: A light drizzle adds a tropical flair that pairs beautifully with the mild sweetness of the mochi. It enhances the richness and overall flavor profile for a more exotic experience.
-
Fruit Salad: A light, colorful assortment of seasonal fruits not only provides a refreshing crunch but also offers a delightful contrast in texture to the chewy mochi.
-
Sweet Red Bean Paste: A traditional Japanese favorite, this rich filling adds depth to your mochi experience, enriching its flavor while honoring its cultural roots.
-
Chilled Sake: For an adult twist, enjoy a glass of chilled sake. Its subtle sweetness and smooth finish beautifully complement the mochi’s creamy texture.
-
Homemade Vanilla Ice Cream: This creamy treat creates an indulgent dessert experience when paired with your warm mochi, offering delightful contrasts between temperature and texture.
These pairings will turn your simple Pan-Fried Fresh Milk Mochi into a lavish feast that your loved ones will cherish!
Pan-Fried Fresh Milk Mochi Variations
Feel free to get creative with this delightful mochi recipe, and make it truly your own!
-
Dairy-Free: Substitute whole milk with almond or coconut milk for a plant-based version that’s equally flavorful. The results are still incredibly creamy!
-
Sweetener Switch: Replace sugar with honey or agave if you’re looking for a more natural sweetener. Adjust the quantity to your taste preference.
-
Flavor Infusions: Try adding a teaspoon of vanilla extract or matcha powder to the batter for a burst of flavor that’ll elevate your mochi experience. Each bite brings a surprising twist!
-
Textured Toppings: Instead of roasted soybean powder, use shredded coconut or crushed nuts for a crunchy contrast to the chewy mochi. This adds a fun texture that will keep everyone coming back for more.
-
Fruity Fillings: Before rolling, place a dollop of fruit puree, like strawberry or mango, in the center of the mochi for a delightful surprise. It’s a fantastic way to combine flavors and create a refreshing treat.
-
Spicy Kick: If you’re feeling adventurous, sprinkle a hint of chili powder into the dry mix for an unexpected sweet-and-spicy flavor combination that will tantalize your taste buds!
-
Themed Mochi: Draw inspiration from seasonal flavors—try pumpkin spice in the fall or peppermint extract during the winter holidays to add a festive flair. Pair it with a cozy drink like Vanilla Cinnamon Milk for a comforting experience.
-
Mochi with a Twist: Instead of shaping into logs, use silicone molds to create fun shapes! This is perfect for special occasions or to make the mochi more appealing to kids.
Embrace the fun and flavors of experimenting! And remember, these variations can enhance your mochi journey, just like a stack of Buttermilk Pancakes adds joy to a family brunch. Enjoy your mochi adventure!
Make Ahead Options
These Pan-Fried Fresh Milk Mochi are perfect for busy home cooks looking to save time! You can prepare the mochi dough and store it in the refrigerator for up to 3 days. To do this, follow the first six steps of the recipe, then allow the dough to cool completely. Once cooled, place it in an airtight container to prevent drying out. When you’re ready to enjoy your mochi, simply take it out, roll it into pieces, and coat them in roasted soybean powder before serving. This way, you’ll have a delightful treat ready to enjoy without the last-minute rush!
Pan-Fried Fresh Milk Mochi Recipe FAQs
How do I know if my glutinous rice flour is fresh enough for making mochi?
Absolutely! The freshness of glutinous rice flour is crucial for achieving the desired chewy texture. Look for flour that is finely milled and free of any clumps; it should have a clean, neutral smell. If you see any dark spots or unusual odors, it’s best to toss it and buy a new bag.
What’s the best way to store leftover mochi, and how long will it last?
Very good question! To keep your Pan-Fried Fresh Milk Mochi fresh, store it in an airtight container at room temperature for up to 2 days. If you need to extend its shelf life, refrigerate it in the same container for up to 5 days. Just remember, it may lose some softness over time.
Can I freeze my mochi, and what’s the best way to do it?
Definitely! Freezing mochi is a great option if you want to save it for later. Wrap each piece individually in plastic wrap and store them in a freezer-safe bag. They can last up to 2 months. When you’re ready to enjoy them, thaw in the fridge overnight and then reheat in the microwave for about 10-15 seconds or steam them for a few minutes to regain that lovely chewy texture.
What should I do if my mochi dough is too sticky?
Don’t worry, there’s a simple fix! If your dough is sticky during cooking, it usually means it needs more stirring or isn’t cooked long enough. Keep stirring on low heat for a bit longer until the dough becomes smooth and no longer clings to the pan or spatula. If it’s too late and the dough is already shaped, coating the pieces generously in roasted soybean powder will help with stickiness when you serve them.
I have a lactose intolerance, can I use an alternative for the milk in this recipe?
Certainly! This recipe is quite forgiving. For a dairy-free option, use any plant-based milk like almond, oat, or coconut milk. They not only work perfectly but can also add a subtle flavor twist to your Pan-Fried Fresh Milk Mochi! Just ensure that whichever milk you choose has a similar fat content to maintain that rich consistency.
Pan-Fried Fresh Milk Mochi: Soft, Chewy Bliss at Home
Ingredients
Equipment
Method
- In a large mixing bowl, combine glutinous rice flour, sugar, and cornstarch. Whisk until uniform.
- Add cooking oil and whole milk to the dry ingredients. Mix vigorously until smooth.
- Transfer the batter to a non-stick frying pan over low heat and stir continuously for about 10 minutes.
- Continue stirring until the mixture becomes a thick, elastic dough, approximately 5 more minutes.
- Allow the dough to cool for about 5 minutes, then gently stretch it a few times to enhance elasticity.
- Once cool enough to handle, roll the dough into a log and cut it into bite-sized pieces.
- Coat each piece of mochi in roasted soybean powder and serve immediately.