Advertisement
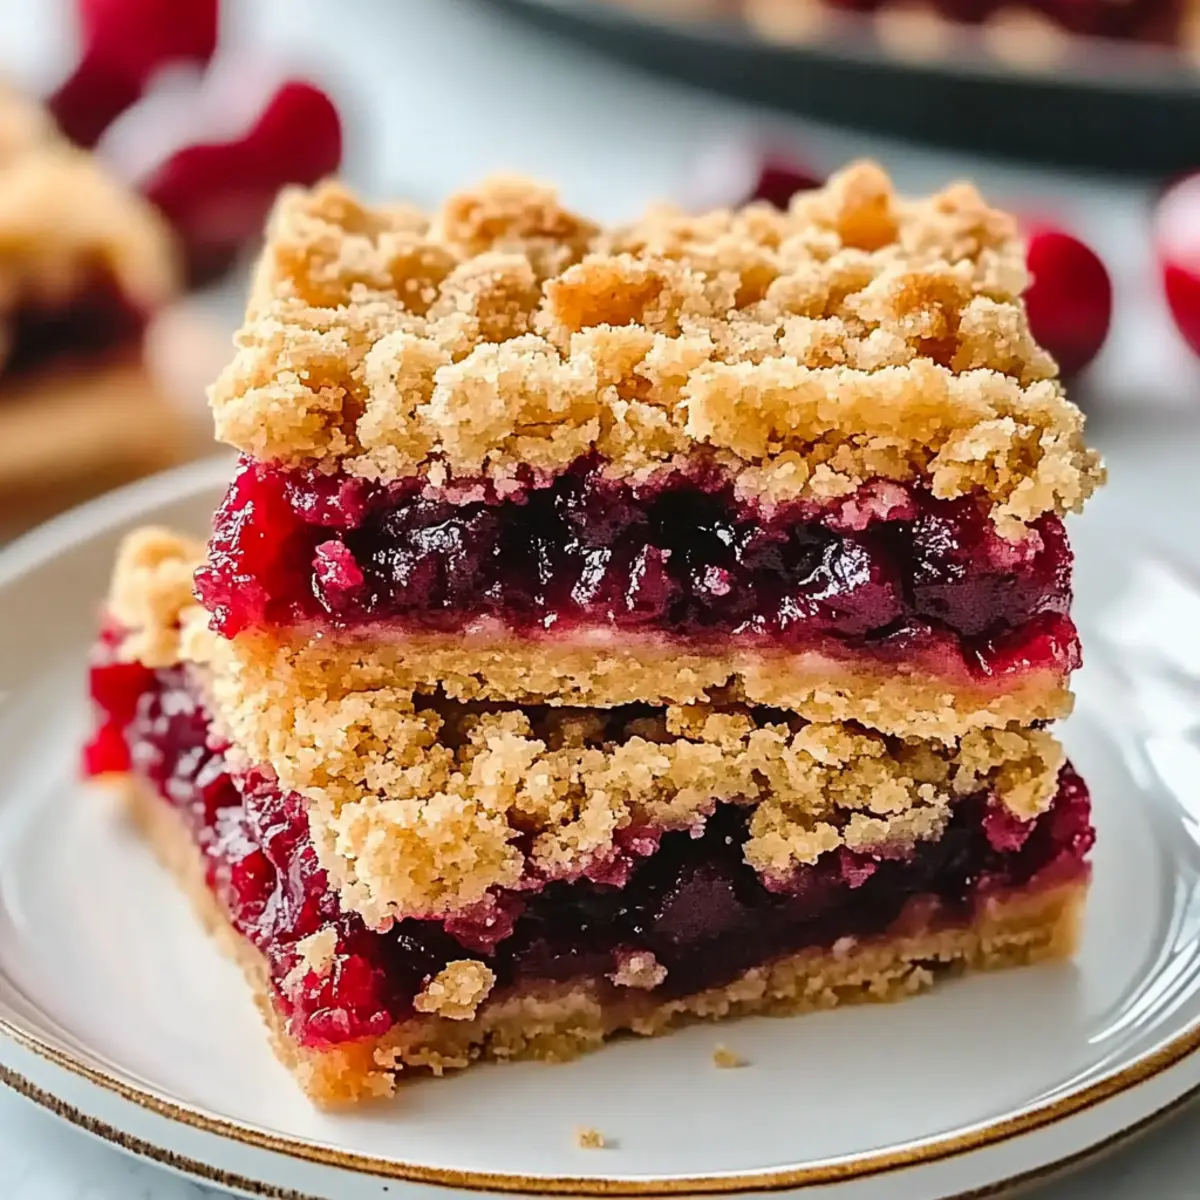
“Wow, these look incredible!” I overheard someone exclaim in delight as they took a bite of the Quick Cherry Crumble Bars I had just pulled from the oven. There’s something truly magical about a dessert that balances sweet and tart with such ease, especially when it can be whipped up in no time. These bars aren’t just a treat for the taste buds; they’re a crowd-pleaser in every sense, making them the perfect addition to any gathering. With a buttery crust and a crispy topping, they offer comfort and joy in each crumb. Plus, they’re incredibly versatile—whether you’re gluten-free, dairy-free, or simply looking to shake things up with different fruits, this recipe has you covered. What flavor combination will you try first?
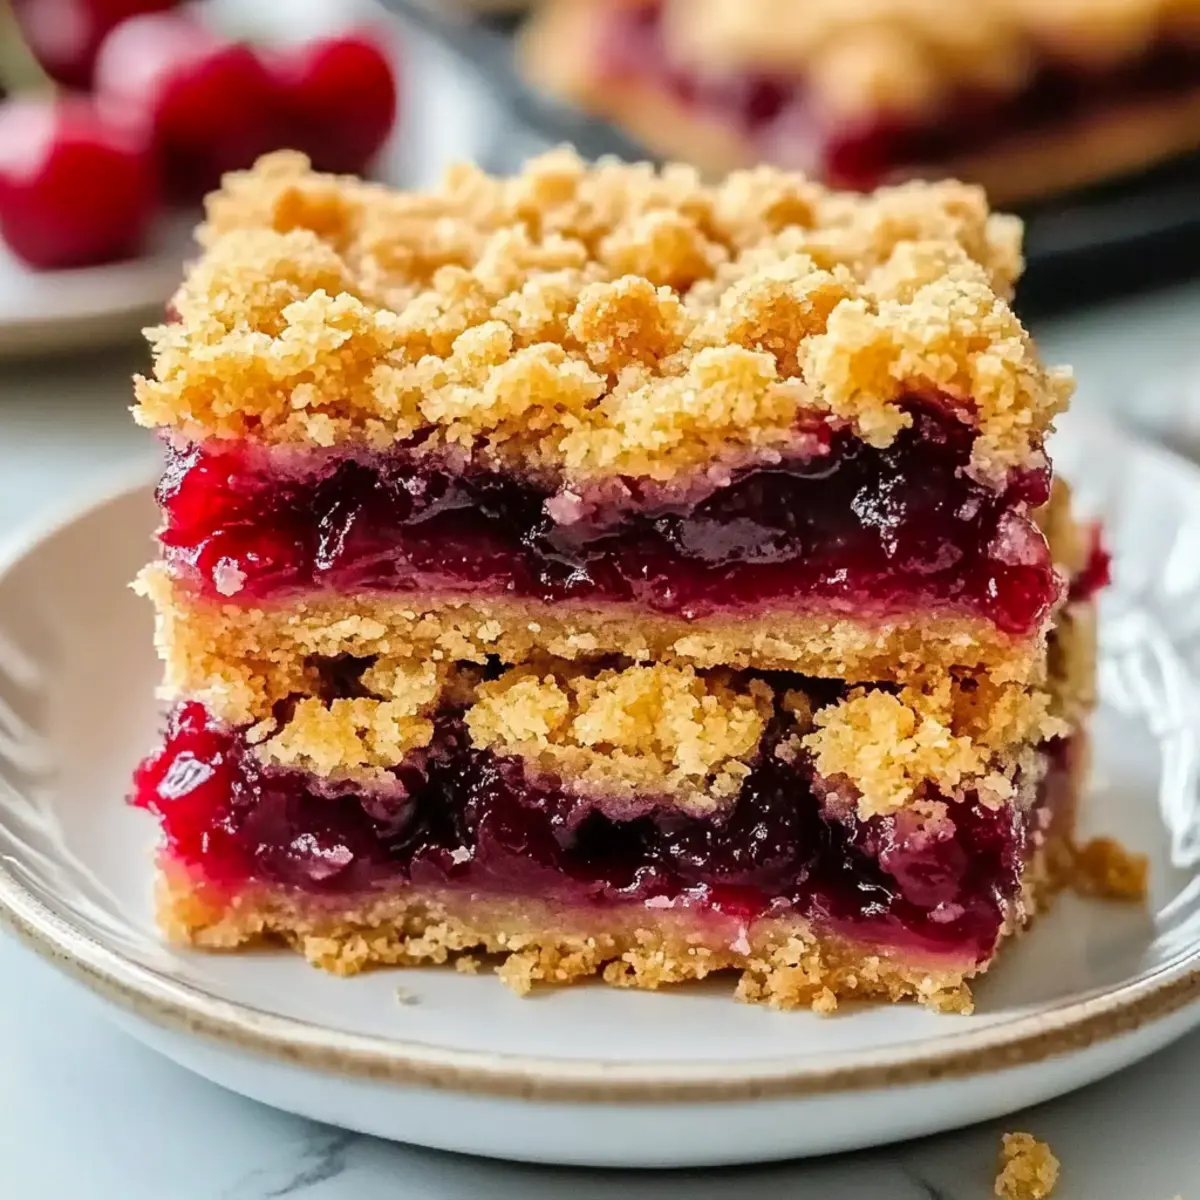
Why Are These Bars So Irresistible?
Deliciously Balanced: The combination of sweet, juicy cherries and the buttery crumble creates an irresistible symphony of flavors that will leave your taste buds dancing.
Quick and Simple: With just a few basic ingredients and straightforward steps, you can have these bars ready in no time, perfect for those busy days.
Advertisement
Customizable Delight: Feel free to experiment! Substitute cherries with blueberries or peaches to match your mood, or make them gluten-free with a simple flour swap.
Serve Warm or Cold: Whether you enjoy them warm with vanilla ice cream or chilled on their own, these bars are delicious at any temperature.
Crowd-Pleasing Treat: Perfect for gatherings, these bars are sure to impress your guests and spark joy at any party or picnic. Need more fruity inspiration? Try these Cherry Danish Pastries for a delightful twist!
Quick Cherry Crumble Bars Ingredients
For the Crust
- All-purpose flour – Provides structure and texture; substitute with gluten-free all-purpose flour for a gluten-free version.
- Granulated sugar – Adds sweetness; adjust based on cherry tartness or use alternative sweeteners as desired.
- Baking powder – Acts as a leavening agent for the crust.
- Salt – Enhances overall flavor.
- Unsalted butter – Contributes to the buttery flavor and crumbly texture; use vegan butter for a dairy-free option.
- Large egg – Binds the ingredients together; ensuring it’s at room temperature aids in better incorporation.
- Milk – Adds moisture to the dough; opt for a non-dairy milk for a dairy-free option.
For the Filling
- Fresh pitted cherries – The base filling providing a sweet-tart flavor; can substitute with frozen cherries (thawed and drained) or canned cherry pie filling.
- Cornstarch – Thickens the cherry filling, ensuring a perfect consistency for your Quick Cherry Crumble Bars.
For the Crumble Topping
- Remaining dough – This is what you’ll crumble on top, adding that delicious texture and flavor contrast.
Step‑by‑Step Instructions for Quick Cherry Crumble Bars
Step 1: Preheat the Oven
Start by preheating your oven to 375°F (190°C) and greasing a 9×13-inch baking dish with a little butter or non-stick spray. This ensures your Quick Cherry Crumble Bars won’t stick, allowing for easy removal later. While the oven heats, gather your ingredients so you’re ready to mix!
Step 2: Mix the Dry Ingredients
In a large mixing bowl, combine 2 cups of all-purpose flour, 3/4 cup of granulated sugar, 1 tablespoon of baking powder, and 1/2 teaspoon of salt. Whisk these thoroughly until well incorporated, which will help ensure an even flavor in your crust. This creates a solid base for your delicious cherry filling.
Step 3: Incorporate the Butter
Cut in 1/2 cup of chilled unsalted butter using a pastry cutter or your fingertips until the mixture resembles coarse sand. This step is crucial for creating that irresistible crumbly texture in your Quick Cherry Crumble Bars. You should see small clumps of butter mixed throughout the flour.
Step 4: Create the Dough
Add 1 large room-temperature egg and 1/4 cup of milk to the flour mixture. Stir with a wooden spoon until the ingredients come together to form a soft dough. The dough should be wet but not sticky, allowing you to handle it easily. If it seems too dry, add a splash more milk.
Step 5: Prepare the Base
Pat half of the dough into the bottom of your prepared baking dish, spreading it out evenly with your fingers or a spatula. This forms a solid foundation for your cherry filling, ensuring each bite of your Quick Cherry Crumble Bars is balanced with crust and fruit.
Step 6: Toss the Cherries
In a separate bowl, gently toss 2 cups of fresh pitted cherries with 2 tablespoons of cornstarch and 1/4 cup of sugar. Stir until the cherries are coated, which will help thicken the filling while baking. Spread this mixture evenly over the dough in the baking dish.
Step 7: Add the Crumble Topping
Crumble the remaining dough over the cherry filling, covering it evenly. Use your fingers to create small chunks; this will give you that delightful texture on top. Don’t worry if it’s not perfect—those little imperfections are what make your Quick Cherry Crumble Bars irresistibly homemade.
Step 8: Bake to Perfection
Place the baking dish in the preheated oven and bake for about 35 minutes, or until the topping is golden brown and the cherry filling is bubbling around the edges. Keep an eye on it towards the end to prevent over-browning, as ovens can vary in temperature.
Step 9: Cool and Slice
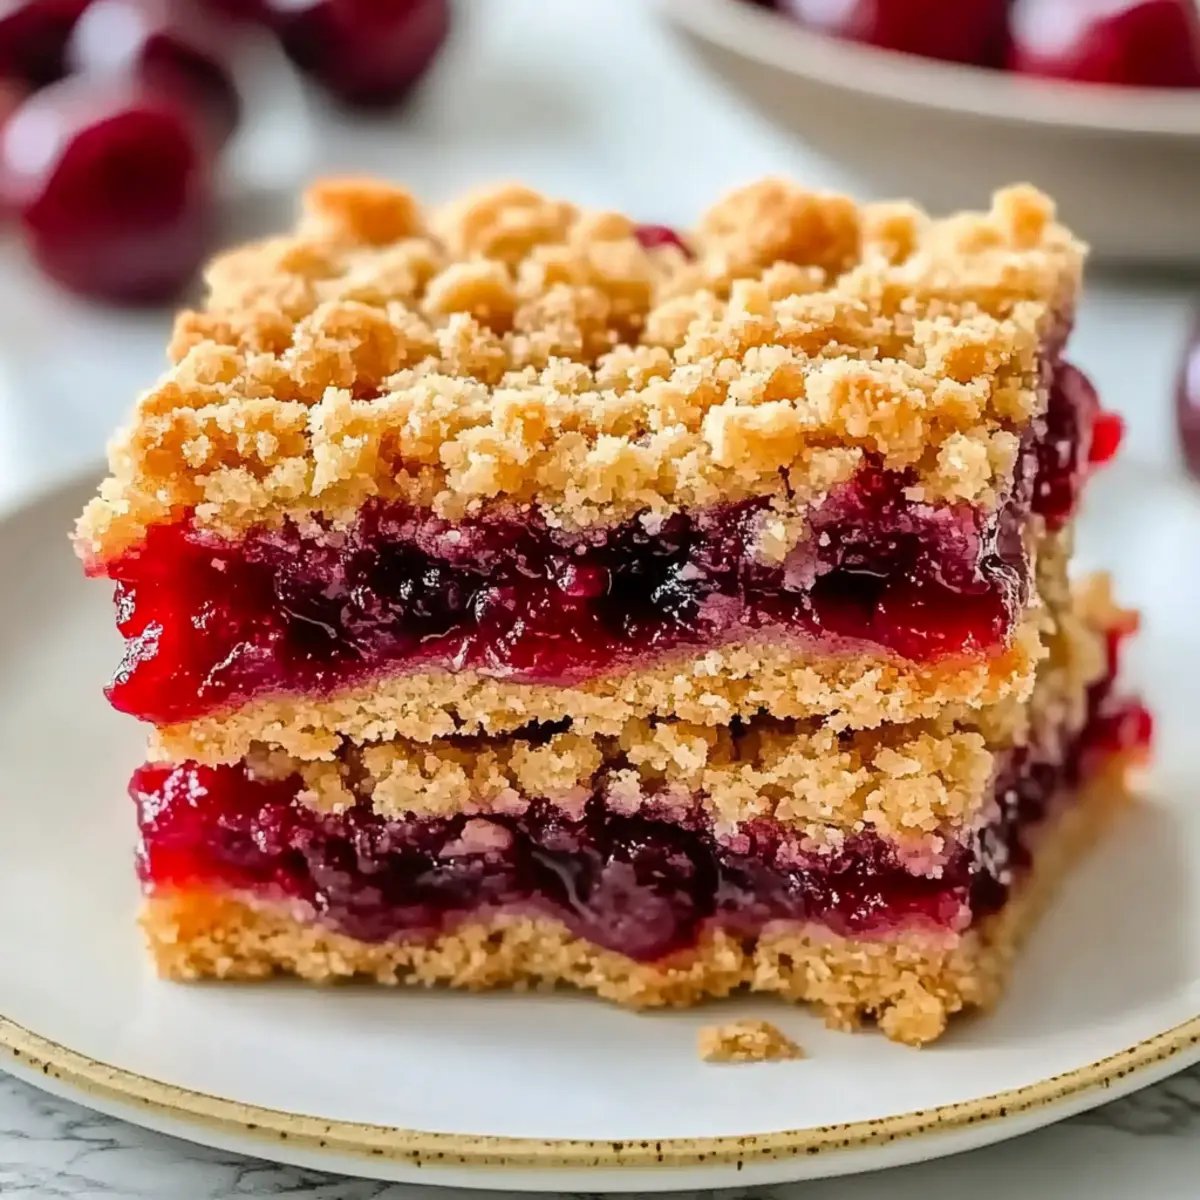
Once baked, remove the dish from the oven and let it cool completely on a wire rack. This cooling step is essential for allowing the filling to set, making the bars easier to slice. Once cool, cut them into squares and serve, enjoying the beautiful balance of flavors in your Quick Cherry Crumble Bars.
Make Ahead Options
These Quick Cherry Crumble Bars are perfect for meal prep enthusiasts! You can prepare the crust and cherry filling up to 24 hours ahead of time. Simply make the dough and press half into the baking dish, then refrigerate it. Toss the pitted cherries with cornstarch and sugar, and store them in an airtight container in the refrigerator. When you’re ready to bake, simply spread the cherries over the crust, crumble the remaining dough on top, and bake according to the original instructions. This method helps maintain the bars’ quality so they come out just as delicious, saving you valuable time on busy weeknights. Enjoy delightful homemade desserts with minimal effort!
How to Store and Freeze Quick Cherry Crumble Bars
Room Temperature: Store the bars in an airtight container at room temperature for up to 3 days to maintain their delicious taste and texture.
Fridge: For longer freshness, place the bars in the refrigerator where they will last for up to 5 days. Be sure to cover them to avoid absorbing any odors.
Freezer: You can freeze the Quick Cherry Crumble Bars for up to 3 months. Wrap them individually or in groups, ensuring they’re sealed tightly to prevent freezer burn.
Reheating: To enjoy the bars warm, simply pop them in the oven at 350°F (175°C) for about 10–15 minutes or microwave for 20 seconds until heated through.
What to Serve with Quick Cherry Crumble Bars
Delightfully easy to whip up, these bars pair wonderfully with a variety of sides and accompaniments to create a satisfying dessert spread.
- Vanilla Ice Cream: The creamy texture and rich flavor of vanilla ice cream beautifully balance the tartness of the cherries, enhancing each bite.
- Fresh Whipped Cream: Light and airy, whipped cream adds a touch of sweetness that contrasts the bars’ crunchy topping while bringing out the cherry flavor.
- Chocolate Sauce: Drizzling warm chocolate sauce over these bars adds a decadent twist, transforming your dessert into a luxurious treat.
- Coffee or Espresso: The rich and robust flavors of coffee or espresso offer a perfect contrast to the sweet-tart cherry bars, making them an ideal pairing.
- Fruit Salad: A chilled fruit salad brings fresh brightness, complementing the cherry flavors while adding a refreshing crunch to each bite.
- Mint Tea: A soothing cup of mint tea enhances the dessert experience, providing a calming finish that complements the sweet cherry notes beautifully.
- Lemonade: The zesty, refreshing taste of lemonade pairs perfectly, making your sweet treat feel even more vibrant on a warm day.
- Custard Sauce: Pouring warm custard sauce over the bars adds an extra layer of richness, enveloping the cherry filling in creamy goodness.
- Cheesecake Dip: A creamy cheesecake dip offers a fun interactive element, encouraging everyone to enjoy their crumble bars with a delightful dip as they please.
Quick Cherry Crumble Bars Variations
Feel free to unleash your creativity and customize these cherry crumble bars for a unique touch that pleases everyone!
-
Gluten-Free: Substitute all-purpose flour with a gluten-free blend for a delightful version suitable for everyone at the table.
Gluten-free doesn’t mean compromising on flavor. A good quality blend will provide that same great texture! -
Dairy-Free: Use vegan butter and non-dairy milk to make this tasty treat accessible to your dairy-free friends.
You’ll still enjoy the richness without dairy! -
Nutty Crumble: Fold in chopped walnuts or pecans into the crumble for a satisfying crunch and deeper flavor.
It adds a lovely nutty twist that balances beautifully with the cherries! -
Spiced Filling: Add a pinch of cinnamon or nutmeg to the cherry filling for a warm, cozy essence that elevates each bite.
These spices awaken flavors and bring a comforting vibe, perfect for chilly days! -
Berry Blends: Replace cherries with seasonal berries like blueberries or raspberries to enjoy a new flavor profile.
Mixing berries can create a colorful bar bursting with antioxidants and sweetness—perfect for summer! -
Sweetener Swap: Experiment with honey or maple syrup instead of granulated sugar for a more natural sweetness.
This gives your bars a lovely flavor and can change the health profile—a win-win! -
Make it Tropical: Swap out cherries for diced pineapple or mango for a fun tropical twist that brightens your dessert table.
You’ll be transported to a sunny paradise with every bite!
For more fruity dessert ideas, try these delicious Cherry Danish Pastries or rich Moist Chocolate Cherry Cake.
Expert Tips for Quick Cherry Crumble Bars
• Cooling Time: Allow the bars to cool completely before slicing. This ensures clean edges and prevents the filling from oozing out.
• Fruit Selection: Fresh cherries are delightful, but feel free to use frozen or canned cherries. Just drain and adjust the sugar based on their sweetness.
• Dairy-Free Option: For a dairy-free treat, simply swap regular butter for vegan butter and use non-dairy milk; the bars will still taste fantastic!
• Sugar Adjustments: Depending on the tartness of your cherries, you may want to adjust the sugar in both the filling and crumble to achieve the perfect balance.
• Texture Tips: For an extra crunchy topping, consider adding chopped nuts to the crumble before baking. It adds flavor and a lovely crunch to your Quick Cherry Crumble Bars!
Quick Cherry Crumble Bars Recipe FAQs
What type of cherries should I use for the filling?
Absolutely! While fresh pitted cherries provide the best flavor, you can also use frozen cherries (thawed and drained) or canned cherry pie filling. Just remember to adjust the sugar based on the tartness of the cherries you select, ensuring a perfect balance in your Quick Cherry Crumble Bars.
How should I store my Cherry Crumble Bars?
For short-term storage, keep your bars in an airtight container at room temperature for up to 3 days. If you want to extend their freshness, refrigerate them for up to 5 days. Remember to cover them well to prevent any absorption of unwanted odors from your fridge!
Can I freeze the Quick Cherry Crumble Bars?
Of course! These bars can be frozen for up to 3 months. Simply wrap them individually or in groups in plastic wrap, followed by aluminum foil. This double-layer sealing will help prevent freezer burn, ensuring they remain delicious for later enjoyment. When you’re ready to devour them, thaw in the fridge overnight, then reheat in the oven or microwave.
What can I do if the filling is too runny?
If you find the filling is too runny, it may be due to overly juicy cherries. You can thicken the filling by adding a bit more cornstarch—start with an additional tablespoon mixed with a little sugar and then fold it into the cherries before baking. This will help create a thicker filling for your Quick Cherry Crumble Bars.
Are there any allergy considerations?
Very! This recipe can easily be tweaked for various dietary needs. For a gluten-free version, swap out all-purpose flour for a gluten-free blend. To make it dairy-free, substitute unsalted butter with vegan butter and use non-dairy milk. Always double-check ingredients to ensure they meet your dietary requirements, especially if you have allergies. Enjoy baking safely!
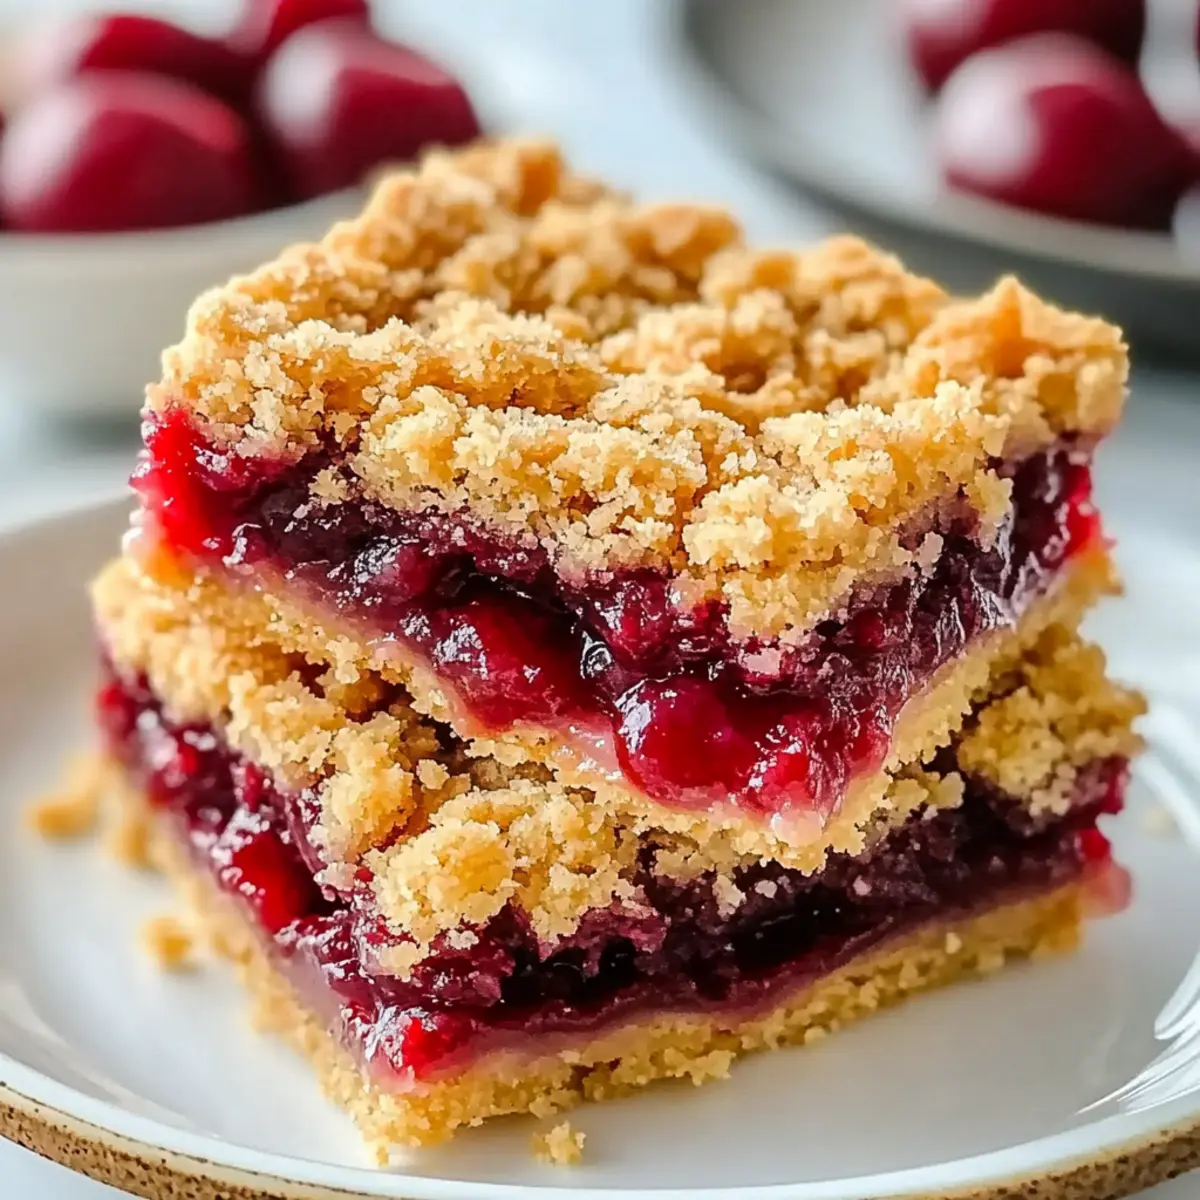
Quick Cherry Crumble Bars That Will Brighten Your Day
Ingredients
Equipment
Method
- Preheat your oven to 375°F (190°C) and grease a 9x13-inch baking dish.
- In a large mixing bowl, combine all-purpose flour, granulated sugar, baking powder, and salt. Whisk thoroughly.
- Cut in chilled unsalted butter until the mixture resembles coarse sand.
- Add the egg and milk to the flour mixture and stir until a soft dough forms.
- Pat half of the dough into the bottom of the prepared baking dish.
- In a separate bowl, toss the cherries with cornstarch and sugar until coated, then spread over the dough.
- Crumble the remaining dough over the cherry filling evenly.
- Bake for about 35 minutes, until the topping is golden brown and the filling is bubbling.
- Cool completely on a wire rack, then slice into squares and serve.