
Advertisement
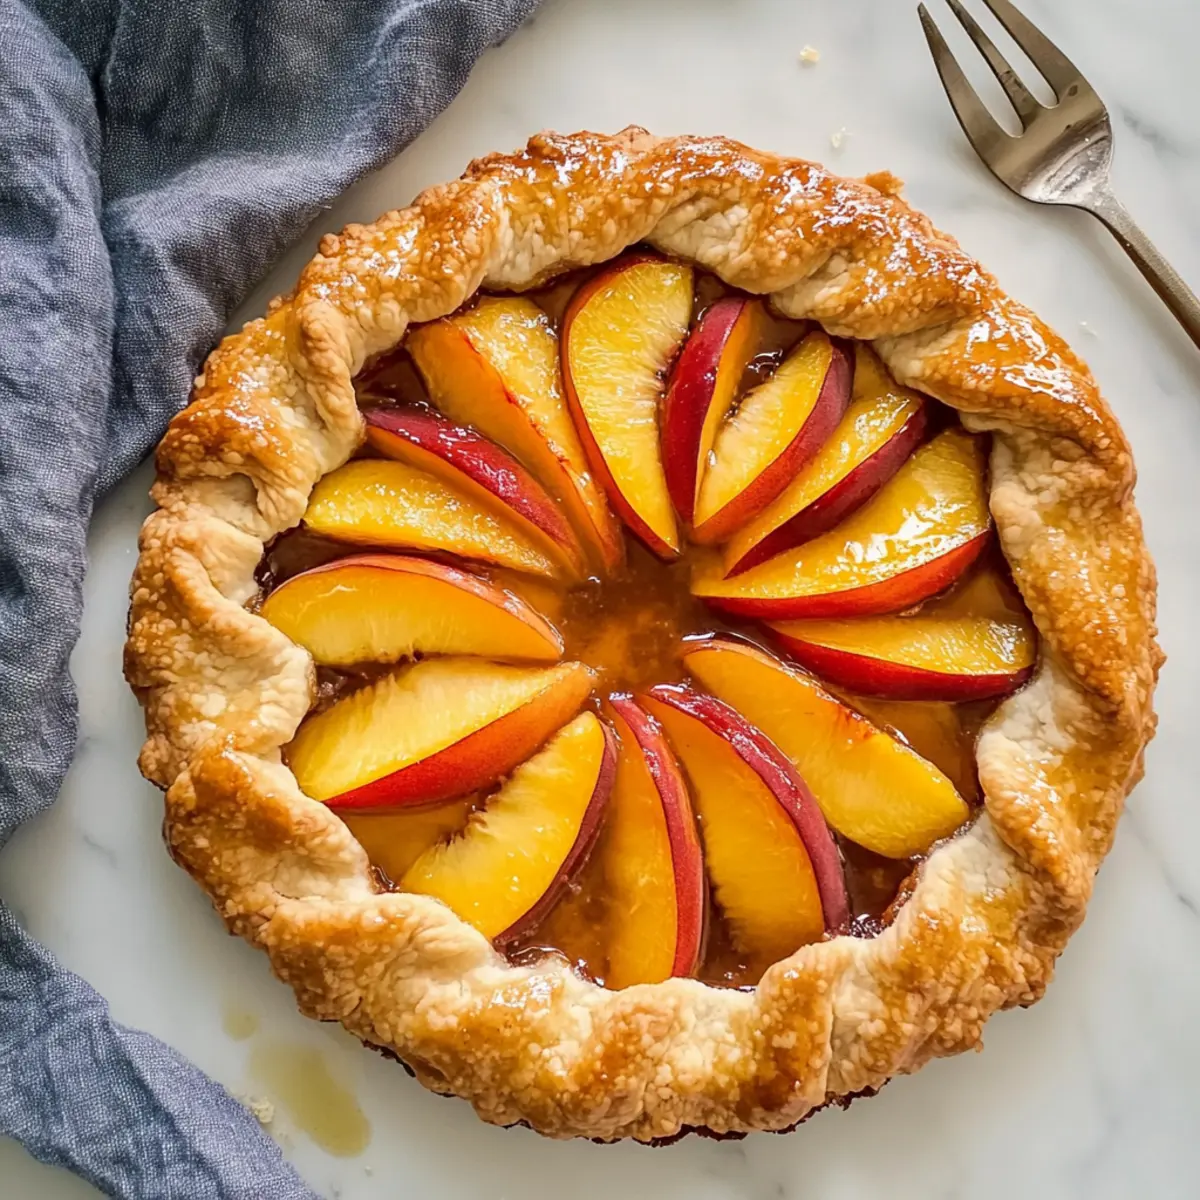
On a sun-drenched afternoon, the sweet aroma of ripe peaches filled my kitchen, a gentle reminder that summer has truly arrived. That’s when I decided to whip up this Easy Peach Galette with Buttery Crust, a delightful dessert that marries the charm of rustic French baking with the vibrant flavors of fresh peaches. What I love most about this galette is how effortlessly it comes together; it takes less time than a traditional pie and is a guaranteed crowd-pleaser at any warm-weather gathering. Plus, it’s incredibly versatile—you can easily swap in your favorite fruits like strawberries or blackberries, ensuring there’s always something new to try! Ready to indulge in a slice of summer bliss?

Why is this Peach Galette special?
Simplicity at its core: This recipe requires minimal ingredients and effort, making it perfect for bakers of all skill levels.
Versatile variations: Feel free to substitute with strawberries, apples, or any seasonal fruits you adore.
Advertisement
Deliciously satisfying: The combination of buttery crust and juicy peaches creates a mouthwatering dessert that you’ll crave again and again.
Quick prep time: Get this stunning galette on the table in less time than a traditional pie, freeing you up to enjoy time with friends and family.
Perfect for gatherings: Impress guests at summer barbecues or potlucks; this galette is bound to be the star of your dessert table.
Don’t forget to try it warm with a scoop of vanilla ice cream or perhaps a drizzle of whipped cream, just like you would with a Peach Cobbler Poke cake!
Peach Galette Ingredients
• This list contains everything you need for a perfect Peach Galette!
For the Crust
- Refrigerated Pie Crust – Provides a flaky base; substitute with homemade pie crust for a fresher taste.
For the Filling
- 3 cups Peaches (sliced) – The star ingredient offering sweetness and juiciness; choose ripe, seasonal peaches for the best flavor.
- ⅓ cup Granulated Sugar – Adds sweetness and balances the peaches’ tartness; can be reduced for less sweetness.
- ⅓ cup Brown Sugar – Enhances caramelization and adds depth; both light and dark brown sugar work well.
- Juice of Half a Lemon – Brightens flavors and prevents peaches from browning; fresh lemon juice is recommended.
- 1 teaspoon Vanilla Extract – Adds aromatic sweetness; can be replaced with almond extract for a unique twist.
- 1 tablespoon Cornstarch – Acts as a thickener for the peach filling; tapioca flour is a good substitute.
- ½ teaspoon Cinnamon – Infuses a warm spice; optional based on your preference.
For Finishing Touches
- 1½ teaspoons Butter – Boosts richness and flavor; use unsalted butter for better control of saltiness.
- 1 Egg – Provides moisture and aids in browning the crust; for a vegan option, substitute with a flax egg.
- 1 tablespoon Milk – Used for the egg wash to promote browning; omit for a dairy-free version.
- 2 teaspoons Coarse Sugar – Sprinkled on top for added crunch and sweetness; sparkling sugar can also be used for decoration.
With these ingredients, you’re all set to create a delightful Peach Galette!
Step‑by‑Step Instructions for Peach Galette
Step 1: Preheat the Oven
Begin by preheating your oven to 400°F (200°C). This important first step ensures that your Peach Galette bakes evenly and achieves a beautifully golden crust. While your oven heats up, gather your ingredients and equipment to set the stage for a smooth baking experience.
Step 2: Prepare the Pie Crust
Roll out the refrigerated pie crust onto a sheet of parchment paper, shaping it into a 12-inch circle. The edges should be slightly uneven for that rustic touch typical of a galette. Once shaped, carefully transfer the crust along with the parchment paper to a rimmed half-sheet pan, allowing for easy handling later.
Step 3: Mix the Filling Ingredients
In a large mixing bowl, combine the fresh lemon juice and vanilla extract, whisking in the cornstarch until smooth. Next, add the granulated sugar, brown sugar, and cinnamon, stirring gently to dissolve. This mixture will create a luscious coating that enhances the fresh peaches in your galette.
Step 4: Coat the Peaches
Add your sliced peaches to the bowl with the lemon-sugar mixture. Gently toss the peaches to ensure they are fully coated, avoiding overmixing to keep the slices intact. This step infuses the fruit with sweetness and bright acidity, making your Peach Galette truly delectable.
Step 5: Assemble the Galette
Carefully arrange the coated peaches in the center of your pie crust, leaving a 2-inch border around the edges. Pour any remaining juices from the bowl over the peaches for an extra burst of flavor. The rustic nature of a galette means it doesn’t have to look perfect—aim for a beautiful, haphazard arrangement.
Step 6: Fold the Crust
Begin folding the edges of the crust over the fruit, crimping it lightly to hold its shape. This adds a lovely rustic appeal and keeps the juicy filling inside. Dot the exposed fruit with small pieces of butter to enhance the rich flavor while baking this delicious Peach Galette.
Step 7: Brush and Sprinkle
To give your galette a beautiful finish, brush the exposed crust with an egg wash made from a beaten egg mixed with milk. Sprinkle coarse sugar on top to create a delightful crunch and a touch of sweetness. This step elevates both the appearance and taste of your Peach Galette.
Step 8: Bake the Galette
Slide the pan into your preheated oven and bake for 25-30 minutes, or until the crust is golden brown and the peach juices bubble excitedly. The aroma will fill your kitchen with a warm, inviting scent, signaling that your Peach Galette is nearing perfection.
Step 9: Let it Cool
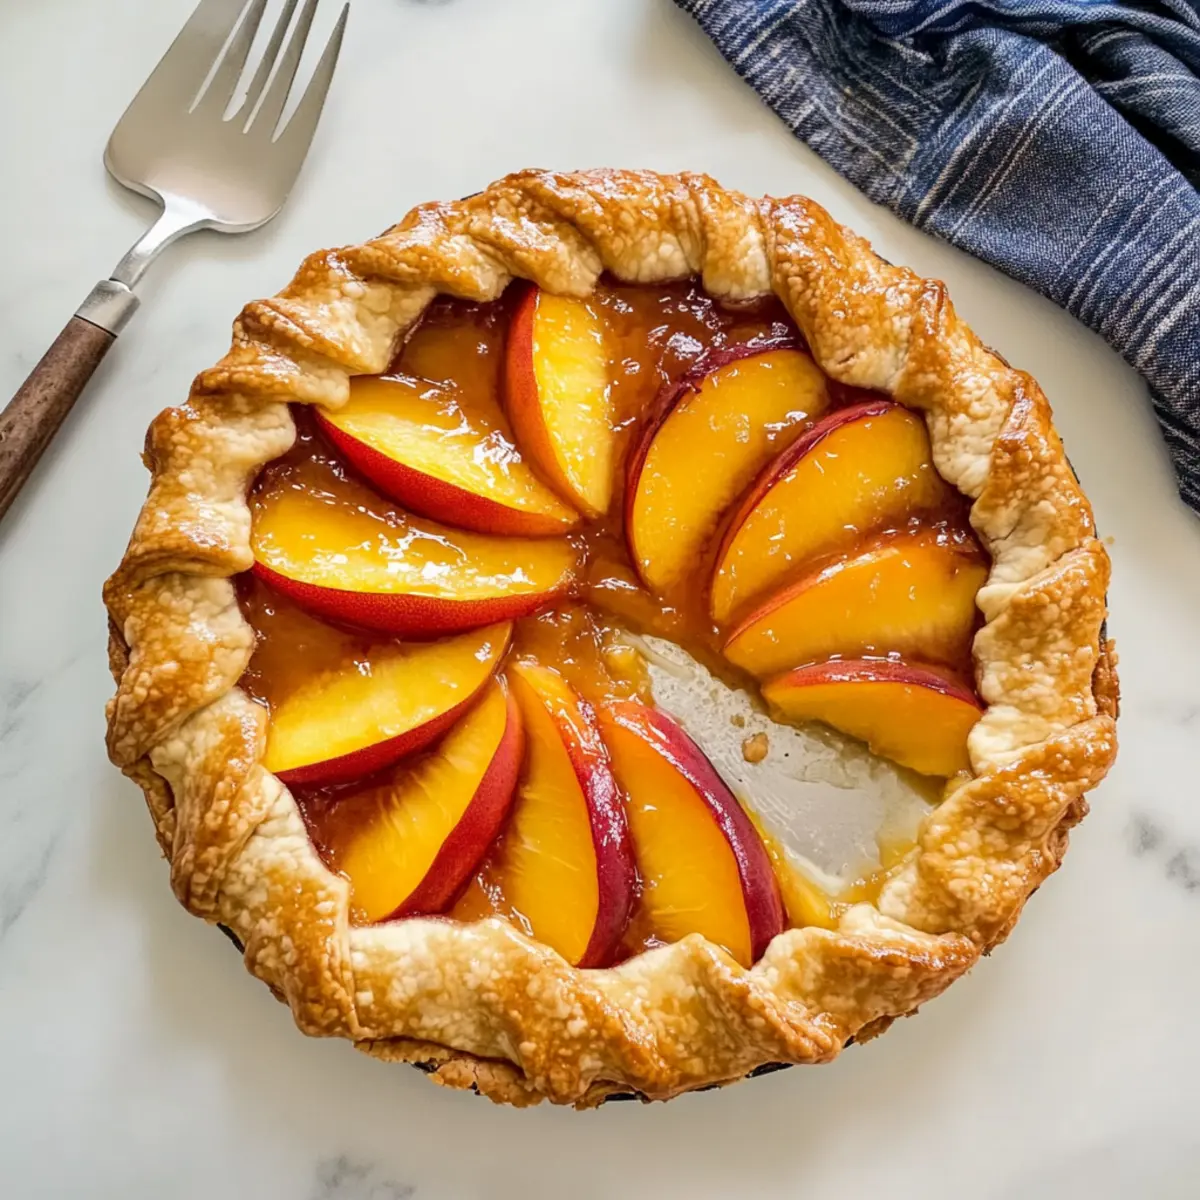
Once it’s beautifully golden, remove the galette from the oven and allow it to rest for about 5 minutes. This cooling time helps the juices set, making it easier to slice and serve. Enjoy the anticipation as you prepare to share this stunning dessert with family and friends.

What to Serve with Easy Peach Galette with Buttery Crust
As you savor each slice of this rustic delight, think about delightful accompaniments that elevate your dessert experience.
-
Vanilla Ice Cream: This creamy classic melts beautifully over warm galette, adding a refreshingly rich flavor. The contrast of temperatures creates a delightful sensory experience.
-
Whipped Cream: Light and fluffy, whipped cream enhances the sweetness of the peaches while adding a luxe feel. A drizzle of vanilla extract elevates it effortlessly.
-
Mint Leaves: A sprinkle of fresh mint not only brightens up the plate but also adds a refreshing contrast to the warm filling of peaches. It’s a great way to elevate presentation and flavor.
-
Coffee or Tea: A warm cup of your favorite brew complements the buttery crust and sweetness of the galette. Consider a lightly spiced chai or a smooth cappuccino for a comforting finish.
-
Fresh Berries: A handful of blueberries or raspberries offers a delightful tartness that balances the sweetness of the galette. Their vibrant colors also enhance presentation, making your dessert even more inviting.
-
Coconut Whipped Cream: For a dairy-free option, try coconut whipped cream. Its subtle coconut flavor complements the peaches remarkably well and adds an exotic twist.
Expert Tips for Peach Galette
-
Use Ripe Peaches: Choose sweet, ripe peaches for the best flavor in your galette; under ripe or over ripe fruit can affect the texture and taste.
-
Homemade Crust Advantage: If possible, make your pie crust from scratch; it offers a fresher taste and is easier to customize than store-bought.
-
Avoid Overmixing: Gently toss your peach filling to avoid mushy fruit; heavy mixing can break down the peaches and lead to a soggy galette.
-
Keep an Eye on Baking: Ovens vary, so check your galette a few minutes before the suggested time—remove it when the crust is golden brown to avoid burning.
-
Serving Warm: For the ultimate experience, serve your Peach Galette warm, perhaps with a scoop of vanilla ice cream or a dollop of whipped cream.
Make Ahead Options
These Easy Peach Galette preparations are perfect for busy cooks looking to save time without sacrificing flavor! You can slice and coat the peaches with the lemon-sugar mixture up to 24 hours in advance; just be sure to refrigerate them to maintain their freshness and prevent browning. Additionally, you can roll out the pie crust and leave it on the parchment paper, covering it tightly with plastic wrap, up to 3 days ahead of time. When you’re ready to bake, simply arrange the prepped peaches on the crust, fold the edges, and follow the baking instructions. With these make-ahead options, you can have a delicious, homemade dessert that’s just as delightful with minimal last-minute effort!
Peach Galette Variations & Substitutions
Feel free to get creative with your Peach Galette and explore different flavors and ingredients for a personalized touch!
-
Mixed Berries: Substitute peaches with a blend of blackberries, raspberries, and strawberries for a vibrant mixed fruit galette. This combination will add a delightful tartness and a burst of color to your dessert.
-
Cinnamon Apples: Swap peaches for sliced apples to create a cozy apple galette. The warm cinnamon and sweetness of apples evoke a comforting autumn feel, perfect for cooler days.
-
Plum Perfection: Trade in the peaches for juicy, ripe plums and prepare for an explosion of tangy sweetness. This variation highlights the natural fruitiness beautifully with its unique flavor profile.
-
Almond Extract Twist: Instead of vanilla extract, use almond extract for a delightful nutty aroma that pairs well with peaches or, indeed, any stone fruit. Just a teaspoon will elevate your galette to new heights!
-
Nut Butter Drizzle: After baking, drizzle some almond or peanut butter on top for an added layer of flavor and a creamy texture. This touch creates a delightful combination of sweetness and richness.
-
Spiced Nectarines: Try using nectarines instead of peaches for a slightly different flavor and a hint of spice. Add a pinch of cardamom along with the cinnamon to create a refreshing twist.
-
Dairy-Free Version: Replace milk in the egg wash with a dairy-free alternative like almond milk, and use a flax egg instead of a regular egg for a vegan-friendly treat. You won’t miss the dairy in this delicious dessert!
-
Seasonal Citrus Zest: Enhance the flavor profile by adding a teaspoon of orange or lemon zest to the peach mixture. This touch will brighten the fruit’s sweetness and add an invigorating citrus note.
With these simple variations, you can transform your galette to suit your taste buds or the season. Whether you’re feeling adventurous or just want to try something new, these swaps will surely inspire your culinary creativity. And when the summer sun calls, don’t forget to check out our scrumptious Peach Cobbler Poke cake—it’s a delightful way to enjoy peaches too!
Storage Tips for Peach Galette
Room Temperature: Store the Peach Galette at room temperature for up to 2 days, covering it with a clean kitchen towel to keep moisture in while allowing air circulation.
Fridge: Refrigerate leftovers for up to 4 days. Place it in an airtight container or wrap in plastic wrap to prevent it from drying out or absorbing odors.
Freezer: For longer storage, freeze the galette for up to 2 months. Wrap it tightly in plastic wrap and then aluminum foil to protect it from freezer burn.
Reheating: Reheat slices in the microwave or place them in a preheated oven at 350°F (175°C) for about 10-15 minutes until warmed through, allowing the buttery crust to regain its crispiness.
Peach Galette Recipe FAQs
How do I choose the best peaches for my galette?
Absolutely! Look for ripe, slightly soft peaches with a fragrant smell. Ideal peaches should have a vibrant color, without dark spots or wrinkles, and be firm to the touch but yield slightly when pressed. Seasonal peaches will provide the best sweetness and juiciness.
What’s the best way to store my leftover Peach Galette?
You can store your Peach Galette at room temperature for up to 2 days. Just cover it lightly with a clean kitchen towel to keep it from drying out. If you want to keep it for longer, refrigerate it for up to 4 days in an airtight container. This helps preserve its flavor and texture.
Can I freeze my Peach Galette?
Certainly! For freezing, wrap your galette tightly in plastic wrap and then in aluminum foil to prevent freezer burn. It can stay frozen for up to 2 months. To reheat, simply thaw in the refrigerator overnight and warm it in a preheated oven at 350°F (175°C) for 10-15 minutes.
What can I do if my peach filling is runny?
If you find the filling is too runny, try adding a bit more cornstarch during mixing to help absorb excess moisture. Be sure to coat the peaches thoroughly and not overmix them to maintain their integrity. Also, make sure to let the galette cool for a few minutes after baking; this will allow the juices to thicken.
Are there any dietary considerations I should keep in mind for this recipe?
Very! For a vegan option, substitute the egg with a flax egg made from 1 tablespoon of ground flaxseed mixed with 2.5 tablespoons of water. You can also use silken tofu blended until smooth as a filling binder. Plus, ensure your pie crust is dairy-free to cater to any lactose intolerant friends!
How long should I let my Peach Galette cool before serving?
It’s best to let your Peach Galette rest for about 5 minutes after baking. This cooling period allows the filling to set, making it easier to slice and serve while still warm, all while maximizing flavor and texture. Enjoy your delightful creation!
Irresistibly Easy Peach Galette with Buttery Flavors
Ingredients
Equipment
Method
- Preheat your oven to 400°F (200°C).
- Roll out the refrigerated pie crust onto a sheet of parchment paper, shaping it into a 12-inch circle. Transfer to a rimmed half-sheet pan.
- In a large mixing bowl, combine fresh lemon juice and vanilla extract, whisking in the cornstarch until smooth. Add granulated sugar, brown sugar, and cinnamon, stirring gently.
- Add sliced peaches to the bowl with the lemon-sugar mixture and gently toss to coat.
- Arrange the coated peaches in the center of the pie crust, leaving a 2-inch border. Pour remaining juices over the peaches.
- Fold the edges of the crust over the fruit, crimping lightly. Dot exposed fruit with small pieces of butter.
- Brush the exposed crust with an egg wash made from a beaten egg mixed with milk. Sprinkle coarse sugar on top.
- Bake for 25-30 minutes until the crust is golden brown and peach juices are bubbling.
- Let the galette cool for about 5 minutes before serving.