Advertisement
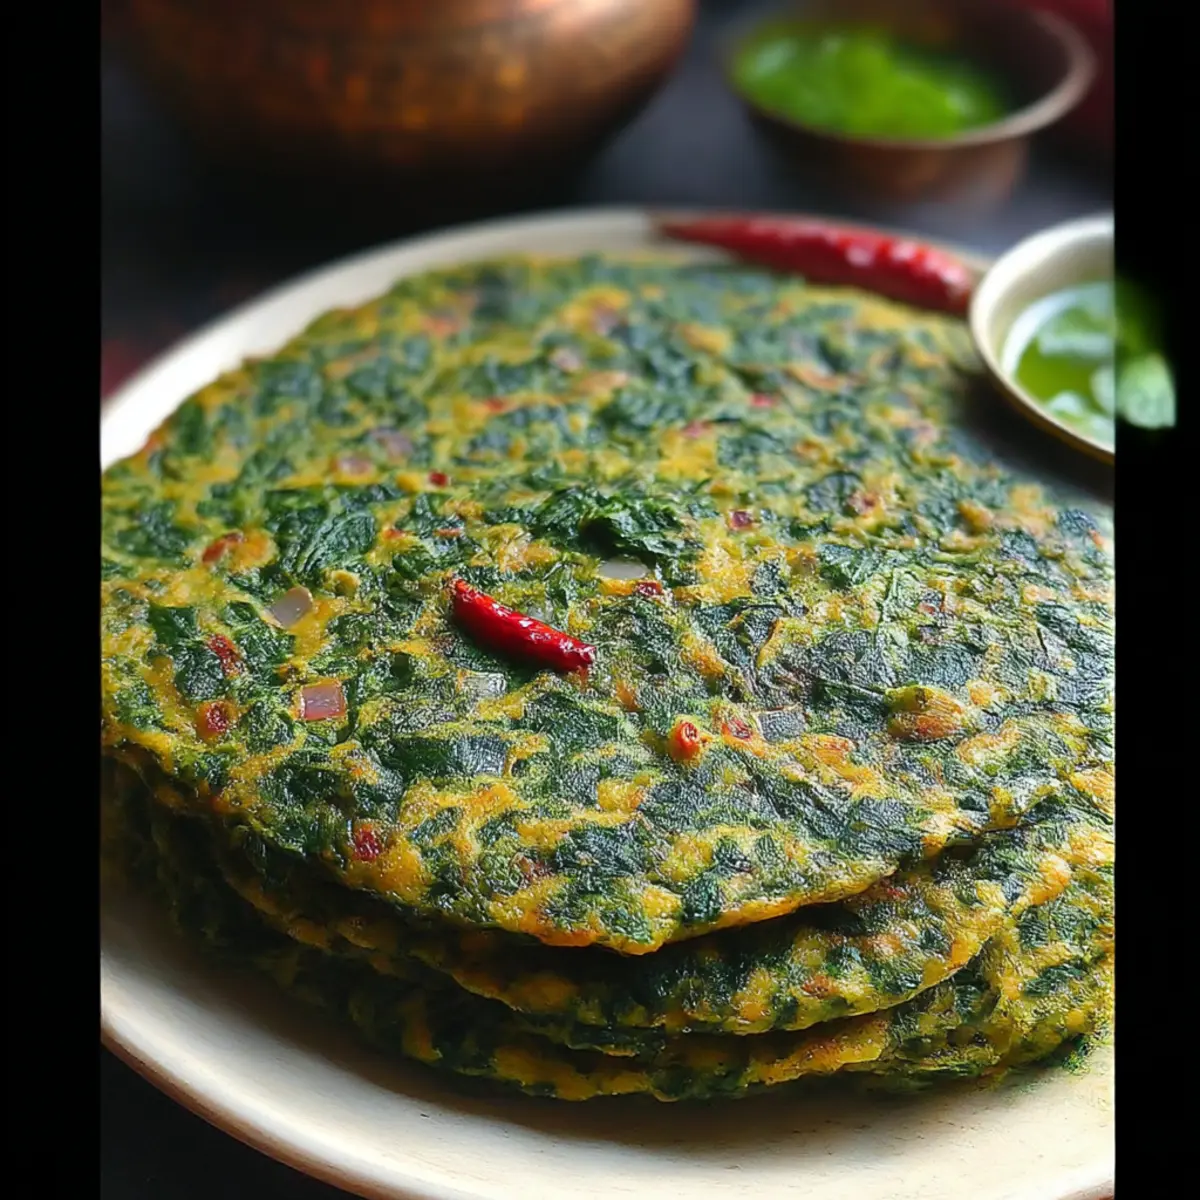
As the aroma of sautéed spices wafts through my kitchen, I’m reminded of the comforting rituals that come with every homemade meal. Today, I’m excited to share my Spinach Puda, a delightful gluten-free savory pancake that bursts with rich flavors and vibrant green goodness. This recipe is not only a fantastic way to sneak in more greens, but it’s also a breeze to whip up on busy mornings or as a quick weeknight dinner. With protein-packed gram flour and the freshness of spinach, you’ll find these crispy pancakes are a nourishing choice the whole family will love. Ready to indulge in a healthy twist on traditional comfort food? Let’s dive in!
Why is Spinach Puda a Must-Try?
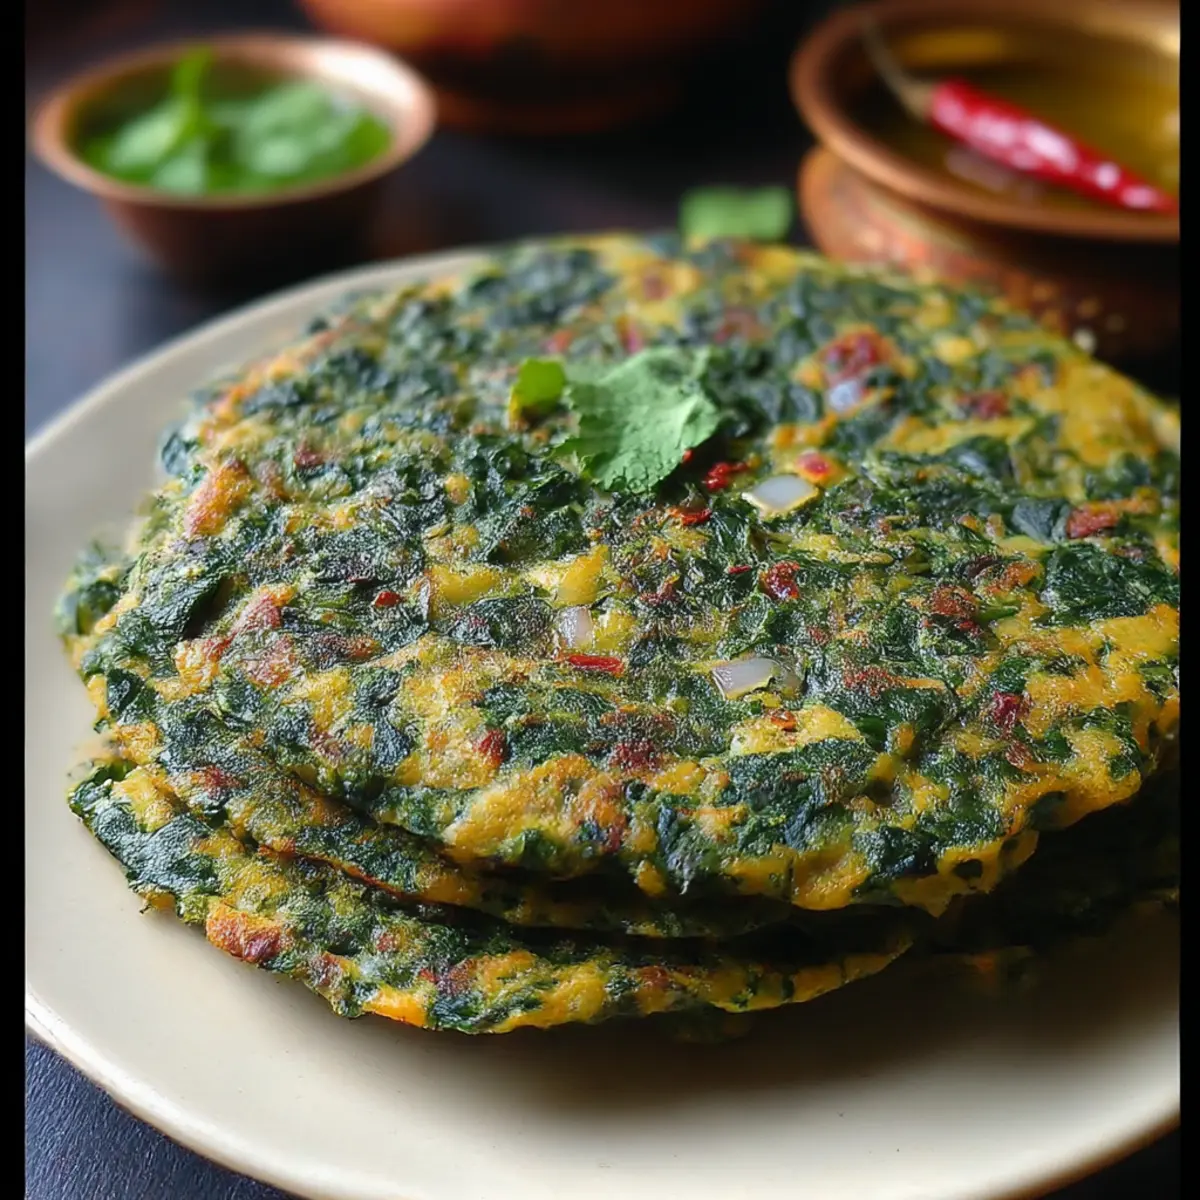
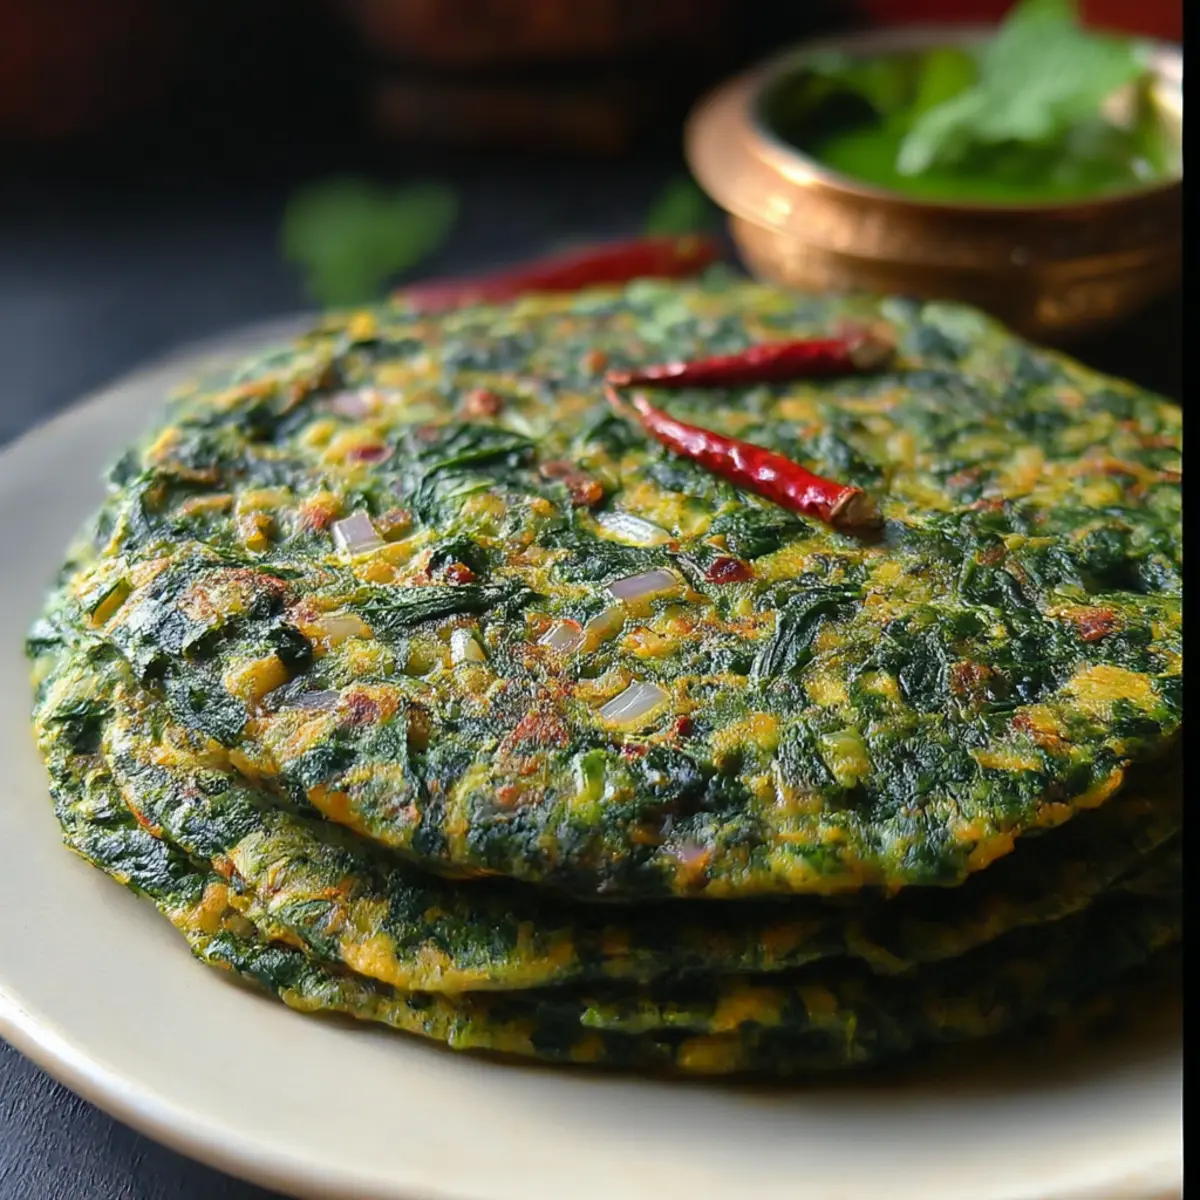
Crispy Texture: These pancakes boast a delightful crunch on the outside while remaining soft and hearty within.
Nutrient-Dense: Packed with protein and fiber, Spinach Puda is a satisfying way to incorporate greens into your diet without sacrificing flavor.
Advertisement
Quick and Easy: Whipping up these delicious pancakes takes minimal prep time—perfect for busy mornings or swift weeknight meals.
Versatile Options: Enjoy them in various ways! Pair with yogurt or mint chutney, or add shredded carrots for an extra splash of color.
Family-Friendly: With their savory taste and appealing texture, these pancakes are bound to please even the pickiest eaters. Get creative and make them your own! For more tasty ideas, check out my guide on exploring healthy recipes.
Spinach Puda Ingredients
For the Batter
• Gram Flour (Besan) – Provides structure and a nutty flavor; substitute with other gluten-free flours if needed.
• Spinach Leaves – Adds color and nutrients; use fresh for the best results.
• Onion – Introduces sweetness; finely chop to blend seamlessly into the batter.
• Green Chili – Adds heat; adjust quantity to suit your spice preference.
• Garlic – Enhances savory flavor; freshly minced is best for vibrant taste.
• Cumin Seeds – Contributes warmth and a smoky aroma; lightly toast for extra flavor.
• Turmeric Powder – Adds color and a subtle earthiness; it also boosts nutrition.
• Salt – Enhances overall flavor; adjust to taste.
• Water – Necessary for a smooth, pourable batter; use as needed for consistency.
• Oil – For pan-frying; choose a neutral oil that promotes crispiness.
Step‑by‑Step Instructions for Spinach Puda
Step 1: Prepare the Batter
In a large mixing bowl, whisk together 1 cup of gram flour with 3/4 to 1 cup of water until you achieve a smooth, slightly thick batter, free of lumps. Aim for a consistency that coats the back of a spoon. This will serve as the base for your flavorful Spinach Puda, so make sure it’s well-mixed and ready for the delightful ingredients to come.
Step 2: Add Flavorful Ingredients
Fold in 1 cup of finely chopped fresh spinach, 1/4 cup finely chopped onion, 1 minced green chili, and 2 minced garlic cloves into the batter. Sprinkle in 1/2 teaspoon of cumin seeds, 1/4 teaspoon turmeric, and salt to taste, mixing gently until everything is evenly distributed. The vibrant green color will signal that your batter is ready to cook, inviting you to the next step.
Step 3: Heat the Skillet
Place a non-stick or cast-iron skillet on medium heat and let it warm for about 2 minutes. Drizzle in a tablespoon of oil, allowing it to heat up until it’s shimmering, but not smoking. This is crucial for achieving that beautiful crispy exterior on your Spinach Puda, so take a moment to prepare your cooking surface accordingly.
Step 4: Cook the First Pancake
Pour a ladleful of the prepared batter onto the skillet, gently spreading it into a circle about 5-6 inches in diameter. Let it cook for 2-3 minutes, watching for the edges to set and the bottom turning a lovely golden brown. This visual cue tells you it’s time for the magical flip, so keep an eye on your pancake!
Step 5: Flip and Finish Cooking
Once the edges are firm and the bottom is golden, carefully flip the pancake using a spatula. Cook the other side for another 2-3 minutes, applying light pressure with the spatula to ensure even browning. When both sides are perfectly golden and crispy, you’ll know your Spinach Puda is ready to be enjoyed!
Step 6: Repeat Cooking Process
Continue with the remaining batter, adding more oil to the skillet as needed to keep things frying nicely. Each pancake should be golden and crisp; adjust the heat if necessary to avoid burning. Keep cooking these delicious Spinach Puda until you have a delightful stack ready to serve.
Step 7: Serve and Enjoy
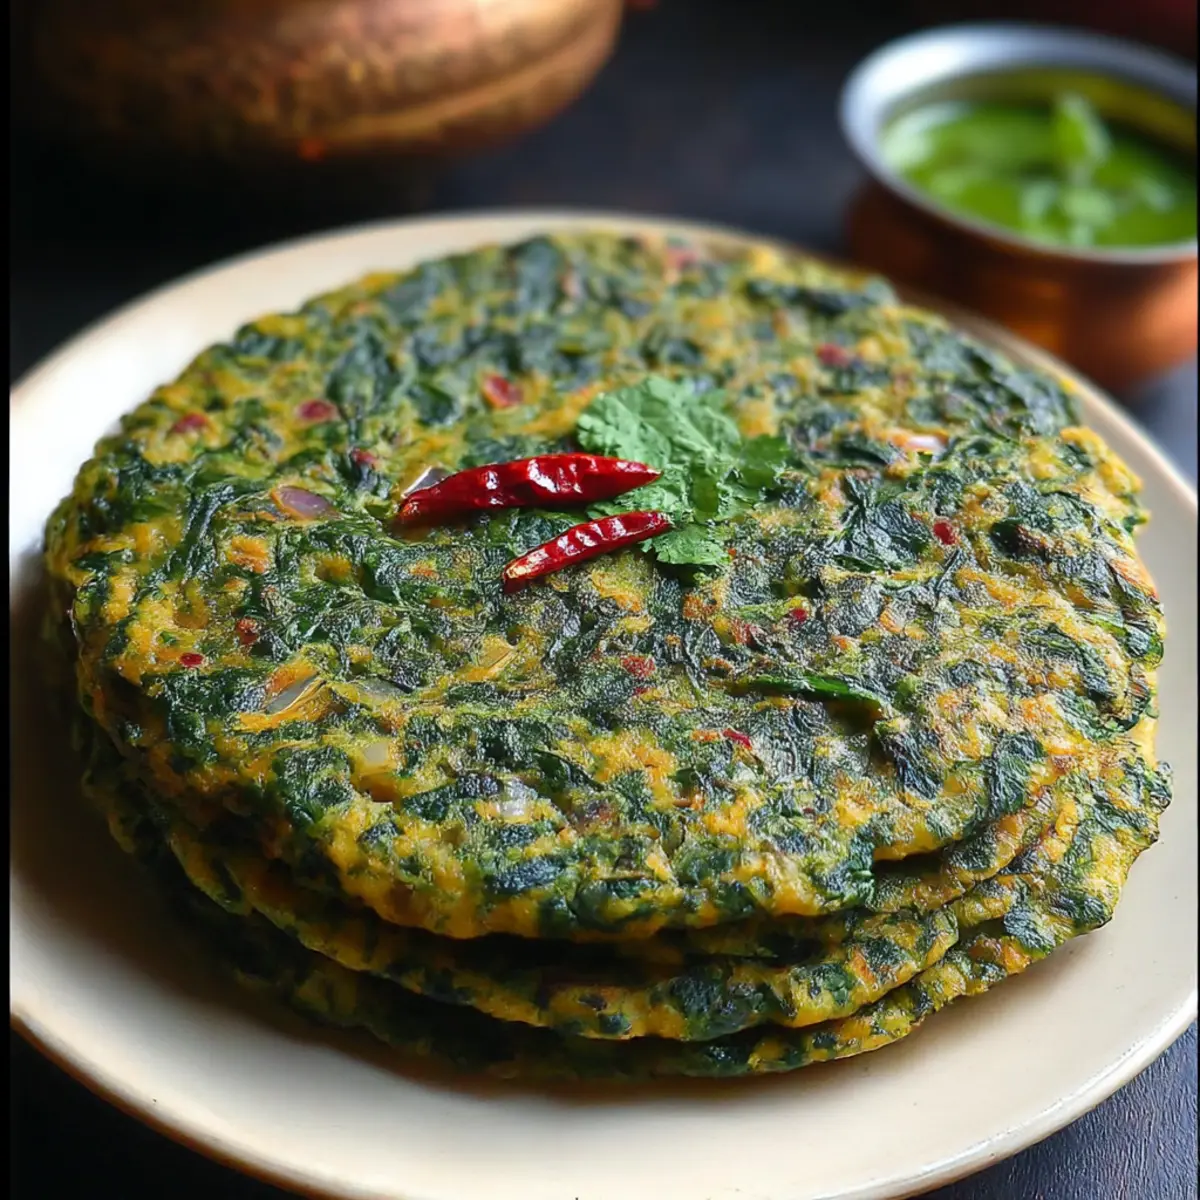
Once cooked, serve your Spinach Puda hot, pairing it with mint chutney, yogurt, or a warm bowl of dal for an authentic experience. If you need to keep them warm, place them in an oven preheated to 200°F until ready to serve. Let the comforting aroma fill your kitchen as everyone gathers to enjoy this healthy, savory treat!
Spinach Puda: Tasty Tweaks Await
Feel free to explore these delightful variations that add a personal touch to your Spinach Puda experience!
-
Kale Upgrade: Swap fresh spinach for kale to introduce a heartier flavor and an extra nutrient boost. Just remove the stems and chop finely before adding to the batter.
-
Color Boost: Add shredded carrots to your batter for a hint of sweetness and vibrant color. Their natural sweetness balances the earthy flavors beautifully.
-
Spice It Up: Increase the heat by including chopped jalapeños or a pinch of red chili flakes. It’ll give your pancakes an exciting kick that spice lovers will adore.
-
Herb Infusion: Fold in chopped fresh herbs like cilantro or dill for an aromatic profile that brightens each bite. Fresh herbs are a wonderful way to elevate the dish’s flavor.
-
Coconut Flour Alternative: If you’re looking for a nutty twist, try substituting a portion of gram flour with coconut flour. It adds a subtle sweetness but keep in mind you might need to adjust water to get the right consistency.
-
Cheesy Delights: Stir in some crumbled feta or shredded cheese to the batter for a creamy richness that complements the savory pancake perfectly.
-
Garlic-Free Option: If you’re not a garlic fan, replace it with onion powder. The subtle flavor will still enhance the dish while catering to your palate.
For more culinary inspiration, check out my guide on delicious gluten-free meals and discover how to make wholesome choices every day!
Make Ahead Options
These Spinach Puda are a fantastic choice for meal prep, allowing you to enjoy a homemade treat any day of the week! You can prepare the pancake batter up to 24 hours in advance by mixing together the gram flour, water, and spices in the same bowl. Just fold in the spinach, onions, chili, and garlic just before cooking to maintain freshness and prevent sogginess. Alternatively, you can cook the pancakes entirely and refrigerate them for up to 3 days. To reheat, simply warm them on a skillet with a little oil for that crispiness, ensuring they’re just as delicious as when freshly made. Enjoy these easy-to-make, guilt-free pancakes with minimal effort on busy evenings!
What to Serve with Spinach Puda?
Elevate your meal with delightful sides that enhance the rich flavors of these crispy savory pancakes.
- Mint Chutney: A refreshing, tangy condiment that perfectly cuts through the heartiness of the puda, adding a bright, herbal kick.
- Yogurt Sauce: Creamy yogurt on the side is the ideal cooling companion, balancing the spices and enhancing each bite’s creaminess.
- Spiced Indian Tea: Warm, aromatic tea provides a comforting drink option, pairing beautifully with the earthy pancakes on chilly days.
- Vegetable Soup: A light, warming veggie soup is an excellent way to boost your meal’s nutrition while keeping it cozy and comforting.
- Warm Dal: Rich and comforting, a bowl of dal complements the puda’s texture and flavors, creating a satisfying vegetarian feast.
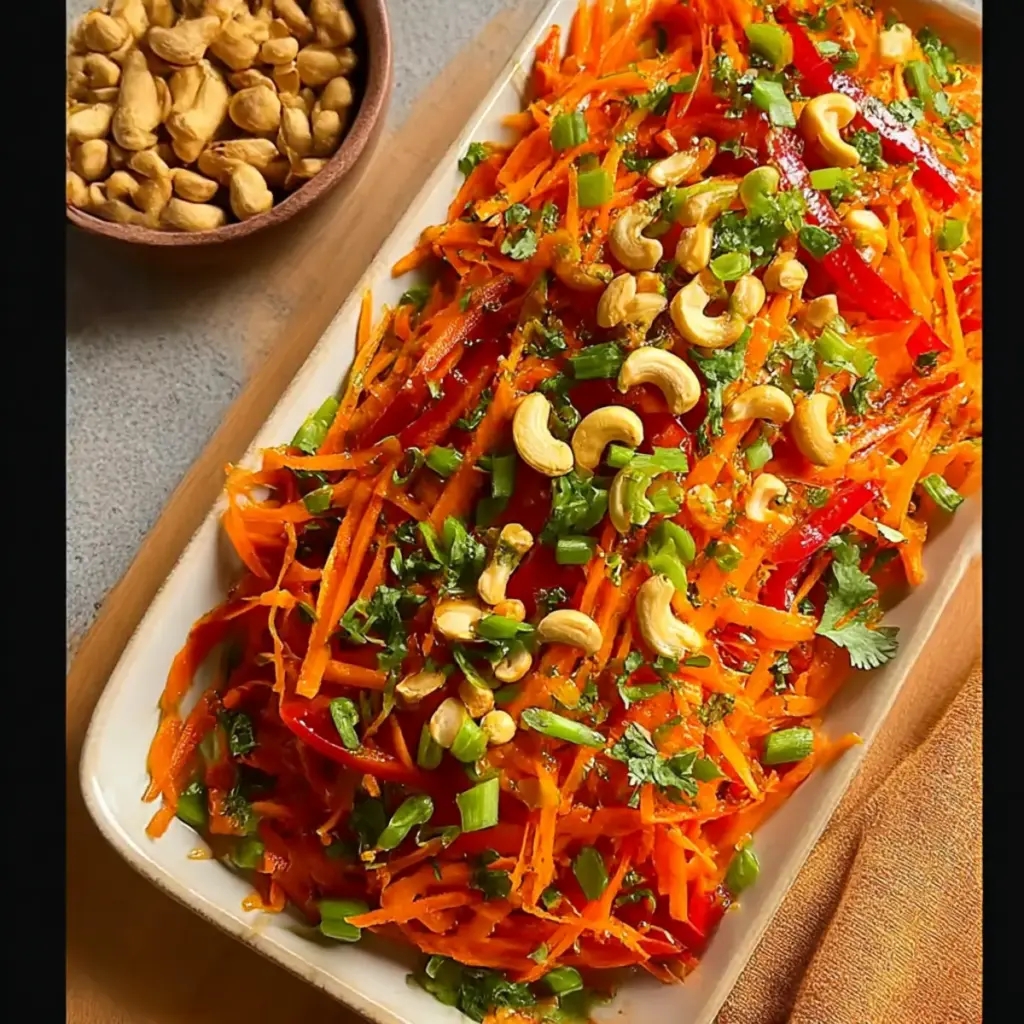
- Savory Carrot Salad: Crisp, shredded carrots with a sprinkle of lemon and herbs offer a refreshing crunch against the soft texture of the puda.
- Pickled Vegetables: Tangy, pickled veggies add a burst of flavor, contrasting nicely with the rich and savory notes of the pancakes.
- Chickpea Salad: A protein-packed chickpea salad with diced tomatoes and cucumbers adds a fresh touch, highlighting the earthiness of the puda.
- Sweet Chutney: For a twist, pair with a mildly sweet chutney that balances flavors and introduces a delightful surprise.
Storage Tips for Spinach Puda
Fridge: Store leftover Spinach Puda in an airtight container, layered with parchment paper to prevent sticking. They will stay fresh for up to 3 days.
Freezer: If you want to keep them longer, freeze cooked Spinach Puda by wrapping each pancake in plastic wrap and placing them in a freezer-safe bag. They can be stored for up to 2 months.
Reheating: For the best texture, reheat on a skillet over medium heat until warmed through and crispy. Avoid using the microwave, as it can make them soggy.
Expert Tips for Spinach Puda
• Chop Spinach Finely: A finer chop helps the spinach blend seamlessly into the batter, ensuring every bite is flavorful and avoids lumps.
• Fresh Ingredients Only: Stick to fresh spinach and minced garlic. Using frozen spinach can lead to excess moisture, resulting in soggy pancakes.
• Right Heat Level: Maintain a steady medium heat. Too high and the outsides burn while the insides remain uncooked; too low, and they won’t crisp up.
• Crispiness Tips: For extra crispiness, allow the oil to heat fully before pouring in the batter, and press lightly while cooking to form an even crust.
• Storage Success: Layer any cooked leftovers with parchment paper and refrigerate for up to 3 days. Reheat them on the skillet for a crunchy texture—avoid microwaving, which makes them soft.
Spinach Puda Recipe FAQs
How do I select ripe spinach leaves for my Spinach Puda?
Absolutely! When choosing spinach, look for fresh leaves that are vibrant green, tender, and free from dark spots or wilting. Fresh spinach should feel crisp and have a smooth surface. If you’re using baby spinach, that’s even better as it tends to have a milder flavor and tender texture, perfect for this recipe.
What’s the best way to store leftovers of my Spinach Puda?
I recommend layering your leftover Spinach Puda with parchment paper in between, and storing them in an airtight container in the fridge. This way, they stay fresh for up to 3 days. The parchment prevents them from sticking together and helps maintain their texture for a delicious reheated snack!
Can I freeze Spinach Puda, and if so, how?
Absolutely! To freeze your Spinach Puda, I suggest wrapping each pancake individually in plastic wrap and then placing them into a freezer-safe bag. This method can keep them fresh for up to 2 months. When you’re ready to enjoy, simply reheat them on a skillet over medium heat until crispy for the best results!
What should I do if my Spinach Puda batter is too thick?
Don’t worry—if your batter seems too thick, you can remedy it easily! Just gradually add a little more water, one tablespoon at a time, while mixing until you achieve a smooth, pourable consistency. The goal is to have a batter that coats the back of a spoon without being runny but still easy to spread on the skillet.
Are there any dietary considerations for Spinach Puda?
Yes! Spinach Puda is naturally gluten-free since the base is made with gram flour (besan), making it suitable for those with gluten sensitivities. Additionally, if you’re concerned about spice levels, you can adjust the amount of green chili to your preference, or omit it entirely for a milder flavor. As always, check for allergies related to any ingredients you may use.
Spinach Puda: Wholesome Indian Pancakes You’ll Love!
Ingredients
Equipment
Method
- In a large mixing bowl, whisk together gram flour with water until you achieve a smooth, slightly thick batter, free of lumps.
- Fold in the finely chopped spinach, onion, minced green chili, and garlic into the batter. Sprinkle in cumin seeds, turmeric, and salt, mixing gently until evenly distributed.
- Place a skillet on medium heat and let it warm for about 2 minutes. Drizzle in a tablespoon of oil and let it heat up until shimmering.
- Pour a ladleful of the prepared batter onto the skillet, spreading it into a circle about 5-6 inches in diameter. Cook for 2-3 minutes until the edges set and the bottom turns golden brown.
- Carefully flip the pancake using a spatula. Cook the other side for another 2-3 minutes, applying light pressure ensuring even browning.
- Continue with the remaining batter, adding more oil as needed until all pancakes are cooked.
- Serve hot with mint chutney, yogurt, or dal. Keep warm in an oven preheated to 200°F until ready to serve.