Advertisement
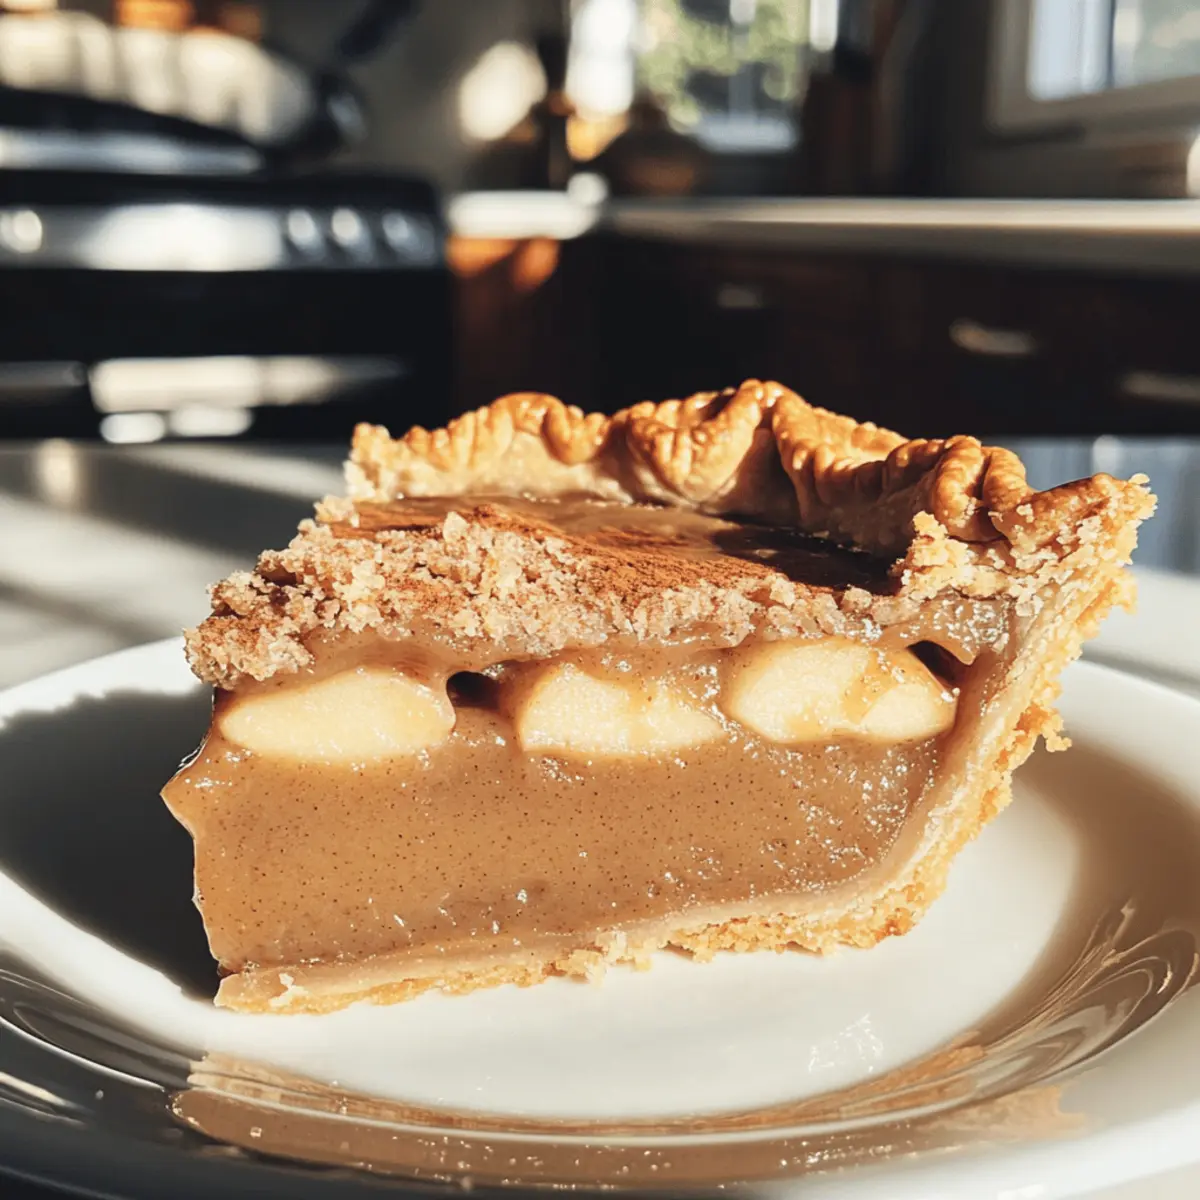
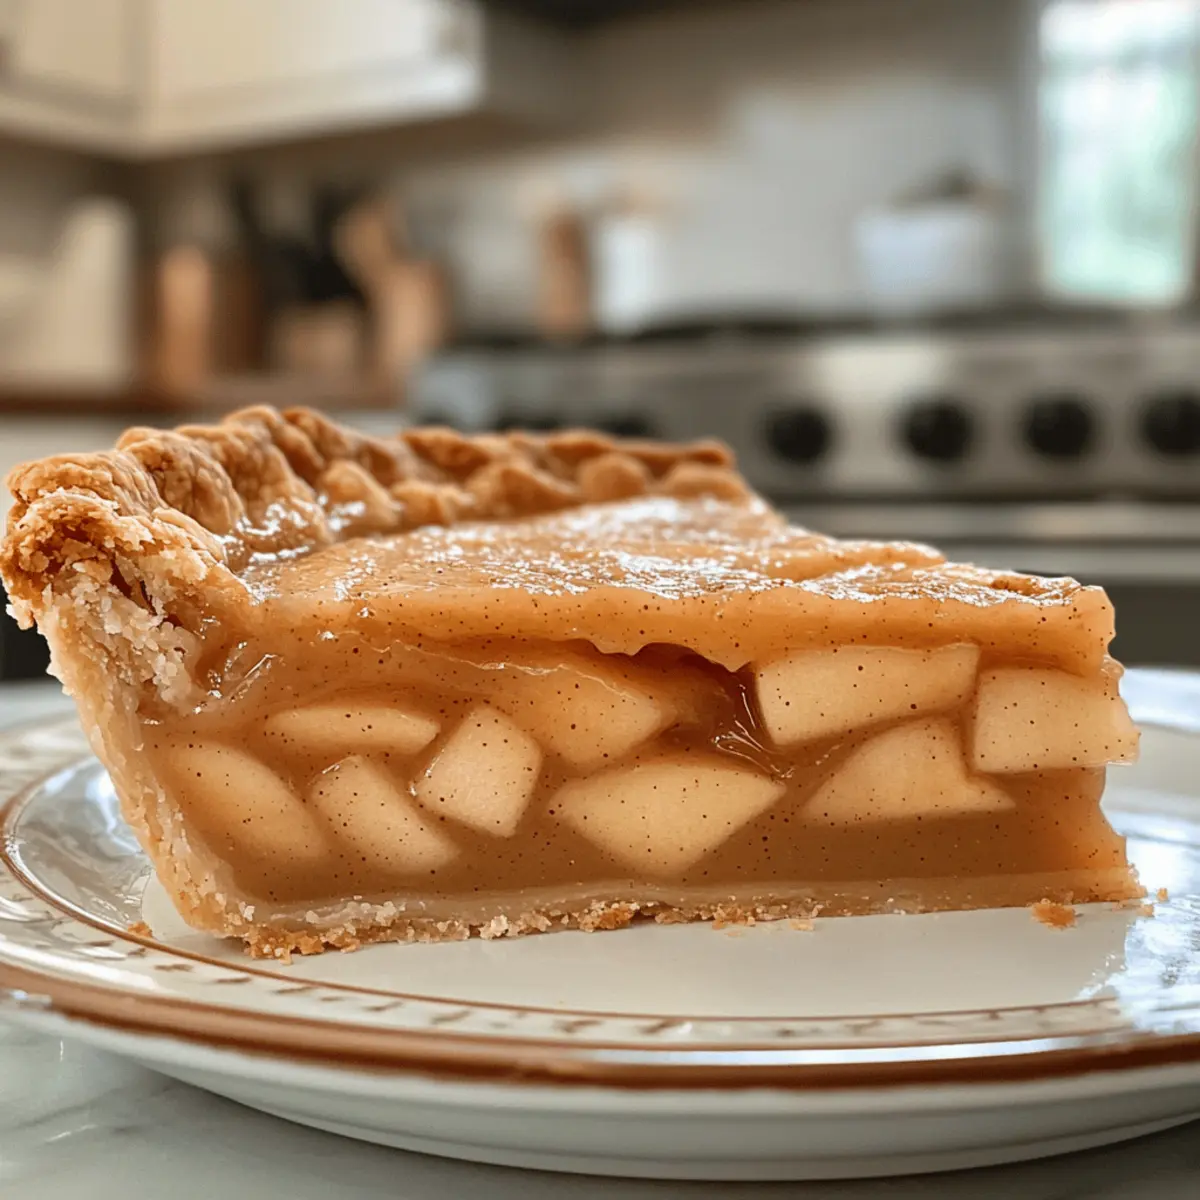
The aroma of apples simmering gently on the stove connects me to my childhood, where warm, comforting desserts filled the air during crisp autumn days. This Silky-Smooth Apple Butter Pie captures the spirit of fall, marrying the bold flavors of apple butter with a delightful whole-grain spelt crust that’s incredibly easy to prepare—no chilling required! With its creamy custard filling, this pie not only brings a touch of nostalgia but also adds a wholesome twist that your family will love. Plus, it’s a fantastic way to elevate a cozy gathering or simply enjoy on a quiet afternoon with a cup of tea. Ready to dive into baking this seasonal sensation? Let’s get started!
Why is this Apple Butter Pie special?
Unmatched Flavor: The silky-smooth filling transforms your classic dessert experience, showcasing the bold essence of apple butter that flavors every bite.
Wholesome Crust: With a whole-grain spelt crust, you can indulge in this pie while enjoying the benefits of a healthier alternative, balancing nutrition with taste.
Effortless Preparation: No chilling required! This pie is easy to make, perfect for both novice bakers and seasoned chefs looking for a quick yet impressive dessert.
Seasonal Appeal: Embrace the essence of autumn with a dessert that celebrates the flavors of the season, making it a hit at gatherings or cozy nights in.
Customizable Delight: Swap spices or crusts to make it your own, whether you prefer a graham cracker crust or an added twist on flavor. Don’t forget to pair it with a dollop of maple whipped cream or enjoy it alongside my Homemade Caramel Apple for an indulgent treat!
Apple Butter Pie Ingredients
For the Filling
Advertisement
- Apple Butter – A store-bought version is convenient, but homemade apple butter elevates the flavor.
- Eggs – Ensure these are at room temperature for the best blending into the custard.
- Heavy Cream – Adds a luxurious creaminess; opt for evaporated milk if you want a lighter touch.
- Cinnamon – A warm spice that enhances the apple flavor; adjust to your taste preference.
- Nutmeg – Just a pinch adds depth, making the pie feel like a warm hug on a chilly day.
- Sugar – Use granulated sugar to balance flavors, or try brown sugar for a hint of richness.
- Salt – Coarse kosher salt enhances all flavors beautifully.
For the Crust
- Spelt Flour – Creates a wholesome, nutty crust; can substitute with all-purpose flour if preferred.
- Butter – Keep this cold for a flaky texture in the crust; the flavor is equally important!
- Water – Use ice water to bring the dough together for a perfectly tender crust.
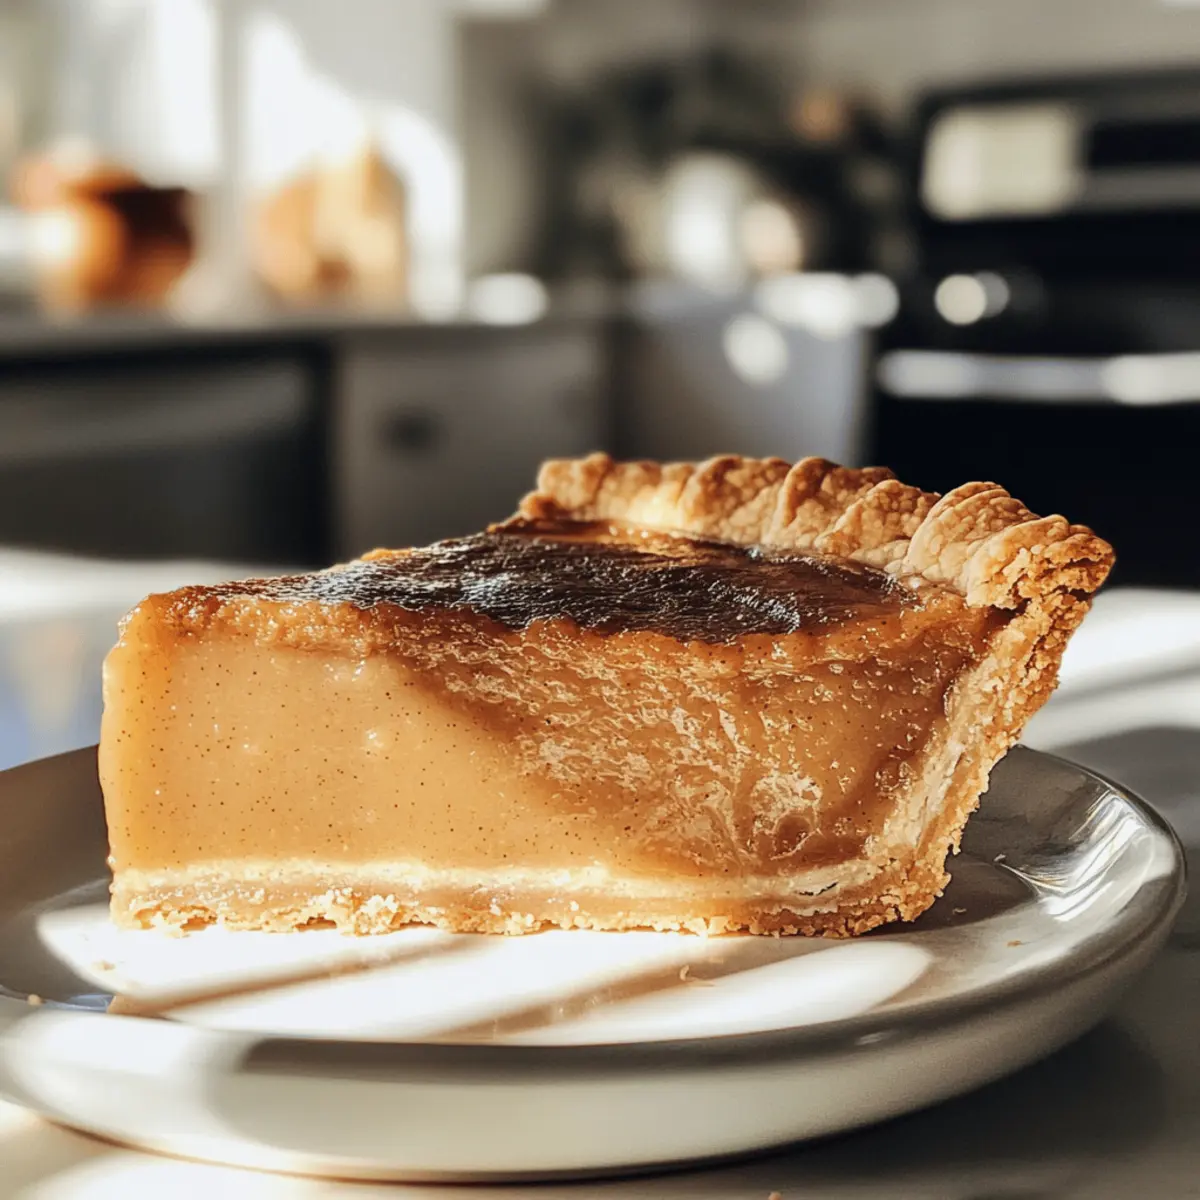
Embrace the warmth of the season with this delicious Apple Butter Pie, featuring an easy-to-make, wholesome crust!
Step‑by‑Step Instructions for Apple Butter Pie
Step 1: Prepare the Spelt Crust
In a mixing bowl, combine cold spelt flour and salt, then cut in cold butter until the mixture resembles coarse crumbs. Gradually add ice water, mixing until just combined. Shape the dough into a disk, cover with plastic wrap, and refrigerate while you preheat the oven to 375°F (190°C). Once chilled, roll out the dough and fit it into a 9-inch pie pan.
Step 2: Blind Bake the Crust
Line your rolled-out crust with parchment paper, filling it with pie weights or dried beans. Bake in the preheated oven for 15-20 minutes or until the edges are golden. Remove the weights and parchment, then return the crust to the oven for an additional 5 minutes until fully cooked and lightly browned. Let it cool while you prepare the filling for the Apple Butter Pie.
Step 3: Make the Filling
In a large mixing bowl, whisk together room-temperature eggs, apple butter, heavy cream, sugar, cinnamon, nutmeg, and salt until smooth and homogenous. The mixture should be creamy and well-blended, with a delightful aroma of fall spices. This custard filling will be poured into your baked spelt crust, creating a rich centerpiece for the pie.
Step 4: Pour and Bake
Carefully pour the apple butter filling into the pre-baked spelt crust. Place the pie on a baking sheet to catch any drips and bake in the oven at 325°F (160°C) for 40-50 minutes. Look for the edges to puff up while the center remains slightly wobbly—this indicates a perfectly baked Apple Butter Pie.
Step 5: Cool and Set
Once baked, remove the pie from the oven and let it cool on a wire rack for at least 1 hour. This cooling time helps the filling to set appropriately. For best results, refrigerate the pie for at least 6 hours or overnight, allowing the flavors to meld and the texture to fully develop.
Step 6: Serve Your Pie
After chilling, slice the Apple Butter Pie into generous portions. It can be served cold or at room temperature, with optional maple whipped cream on top for a delicious finish. This creamy pie is a delightful treat for any occasion, embodying the warmth and flavors of the fall season.
Apple Butter Pie Variations & Substitutions
Feel free to explore these creative ways to personalize your Apple Butter Pie and make it uniquely yours!
-
Graham Cracker Crust: Swap the spelt crust for a graham cracker crust for a sweeter, crunchier alternative. This change offers a delightful texture that complements the creamy filling beautifully.
-
Mixed Spices: Experiment with spices like cardamom or ginger for a warm twist. Adjusting the spice blend lets you tailor the flavor profile to suit your palate.
-
Dairy-Free Cream: For a lactose-free treat, replace heavy cream with coconut cream or a dairy-free alternative. This substitution maintains richness while accommodating dietary preferences.
-
Nutty Additions: Fold in finely chopped nuts, like pecans or walnuts, into the filling for added texture and a delightful nutty flavor that enhances the overall experience.
-
Sweetness Variations: Swap granulated sugar for maple syrup or honey for a natural sweetness that pairs perfectly with the apple butter’s flavor. Just remember to adjust other liquid ingredients accordingly.
-
Apple Butter Blend: Use a combination of store-bought apple butter and homemade for a richer flavor experience. The homemade touch brings a special warmth that elevates this classic dessert.
-
Citrus Zest: Add a touch of lemon or orange zest to the filling for a pop of brightness. This zesty addition can lift the flavors during the cozy fall season—a refreshing twist!
-
Seasonal Fruits: Enhance your filling by mixing in diced pears or cranberries. This fruity addition introduces seasonal vibrance and pairs wonderfully with the apple butter.
As you’re customizing, pair this delightful pie with a dollop of maple-infused whipped cream or enjoy it alongside my favorite Buttermilk Pancakes for Breakfast. These additions can turn any gathering into a memorable feast!
What to Serve with Silky-Smooth Apple Butter Pie
Imagine the cozy warmth of your kitchen, filled with the comforting scents of autumn as you prepare to serve a delightful meal alongside this pie.
- Maple Whipped Cream: Elevate the pie’s flavors with a dollop of sweetened cream, perfectly complementing the spiced filling.
- Vanilla Ice Cream: A scoop of creamy vanilla adds a luscious contrast to the silky texture of the pie—a classic pairing for a reason!
- Cinnamon Sugar Pecans: Crunchy and sweet, these pecans add a delightful texture and nutty flavor that enhances every bite of the pie.
- Crisp Apple Salad: Fresh apples and a hint of tartness balance the sweetness of the pie, creating a refreshing contrast on your plate.
- Coffee or Spiced Tea: A warm beverage not only warms the soul but also enriches the fall flavors of the pie, making every slice feel like a hug!
- Cheddar Cheese Slices: The sharpness of cheese complements the sweet notes of apple butter, offering an unexpected but indulgent flavor experience.
- Pumpkin Spice Muffins: Keep up the cozy fall theme with these delightful muffins; they’re a perfect handheld treat alongside your slice of pie.
Each pairing invites the warmth and flavors of fall together, making any gathering a cherished memory around the table.
Expert Tips for Apple Butter Pie
Don’t Over-bake: Aim for a filling that has a slight jiggle in the center; this keeps the custard silky and prevents it from becoming spongy.
Blind Baking Success: Fully bake the crust before adding the filling. Use pie weights or dried beans to keep it from puffing up during the initial bake.
Egg Temperature Matters: Ensure your eggs are at room temperature for a smoother blend into the custard, enhancing the overall texture of your Apple Butter Pie.
Customize Your Spices: Feel free to adjust the cinnamon and nutmeg according to your taste—this pie is versatile and welcomes personal touches!
Presentation Tip: Add a dollop of maple whipped cream or create decorative crust cut-outs to elevate the look of your pie, making it as beautiful as it is delicious.
Make Ahead Options
These scrumptious Apple Butter Pies are perfect for busy home cooks looking to save time without sacrificing flavor! You can prepare the entire pie up to 24 hours in advance and refrigerate it to allow the filling to set, which enhances the flavors beautifully. To do this, follow all the baking instructions, let the pie cool completely, and then cover it well with plastic wrap or aluminum foil before refrigerating. If you prefer, the spelt crust can be prepared and stored in the fridge (wrapped tightly) up to 3 days prior, ensuring it stays fresh and delicious. When you’re ready to serve, simply plate the pie and enjoy it chilled or at room temperature, maybe with a luscious dollop of maple whipped cream! This way, you can enjoy all the flavors of autumn without the last-minute rush.
How to Store and Freeze Apple Butter Pie
Fridge: Store your Apple Butter Pie in an airtight container or tightly wrapped in plastic wrap for up to 3 days. This preserves its creamy texture and rich flavors.
Freezer: For longer storage, freeze your pie whole or in slices, wrapped tightly in plastic wrap and then in aluminum foil. It can last up to 3 months.
Thawing: To enjoy your frozen Apple Butter Pie, thaw it in the refrigerator overnight. Once thawed, you can warm it briefly in the oven for a lovely, cozy finish.
Reheating: Serve your pie chilled or at room temperature, but if you prefer it warm, heat it at 325°F (160°C) for about 10-15 minutes. Enjoy the delightful essence of autumn in every bite!
Apple Butter Pie Recipe FAQs
What type of apple butter should I use?
Absolutely! While store-bought apple butter is convenient and will work beautifully in this pie, homemade apple butter can elevate the flavor even more, giving it that personal touch. Always consider using apple butter that’s free from additives and preservatives for the best results.
How should I store my Apple Butter Pie?
Very simply! Store your Apple Butter Pie in an airtight container or tightly wrapped in plastic wrap in the refrigerator for up to 3 days. This keeps it fresh and preserves its creamy texture, ensuring every slice is just as delicious as the first!
Can I freeze my Apple Butter Pie?
Of course! To freeze your pie, wrap it tightly in plastic wrap, then in aluminum foil to prevent freezer burn. It can last up to 3 months in the freezer. When you’re ready to enjoy it, simply thaw it overnight in the refrigerator. If you’d like to warm it up, place the thawed pie in a preheated oven at 325°F (160°C) for 10-15 minutes.
What if my filling sets too much while baking?
No worries! If your pie appears to be overbaked, leading to a firmer filling, don’t fret. Next time, aim for a filling that jiggles slightly in the center when you remove it from the oven; this typically signifies the perfect custard texture. If you find this happens again, consider reducing the baking time a few minutes, as every oven can vary.
Are there any allergy considerations with this recipe?
Absolutely! This Apple Butter Pie contains eggs and dairy, which are common allergens. For a dairy-free or egg-free version, consider using plant-based cream substitutes and egg replacements like applesauce or flaxseed meal mixed with water for binding. Always ensure these substitutions complement the flavors!
Can pets enjoy leftovers from my Apple Butter Pie?
While the filling itself could be tempting for your furry friends, many ingredients (like sugar and spices) are not ideal for pets. It’s best to keep the pie away from them and give them their safe treats instead. It’s always better to be safe than sorry when it comes to our beloved pets!
Creamy Apple Butter Pie with Whole-Grain Spelt Crust Delight
Ingredients
Equipment
Method
- In a mixing bowl, combine cold spelt flour and salt, then cut in cold butter until the mixture resembles coarse crumbs.
- Gradually add ice water, mixing until just combined. Shape the dough into a disk, cover with plastic wrap, and refrigerate while you preheat the oven to 375°F (190°C).
- Once chilled, roll out the dough and fit it into a 9-inch pie pan.
- Line your rolled-out crust with parchment paper, filling it with pie weights or dried beans.
- Bake in the preheated oven for 15-20 minutes or until the edges are golden.
- Remove the weights and parchment, then return the crust to the oven for an additional 5 minutes until fully cooked and lightly browned.
- Let it cool while you prepare the filling for the Apple Butter Pie.
- In a large mixing bowl, whisk together room-temperature eggs, apple butter, heavy cream, sugar, cinnamon, nutmeg, and salt until smooth and homogenous.
- The mixture should be creamy and well-blended, with a delightful aroma of fall spices.
- Carefully pour the apple butter filling into the pre-baked spelt crust.
- Place the pie on a baking sheet to catch any drips and bake in the oven at 325°F (160°C) for 40-50 minutes.
- Look for the edges to puff up while the center remains slightly wobbly.
- Once baked, remove the pie from the oven and let it cool on a wire rack for at least 1 hour.
- For best results, refrigerate the pie for at least 6 hours or overnight, allowing the flavors to meld.
- After chilling, slice the Apple Butter Pie into generous portions.
- It can be served cold or at room temperature, with optional maple whipped cream on top.